Test GPU
What Will You Do
In this exercise,
- You will deploy a cluster blueprint to a Kubernetes cluster with the GPU Operator Simulator as an add-on
- You will then configure and deploy a test workload to request and use the simulated GPU
Important
This tutorial describes the steps to create and use a workload using the Web Console. The entire workflow can also be fully automated and embedded into an automation pipeline.
Assumptions
- You have already provisioned or imported one or more Kubernetes clusters using the controller.
- You have applied a custom blueprint on the cluster with the GPU Operator addon.
Step 1: Create GPU Workload
Let us try to deploy an example GPU workload that will use the underlying GPUs. We will use the example CUDA load generator, which performs an FP16 matrix-multiply using the GPU.
- Create a yaml file named "gpu-cuda-load-generator.yaml" with the YAML provided below
For Cuda version 11
apiVersion: v1
kind: Pod
metadata:
   name: dcgmproftester
spec:
   restartPolicy: OnFailure
   containers:
   - name: dcgmproftester11
     image: nvidia/samples:dcgmproftester-2.0.10-cuda11.0-ubuntu18.04
     args: ["--no-dcgm-validation", "-t 1004", "-d 120"]
     resources:
       limits:
          nvidia.com/gpu: 1
     securityContext:
       capabilities:
         add: ["SYS_ADMIN"]
For Cuda version 12
Info
dcgmproftester is included in the DCGM image, so you can use the dcgm image directly as shown in the example below.
apiVersion: v1
kind: Pod
metadata:
  name: dcgmproftester
spec:
  restartPolicy: OnFailure
  containers:
   - name: dcgmproftester12
     image: nvcr.io/nvidia/cloud-native/dcgm:4.2.3-1-ubuntu22.04
     command: ["/usr/bin/dcgmproftester12"]
     args: ["--no-dcgm-validation", "-t 1004", "-d 120"]
     resources:
       limits:
         nvidia.com/gpu: 1
     securityContext:
       capabilities:
         add: ["SYS_ADMIN"]
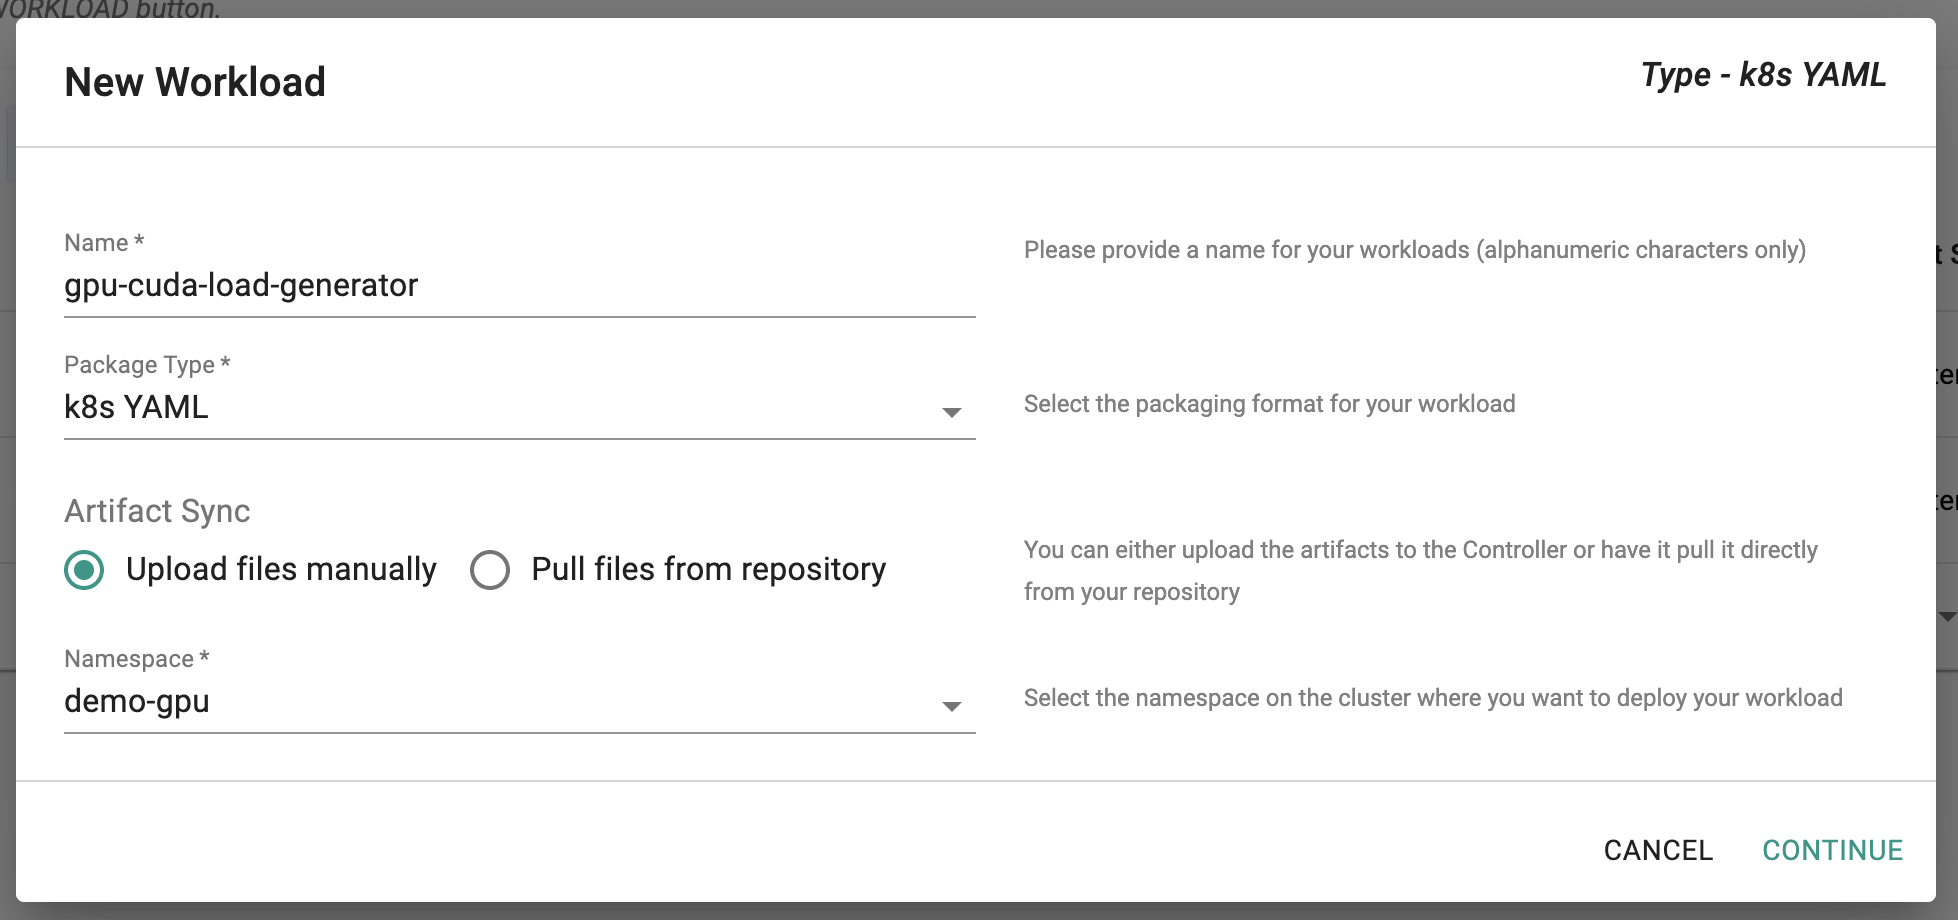
- Go to the Web Console > Applications > Workloads and create a k8s YAML workload named "gpu-cuda-load-generator"
- Upload the above created "gpu-cuda-load-generator.yaml" file and save to next page
Step 2: Deploy Workload
- In Placement policy, select the cluster to deploy this workload to and save to go to Publish page
- Publish the workload and wait for the workload to be successfully deployed to the cluster.
Step 3: Verify Workload
- Click on Debug button
- You should see that gpu-cuda-load-generator executed properly.
- As a developer, click on Kubectl button to connect to the cluster to the workload namespace
- Check the logs of the pod by typing "kubectl logs dcgmproftester"
- You should see the FP16 GEMM was being run on the GPU
kubectl logs dcgmproftester

nvidia 34037760 62 nvidia_modeset,nvidia_uvm, Live 0xffffffffc0c4c000 (POE)
Skipping CreateDcgmGroups() since DCGM validation is disabled
CU_DEVICE_ATTRIBUTE_MAX_THREADS_PER_MULTIPROCESSOR: 1024
CU_DEVICE_ATTRIBUTE_MULTIPROCESSOR_COUNT: 40
CU_DEVICE_ATTRIBUTE_MAX_SHARED_MEMORY_PER_MULTIPROCESSOR: 65536
CU_DEVICE_ATTRIBUTE_COMPUTE_CAPABILITY_MAJOR: 7
CU_DEVICE_ATTRIBUTE_COMPUTE_CAPABILITY_MINOR: 5
CU_DEVICE_ATTRIBUTE_GLOBAL_MEMORY_BUS_WIDTH: 256
CU_DEVICE_ATTRIBUTE_MEMORY_CLOCK_RATE: 5001000
Max Memory bandwidth: 320064000000 bytes (320.06 GiB)
CudaInit completed successfully.

Skipping WatchFields() since DCGM validation is disabled
TensorEngineActive: generated ???, dcgm 0.000 (26137.8 gflops)
TensorEngineActive: generated ???, dcgm 0.000 (26418.6 gflops)
TensorEngineActive: generated ???, dcgm 0.000 (26383.4 gflops)
TensorEngineActive: generated ???, dcgm 0.000 (26412.8 gflops)
TensorEngineActive: generated ???, dcgm 0.000 (26283.0 gflops)
Recap
Congratulations! You have successfully created a GPU based workload on a Kubernetes cluster that is based on a custom cluster blueprint based on the GPU Operator addon.


