Part 1: Provision
This is Part 1 of a multi-part, self-paced quick start exercise that will delpoy an AKS cluster through the Azure console. You will then import the cluster and convert it to a managed resource.
Step 1: Deploy Cluster
In this step you will deploy an Azure AKS cluster from the Azure console. The cluster will be used in the remainder of this excercise.
- Login to the Azure console
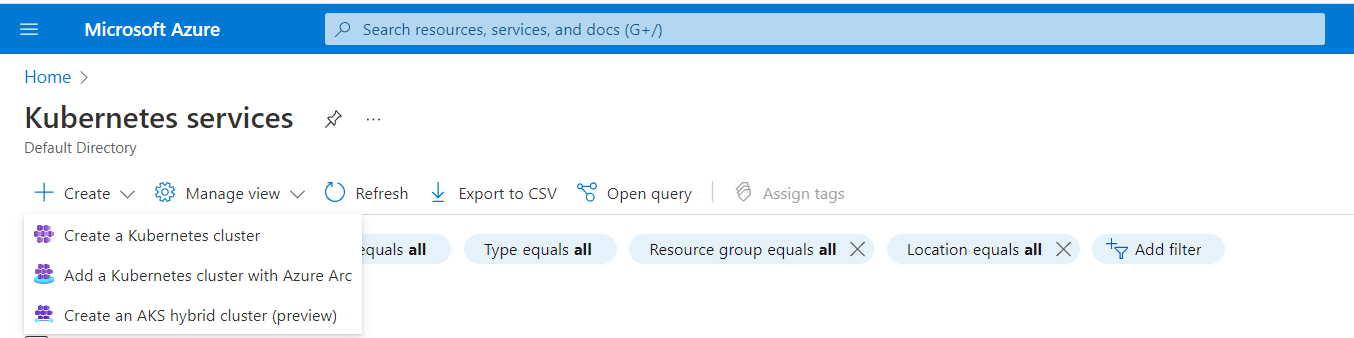
- Navigate to "Kubernetes Services"
- Click "Create" -> "Create a Kubernetes Cluster"
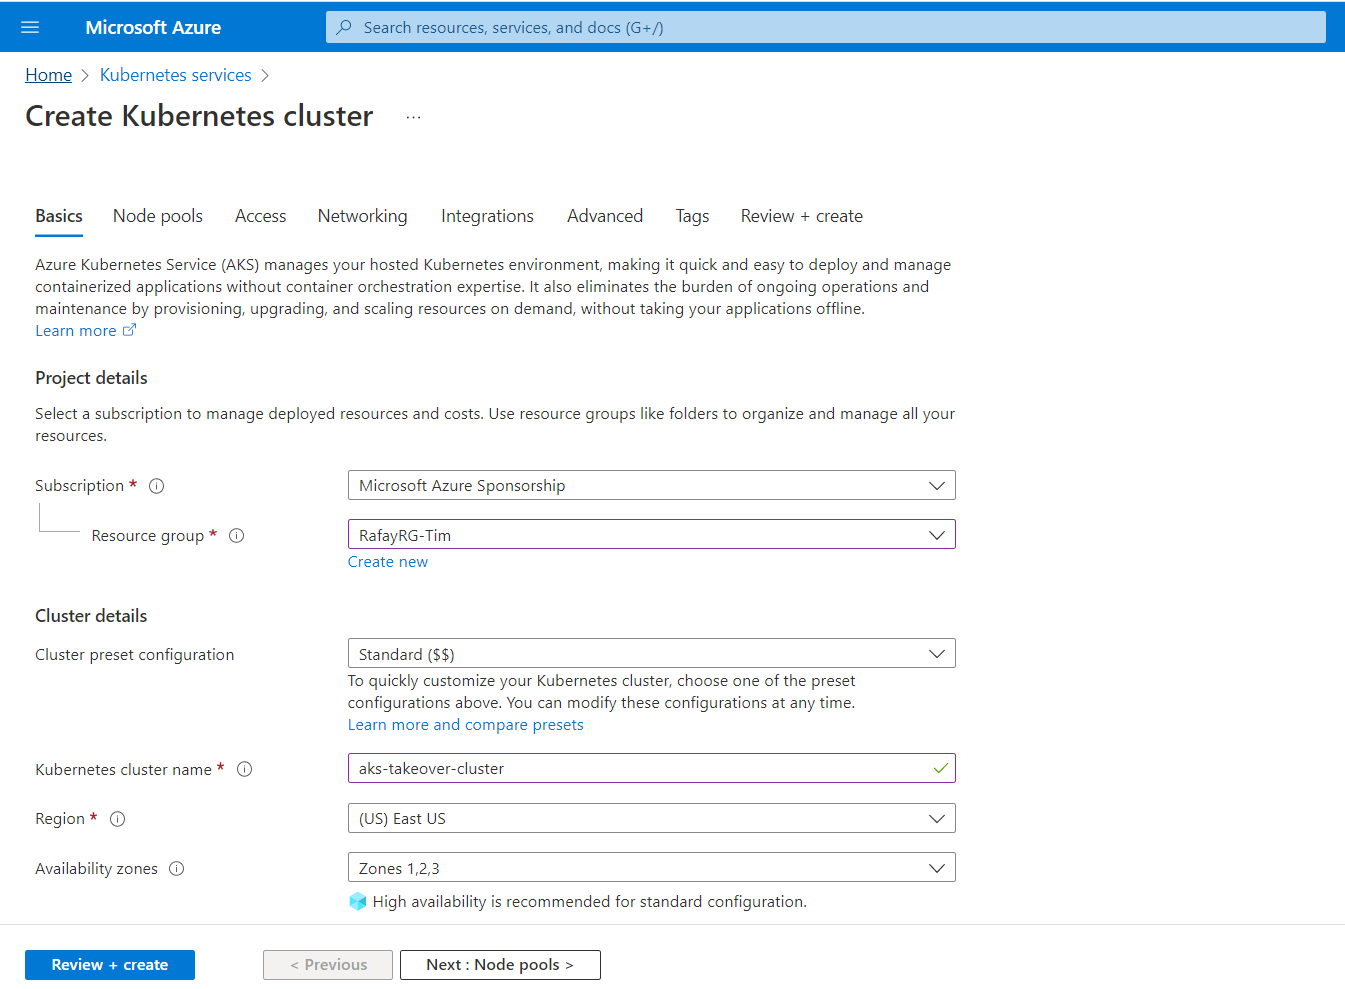
- Populate the "Subscription"
- Populate the "Resource Group"
- Enter the "Kubernetes cluster name"
- Select the "Region" to be used
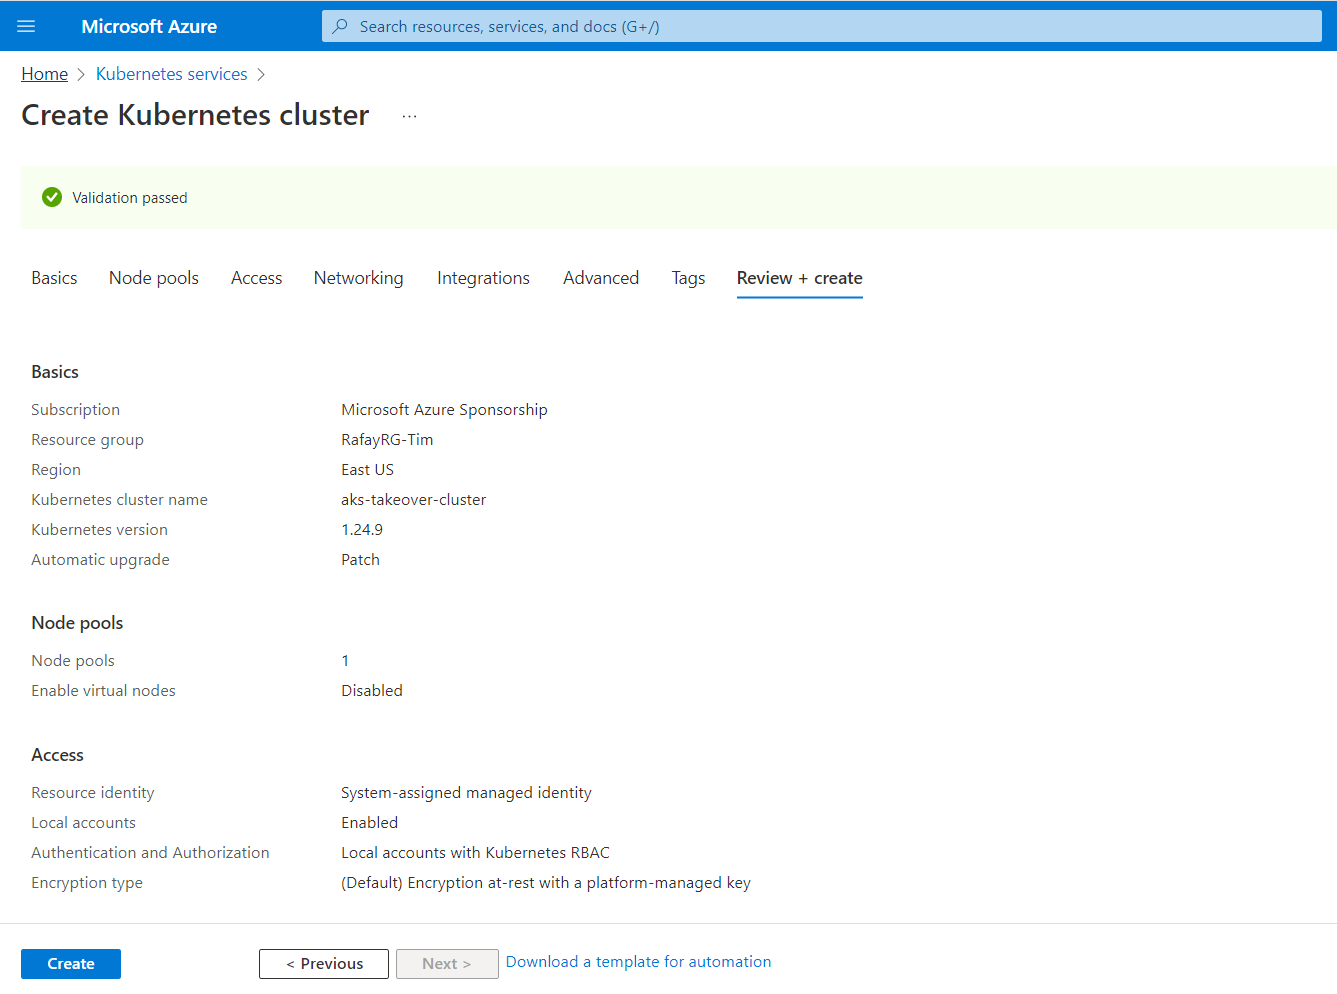
- Click "Review and Create"
- Click "Create" to begin creating the cluster
The deployment process will begin.
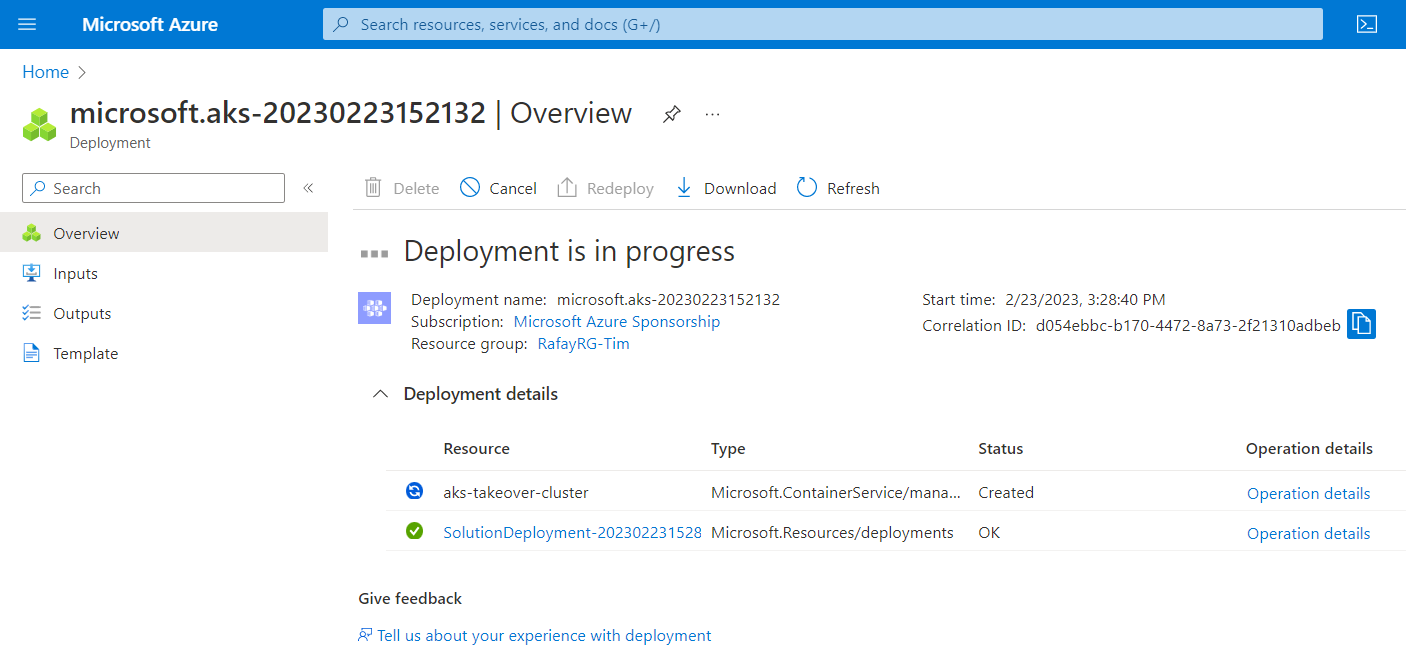
After about 20 minutes, the cluster deployement will complete.

Step 2: Import Cluster
In this step you will import the Azure AKS cluster into the controller.
- Login to the Rafay console
- Navigate to your project
- Select Infrastructure -> Clusters
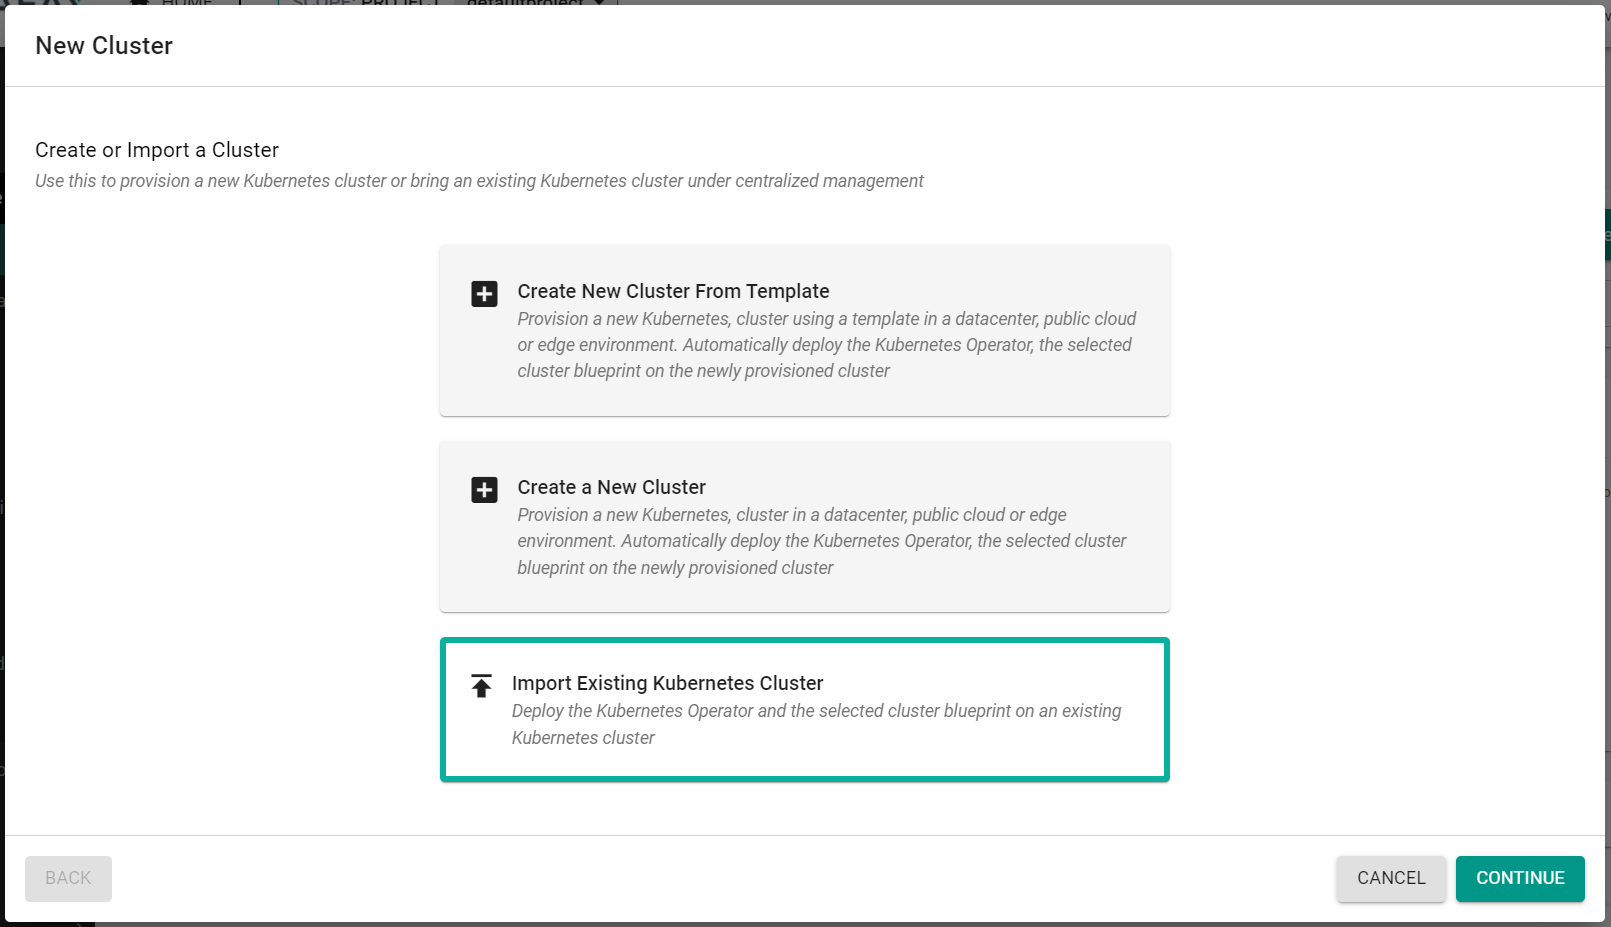
- Click "New Cluster"
- Select "Import Existing Kubernetes Cluster"
- Click "Continue"
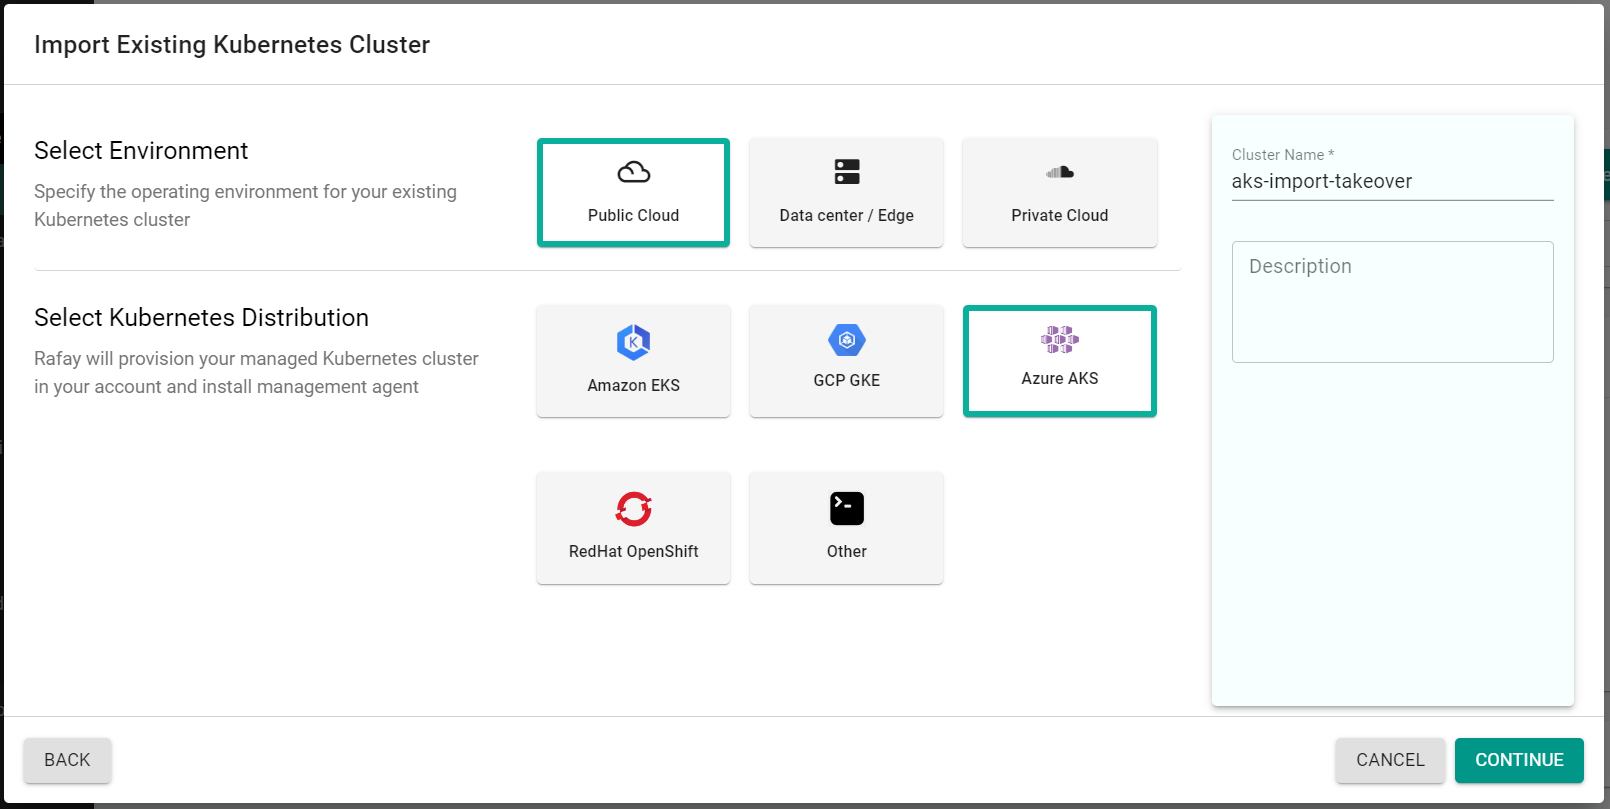
- Select "Public Cloud"
- Select "Azure AKS"
- Enter a cluster name
- Click "Continue"
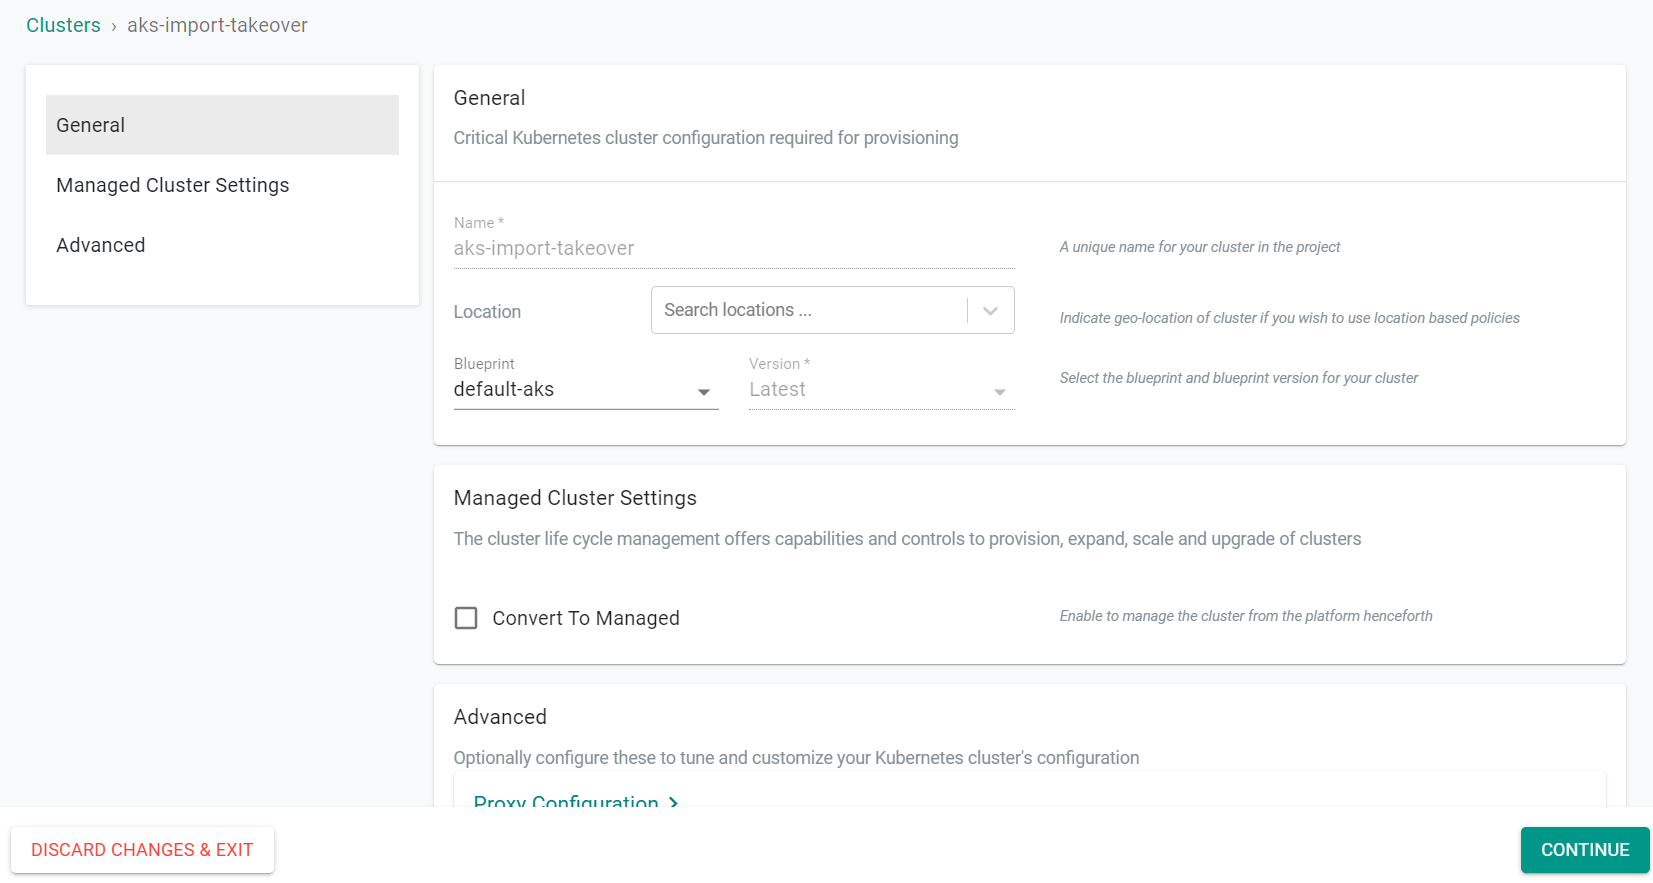
- Select the "default-aks" blueprint
- Click "Continue"
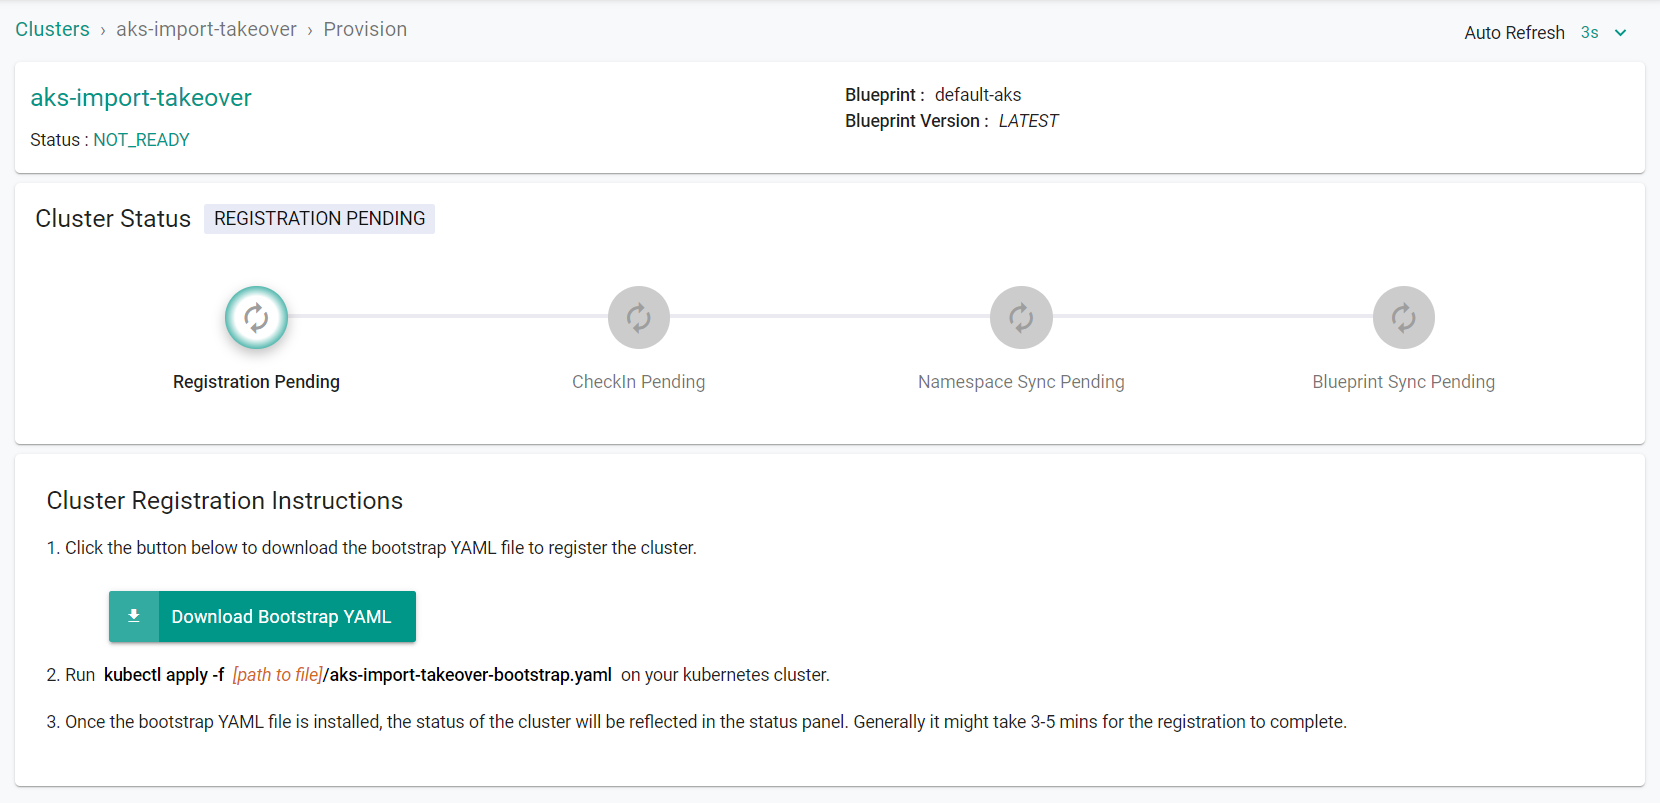
Now, we will need to bootstrap the AKS cluster so that it can register with the controller.
- Click "Download Bootstrap YAML"
- Navigate to the Azure console
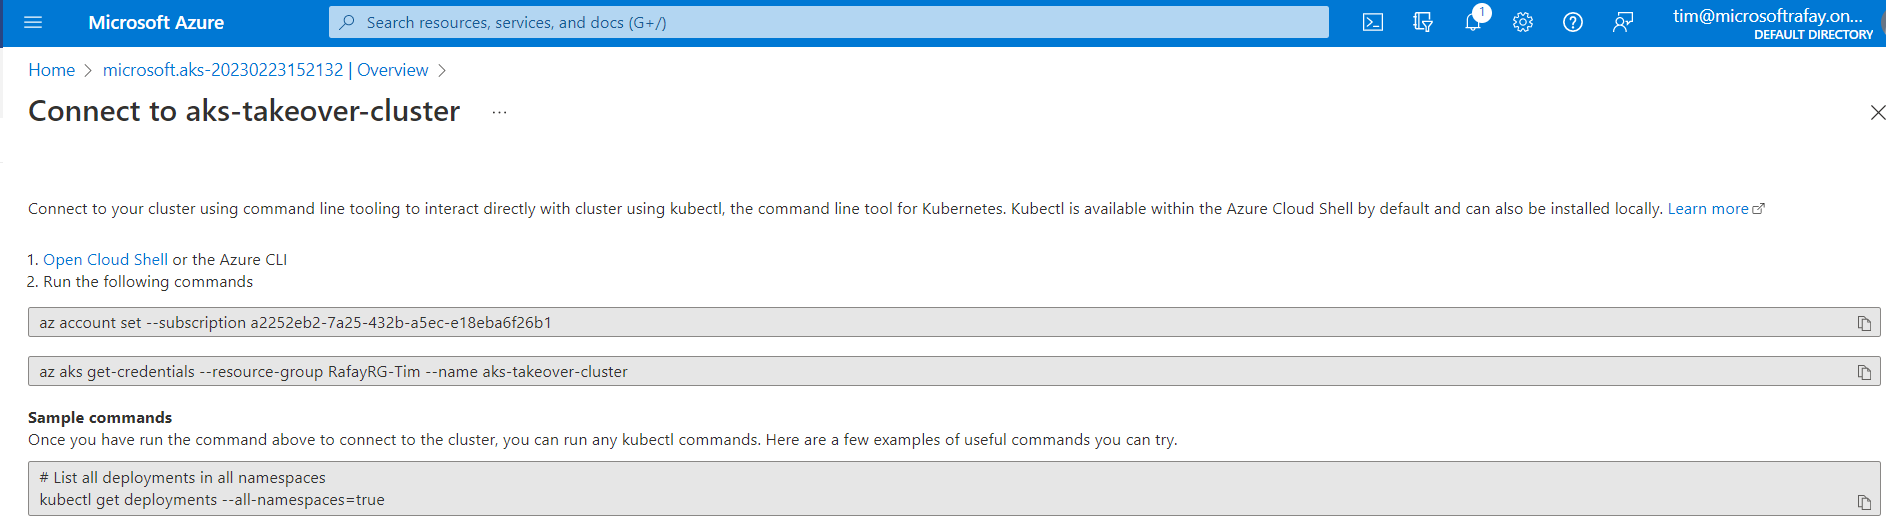
- Click "Connect to cluster"
- Follow the on screen instructions to connect to the cluster to gain access to kubectl.
Next, we will need to copy the previously downloaded bootstrap file to the cluster.
- Click the "Upload" button at the top of the terminal window
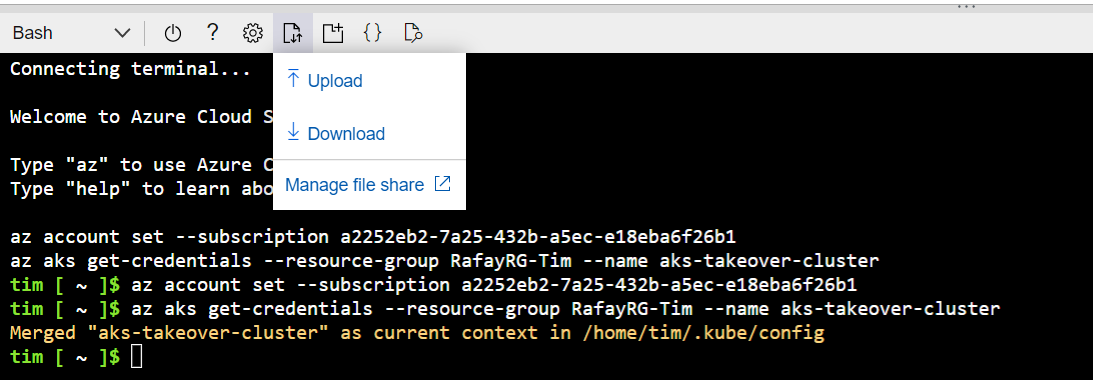
- Select the previously downloaded bootstrap YAML file
- Run the following command in the Azure terminal being sure to update the command with the name of the bootstrap yaml file
kubectl apply -f <bootstrap-yaml-file>
- Navigate back to the Rafay console
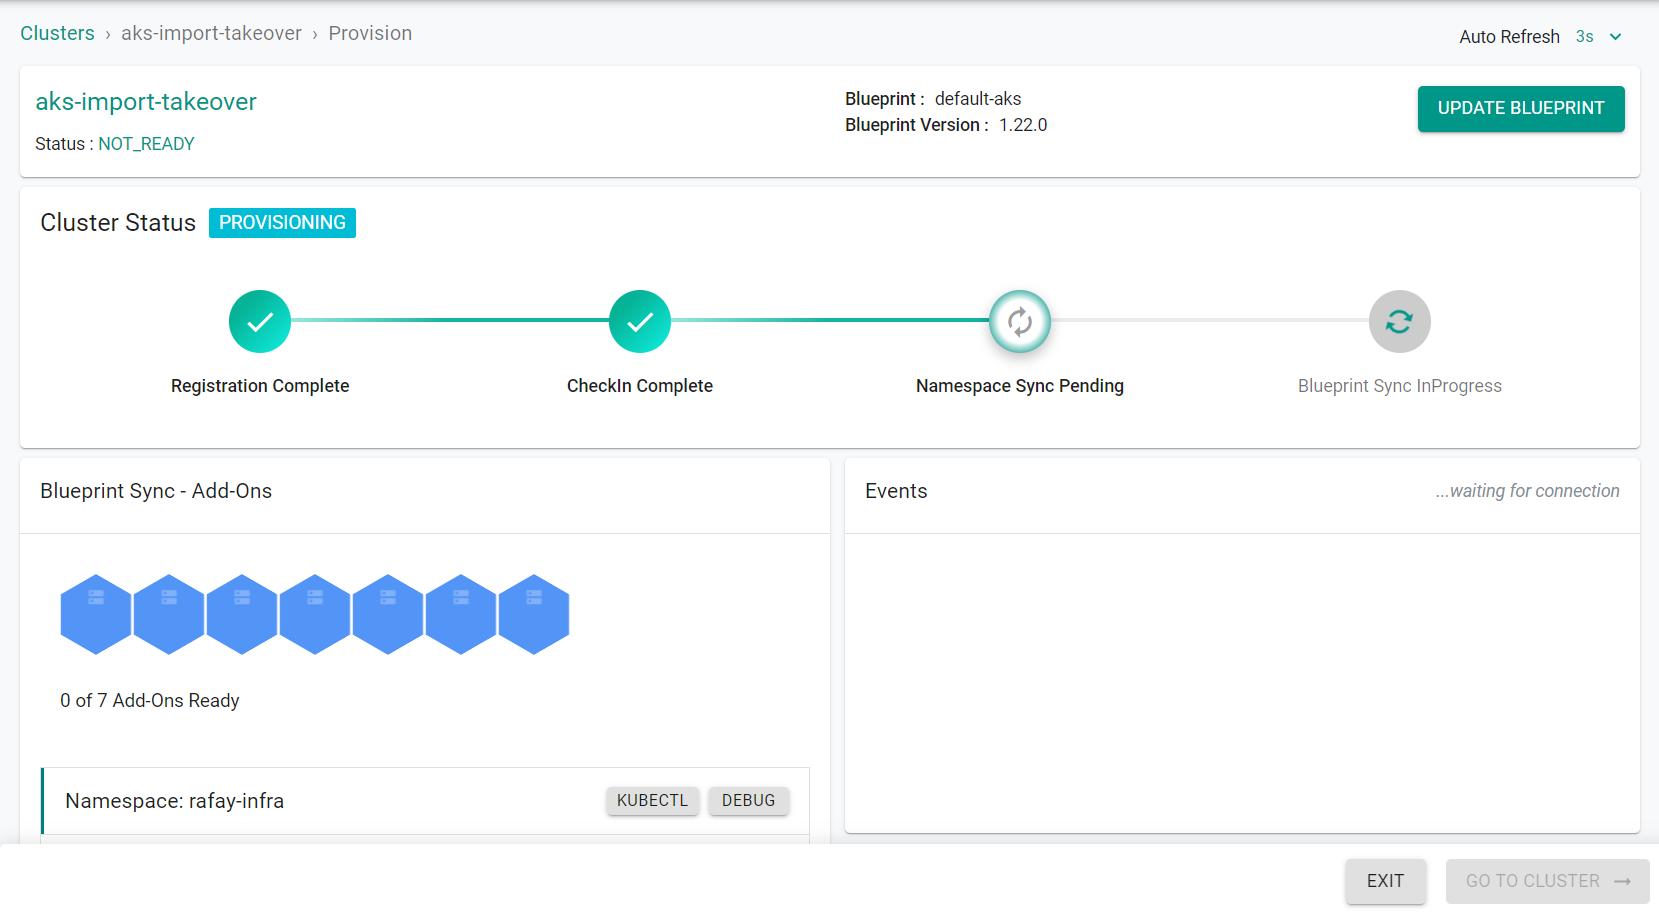
You will see the cluster will be registered and begin syncronizing with the controller.
After a few minutes, the cluster will be fully imported.
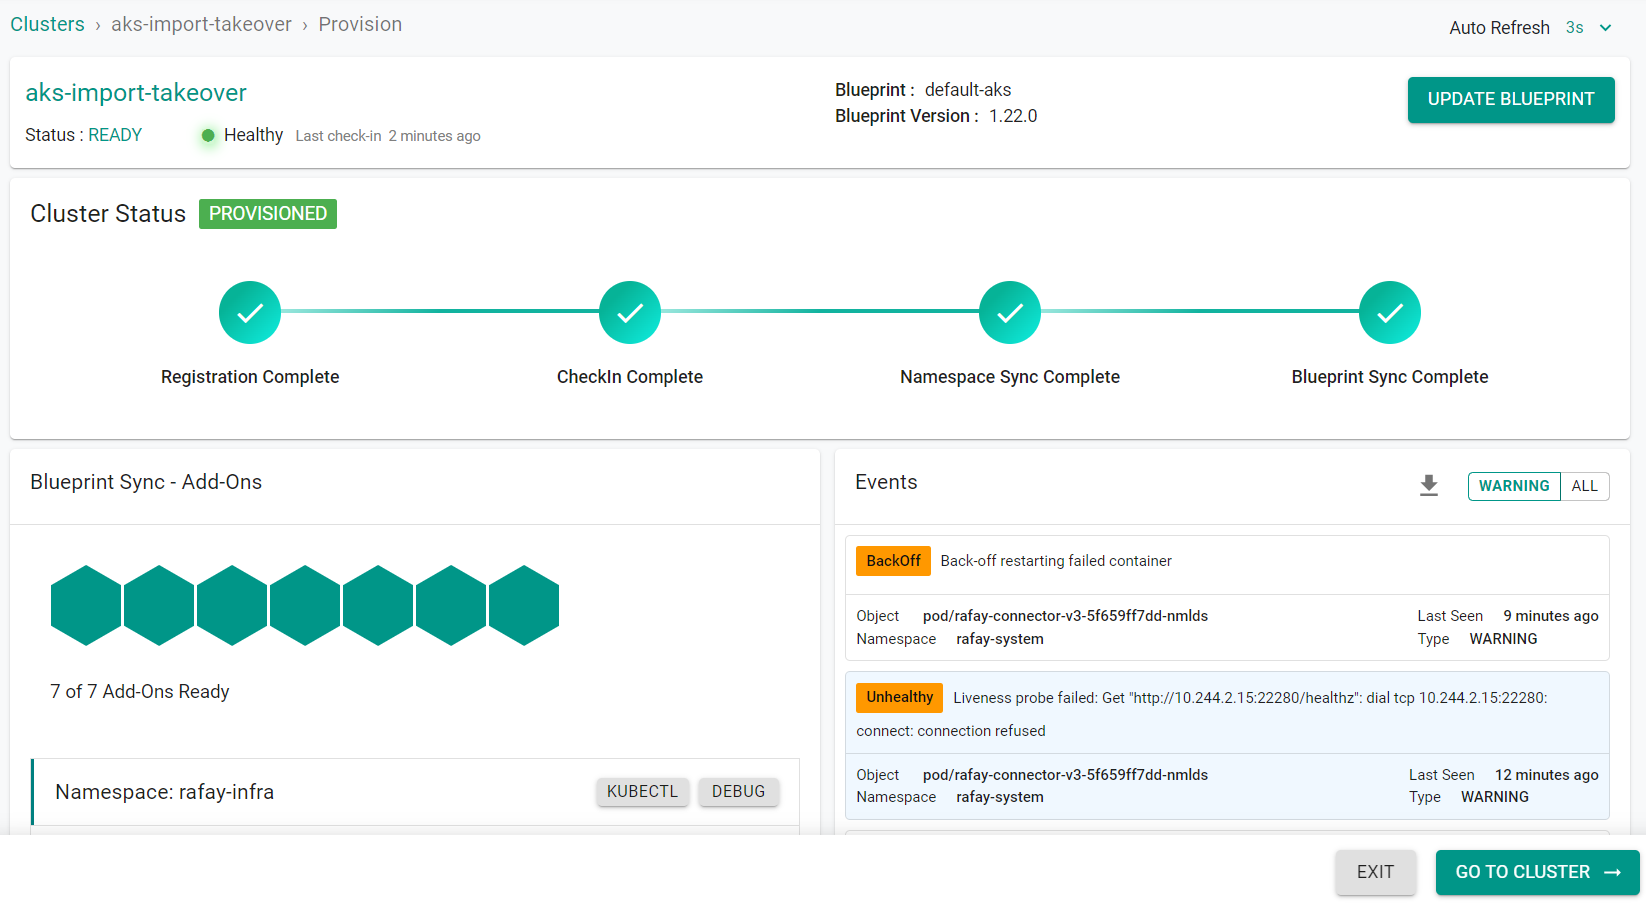
- Click "Exit"
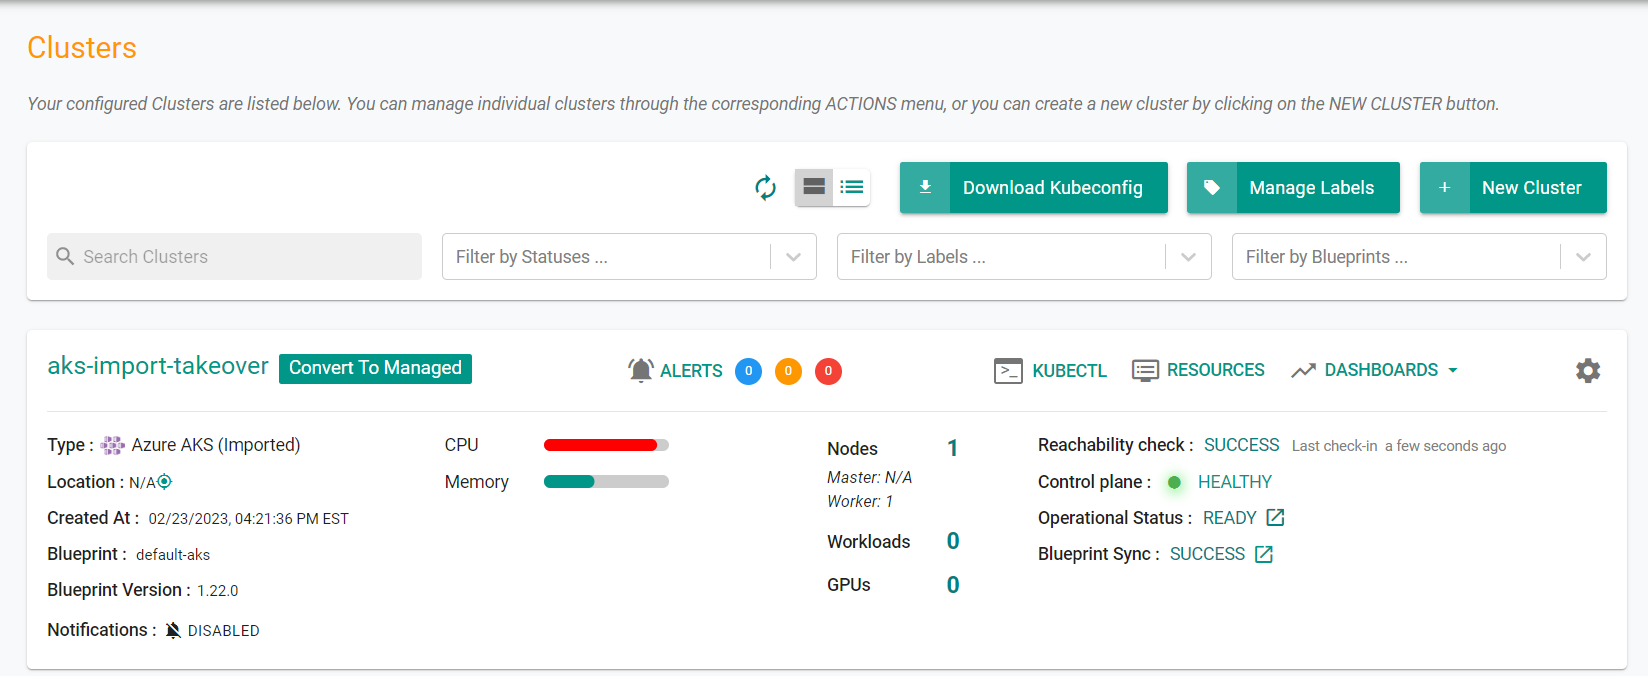
You will now see the cluster card showing the state and summary of the cluster. You will also see a button on the cluster card with the text "Convert To Managed". This will be used in the next section.
Step 3: Takeover Cluster
In this step you will convert the imported cluster into a managed cluster to gain full lifecycle control.
- Navigate to your project
- Select Infrastructure -> Clusters
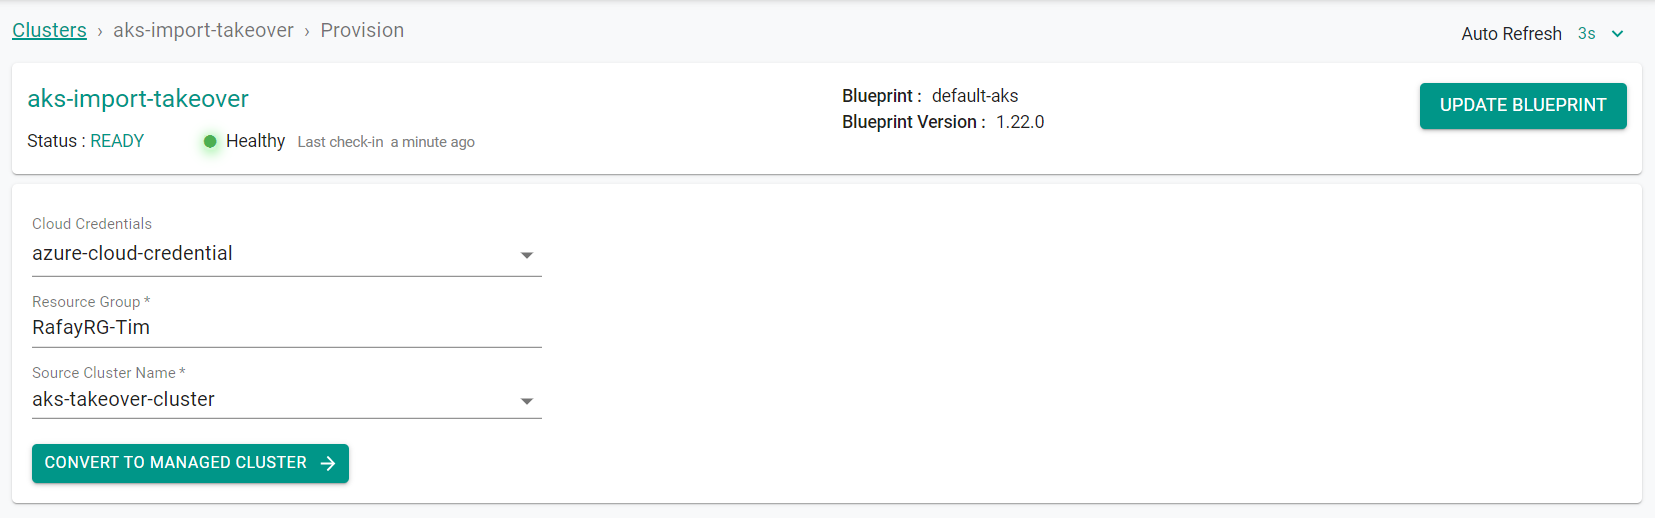
- Click "Convert To Managed" on the cluster card
- Select the Azure Cloud Credential
- Enter the Resource Group of the cluster
- Select the cluster name from the list of available clusters
- Click "Convert to Managed Cluster"
- Click "Yes" to confirm the conversion

You will then see the cluster has been successfully converted to a managed cluster.
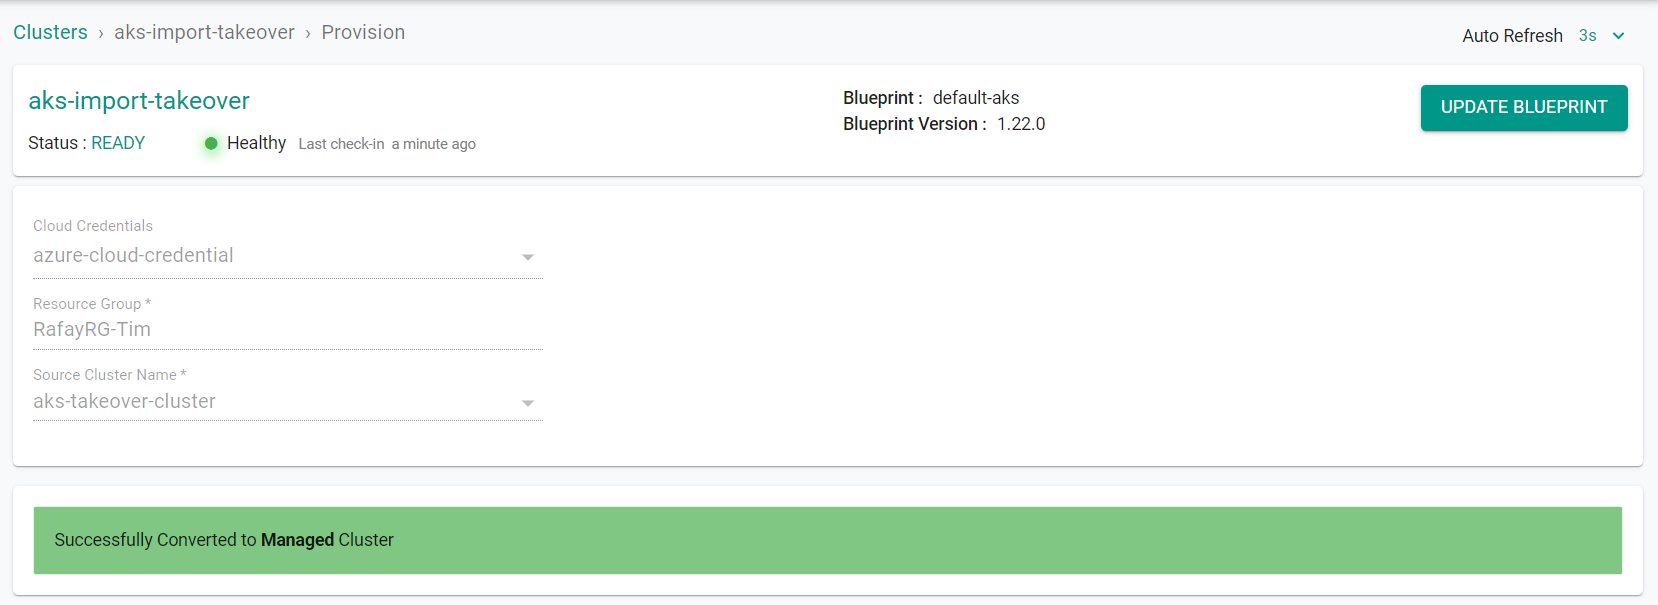
You will now have full control over the lifecyle management of this cluster through the controller.
- Click "Exit"
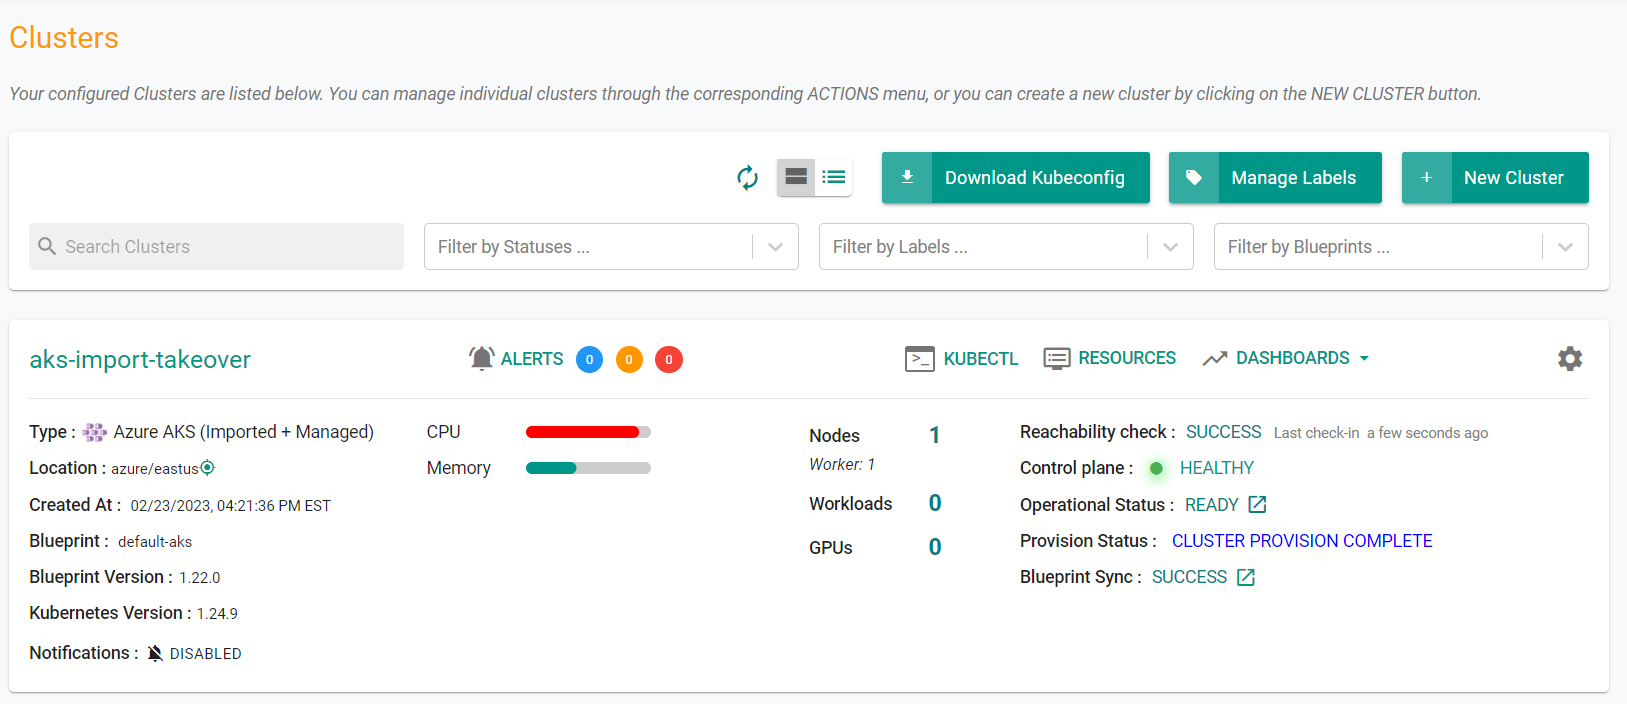
The cluster card will now show more detailed information since the cluster is now managed.
Step 4: Scale Cluster
In this step you will use the newly added managed cluster capabilities and scale the number of nodes in the cluster.
- Navigate to your project
- Select Infrastructure -> Clusters
- Click on the cluster name in the cluster card
- Click on the "Node Pools" tab
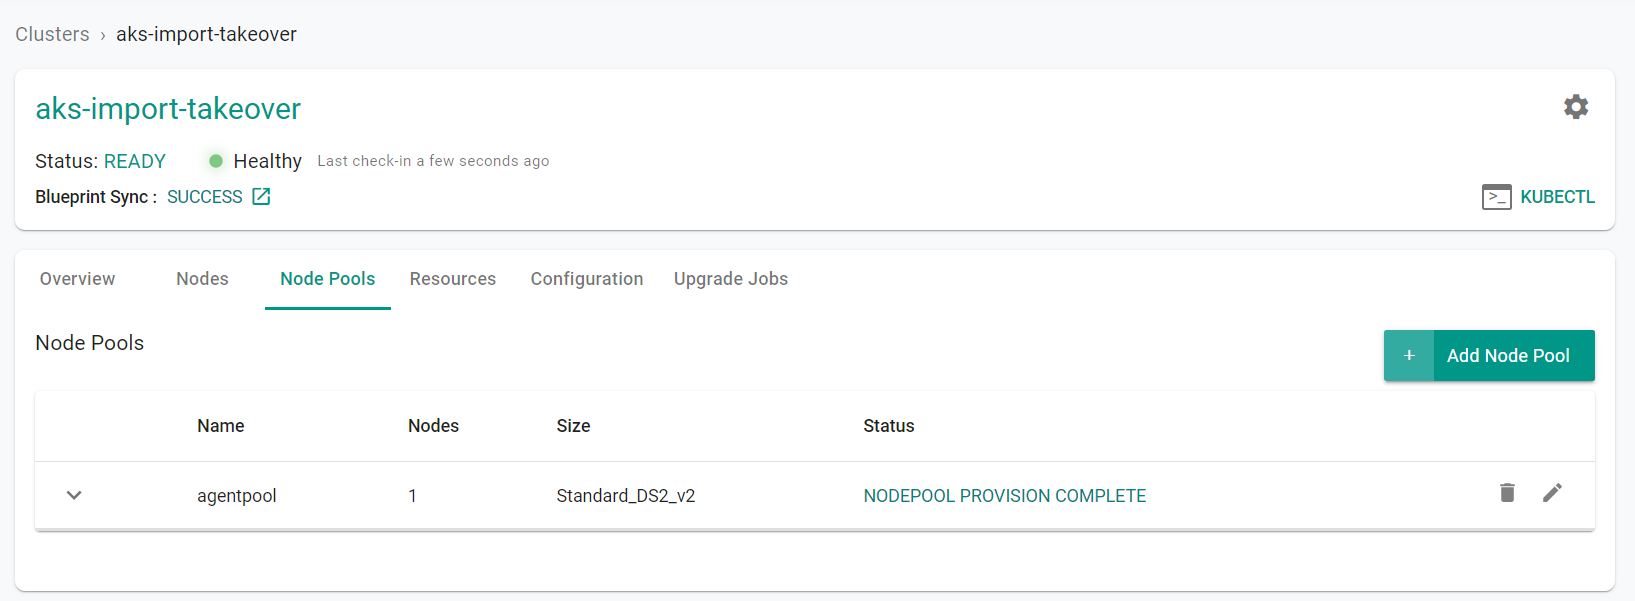
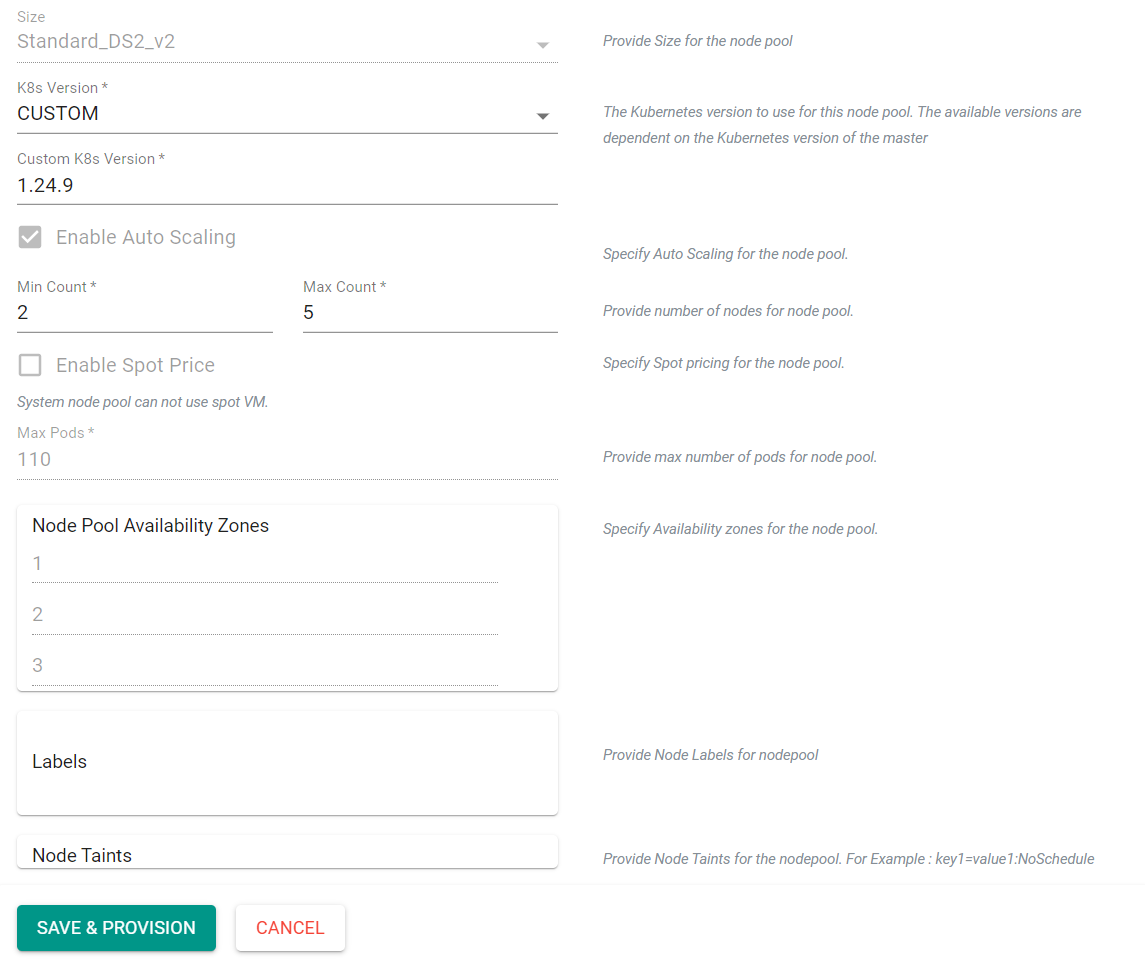
- Click on the edit button of the node pool
- Increase the "Min Count" by 1
- Click "Save & Provision"
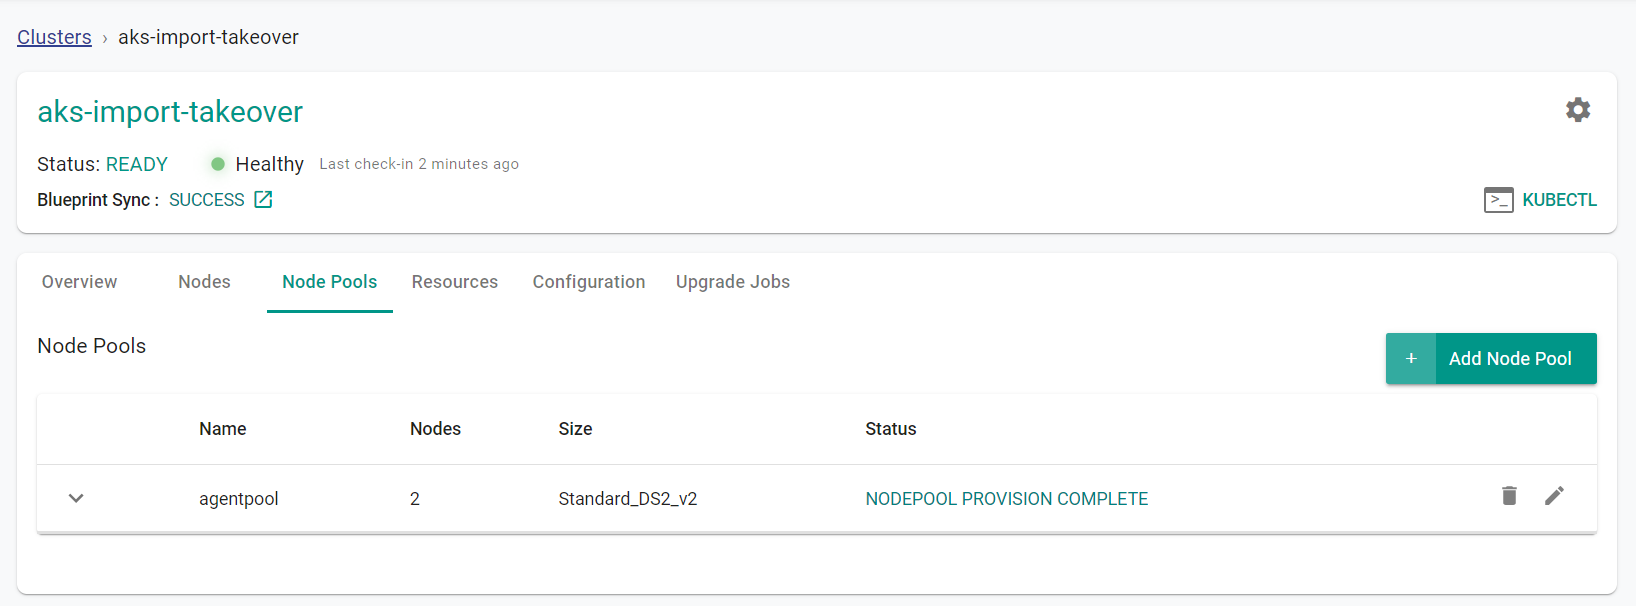
After a few minutes, you will see that the number of nodes has increased.
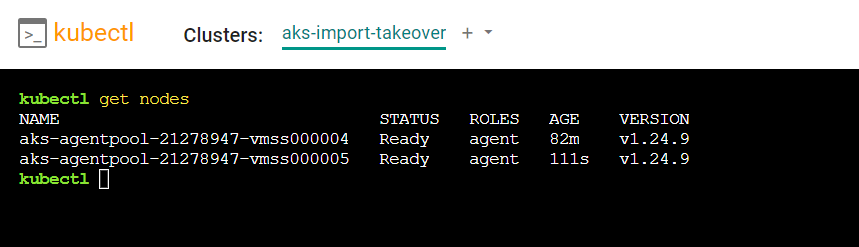
- Click on the "kubectl" button at the top-right of the screen
- Enter the following command into the terminal
kubectl get nodes
You will also see here the number of nodes has increased.
Recap
Congratulations! At this point, you have
- Deployed an AKS cluster in Azure
- Imported the AKS cluster into the controller
- Converted the cluster to a managed cluster
- Managed the cluster by scaling the number of nodes