Splunk
To scrape and send audit log data to a Splunk server using the web console or the command line (RCTL).
Use the web console to configure your audit logs.
Prerequisites
- Customize the Values file (YAML). (See below for creating a values.yaml file).
- Create a namespace in your cluster.
Configure Workload
Note: Only one audit log workload is needed for an organization.
- In the web console, select Catalog.
- For Filter by Catalog, select default-rafay.
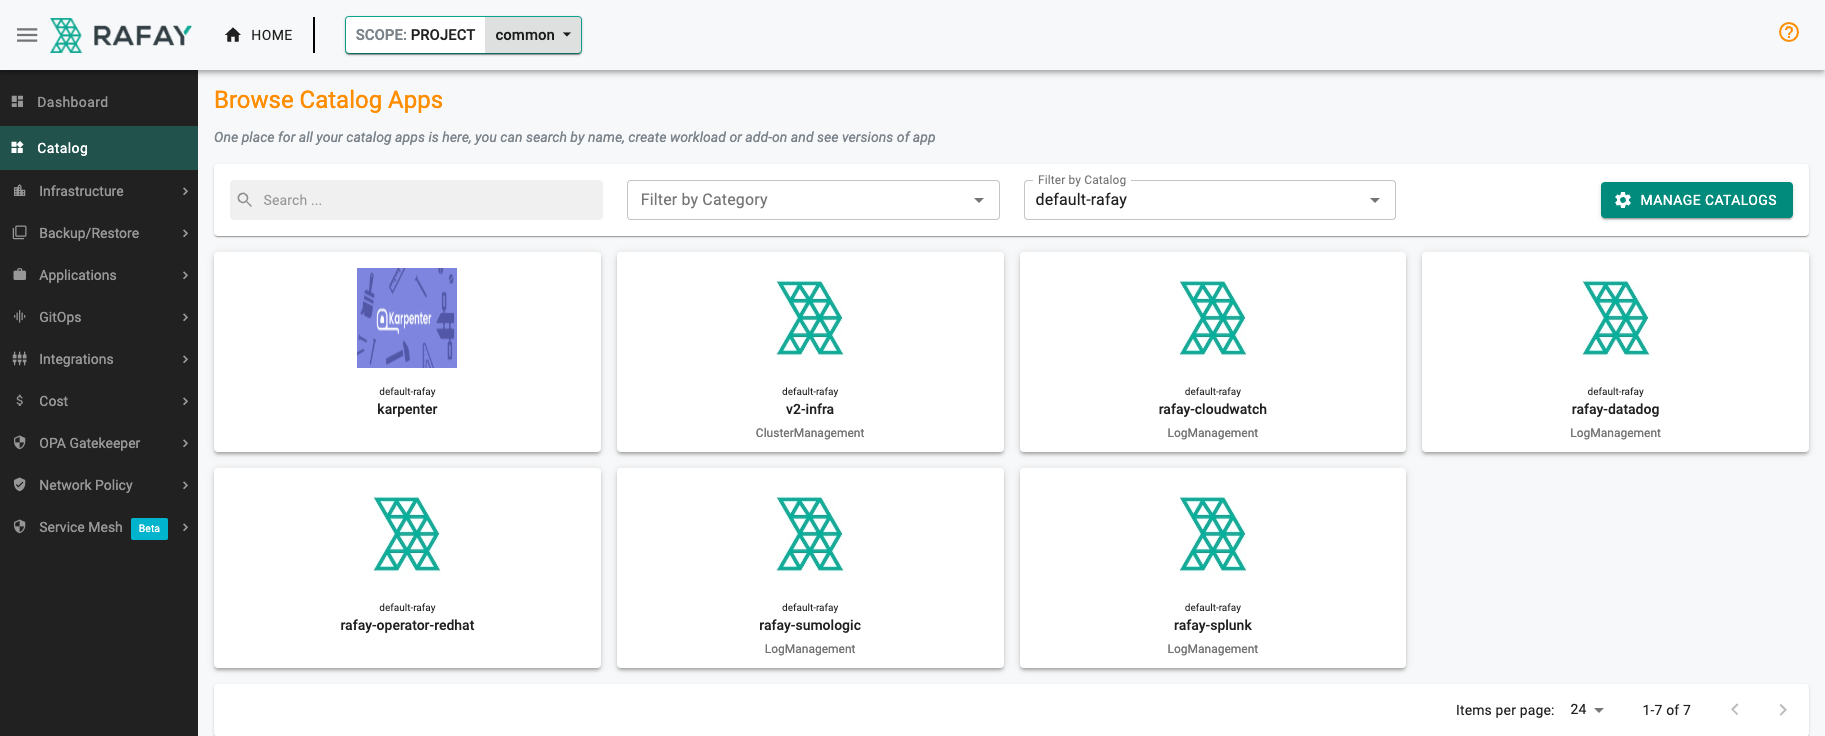
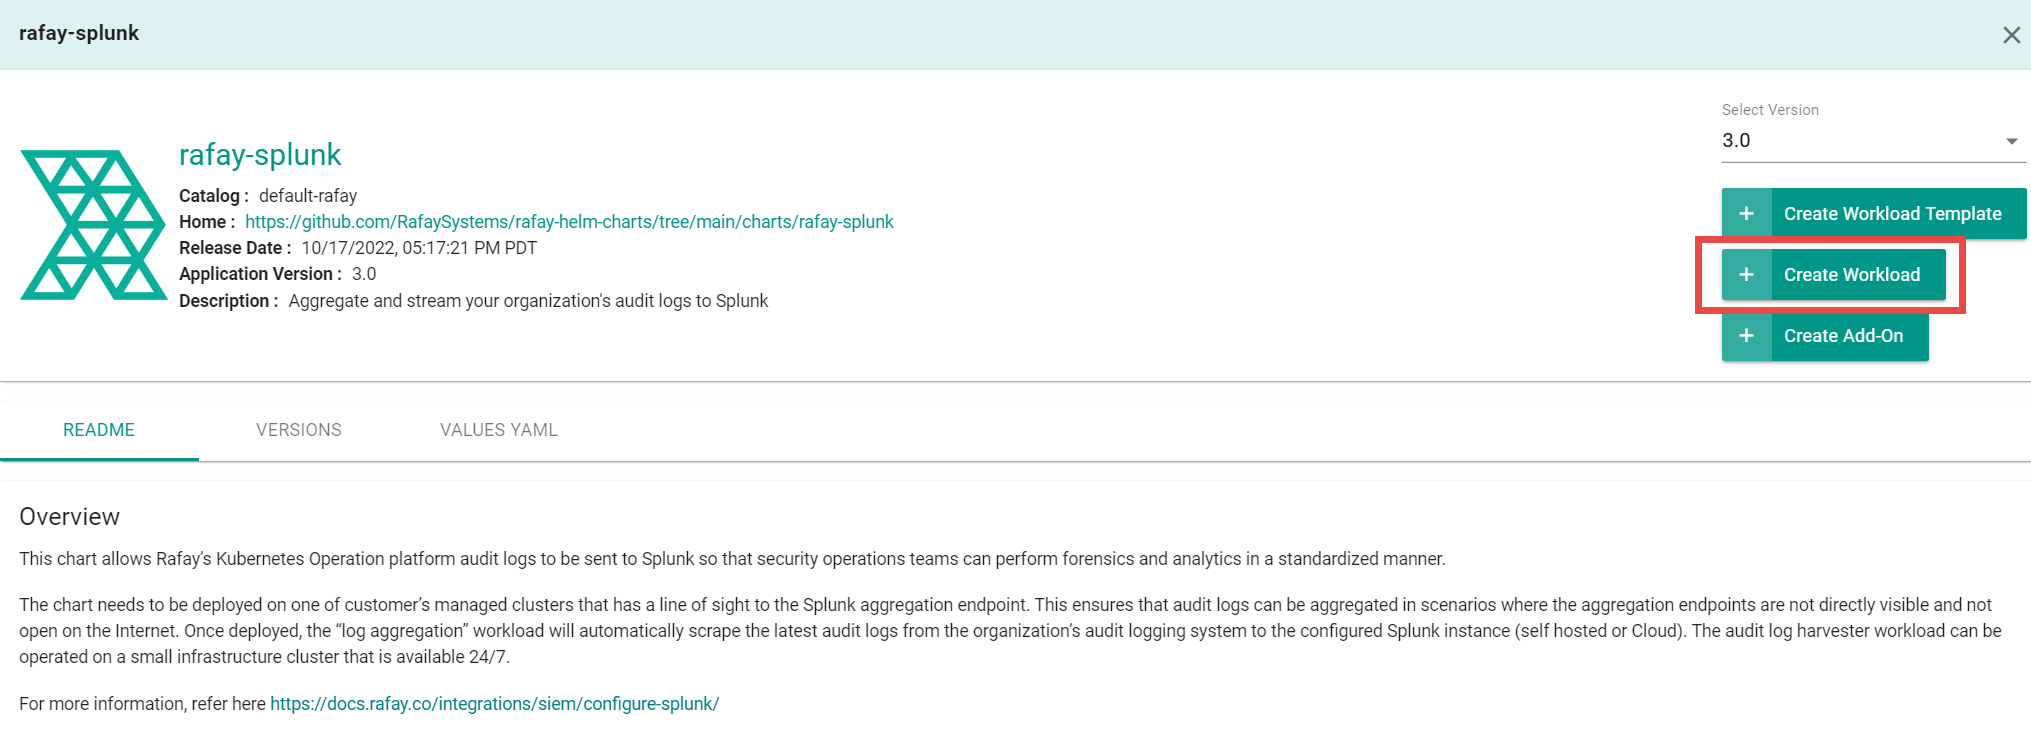
- Select rafay-splunk, then select Create Workload.
- Enter a name for the workload. Example: rafay-audit-logs.
- Select the namespace.
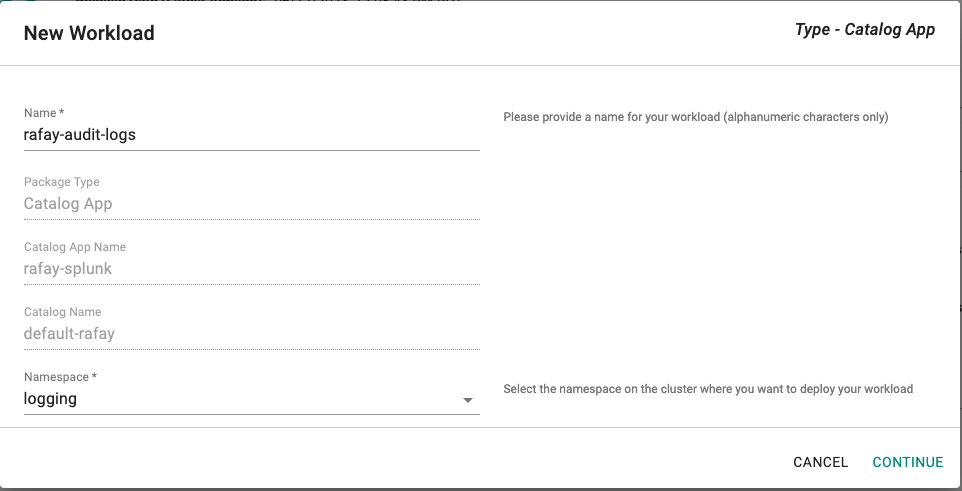
- Click Continue.
- On the Repository tab, for Values yaml:
- Create a values.yaml file. (See below for creating a values.yaml file)
- Click Upload Files.
- Select the values.yaml file.
- Click Open.
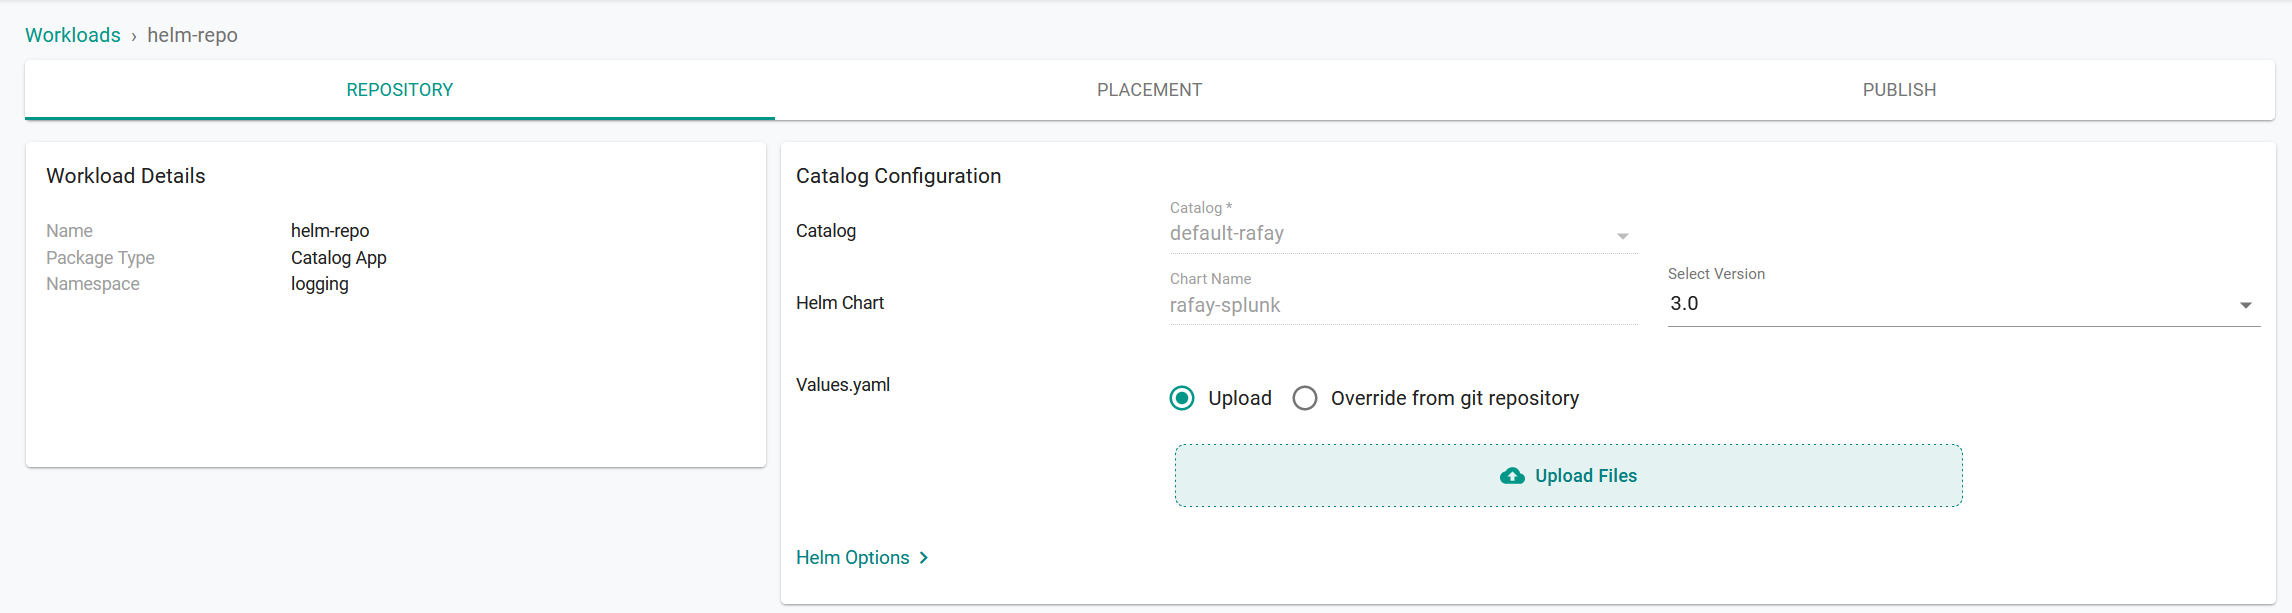
- Click Save and Go to Placement.
- Update the following for Placements:
- Select the appropriate Drift Action.
- Select Specified Clusters for the Placement Policy.
- Select the cluster from the cluster list.
- Click Save and go to Publish.
- Click Publish.
Use the Command Line Interface (RCTL) to automate reproducible workflows without having to use the web console.
Prerequisites
- Download RCTL
- Configure RCTL
- Customize the Values file (YAML). (See below for creating a values.yaml file).
- Create a namespace in your cluster.
Note: Set the correct project using RCTL.
Create a Repository
Create a repository.yaml file using the following example. Replace demo with the name of the project you are adding this repository to. Optionally, you can change helm-repo to another name; if you change the name, use that name for repository_ref in the workload.yaml file (see Create a Workload).
apiVersion: config.rafay.dev/v2
kind: Repository
metadata:
  name: helm-repo
  project: demo
spec:
  repositoryType: HelmRepository
  endpoint: https://rafaysystems.github.io/rafay-helm-charts/
  credentialType: CredentialTypeNotSet
Run the create repository command and include the repository.yaml file.
./rctl create repository -f repository.yaml
Create a Workload
Create a workload.yaml file using the following example. Replace the names used in clusters, namespace, and project to match your environment where you want to publish the workload.
name: audit-logs
namespace: ns-name
type: Helm
project: demo
clusters: demo-cluster
repository_ref: helm-repo
repo_artifact_meta:
  helm:
    chartName: rafay-splunk
values: ./values.yaml
Run the create workload command and include the workload.yaml file.
./rctl create workload workload.yaml
Publish a Workload
Run the publish workload command. Replace workload-name with the name used in the workload.yaml file. Example: audit-logs.
./rctl publish workload workload-name
Values YAML File
Create a values.yaml file that contains your Splunk information. Use the example below and change the following:
rafay_api_key- Your organization's API key. In the web console, select My Tools > Manage Keys.rafay_api_secret- Your organization's API Secret key. In the web console, select My Tools > Manage Keys.host- The root domain of your Splunk Server. You can find this in the URL field after you log in to your Splunk console. Example:splunkserver.mycompany.com.index- The name of the Splunk index. (See below for creating a Splunk index)ssl_verify(Optional) - Only change toFalseif you are using an insecure Splunk server.token- The Splunk HTTP Event Collector (Splunk HEC) token value. (See below for creating a Splunk HEC)secret_name- (Optional) Specify existing k8s secret name that contains your organization's API key, secret and splunk token. (See below is an example of k8s secret)
# Default values for rafay splunk audit log integration.
# This is a YAML-formatted file.
# Declare variables to be passed into your templates.

config:
  ## Rafay console URL
  url: https://console.rafay.dev
  ## Rafay API Key
  rafay_api_key: RAFAY_API_KEY
  ## Rafay API Secret
  rafay_api_secret: RAFAY_API_SECRET
  ## Send Initial logs to splunk adog based on following value. Defaults to "14d" days
  filter: 14d
  ## Time Interval to send logs to splunk
  interval: 1m
  ## Splunk Server Host
  host: splunkserver.mycompany.com
  ## Splunk Server Port
  port: 8088
  ## Splunk HEC Token
  splunk_token: SPLUNK_TOKEN
  ## Set to False for insecure splunk server
  ssl_verify: True
  ## Index name to store audit logs to
  index: k8s-cluster-audit
  ## Existning Secret Name or leave it empty
  secret_name: ""
image:
  repository: registry.rafay-edge.net/rafay-logs/rafay-splunk
  pullPolicy: Always
  # Overrides the image tag whose default is the chart appVersion.
  tag: 0.3.9
serviceAccount:
  # Specifies whether a service account should be created
  create: true
  # Annotations to add to the service account
  annotations: {}
  # The name of the service account to use.
  # If not set and create is true, a name is generated using the fullname template
  name:
rbac:
  create: true
replicaCount: 1
imagePullSecrets: []
nameOverride: ""
fullnameOverride: ""
deploymentAnnotations: {}
podAnnotations: {}
resources: {}
  # We usually recommend not to specify default resources and to leave this as a conscious
  # choice for the user. This also increases chances charts run on environments with little
  # resources, such as Minikube. If you do want to specify resources, uncomment the following
  # lines, adjust them as necessary, and remove the curly braces after 'resources:'.
  # limits:
  #   cpu: 100m
  #   memory: 128Mi
  # requests:
  #   cpu: 100m
  #   memory: 128Mi
nodeSelector: {}
tolerations: []
affinity: {}
Creating a Splunk Index
- In the Splunk console, select Settings > Indexes.
- Click New Index.
- Enter a name for the index. Example: audit-logs-splunk.
- Make sure Events is selected.
- For Max raw data size, enter the maximum size of the index. Example: 2GB.
- For Searchable time (days), enter the number of days to include in the search results. Example: 30 days.
- Click Save.
- Copy the index name and paste it for the
indexin the values.yaml file.
Creating a Splunk HEC
Create a Splunk HTTP Event Collector (HEC).
- In the Splunk console, select Settings > Data Inputs.
- Click HTTP Event Collector.
- Click New Token.
- Enter a name for the collector (example: audit-Logs), then click Next.
- For Source type, click Select, type json, then select
_json. - Click Review.
- Click Submit.
- Copy the token value and paste it for the
tokenin the values.yaml file.
Example of k8s secret with API Key, Secret and Splink token.
apiVersion: v1
kind: Secret
data:
  rafaykey: cmFmYXlrZXkK
  rafaysecret: cmFmYXlzZWNyZXQK
  token: dG9rZW4K