Part 1: Setup
What You Will Do
This is Part 1 of a multi-part, self-paced quick start exercise. In this part, you will enable cost management for a cluster.
Cost Profile
If you are using an Amazon EKS cluster, you can skip this step and use the default profile. If you are using a microk8s cluster, a custom profile needs to be created. To create a custom profile:
- Navigate to Project -> Cost -> Profiles
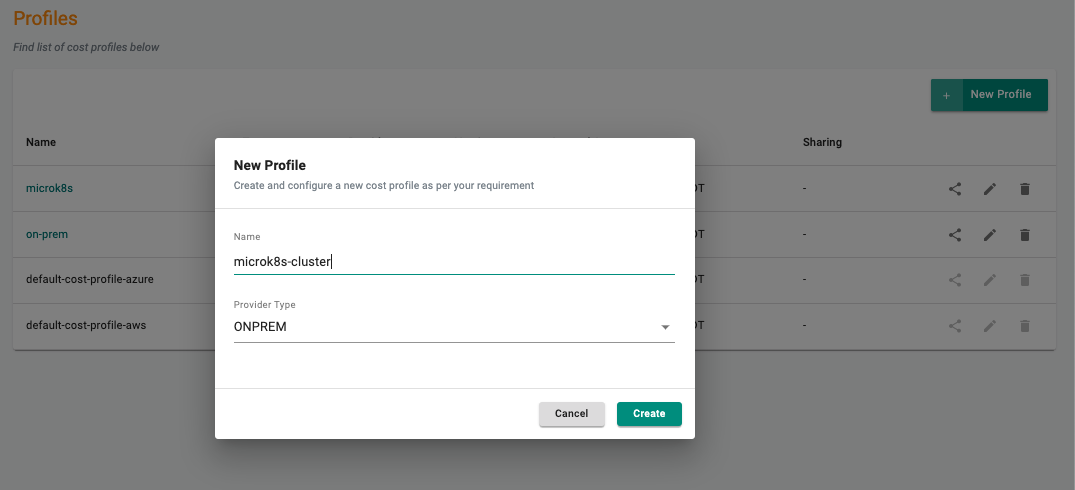
- Create a new Profile
- Provide a name for the Profile and select ONPREM provider type from the dropdown
- Provide a version name
- Input details that need to be considered for cost computations (e.g. CPU Hourly Price, RAM Hourly Price)
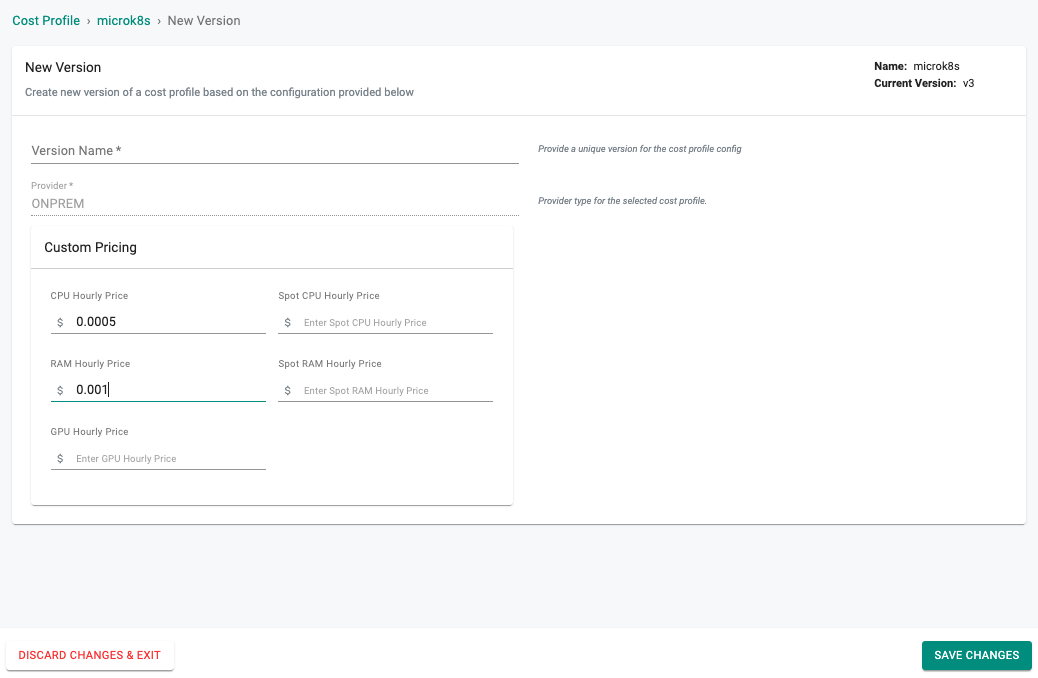
- Click Save Changes
Enable Cost Management
- Navigate to Project -> Infrastructure -> Blueprints
- Create a new blueprint or a new version of an existing blueprint
- Provide an appropriate version name
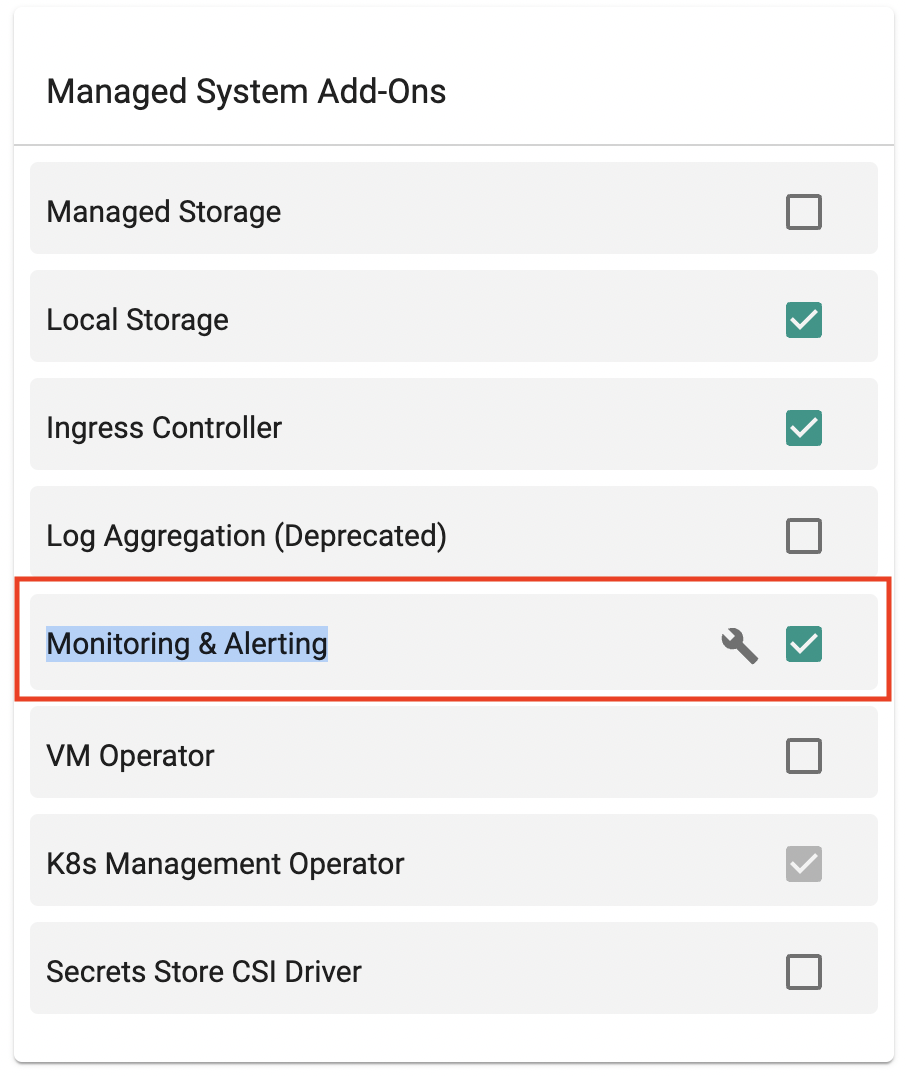
- Under Managed System Add-Ons section, enable Monitoring & Alerting
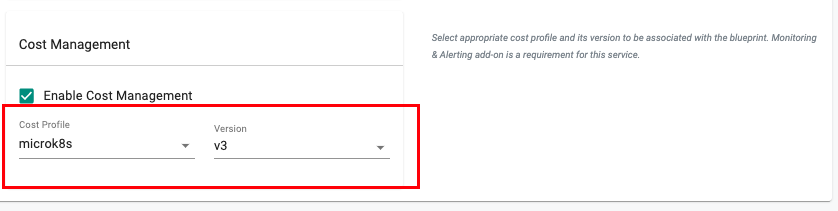
- Under Services section, select the checkbox Enable Cost Management
- If you are using an Amazon EKS cluster, select default-cost-profile-aws from the Cost Profile dropdown
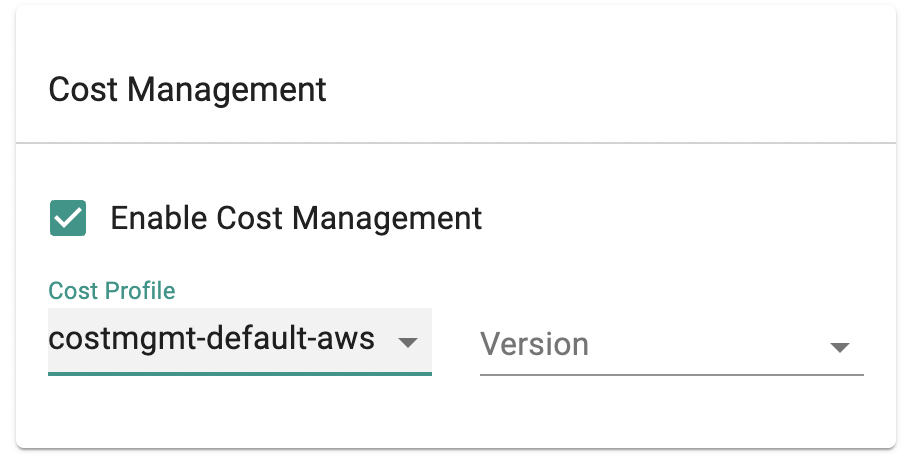
- If you are using a microk8s cluster, select the custom profile and version from the dropdown
-
Click Save Changes
-
Navigate to Infrastructure -> Clusters
- Update the blueprint of the cluster you want to track costs for (using the gear icon on the top-right corner of cluster card)
Recap
Congratulations! You have successfully enabled cost management in your cluster. For more accurate cost computations (including negotiated pricing, SPOT instance pricing), custom profile needs to be created and deployed on the cluster.