Part 2: Provision
What Will You Do
In this part of the self-paced exercise, you will provision an Amazon EKS cluster with an inline IAM policy and service account for the EFS CSI driver. You will then create a EFS file system using the AWS CLI.
Step 1: Cluster Spec
- Open Terminal (on macOS/Linux) or Command Prompt (Windows) and navigate to the folder where you forked the Git repository
- Navigate to the folder "
/getstarted/efseks/cluster"
The "eks-efs.yaml" file contains the declarative specification for our Amazon EKS Cluster.
Cluster Details
The following items may need to be updated/customized if you made changes to these or used alternate names.
- cluster name: eks-efs-cluster
- cloud provider: aws-cloud-credential
- project: defaultproject
- region: us-west-2
Step 2: Provision Cluster
- On your command line, navigate to the "cluster" sub folder
- Type the command
rctl apply -f eks-efs.yaml
If there are no errors, you will be presented with a "Task ID" that you can use to check progress/status. Note that this step requires creation of infrastructure in your AWS account and can take ~20-30 minutes to complete.
{
  "taskset_id": "5m1gq6m",
  "operations": [
    {
      "operation": "ClusterCreation",
      "resource_name": "eks-efs-cluster",
      "status": "PROVISION_TASK_STATUS_PENDING"
    },
    {
      "operation": "NodegroupCreation",
      "resource_name": "ng-1",
      "status": "PROVISION_TASK_STATUS_PENDING"
    },
    {
      "operation": "BlueprintSync",
      "resource_name": "eks-efs-cluster",
      "status": "PROVISION_TASK_STATUS_PENDING"
    }
  ],
  "comments": "The status of the operations can be fetched using taskset_id",
  "status": "PROVISION_TASKSET_STATUS_PENDING"
}
- Navigate to the project in your Org
- Click on Infrastructure -> Clusters. You should see something like the following
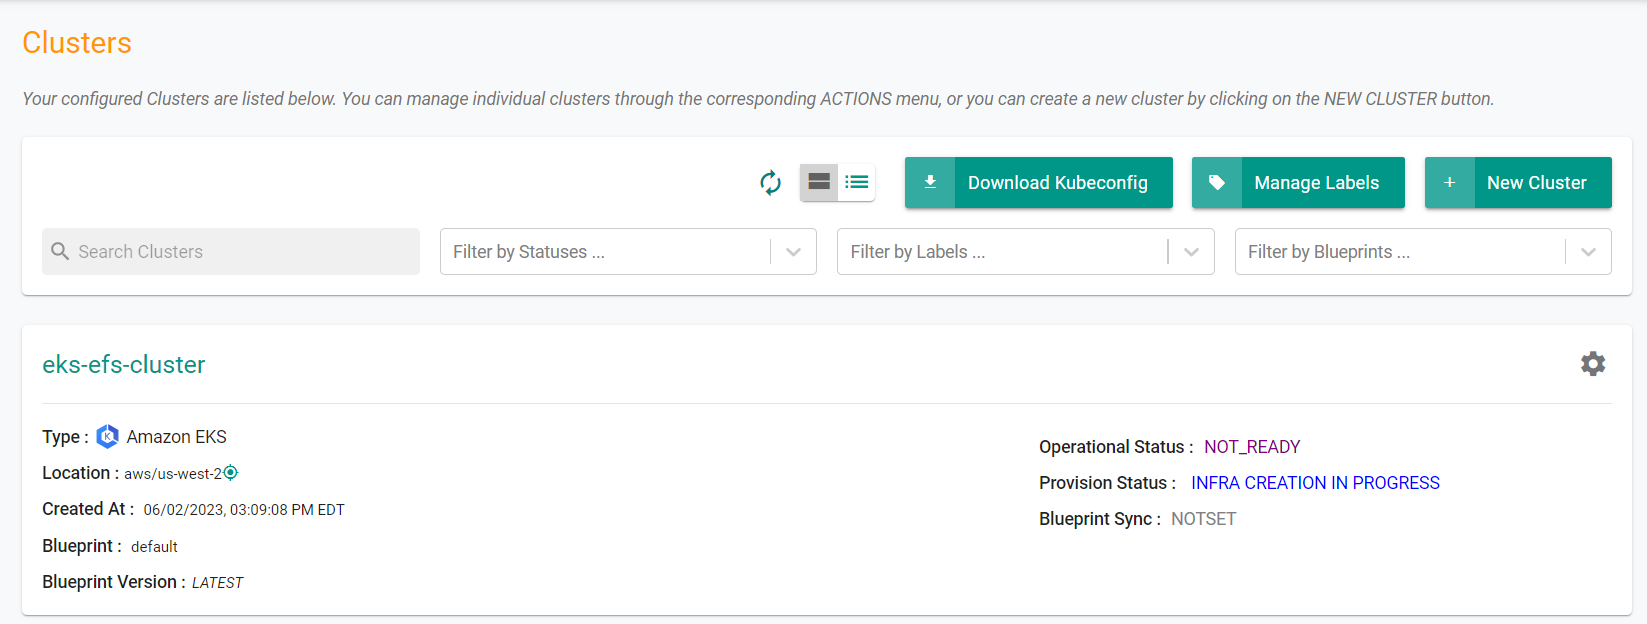
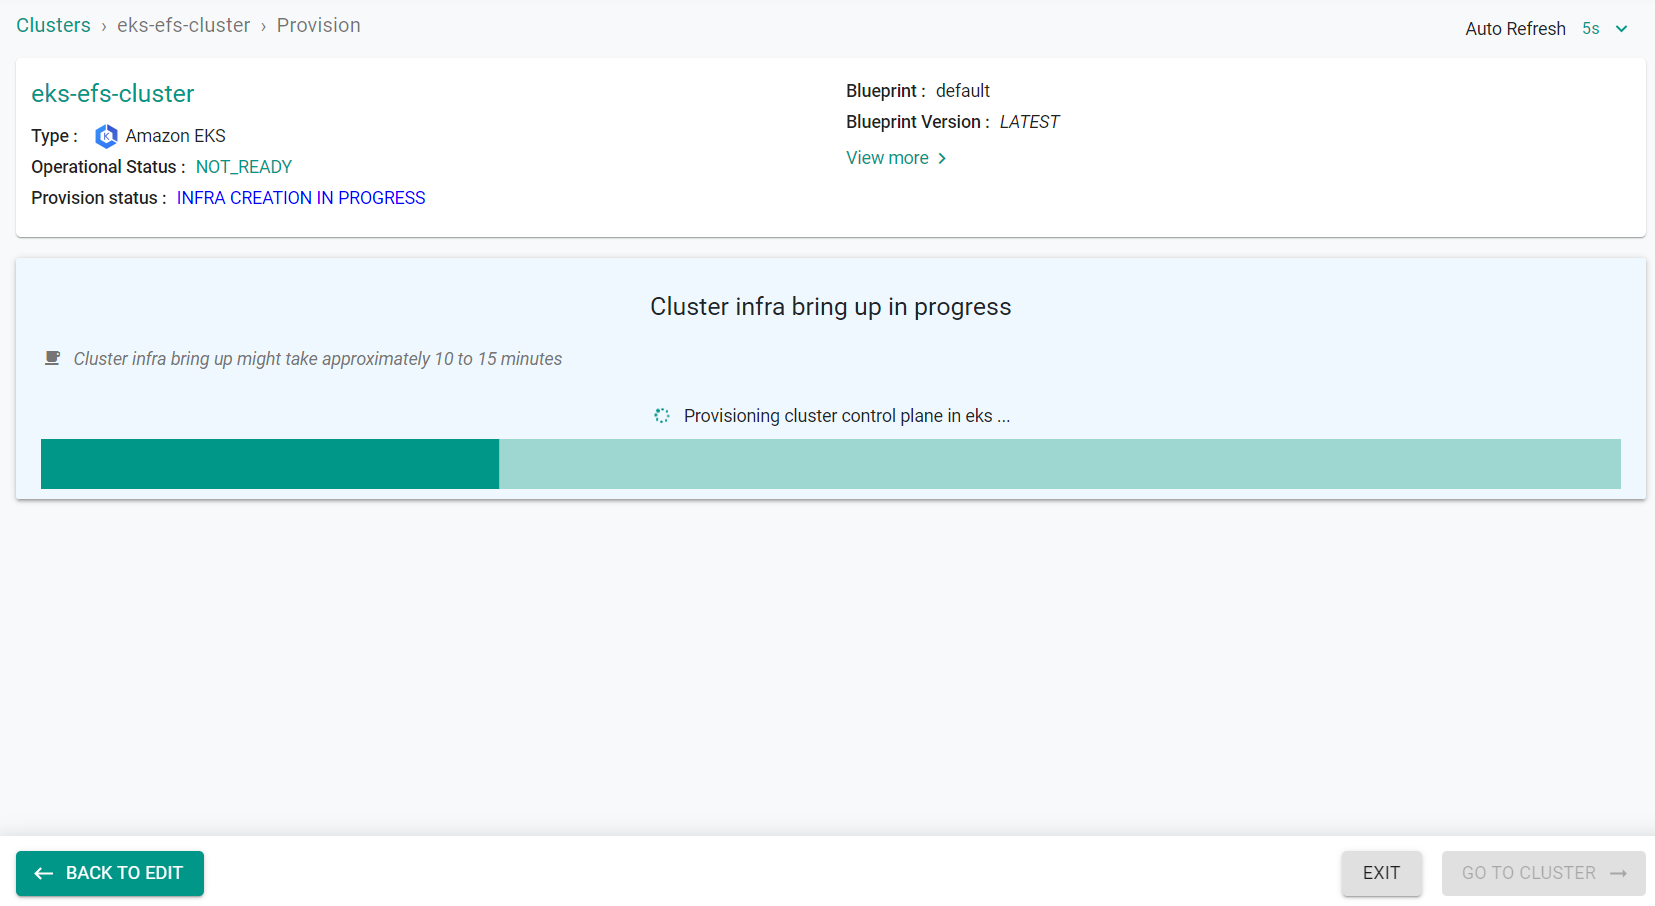
- Click on the cluster name to monitor progress
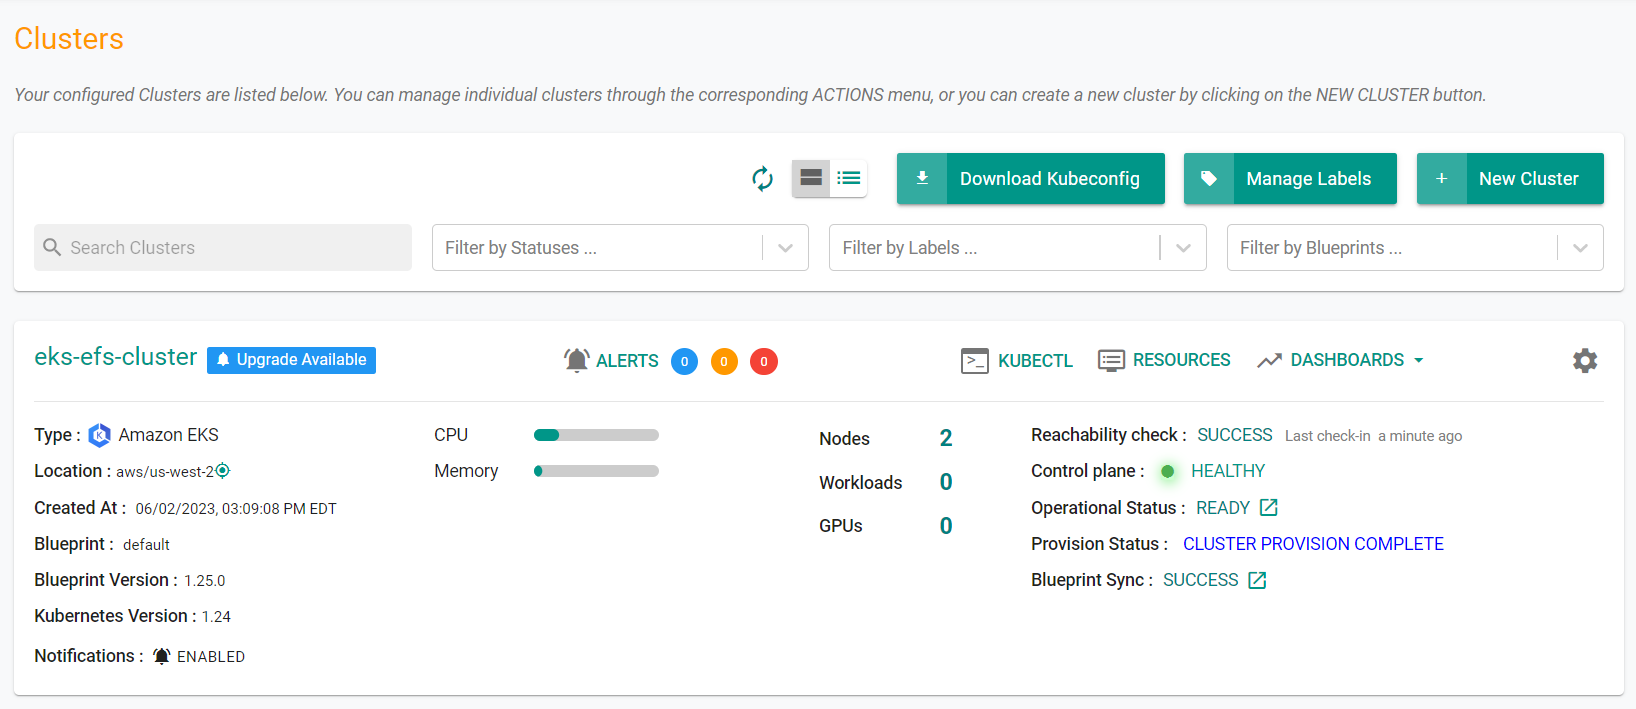
Step 3: Verify Cluster
Once provisioning is complete, you should see a healthy cluster in the web console
- Click on the kubectl link and type the following command
kubectl get nodes -o wide
You should see something like the following
NAME                                           STATUS   ROLES    AGE   VERSION                INTERNAL-IP      EXTERNAL-IP      OS-IMAGE         KERNEL-VERSION                  CONTAINER-RUNTIME
ip-192-168-21-103.us-west-2.compute.internal   Ready    <none>   20m   v1.24.13-eks-0a21954   192.168.21.103   35.86.218.148    Amazon Linux 2   5.10.179-166.674.amzn2.x86_64   containerd://1.6.19
ip-192-168-55-138.us-west-2.compute.internal   Ready    <none>   20m   v1.24.13-eks-0a21954   192.168.55.138   34.222.109.183   Amazon Linux 2   5.10.179-166.674.amzn2.x86_64   containerd://1.6.19
Step 4: Create an Amazon EFS File System
You will use the AWS CLI to create an EFS file system for the EKS cluster.
- Run the following command to retrieve the VPC ID that your cluster is in and store it in a variable for use in a later step. Replace the cluster name if a different name was used.
vpc_id=$(aws eks describe-cluster \
    --name eks-efs-cluster \
    --query "cluster.resourcesVpcConfig.vpcId" \
    --output text)
- Run the following command to retrieve the CIDR range for your cluster's VPC and store it in a variable for use in a later step. Update the region with the AWS Region that your cluster is in.
cidr_range=$(aws ec2 describe-vpcs \
    --vpc-ids $vpc_id \
    --query "Vpcs[].CidrBlock" \
    --output text \
    --region us-west-2)
Next, create a security group with an inbound rule that allows inbound NFS traffic for your Amazon EFS mount points.
- Run the following command to create a security group.
security_group_id=$(aws ec2 create-security-group \
    --group-name EfsSecurityGroup \
    --description "EFS security group" \
    --vpc-id $vpc_id \
    --output text)
- Run the following command to create an inbound rule that allows inbound NFS traffic from the CIDR for your cluster's VPC.
aws ec2 authorize-security-group-ingress \
    --group-id $security_group_id \
    --protocol tcp \
    --port 2049 \
    --cidr $cidr_range
Next, create an Amazon EFS file system for your Amazon EKS cluster.
- Run the following command to create a file system. Update the region with the AWS Region that your cluster is in.
file_system_id=$(aws efs create-file-system \
    --region us-west-2 \
    --performance-mode generalPurpose \
    --query 'FileSystemId' \
    --output text)
Be sure to capture and save the returned File System ID for use in a later step.
Next, we will need to create mount targets for the file system.
- Run the below command on the cluster to determine the IP addresses of the cluster nodes.
kubectl get nodes
An example output is as follows showing the IP address in the node name.
NAME                                           STATUS   ROLES    AGE   VERSION
ip-192-168-21-103.us-west-2.compute.internal   Ready    <none>   36m   v1.24.13-eks-0a21954
ip-192-168-55-138.us-west-2.compute.internal   Ready    <none>   35m   v1.24.13-eks-0a21954
- Run the below command to determine the IDs of the subnets in your VPC and which Availability Zone the subnet is in.
aws ec2 describe-subnets \
    --filters "Name=vpc-id,Values=$vpc_id" \
    --query 'Subnets[*].{SubnetId: SubnetId,AvailabilityZone: AvailabilityZone,CidrBlock: CidrBlock}' \
    --output table
An example output is as follows.
----------------------------------------------------------------------
|                           DescribeSubnets                          |
+------------------+--------------------+----------------------------+
| AvailabilityZone |     CidrBlock      |         SubnetId           |
+------------------+--------------------+----------------------------+
|  us-west-2c      |  192.168.64.0/19   |  subnet-03e01d1c16440c99c  |
|  us-west-2c      |  192.168.160.0/19  |  subnet-0de145711103dd63d  |
|  us-west-2a      |  192.168.32.0/19   |  subnet-09706d126cb8fc07e  |
|  us-west-2d      |  192.168.96.0/19   |  subnet-0fd859bd3b5d6019f  |
|  us-west-2a      |  192.168.128.0/19  |  subnet-0449e42195c68ef1e  |
|  us-west-2d      |  192.168.0.0/19    |  subnet-08ac33b08e9b8051c  |
+------------------+--------------------+----------------------------+
Add mount targets for the subnets that your nodes are in. From the output in the previous two steps, the cluster has a node with IP address 192.168.21.103 and another node with IP address 192.168.55.138. That first IP address is within the CidrBlock of the subnet with the ID subnet-08ac33b08e9b8051c and the second IP address is within the CidrBlock of the subnet with ID subnet-09706d126cb8fc07e.
- Run the below command for each subnet in each AZ that you have a node in, replacing the subnet-id with the appropriate subnet ID.
aws efs create-mount-target \
    --file-system-id $file_system_id \
    --subnet-id subnet-08ac33b08e9b8051c  \
    --security-groups $security_group_id
aws efs create-mount-target \
    --file-system-id $file_system_id \
    --subnet-id subnet-09706d126cb8fc07e  \
    --security-groups $security_group_id
Recap
Congratulations! At this point, you have successfully configured and provisioned an Amazon EKS cluster with a inline policy for EFS using the RCTL CLI. You are now ready to move on to the next step where you will create and deploy a custom cluster blueprint that contains the EFS CSI Driver as an addon.