Setup
What Will You Do
This is Part 1 of the self-paced quick start exercise. In this part, you will use the Infra Admin persona to setup and configure the needed resources to use Environment Manager.
Step 1: Import Template
In this step, you will use the Loader Utility to import the Environment Manager templates needed for this environment. This process will also setup a System Sync pipeline which will be used to create environment templates.
- Follow the instructions here to use the loader
- When using the loader utility, be sure to use a private repository which will create System Sync pipeline
- When using the loader utility, be sure to uncomment the following template - ../terraform/rafay-aws-resources in the templates section of the values.yaml file
Step 2: Configure Environment Contexts
In this step, you will configure an environment context in the controller with your AWS account details. These account details will be used by Environment Manager to interact with your cloud account.
- Log into the controller and select your project
- Navigate to Environments -> Contexts
- Click on the context named rafay-aws-<PROJECT NAME>
- Select Environment Variables
- Populate the values of the variables with the access key and secret for your AWS account
- Ensure that you select the sensitive checkbox for both fields
- Click Save

Important
The Rafay agent automatically writes back the environment variables to Git. The resources (esp. secrets) you identify as sensitive. will be automatically encrypted using a secret sealer before being synced to your Git repo.
Step 3: Configure Resource Template Variables
In this step, you will update the resource template for the AWS security group resource. You will be updating specific variables in the resource template to use expressions. The expressions will use the output of the VPC resource template when used together in the same environment template.
- Navigate to Environments -> Resource Templates
- Find and click on the template named rafay-aws-security-group
- Click New Version
- Enter v2 for the version name
-
Navigate to the Input Variables section
-
Update the variable vpc_id with value $(resource["rafay-aws-vpc"].output.vpc_id.value)$
-
Set the value type to Expressions
-
Update the variable
ingress_with_cidr_blockswith the below values
[
    {
        "from_port": 1433,
        "to_port": 1433,
        "protocol": "tcp",
        "description": "SqlServer access from within VPC",
        "cidr_blocks": "$(resource[\"rafay-aws-vpc\"].output.vpc_cidr_block.value)$"
    }
]
Step 4: Create VPC and Security Group Environment Template
In this step, you will use the System Sync pipeline to create an environment template for the the VPC and security group environment.
- Navigate to your Git repository
- Navigate to <REPO NAME>/rafay-resources/projects/<PROJECT NAME>/environmenttemplates
- Create a new file named vpc-and-security-group.yaml
- Copy the below contents into the file being sure to update the project name and any variable values to match your specific environment
apiVersion: eaas.envmgmt.io/v1
kind: EnvironmentTemplate
metadata:
  name: vpc-and-security-group
  project: UPDATE_ME
  description: Create a VPC and Security Group in AWS
  displayName: AWS VPC and Security Group
spec:
  iconURL: https://cdn2.iconfinder.com/data/icons/amazon-aws-stencils/100/Non-Service_Specific_copy_Virtual_Private_CLoud_-512.png
  readme: "## Introduction\n\nUsers can use this template
  to create a VPC and Security Group in AWS \n\n---\n\n##
  What does this do behind the scenes? \n\nThis template will perform the following
  in a sequence: \n\n1. Create a new VPC in AWS using the name of the environment \n2. Create a Security Group within the VPC using the name of the environment\n \n\n---\n\n## Defaults and Overrides \nUnless specified, the
  new VPC will be created with the default settings for the AWS region and subnets.  The subnets include private, public and database subnet groups
  Users have the option to override the defaults with alternative options. See the input variables section below for complete details. "
  resources:
  - kind: resourcetemplate
    name: rafay-aws-vpc
    resourceOptions:
      version: v1
    type: dynamic
  - dependsOn:
    - name: rafay-aws-vpc
    kind: resourcetemplate
    name: rafay-aws-security-group
    resourceOptions:
      version: v2
    type: dynamic
  variables:
  - name: region
    options:
      override:
        type: allowed
      required: true
    value: us-west-2
    valueType: text
  - name: azs
    options:
      override:
        type: allowed
      required: true
    value: '["us-west-2a","us-west-2b","us-west-2c"]'
    valueType: hcl
  - name: create_database_subnet_group
    options:
      override:
        type: allowed
      required: true
    value: "true"
    valueType: hcl
  - name: public_subnets
    options:
      override:
        type: allowed
      required: true
    value: '["10.0.1.0/24", "10.0.2.0/24", "10.0.3.0/24"]'
    valueType: hcl
  - name: private_subnets
    options:
      override:
        type: allowed
      required: true
    value: '["10.0.4.0/24", "10.0.5.0/24", "10.0.6.0/24"]'
    valueType: hcl
  - name: database_subnets
    options:
      override:
        type: allowed
      required: true
    value: '["10.0.7.0/24", "10.0.8.0/24", "10.0.9.0/24"]'
    valueType: hcl
  - name: identifier
    options:
      override:
        type: notallowed
      required: true
    value: $(environment.name)$
    valueType: expression
  version: v1
  versionState: active
- Commit the file to the repository
- In the console, navigate to Environments -> Environments to see the environment card named vpc-and-security-group ready to be launched
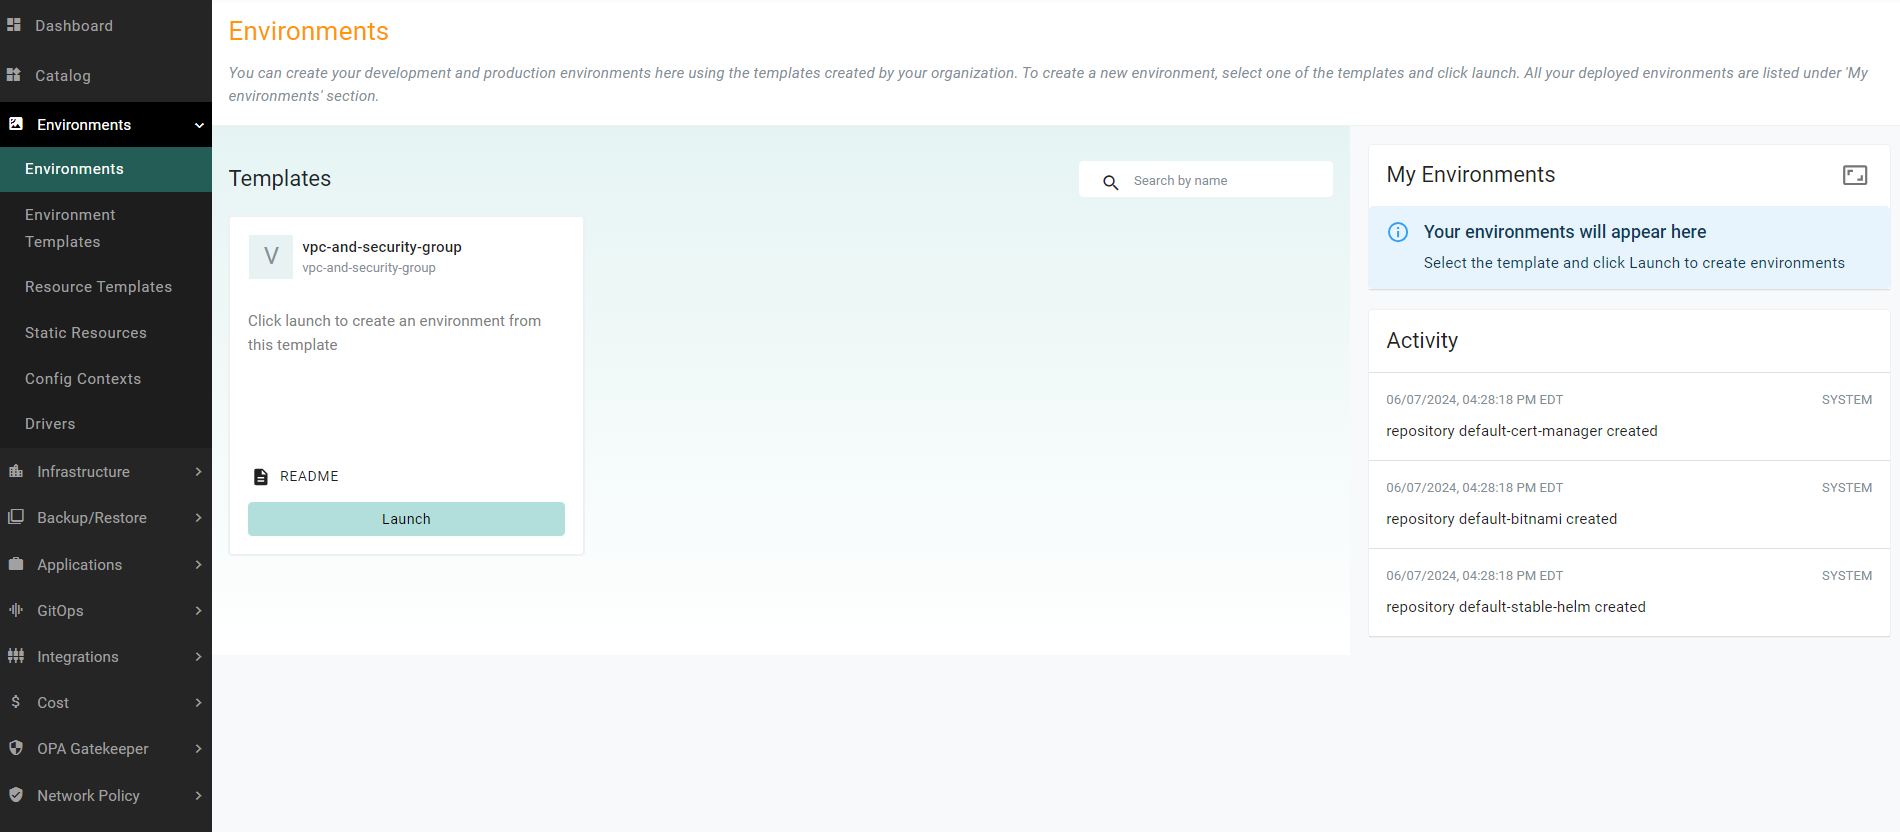
Step 5: Launch VPC and Security Group Environment
In this step, you will use the console to launch the environment. By launching the environment, a VPC and security group will be created in AWS. These resources will be used later in an additional environment template to build other AWS resources.
- Navigate to Environments -> Environments
- Find the card named vpc-and-security-group and click launch
- Enter a name for the environment
- Update any of the parameters if needed
- Click Save & Deploy
After ~5 minutes, the environment will be deployed and the details of the environment resources will be displayed in the Results section of the screen.
Step 6: Create RDS Instance Environment Template
In this step, you will use the System Sync pipeline to create an environment template for an RDS Postgres database.
- Navigate to your Git repository
- Navigate to <REPO NAME>/rafay-resources/projects/<PROJECT NAME>/environmenttemplates
- Create a new file named rds.yaml
- Copy the below contents into the file being sure to update the project name, region and any variable values to match your specific environment
- Use the Results section of the vpc-and-security-group environment to obtain the values for the variables vpc_security_group_ids and db_subnet_group_name
apiVersion: eaas.envmgmt.io/v1
kind: EnvironmentTemplate
metadata:
  name: rds
  project: UPDATE_ME
  description: Create a Postgres RDS database in an existing AWS VPC and Security Group
  displayName: AWS RDS Postgres Database
spec:
  iconURL: https://cloud-icons.onemodel.app/aws/Architecture-Service-Icons_01312023/Arch_Database/64/Arch_Amazon-RDS_64.svg
  readme: "## Introduction\n\nUsers can use this template
  to create an RDS PostgreSQL Database in AWS within an existing VPC \n\n---\n\n##
  What does this do behind the scenes? \n\nThis template will perform the following
  in a sequence: \n\n1. Create a new RDS PostreSQL database in AWS within the specified existing VPC\n \n\n---\n\n## Defaults and Overrides \nUnless specified, the
  new database will be created with the default settings.
  Users have the option to override the defaults with alternative options. See the input variables section below for complete details. "
  resources:
  - kind: resourcetemplate
    name: rafay-aws-rds
    resourceOptions:
      version: v1
    type: dynamic
  variables:
  - name: region
    options:
      override:
        type: notallowed
    value: UPDATE_ME
    valueType: text
  - name: name
    options:
      override:
        type: notallowed
    value: $(environment.name)$
    valueType: expression
  - name: engine
    options:
      override:
        type: notallowed
    value: postgres
    valueType: text
  - name: engine_version
    options:
      override:
        type: notallowed
    value: "14"
    valueType: text
  - name: family
    options:
      override:
        type: notallowed
    value: postgres14
    valueType: text
  - name: major_engine_version
    options:
      override:
        type: notallowed
    value: "14"
    valueType: text
  - name: instance_class
    options:
      override:
        restrictedValues:
        - db.t3.micro
        - db.t3.small
        - db.t3.small
        - db.t3.large
        type: restricted
      required: true
    value: db.t3.micro
    valueType: text
  - name: allocated_storage
    options:
      override:
        restrictedValues:
        - "20"
        - "50"
        - "100"
        type: restricted
      required: true
    value: "20"
    valueType: text
  - name: max_allocated_storage
    options:
      override:
        type: notallowed
    value: "100"
    valueType: text
  - name: storage_encrypted
    options:
      override:
        type: notallowed
    value: "false"
    valueType: text
  - name: username
    options:
      override:
        type: allowed
      required: true
    valueType: text
  - name: port
    options:
      override:
        type: notallowed
    value: "5432"
    valueType: text
  - name: multi_az
    options:
      override:
        type: notallowed
    value: "false"
    valueType: text
  - name: maintenance_window
    options:
      override:
        type: notallowed
    value: Mon:00:00-Mon:03:00
    valueType: text
  - name: backup_window
    options:
      override:
        type: notallowed
    value: 03:00-06:00
    valueType: text
  - name: enabled_cloudwatch_logs_exports
    options:
      override:
        type: notallowed
    value: '["postgresql", "upgrade"]'
    valueType: hcl
  - name: create_cloudwatch_log_group
    options:
      override:
        type: notallowed
    value: "true"
    valueType: text
  - name: backup_retention_period
    options:
      override:
        type: notallowed
    value: "1"
    valueType: text
  - name: skip_final_snapshot
    options:
      override:
        type: notallowed
    value: "true"
    valueType: text
  - name: deletion_protection
    options:
      override:
        type: notallowed
    value: "false"
    valueType: text
  - name: performance_insights_enabled
    options:
      override:
        type: notallowed
    value: "true"
    valueType: text
  - name: performance_insights_retention_period
    options:
      override:
        type: notallowed
    value: "7"
    valueType: text
  - name: create_monitoring_role
    options:
      override:
        type: notallowed
    value: "false"
    valueType: text
  - name: monitoring_interval
    options:
      override:
        type: notallowed
    value: "0"
    valueType: text
  - name: parameters
    options:
      override:
        type: notallowed
    value: |-
      [
          {
            name  = "autovacuum"
            value = 1
          },
          {
            name  = "client_encoding"
            value = "utf8"
          }
        ]
    valueType: hcl
  - name: db_subnet_group_name
    options:
      override:
        type: notallowed
    value: UPDATE_ME
    valueType: text
  - name: vpc_security_group_ids
    options:
      override:
        type: notallowed
    value: '["UPDATE_ME"]'
    valueType: hcl
  - name: password
    options:
      override:
        type: allowed
      required: true
    valueType: text
  version: v1
  versionState: active
- Commit the file to the repository
- In the console, navigate to Environments -> Environments to see the environment card named rds ready to be launched
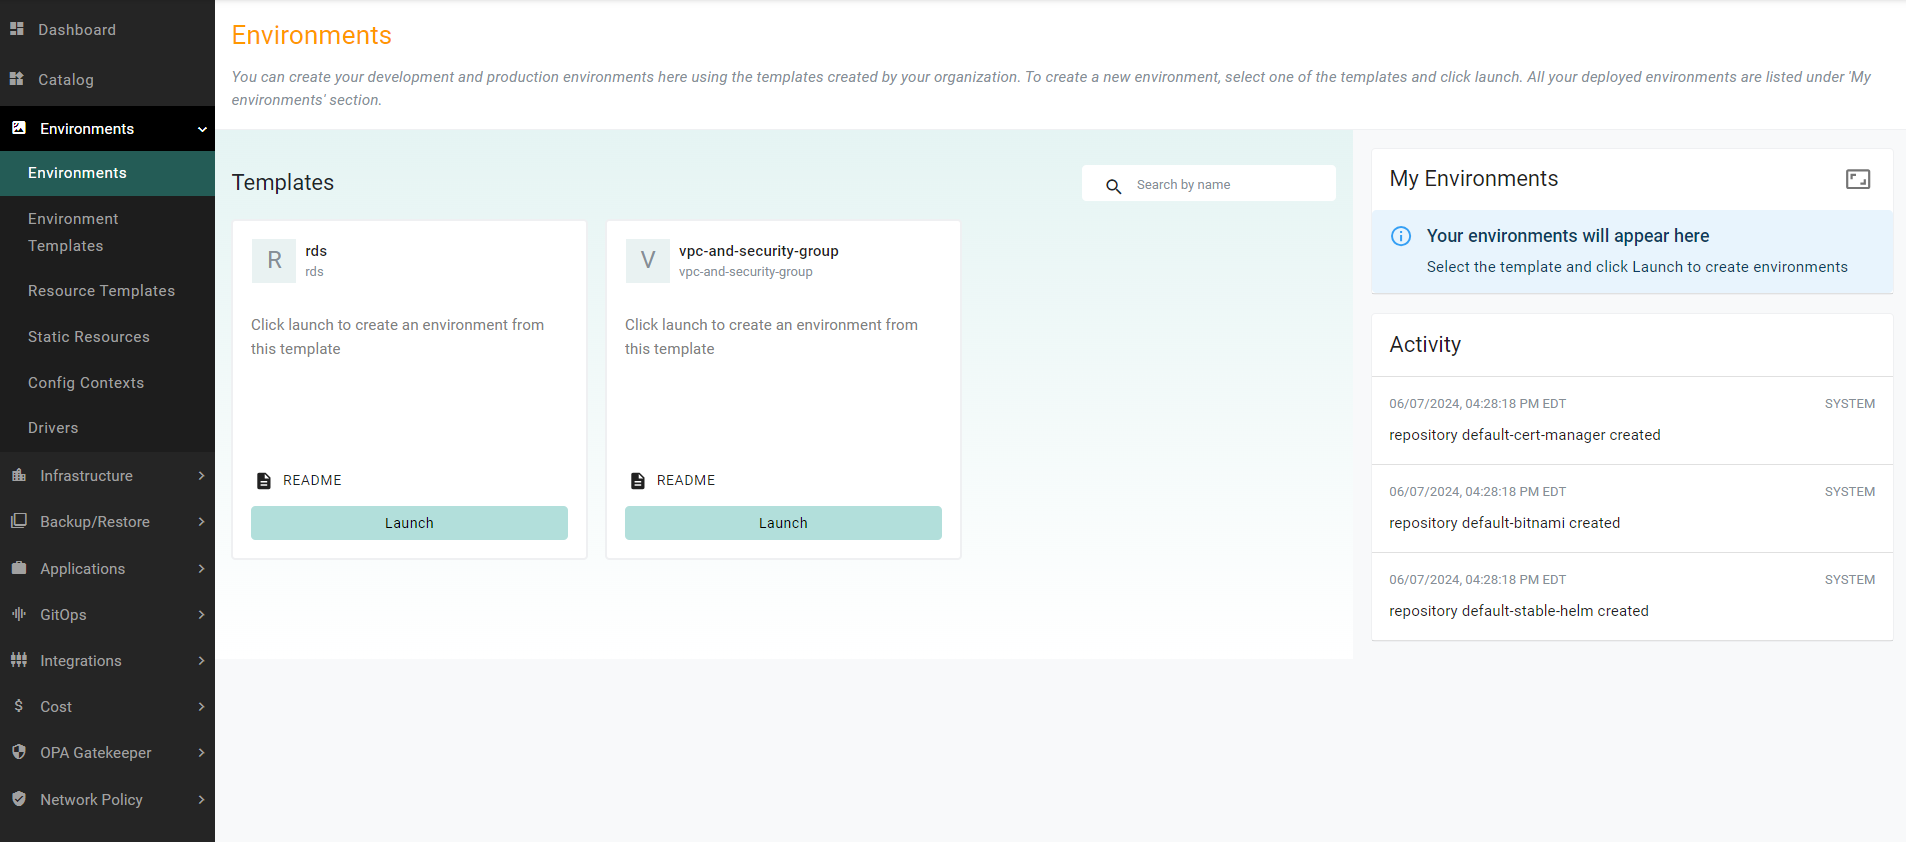
Step 7: Share Environment Template with Self-Service Users
In this step, you will share the RDS environment template with the Developer users.
- Ensure the developer users are part of a group that has the Environment Template User role Instructions
- Navigate to Environments -> Environment Templates
- Click the manage sharing icon next to the template named rds
- Select the projects the self-service users are part of
Recap
At this point, you have everything setup and configured for self-service users to deploy environments through Environment Manager.