Part 3: Pipeline
What Will You Do
In this section you will
- Create a GitOps pipeline
- Add multiple stages to the pipeline
- Create a trigger to initiate the pipeline
- Setup a webhook in Github for the pipeline trigger
- Activate the pipeline
Step 1: Create Pipeline
The GitOps pipeline will be used to deploy/update workloads from the Git repository each time an update is made and committed to the repo.
- In your project, navigate to GitOps -> Pipelines
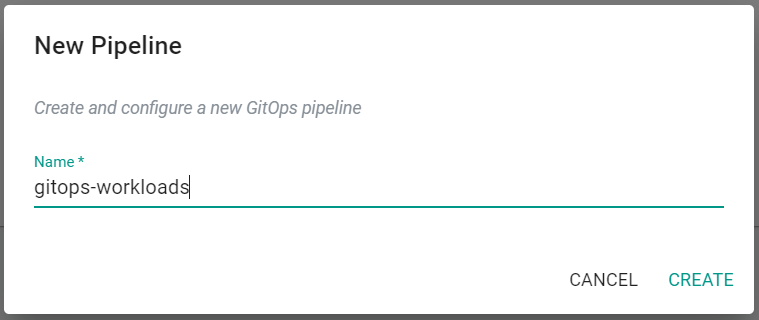
- Click New Pipeline
- Enter gitops-workloads for the name
- Click Create
Step 2: Add Pipeline Stages
A pipeline can have multiple stages, with completely different actions to model your desired workflows. In this exercise, you will create a three stage pipeline that will first seek user approval, then deploy/update the YAML workload and finally deploy/update the Helm workload.
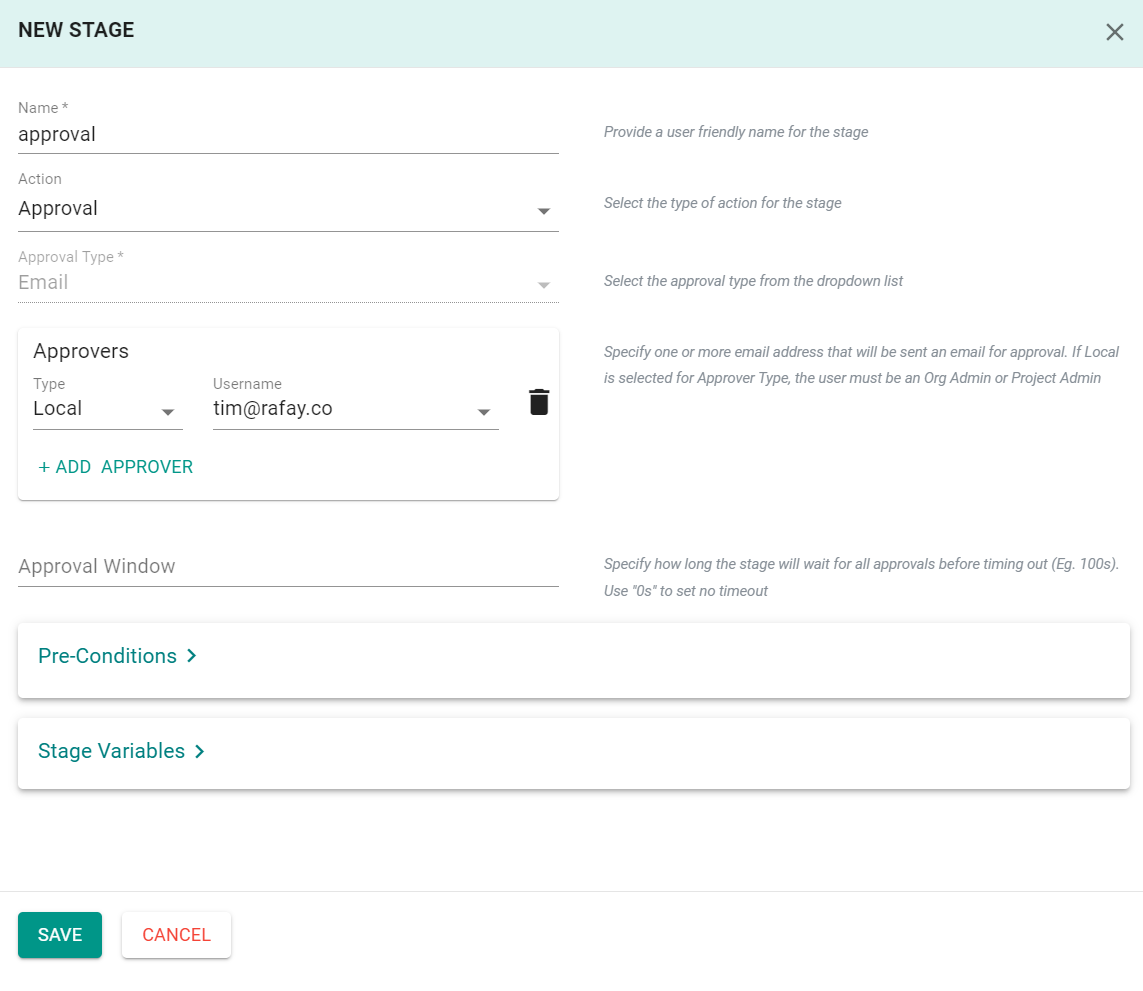
- Under the "Stages" tab, Click Add New Stage
- Enter approval for the name
- Select Approval for the action
- Click Add Approver
- Select your user account
- Click Save
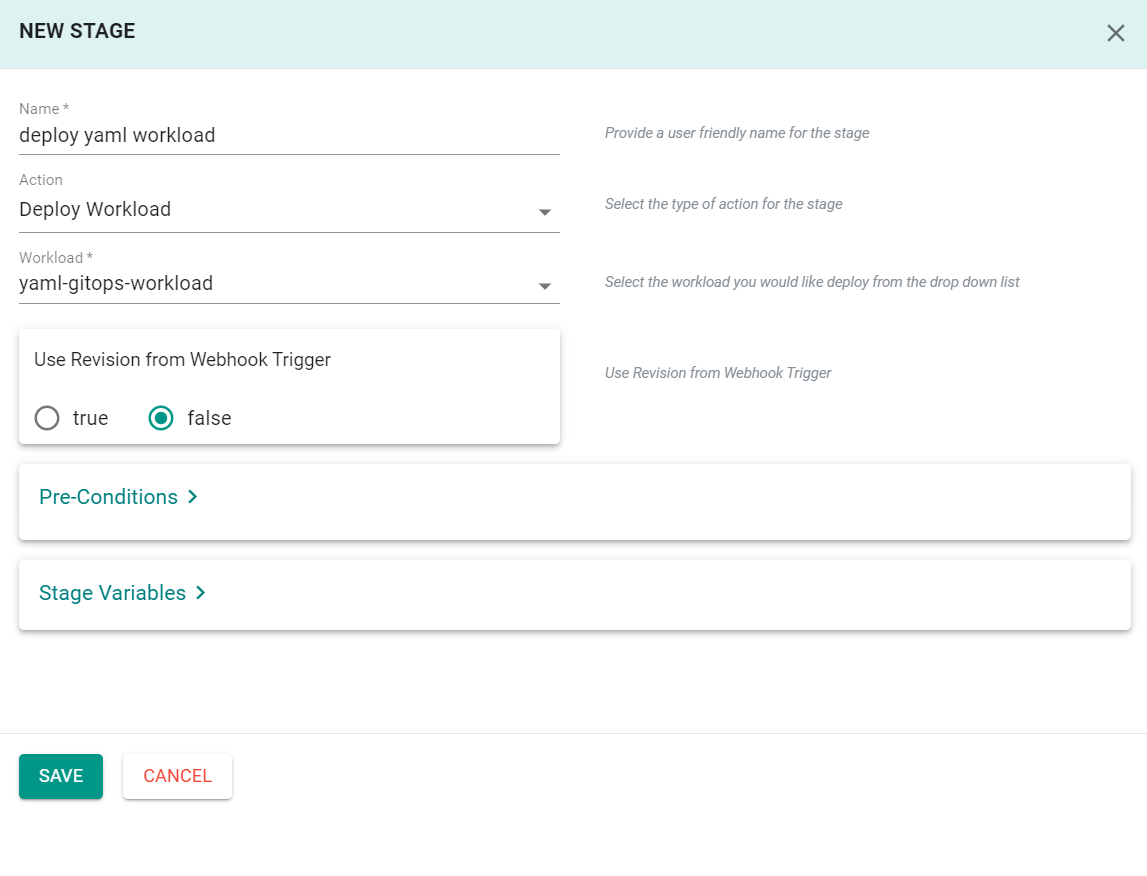
Next, you will add a pipeline stage that will deploy/update the YAML workload.
- Under the "Stages" tab, Click Add New Stage
- Enter deploy yaml workload for the name
- Select Deploy Workload for the action
- Select yaml-gitops-workload for the workload
- Click Save
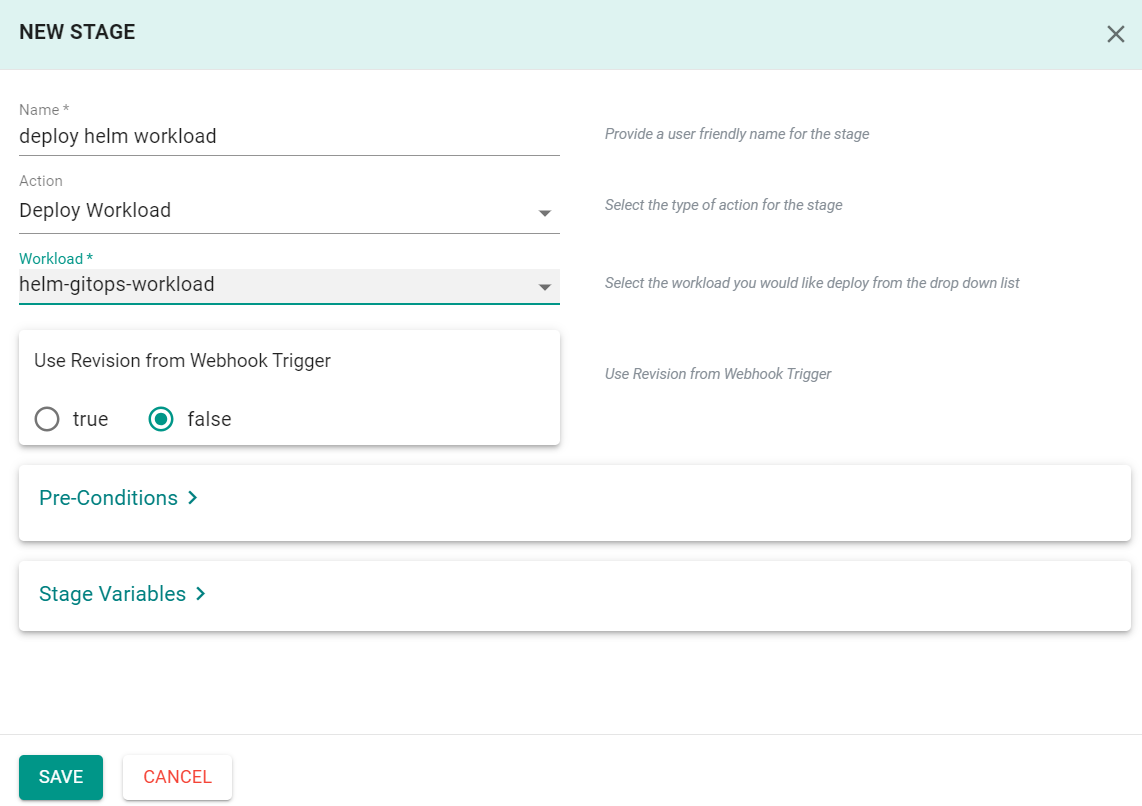
Next, you will add a pipeline stage that will deploy/update the Helm workload.
- Under the "Stages" tab, Click Add New Stage
- Enter deploy helm workload for the name
- Select Deploy Workload for the action
- Select helm-gitops-workload for the workload
- Click Save
Step 3: Add Pipeline Trigger
A pipeline can be executed based on an "external trigger". For example, changes to the manifests in your Git repository. In this exercise, you will configure a trigger that will receive a webhook notification when specific files and directories in your Git repository are modified.
- Click on the Triggers tab in the pipeline
- Click Add New Trigger
- Enter github-webhook for the name
- Select Webhook for type
- Select gitops-workload-gs for the repository
- Select Github for repository type
- Enter master for revision
- Click Add Path
- Enter gitops-workload/YAML/yaml-workload.yaml
- Click Add Path again
- Enter gitops-workload/Helm/webserver/
- Click Save
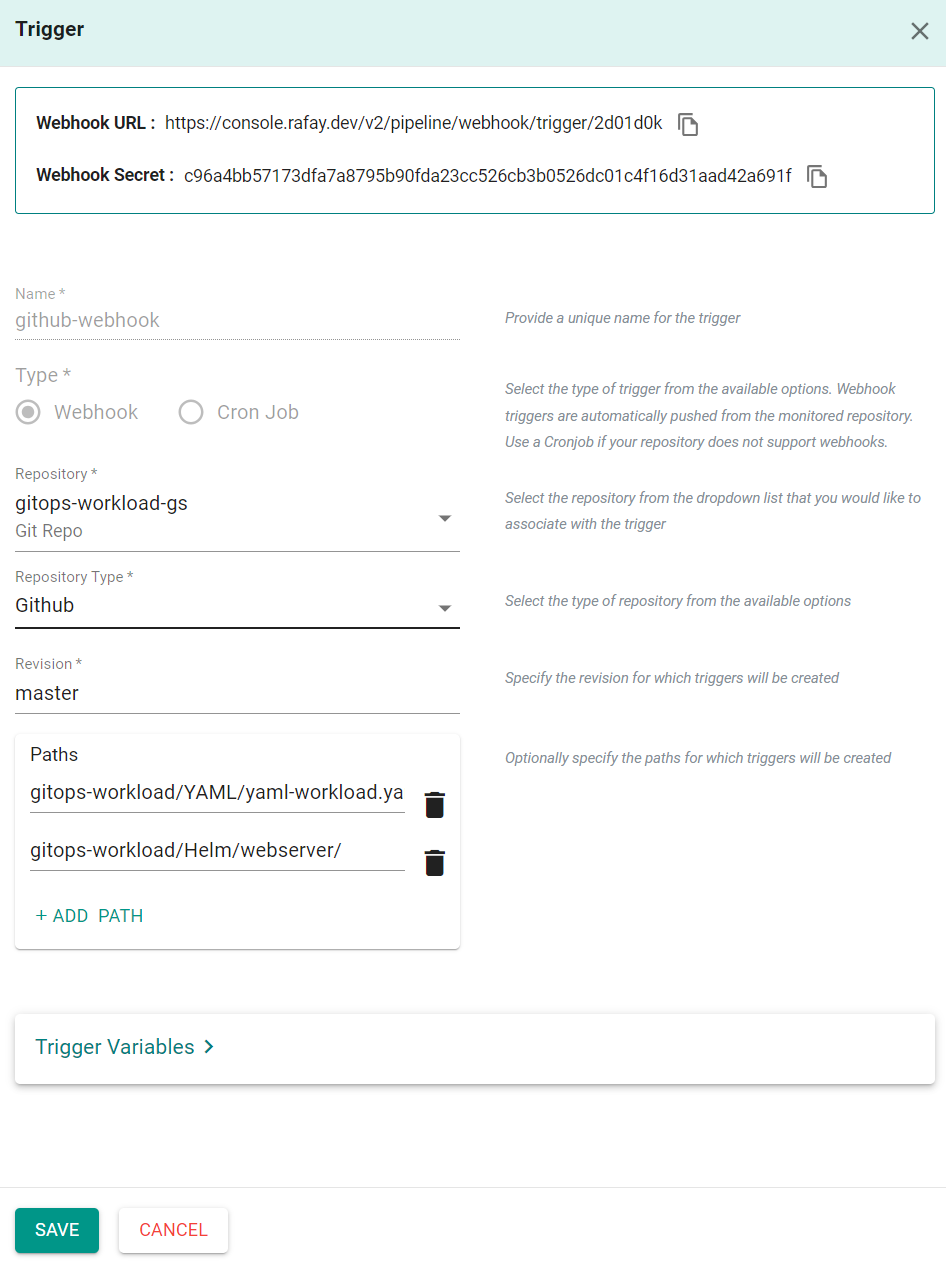
You will now be presented with the webhook configuration details that you need to copy/paste to your GitHub repository. Once you complete this step, the GitOps pipeline will be configured to receive webhook notifications whenever the repository is updated in Git.
Step 4: Setup GitHub Webhook
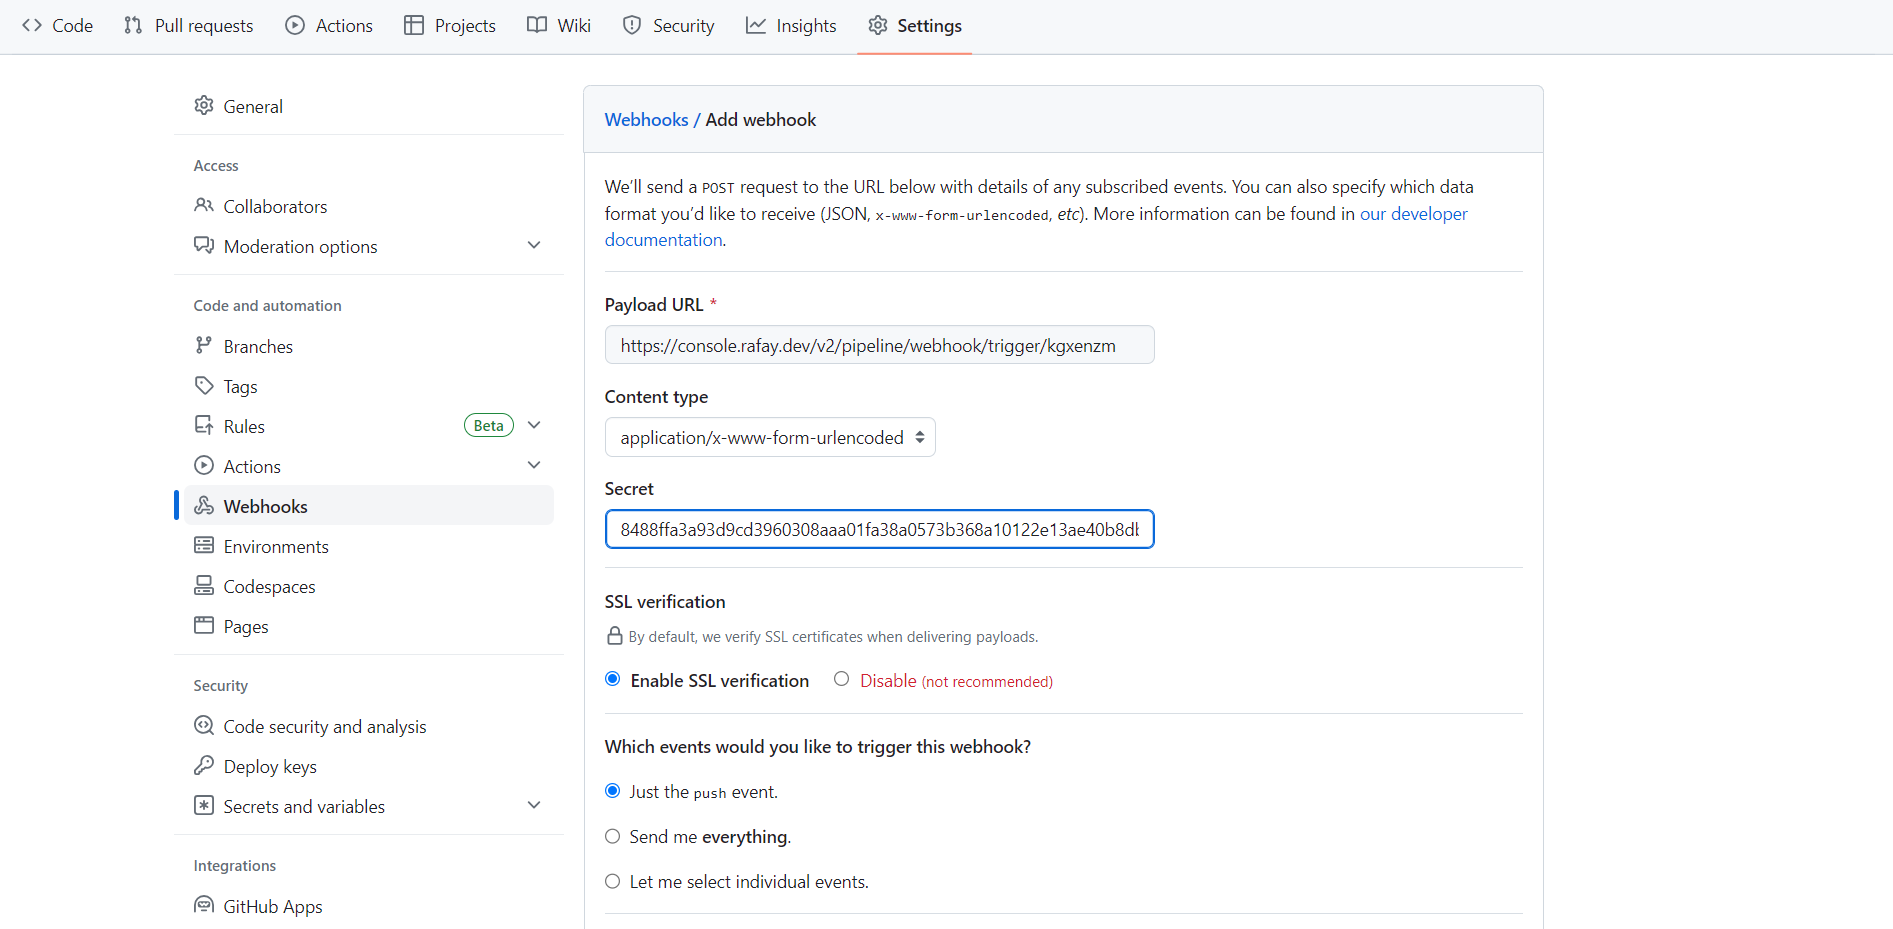
In this step, we will configure the GitHub repository to send a webhook to the controller when updates are made to the repo.
- Navigate to your GitHub repository -> Settings -> Webhooks
- Click Add webhook
- Copy and Paste the "Payload URL" and "Secret" from the previous step
- Click Add webhook
Step 5: Activate Pipeline
By default, newly created pipelines start life in a deactivated state. You will activate the pipeline in this step so that it can be used.
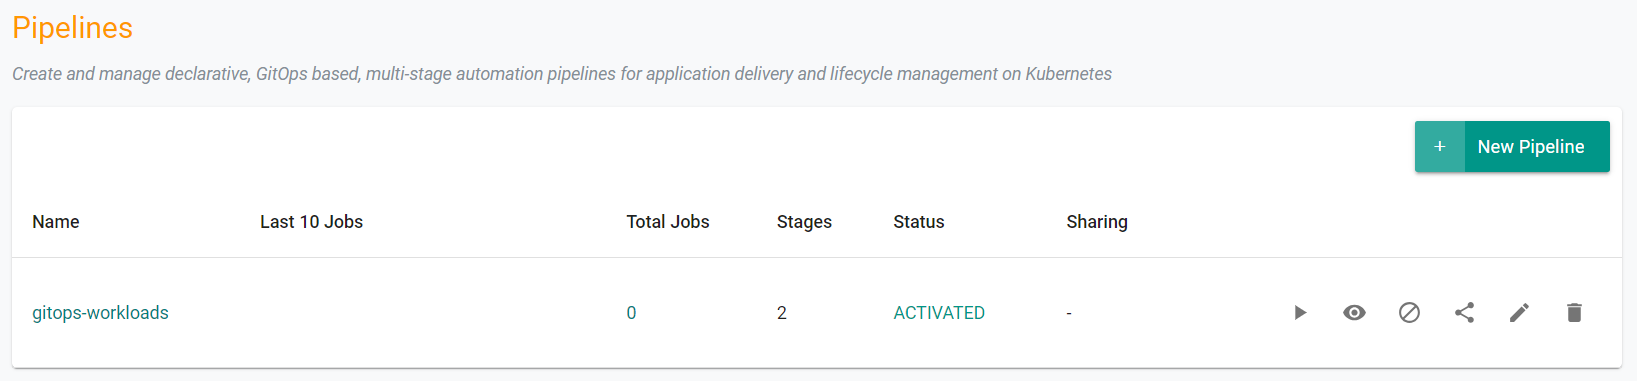
- In your project, navigate to GitOps -> Pipelines
- Click the Activate Pipeline button
- Click Yes to confirm activation
Recap
At this point, you have succesfully setup a multistage GitOps pipeline that is triggered by commits to a Github repository.