Part 3: Utilize
What Will You Do
In this part of the self-paced exercise, you will test each type of storage exposed by the managed storage add-on.
To test the block storage exposed by the managed storage add-on, you will create a stateful application that uses the block storageclass.
Create Namespace
First, you will create a namespace for the test workload you will soon be creating.
- In the console, navigate to your project
- Select Infrastructure -> Namespaces
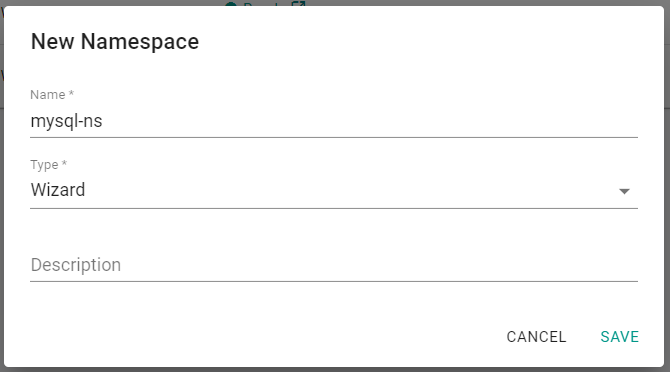
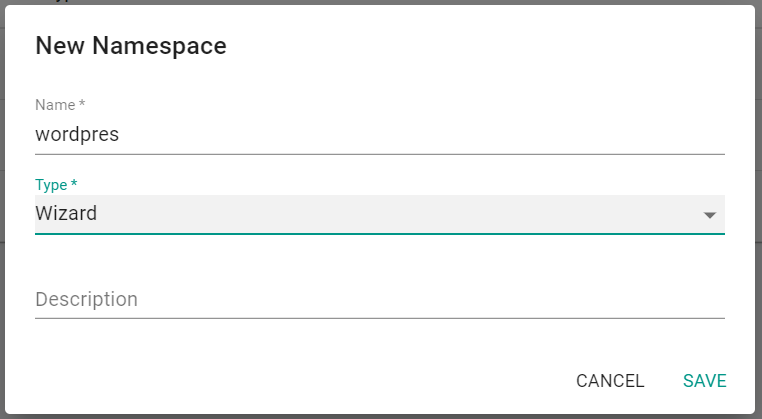
- Click "New Namespace"
- Enter a "Name" for the namespace
- Select "Wizard" for the type
- Click "Save"
- Click "Save & Go to Placement"
- Select your cluster
- Click "Save & Go To Publish"
- Click "Publish"
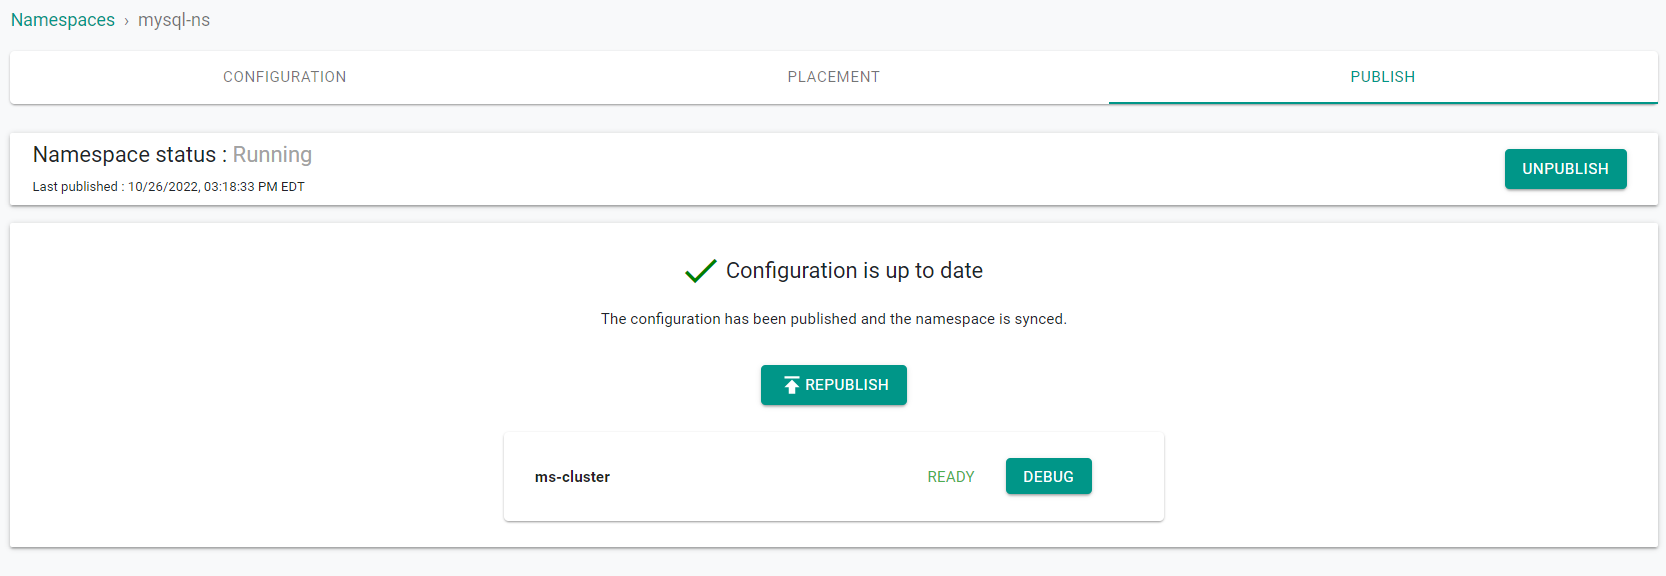
- Click "Exit"
Create Workload
Next, you will create a mysql workload which will utilize the storageclass created by the managed system add-on, Rook Ceph.
- In the console, navigate to your project
- Select Applications -> Workloads
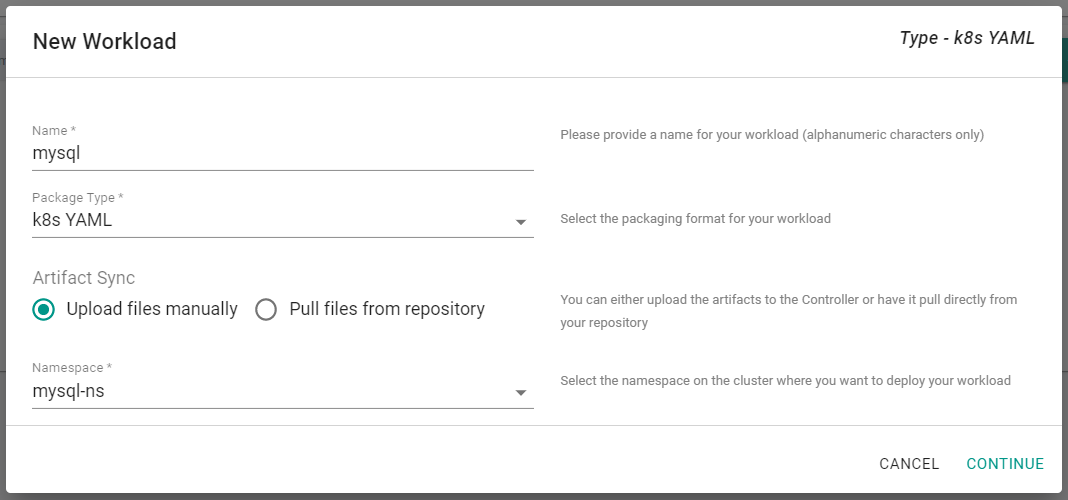
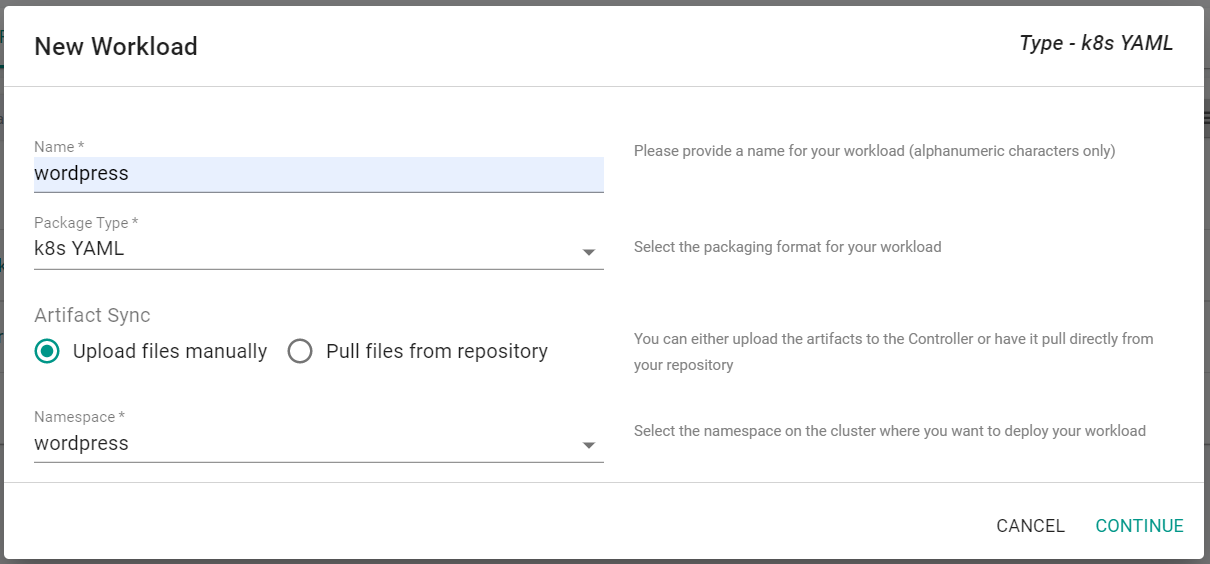
- Click "New Workload" -> "Create New Workload"
- Enter a "Name" for the Workload
- Select "k8s YAML" for the Package Type
- Select "Upload files manually"
- Select the prevsiously created namespace
- Click "Continue"
- Save the below YAML to a local file named "mysql.yaml"
Note, that the workload is using the "rook-ceph-block" storageclass for the persistant volume claim.
---
apiVersion: v1
kind: Service
metadata:
  name: mysql
  labels:
spec:
  ports:
    - port: 3306
  selector:
    tier: mysql
  clusterIP: None
---
apiVersion: v1
kind: PersistentVolumeClaim
metadata:
  name: mysql-pv-claim
  labels:
spec:
  storageClassName: rook-ceph-block
  accessModes:
  - ReadWriteOnce
  resources:
    requests:
      storage: 20Gi
---
apiVersion: apps/v1
kind: Deployment
metadata:
  name: mysql
  labels:
    tier: mysql
spec:
  selector:
    matchLabels:
      tier: mysql
  strategy:
    type: Recreate
  template:
    metadata:
      labels:
        tier: mysql
    spec:
      containers:
      - image: mysql:5.6
        name: mysql
        env:
        - name: MYSQL_ROOT_PASSWORD
          value: changeme
        ports:
        - containerPort: 3306
          name: mysql
        volumeMounts:
        - name: mysql-persistent-storage
          mountPath: /var/lib/mysql
      volumes:
      - name: mysql-persistent-storage
        persistentVolumeClaim:
          claimName: mysql-pv-claim
- In the console, select "Choose File" in the Upload Files section
- Click "Save and Go To Placement"
- Select your cluster
- Click "Save and Go To Publish"
- Click "Publish"
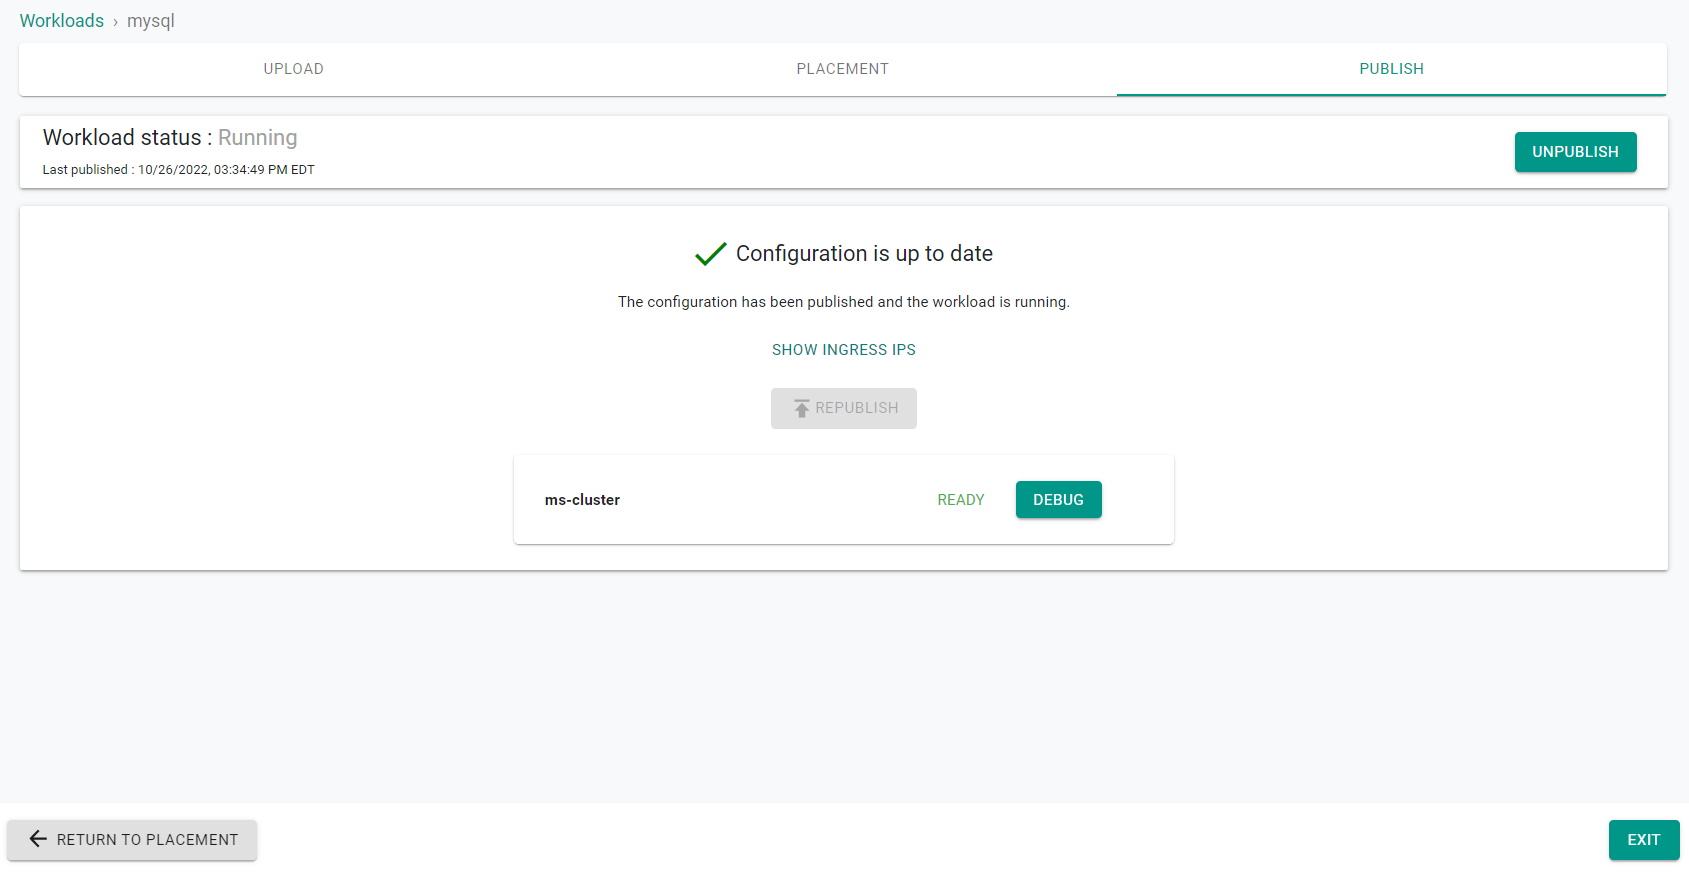
- Click "Exit"
Validate Storage
Next, you will validate that the created workload is using a persistant volume claim from the Rook Ceph storageclass.
- In the console, navigate to your project
- Select Infrastructure -> Clusters
- Click "kubectl" on the cluster card
- Enter the following command
kubectl get persistentvolumeclaims -A
You will see the persistent volume claim for the deployed workload. The PVC is using the Rook Ceph block storageclass.

To test the filesystem storage exposed by the managed storage add-on, you will create a stateful application that uses the filesystem storageclass.
Create Namespace
First, you will create a namespace for the test workload you will soon be creating.
- In the console, navigate to your project
- Select Infrastructure -> Namespaces
- Click "New Namespace"
- Enter a "Name" for the namespace
- Select "Wizard" for the type
- Click "Save"
- Click "Save & Go to Placement"
- Select your cluster
- Click "Save & Go To Publish"
- Click "Publish"

- Click "Exit"
Create Workload
Next, you will create a wordpress workload which will utilize the filesystem storageclass created by the managed system add-on, Rook Ceph.
- In the console, navigate to your project
- Select Applications -> Workloads
- Click "New Workload" -> "Create New Workload"
- Enter a "Name" for the Workload
- Select "k8s YAML" for the Package Type
- Select "Upload files manually"
- Select the prevsiously created namespace
- Click "Continue"
- Save the below YAML to a local file named "wordpress_filesystem.yaml"
Note, that the workload is using the "rook-cephfs" filesystem storageclass for the persistant volume claim.
apiVersion: v1
kind: Service
metadata:
  name: wordpress-mysql
  labels:
    app: wordpress
  namespace: wordpress
spec:
  ports:
    - port: 3306
  selector:
    app: wordpress
    tier: mysql
  clusterIP: None
---
apiVersion: v1
kind: PersistentVolumeClaim
metadata:
  name: mysql-pv-claim
  labels:
    app: wordpress
  namespace: wordpress
spec:
  storageClassName: rook-cephfs
  accessModes:
    - ReadWriteMany
  resources:
    requests:
      storage: 10Gi
---
apiVersion: apps/v1
kind: Deployment
metadata:
  name: wordpress-mysql
  labels:
    app: wordpress
    tier: mysql
  namespace: wordpress
spec:
  selector:
    matchLabels:
      app: wordpress
      tier: mysql
  strategy:
    type: Recreate
  replicas: 3
  template:
    metadata:
      labels:
        app: wordpress
        tier: mysql
    spec:
      containers:
        - image: mysql:5.6
          name: mysql
          env:
            - name: MYSQL_ROOT_PASSWORD
              value: changeme
          ports:
            - containerPort: 3306
              name: mysql
          volumeMounts:
            - name: mysql-persistent-storage
              mountPath: /var/lib/mysql
      volumes:
        - name: mysql-persistent-storage
          persistentVolumeClaim:
            claimName: mysql-pv-claim
- In the console, select "Choose File" in the Upload Files section
- Click "Save and Go To Placement"
- Select your cluster
- Click "Save and Go To Publish"
- Click "Publish"

- Click "Exit"
Validate Storage
Next, you will validate that the created workload is using a persistant volume claim from the Rook Ceph filesystem storageclass.
- In the console, navigate to your project
- Select Infrastructure -> Clusters
- Click "kubectl" on the cluster card
- Enter the following command
kubectl get persistentvolumeclaims -A
You will see the persistent volume claim for the deployed workload. The PVC is using the Rook Ceph filesystem storageclass.

To test the object storage exposed by the managed storage add-on, you will create a container which will be used to upload and read to the object storage.
Create Namespace
First, you will create a namespace for the test workload you will soon be creating.
- In the console, navigate to your project
- Select Infrastructure -> Namespaces
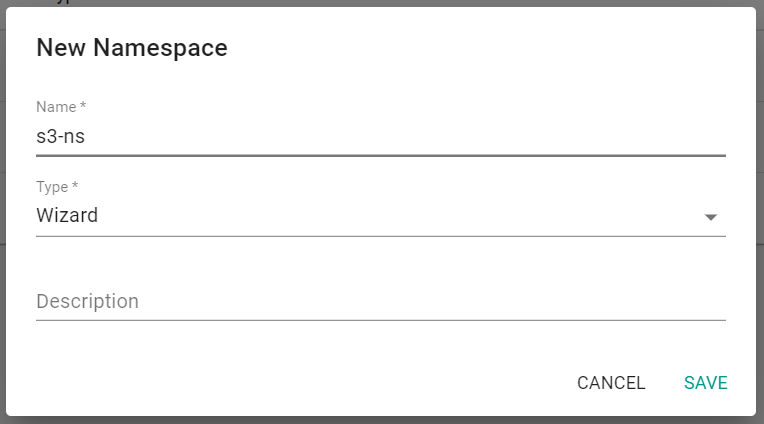
- Click "New Namespace"
- Enter a "Name" for the namespace
- Select "Wizard" for the type
- Click "Save"
- Click "Save & Go to Placement"
- Select your cluster
- Click "Save & Go To Publish"
- Click "Publish"
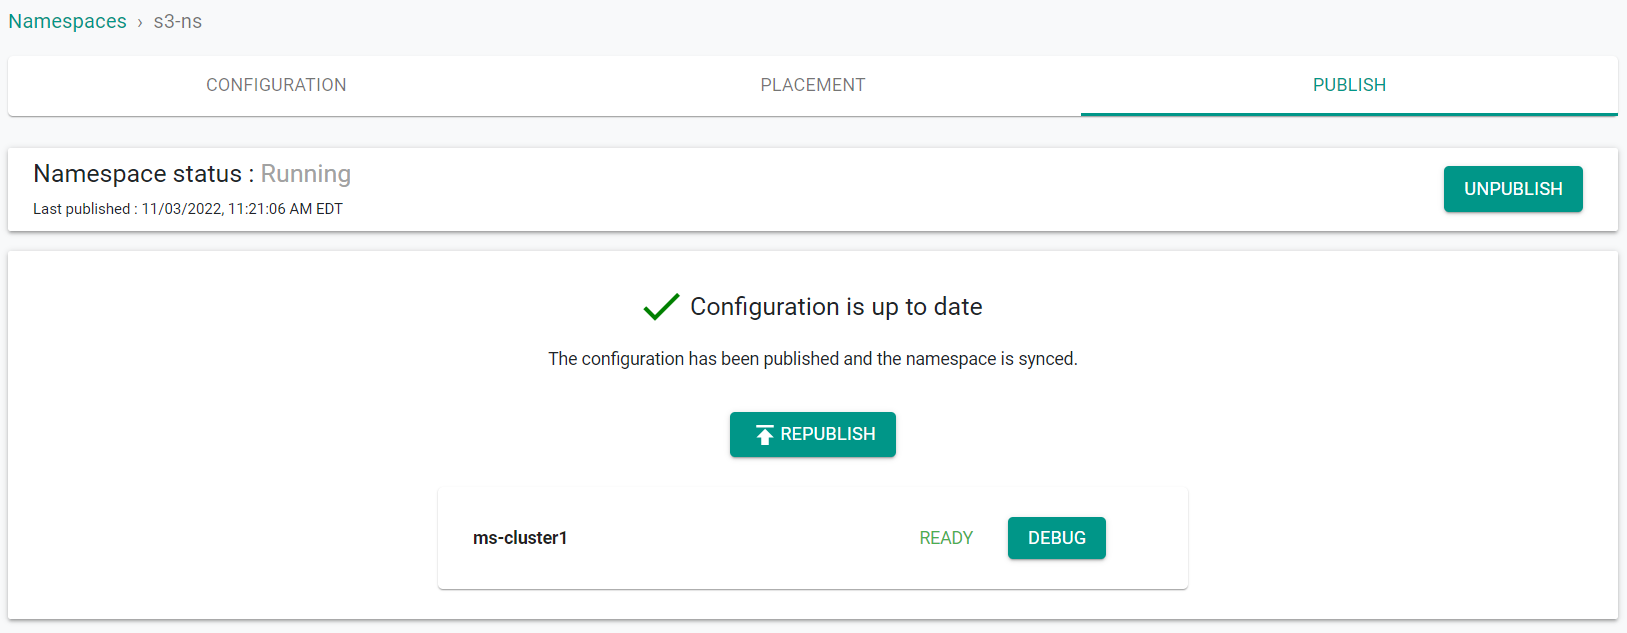
- Click "Exit"
Create Workload
Next, you will create a workload which will be used to utilize the object storage exposed by the managed storage add-on.
- In the console, navigate to your project
- Select Applications -> Workloads
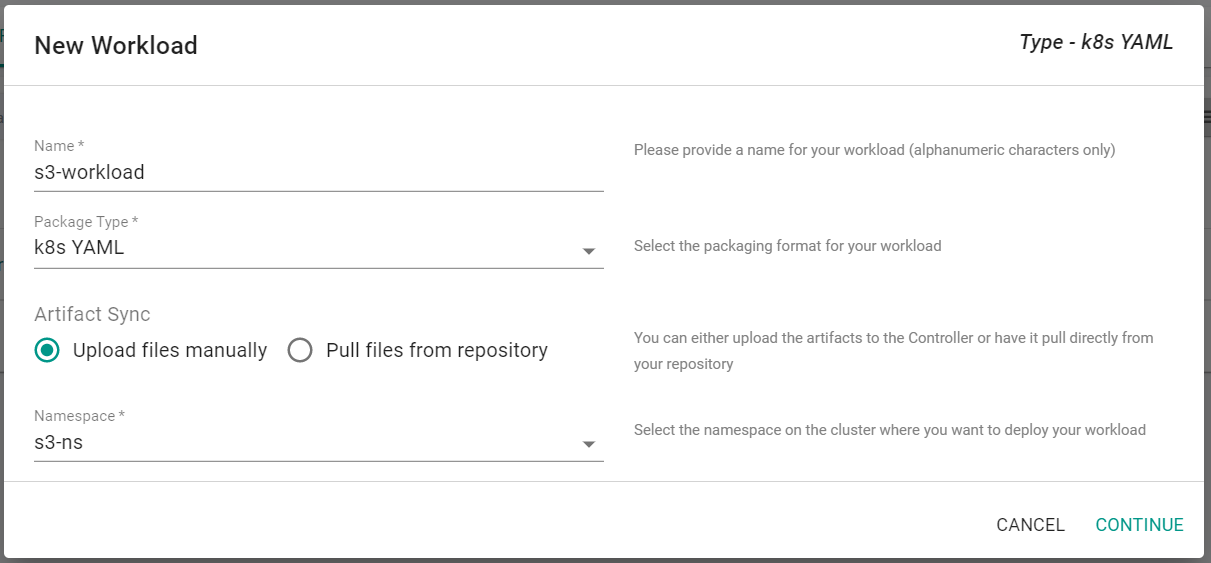
- Click "New Workload" -> "Create New Workload"
- Enter a "Name" for the Workload
- Select "k8s YAML" for the Package Type
- Select "Upload files manually"
- Select the prevsiously created namespace
- Click "Continue"
- Save the below YAML to a local file named "s3.yaml"
apiVersion: v1
kind: Pod
metadata:
 name: s3cmd
spec:
 containers:
 - name: s3cmd
   image: d3fk/s3cmd:stable
   command:
     - sh
     - -c
     - while true; do echo Hello; sleep 30; done
- In the console, select "Choose File" in the Upload Files section
- Click "Save and Go To Placement"
- Select your cluster
- Click "Save and Go To Publish"
- Click "Publish"
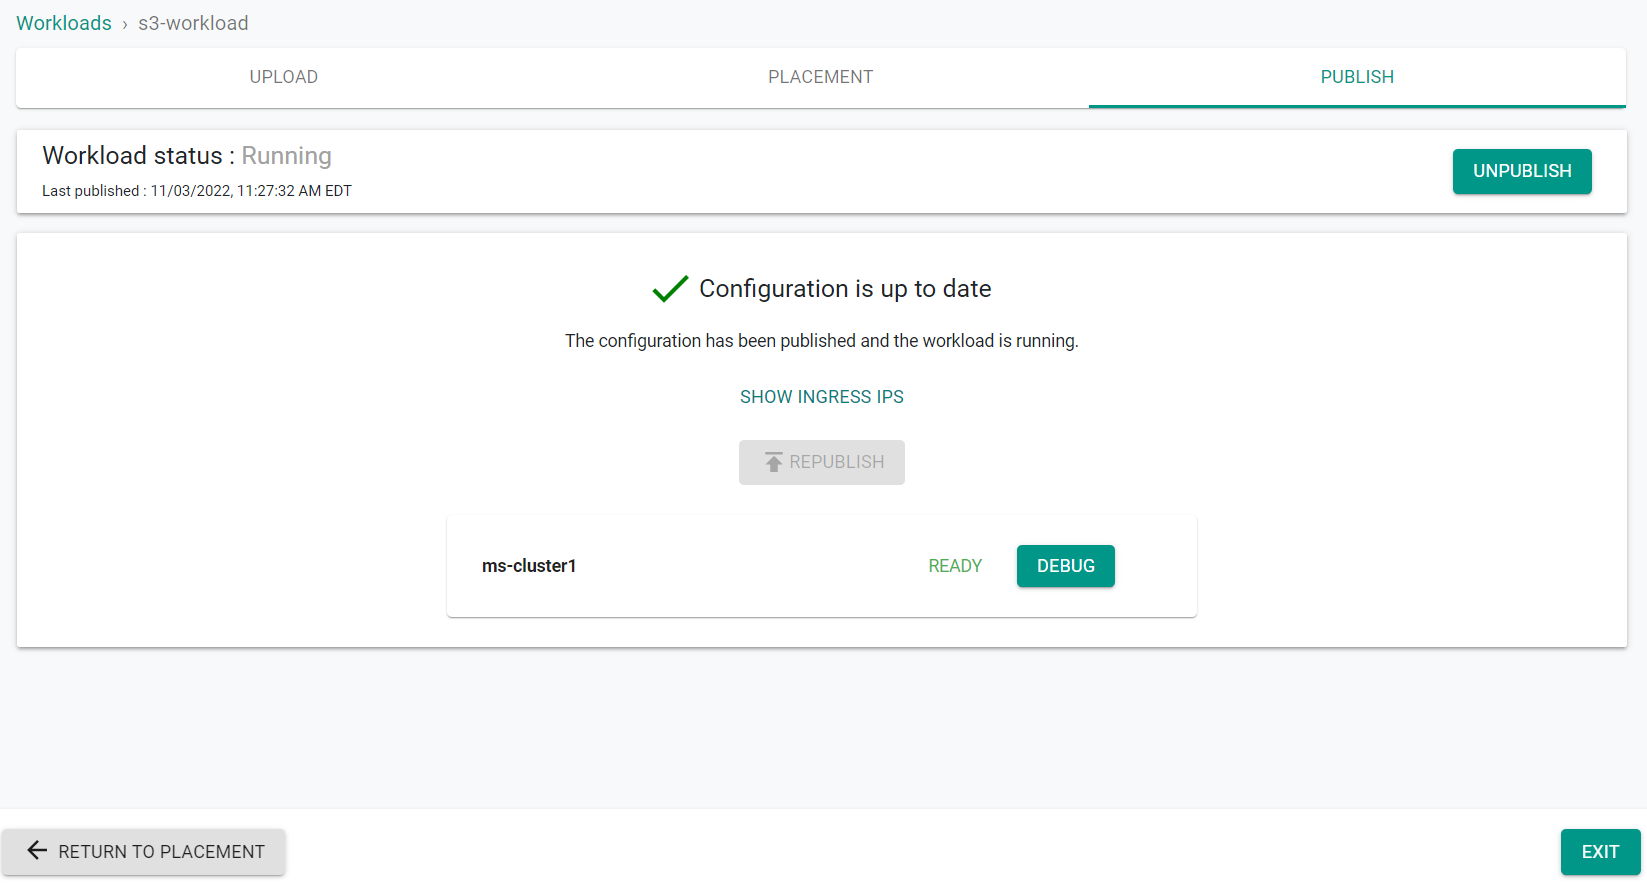
- Click "Exit"
Retrieve Configuration Details
In this section, you will retrieve the object storage buckets configuration details. These details can be used to access the object storage. You can use these details to access the object storage through many different tools such as s3cmd and boto3.
Now, you will obtain the access key and secret key of the object storage bucket.
- In the console, navigate to your project
- Select Infrastructure -> Clusters
- Click the 'kubectl' button on the cluster card
- Enter the below command
kubectl get ObjectBucketClaim -n rafay-infra

- Retrieve the bucket name from the above ObjectBucketClaim
- Enter the below command being sure to replace the bucket name if needed
kubectl get secret ceph-delete-bucket -n rafay-infra -o yaml
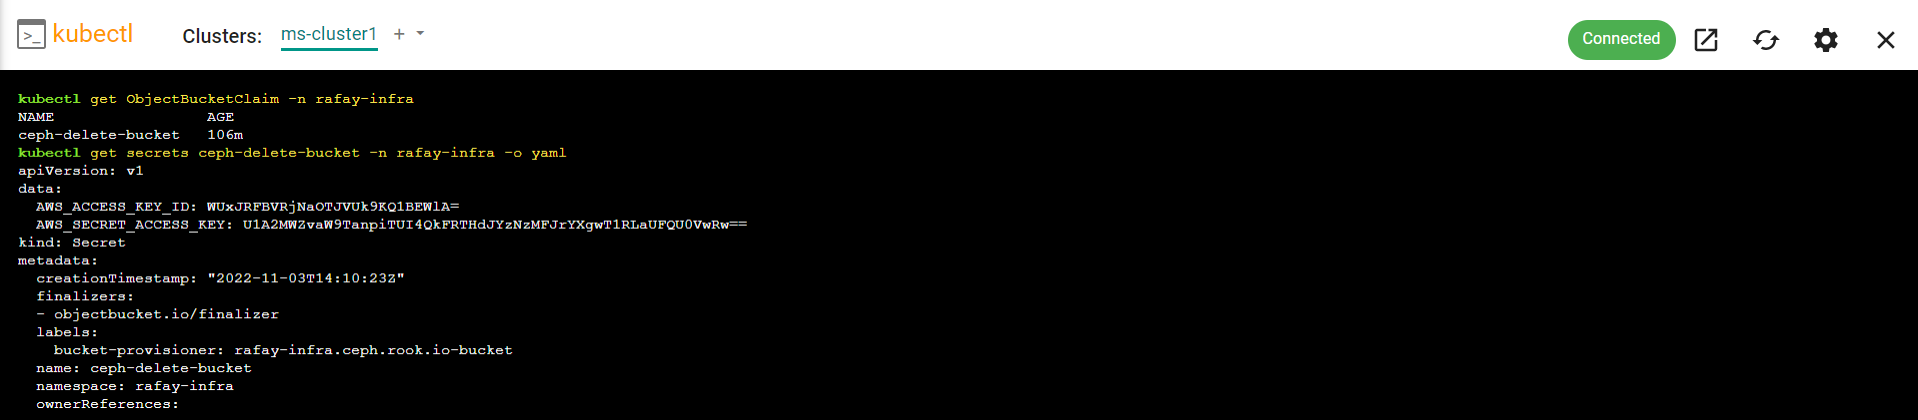
- Copy the 'AWS_ACCESS_KEY_ID' and 'AWS_SECRET_ACCESS_KEY' from the output
- Decode both the 'AWS_ACCESS_KEY_ID' and 'AWS_SECRET_ACCESS_KEY' from Base64. You can use a command like:
echo 'ENCODED_VALUE' | base64 --decode
- Save the decoded values for future use
Now, you will retrieve the region of the bucket.
- In the console, navigate to your project
- Select Infrastructure -> Clusters
- Click the 'kubectl' button on the cluster card
- Enter the below command
kubectl get sc

- Copy the storageclass name of the object storageclass
- Enter the below command being sure to replace the storageclass name if needed
kubectl get sc rook-ceph-delete-bucket -o yaml
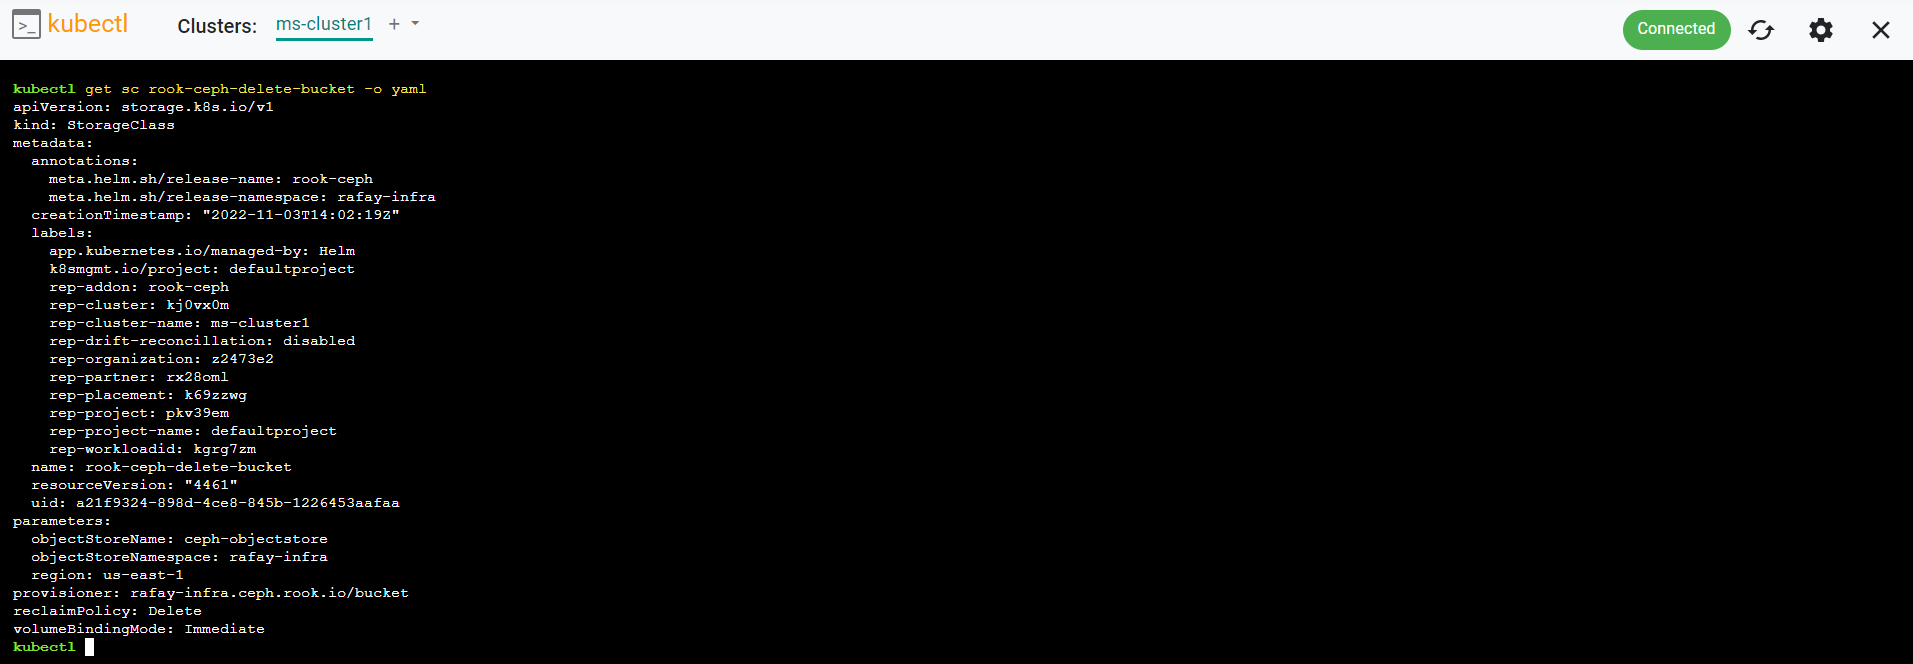
- Save the 'region' value for future use
Now, you will retrieve the S3 endpoint of the bucket.
- In the console, navigate to your project
- Select Infrastructure -> Clusters
- Click the 'kubectl' button on the cluster card
- Enter the below command
kubectl get cephobjectstore -n rafay-infra

- Enter the below command
kubectl get cephobjectstore ceph-objectstore -n rafay-infra -o yaml
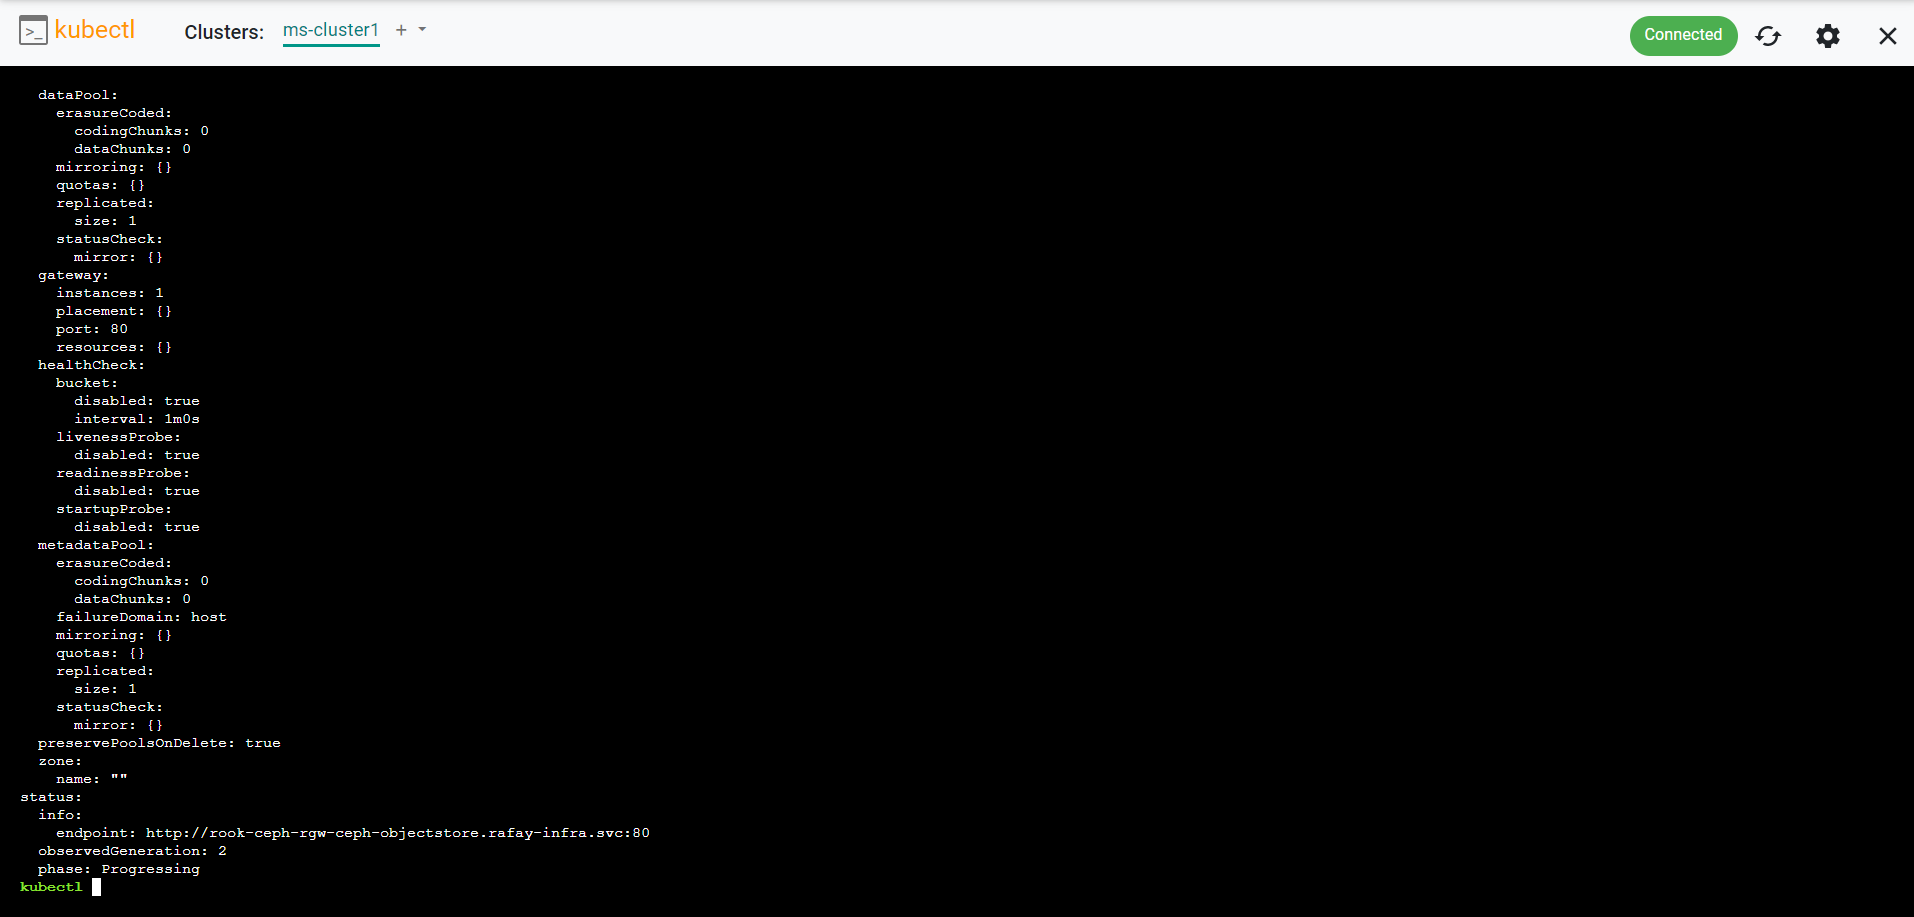
- Copy the 'endpoint' value from the output and save for future use. Note: Copy only the FQDN, no need to copy the http and port 80
Configure Storage Bucket
Next, you will configure the s3cmd tool in the previously deployed workload to use the object storage bucket. Note, you can use the previously obtained object storage details to configure other tools or applications to access and use the object storage.
- In the console, navigate to your project
- Select Infrastructure -> Clusters
- Click the cluster name on the cluster card
- Click the "Resources" tab
- Select "Pods" in the left hand pane
- Select the namespace you deployed from the "Namespace" dropdown
- Click the "Actions" button of the workload you previosuly deployed
- Select "Shell and Logs"
- Click the "Exec" icon to open a shell into the container
- Enter the following command in the shell to check the status of the Ceph cluster
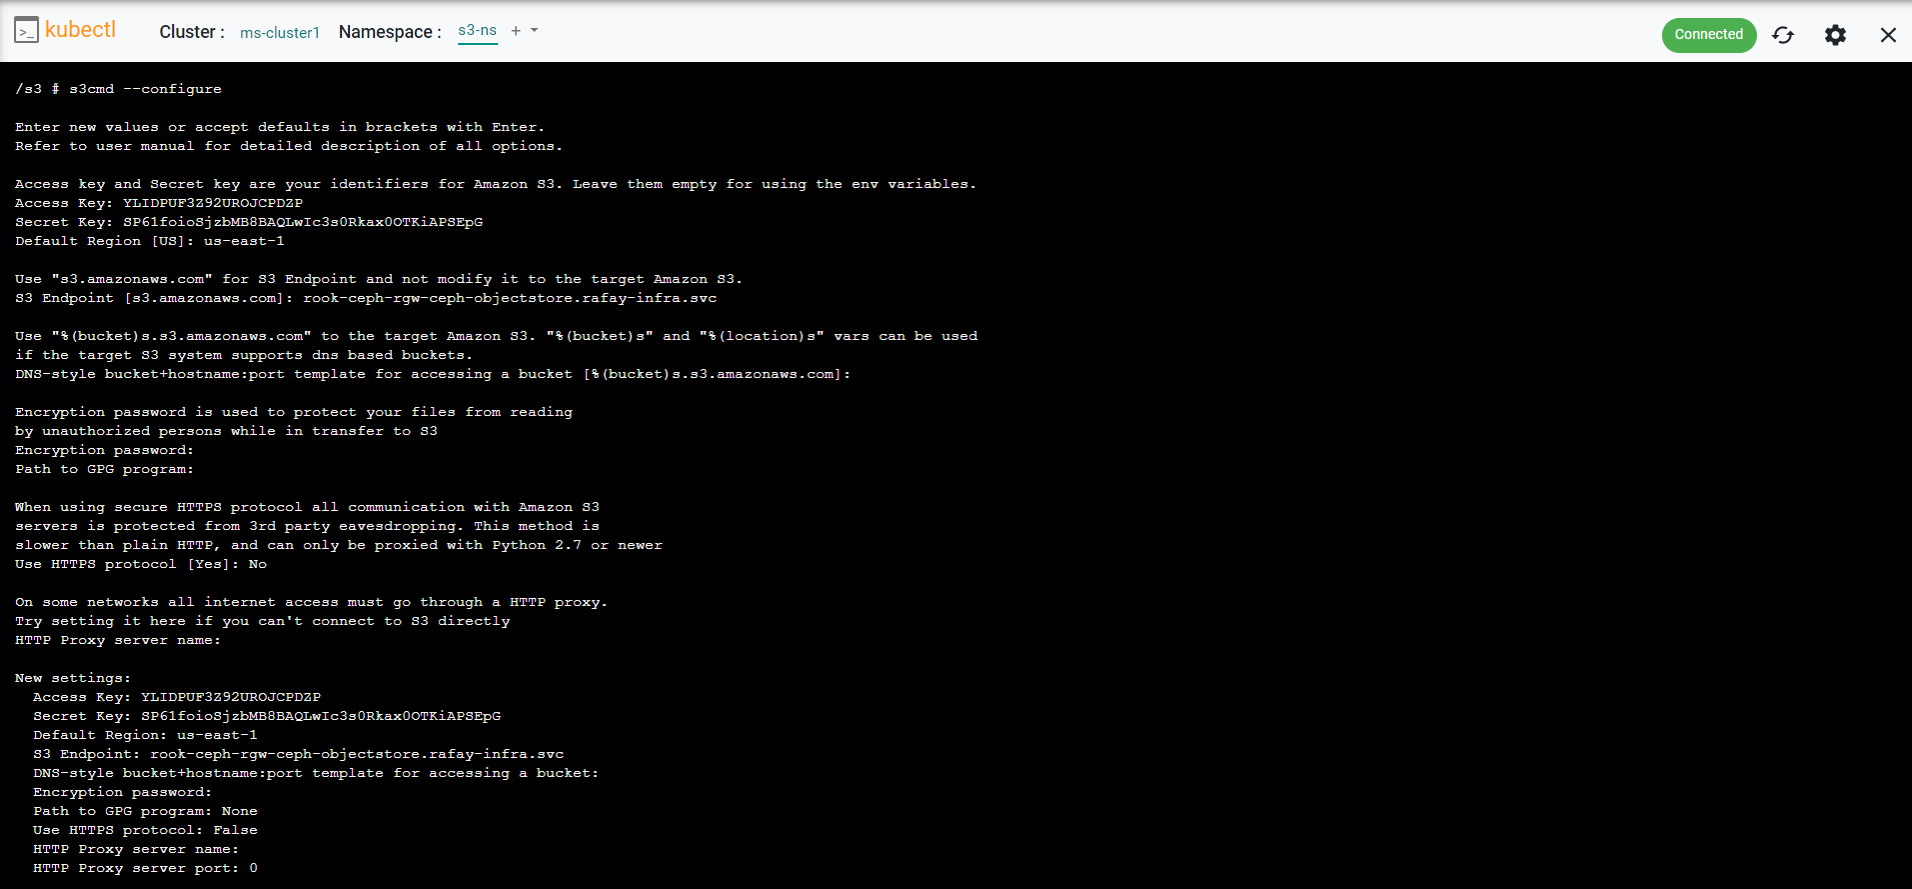
s3cmd --configure

- Enter the Access Key that was previously obtained
- Press Enter
- Enter the Secret Key that was previously obtained
- Press Enter
- Enter the Region that was previously obtained
- Press Enter
- Enter the S3 Endpoint that was previously obtained
- Press Enter
- Since we do not use DNS-style, press spacebar and hit enter. Note, Do not hit enter because if done so, it will accept the default value offered
- Press Enter for Encryption password
- Press Enter for GPG program
- Type 'No' for Use HTTPS protocol
- Press Enter
- Press Enter for Proxy
- Type 'Y' to test access
- Press Enter
- Type 'y' tp save settings
- Press Enter
Now, you are ready to test the S3 storage.
- Enter the following command to list the contents of the object storage bucket and obtain the bucket path
s3cmd ls

- Enter the following command to create test data
echo "Hello Rook" > /tmp/rookObj
- Enter the following command to upload the test data to the object storage bucket. Be sure to update the command with the correct bucket path.
s3cmd put /tmp/rookObj <BUCKET PATH>
- Enter the following command to list the contents of the object storage bucket and see the File Path
s3cmd ls <BUCKET PATH>
- Enter the following command to download the file
s3cmd get <FILE PATH> /tmp/download.txt
- Enter the following command to dview the contents of the file
cat /tmp/download.txt

Recap
Congratulations! At this point, you have successfully deployed a test application that is using the Rook Ceph managed storage add-on.