CloudWatch
To aggregate and stream your Org's audit log data to AWS CloudWatch using the web console or the command line (RCTL).
Use the web console to configure your audit logs.
Prerequisites
- Customize the Values file (YAML). (See below for creating a values.yaml file).
- Create a namespace in your cluster.
Configure Workload
Note: Only one audit log workload is needed for an organization.
- In the web console, select Catalog.
- For Filter by Catalog, select default-rafay.
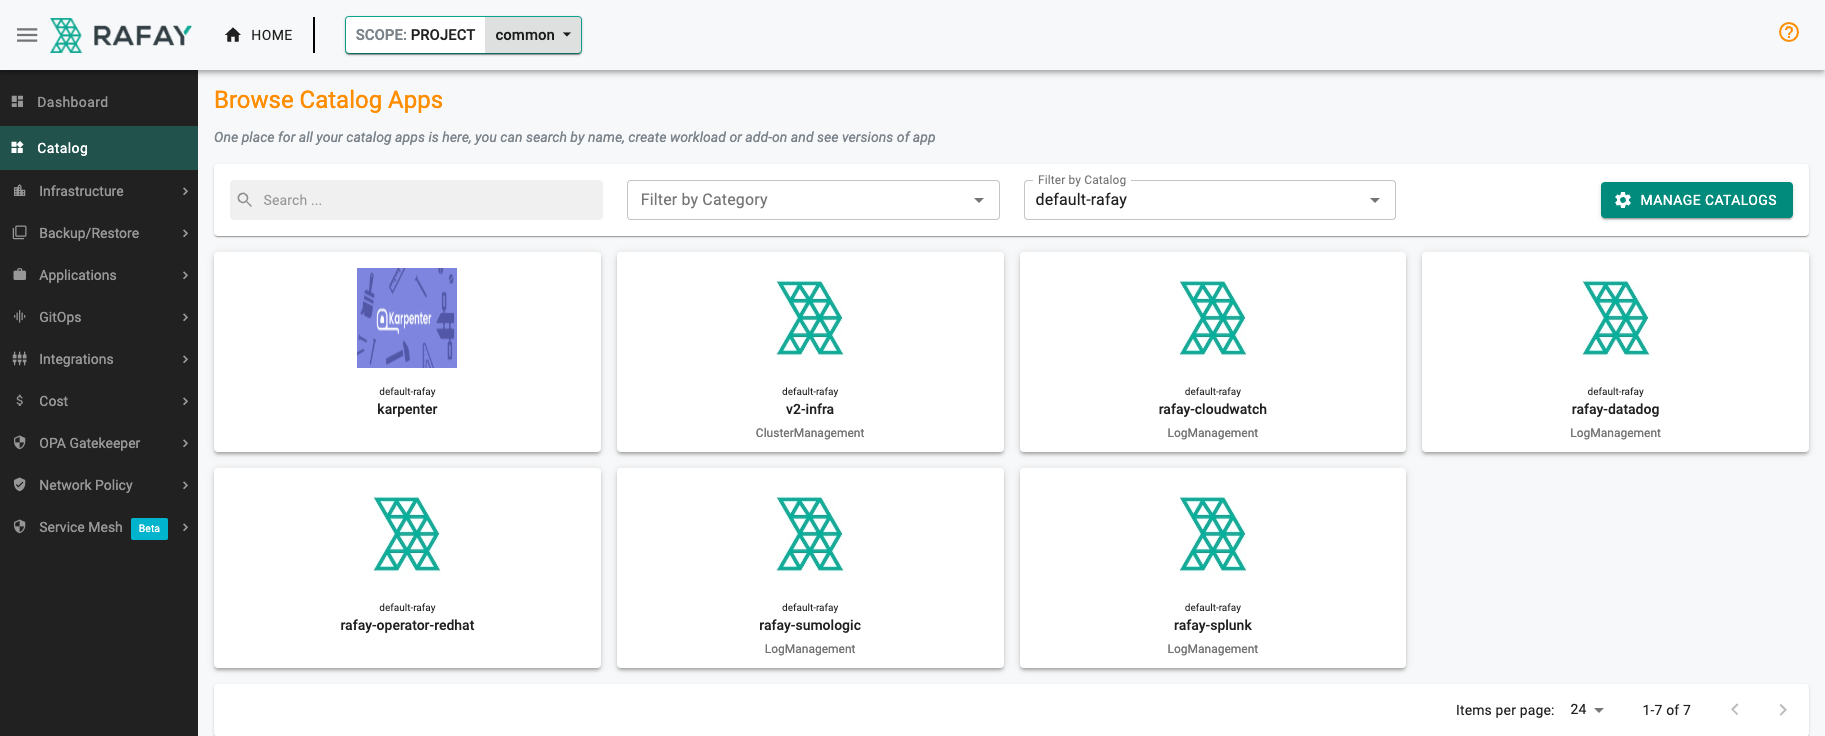
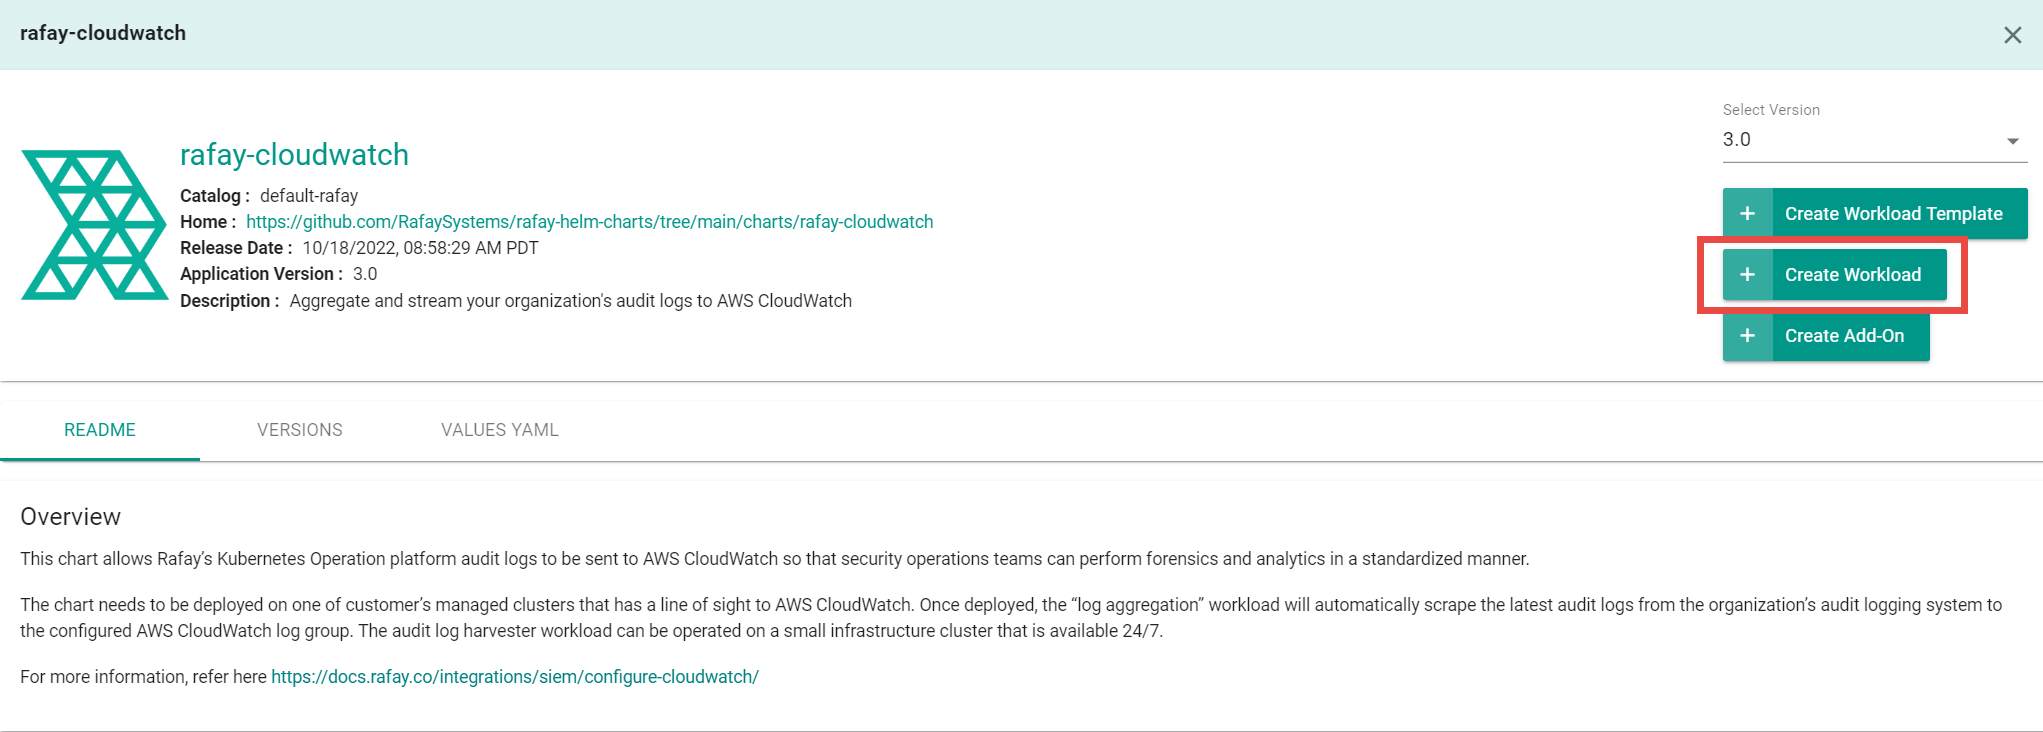
- Select rafay-cloudwatch, then select Create Workload.
- Enter a name for the workload. Example: rafay-audit-logs.
- Select the namespace.
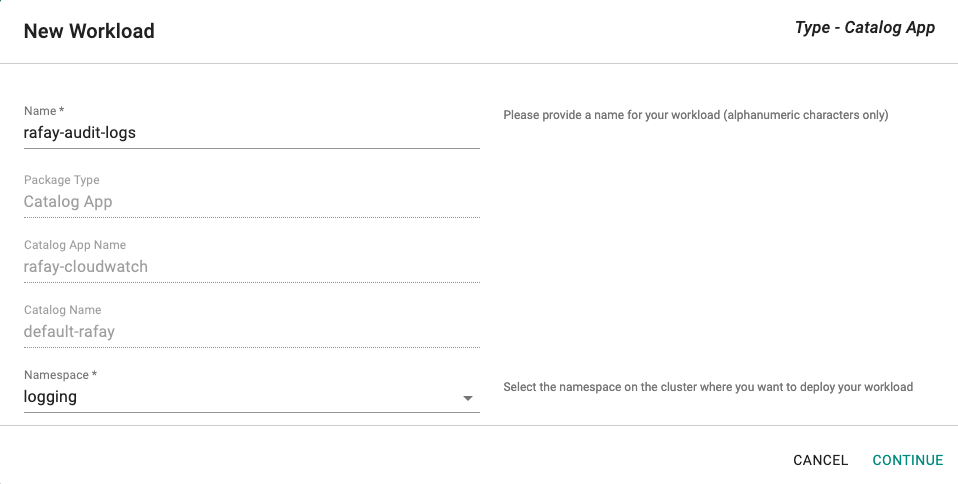
- Click Continue.
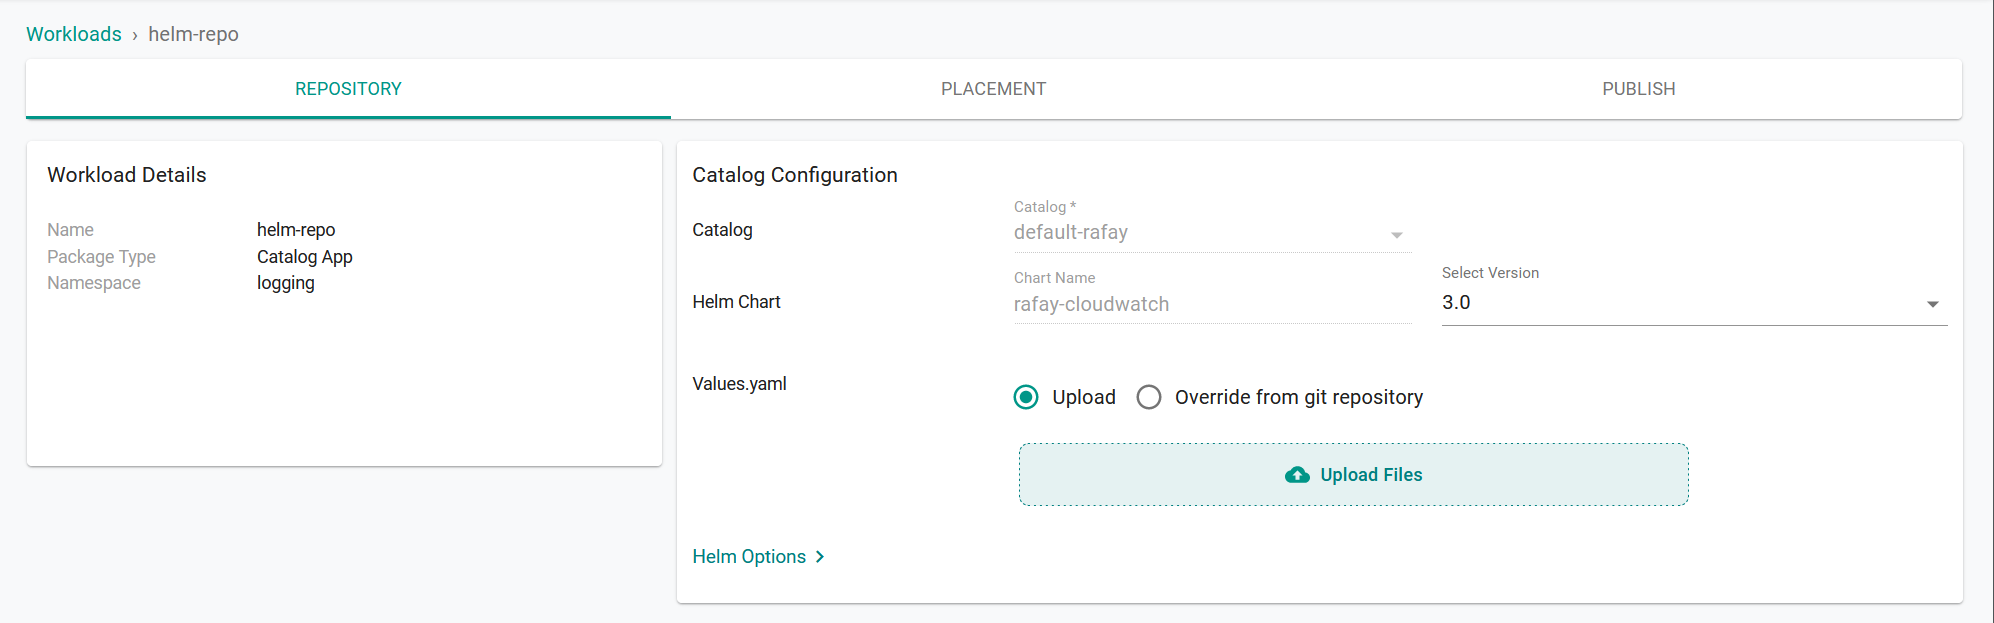
- On the Repository tab, for Values yaml:
- Create a values.yaml file. (See below for creating a values.yaml file)
- Click Upload Files.
- Select the values.yaml file.
- Click Open.
- Click Save and Go to Placement.
- Update the following for Placements:
- Select the appropriate Drift Action.
- Select Specified Clusters for the Placement Policy.
- Select the cluster from the cluster list.
- Click Save and go to Publish.
- Click Publish.
Use the Command Line Interface (RCTL) to automate reproducible workflows without having to use the web console.
Prerequisites
- Download RCTL
- Configure RCTL
- Customize the Values file (YAML). (See below for creating a values.yaml file).
- Create a namespace in your cluster.
Note: Set the correct project using RCTL.
Create a Repository
Create a repository.yaml file using the following example. Replace demo with the name of the project you are adding this repository to. Optionally, you can change helm-repo to another name; if you change the name, use that name for repository_ref in the workload.yaml file (see Create a Workload).
apiVersion: config.rafay.dev/v2
kind: Repository
metadata:
  name: helm-repo
  project: demo
spec:
  repositoryType: HelmRepository
  endpoint: https://rafaysystems.github.io/rafay-helm-charts/
  credentialType: CredentialTypeNotSet
Run the create repository command and include the repository.yaml file.
./rctl create repository -f repository.yaml
Create a Workload
Create a workload.yaml file using the following example. Replace the names used in clusters, namespace, and project to match your environment where you want to publish the workload.
name: audit-logs
namespace: ns-name
type: Helm
project: demo
clusters: demo-cluster
repository_ref: helm-repo
repo_artifact_meta:
  helm:
    chartName: rafay-cloudwatch
values: ./values.yaml
Run the create workload command and include the workload.yaml file.
./rctl create workload workload.yaml
Publish a Workload
Run the publish workload command. Replace workload-name with the name used in the workload.yaml file. Example: audit-logs.
./rctl publish workload workload-name
Values YAML File
Create a values.yaml file that contains your CloudWatch information. Use the example below and change the following:
rafay_api_key- Your organization's API key. In the web console, select My Tools > Manage Keys.rafay_api_secret- Your organization's API Secret key. In the web console, select My Tools > Manage Keys.secret_name- (Optional) Specify existing k8s secret name that contains your organization's API key & secret. (See below is an example of k8s secret)
# Default values for Rafay CloudWatch audit log integration.
# This is a YAML-formatted file.
# Declare variables to be passed into your templates.

config:
  ## Rafay console URL
  url: https://console.rafay.dev
  ## Rafay API Key
  rafay_api_key: RAFAY_API_KEY
  ## Rafay API Secret
  rafay_api_secret: RAFAY_API_SECRET
  ## Send Initial logs to CloudWatch based on following value. Default to "14d" days.
  ## This value can not be greater than 14 days.
  filter: 14d
  ## Time Interval to send logs to cloudwatch
  interval: 1m
  ## CloudWatch Logs Group
  logGroup: rafay-logs
  ## CloudWatch Log Stream for auditlogs
  auditLogStream: auditlogs-prod
  ## CloudWatch Log Stream for kubectl logs
  kubectlLogStream: kubectl-logs-prod
  ## CloudWatch Log Stream for OPA logs
  opaLogStream: opa-logs-prod
  ## Create above specified logs streams.
  createLogStreams: True
  ## AWS Region
  aws_region: us-west-1
  ## Existning Secret Name or leave it empty
  secret_name: ""
image:
  repository: registry.rafay-edge.net/rafay-logs/rafay-cloudwatch
  pullPolicy: Always
  # Overrides the image tag whose default is the chart appVersion.
  tag: 0.3.5

serviceAccount:
  # Specifies whether a service account should be created
  create: true
  # Annotations to add to the service account
  annotations: {}
  # The name of the service account to use.
  # If not set and create is true, a name is generated using the fullname template
  name:
rbac:
  create: true
replicaCount: 1
imagePullSecrets: []
nameOverride: ""
fullnameOverride: ""
deploymentAnnotations: {}
podAnnotations: {}
resources: {}
  # We usually recommend not to specify default resources and to leave this as a conscious
  # choice for the user. This also increases chances charts run on environments with little
  # resources, such as Minikube. If you do want to specify resources, uncomment the following
  # lines, adjust them as necessary, and remove the curly braces after 'resources:'.
  # limits:
  #   cpu: 100m
  #   memory: 128Mi
  # requests:
  #   cpu: 100m
  #   memory: 128Mi
nodeSelector: {}
tolerations: []
affinity: {}
Example of k8s secret with API Key and Secret.
apiVersion: v1
kind: Secret
data:
  rafaykey: cmFmYXlrZXkK
  rafaysecret: cmFmYXlzZWNyZXQK