Constraints
Constraints are used to notify Gatekeeper that a Constraint Template needs to be enforced. It also specifies the 'how' by passing the required parameters. Constraint spec is used to select the enforcement action (deny, warn or dryrun). By default, it is set to deny i.e. any admission requests that result in violations are denied.
Step 1: Create New Constraint
Perform the below steps to create a new constraint:
- Login to the Controller and select Constraints under the OPA Gatekeeper. Users can view the list of existing constraints on the Constraints page
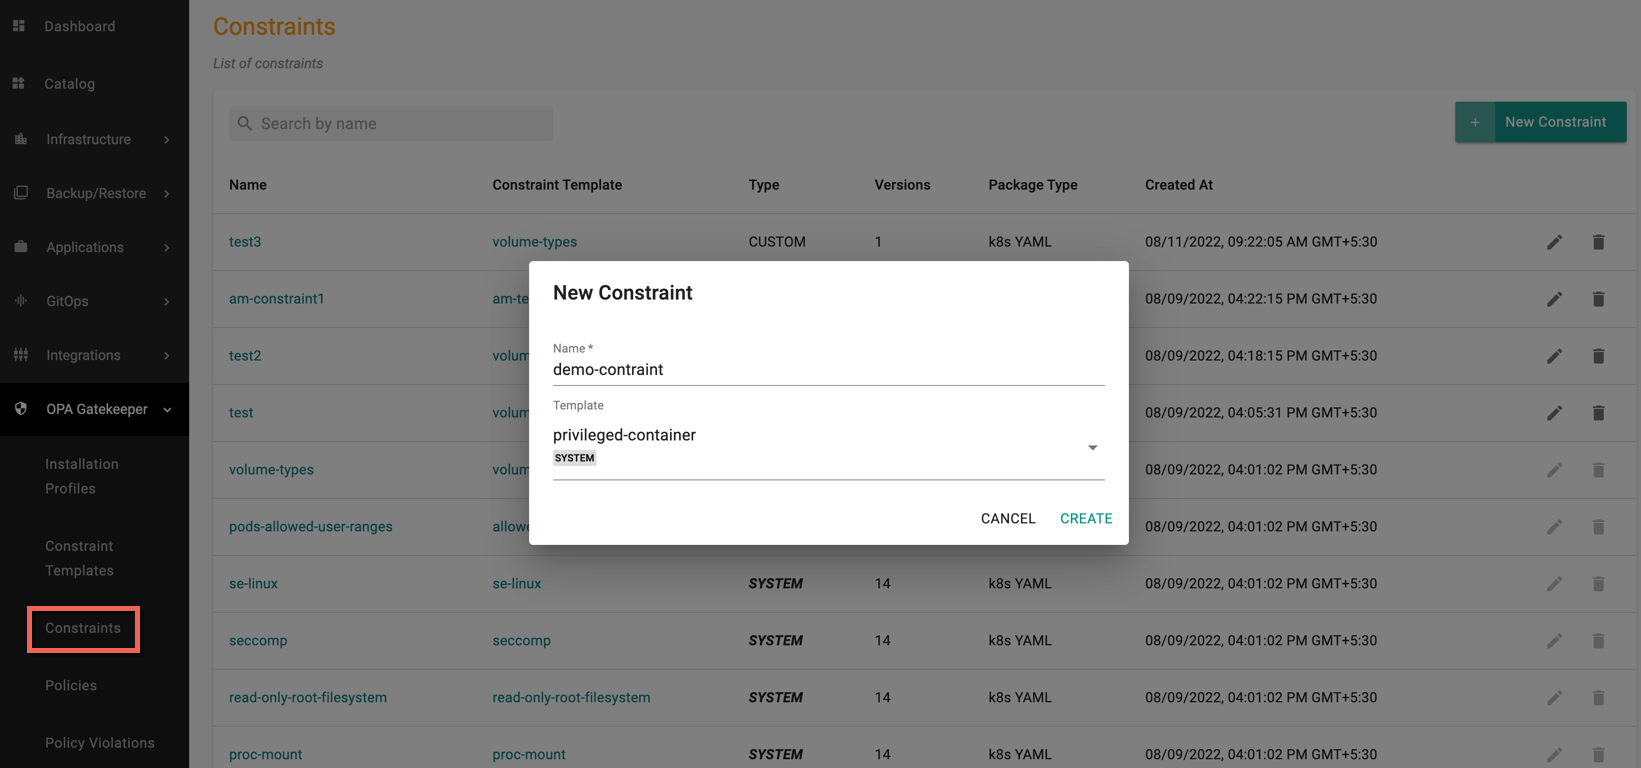
- Click New Constraint
- Provide a name for the new constraint and select a Constraint Template through which the constraint parameters will be applied
All constraints are version-controlled so that the lifecycle can be properly managed. In this example, the admin has not yet configured anything. So, no versions are available as yet.
Important
Constraints created before versioning was introduced will have Initial as the version name
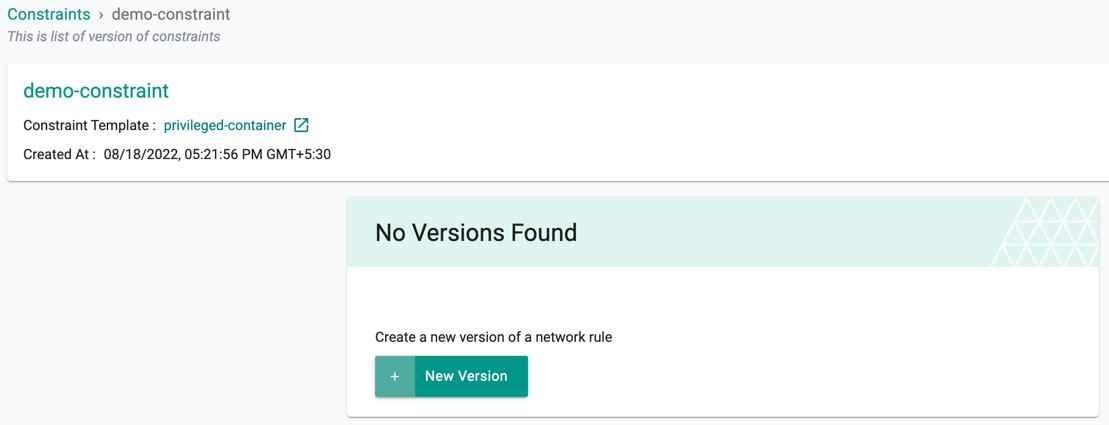
Step 2: New Version
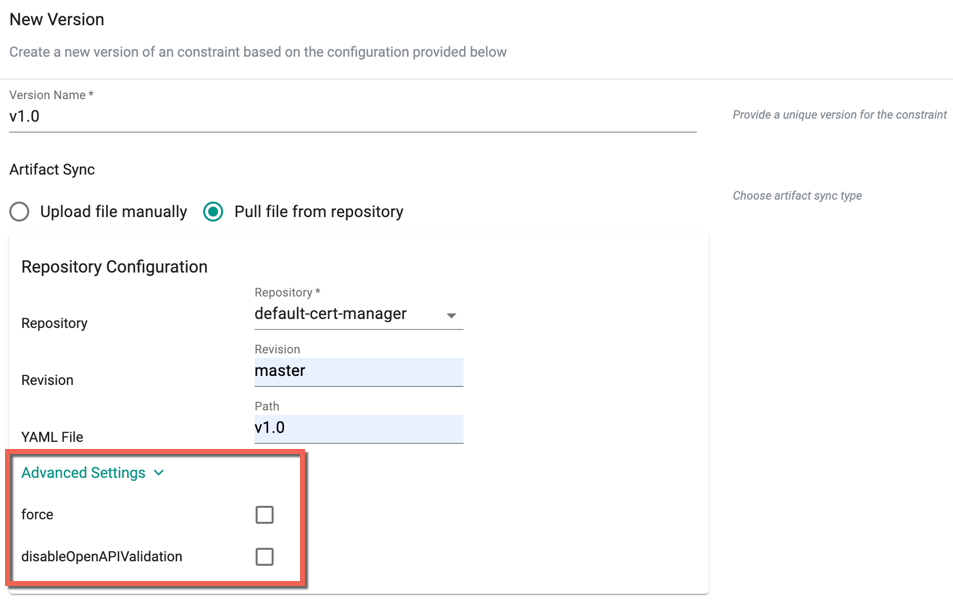
- Click on New Version and use the wizard to provide details
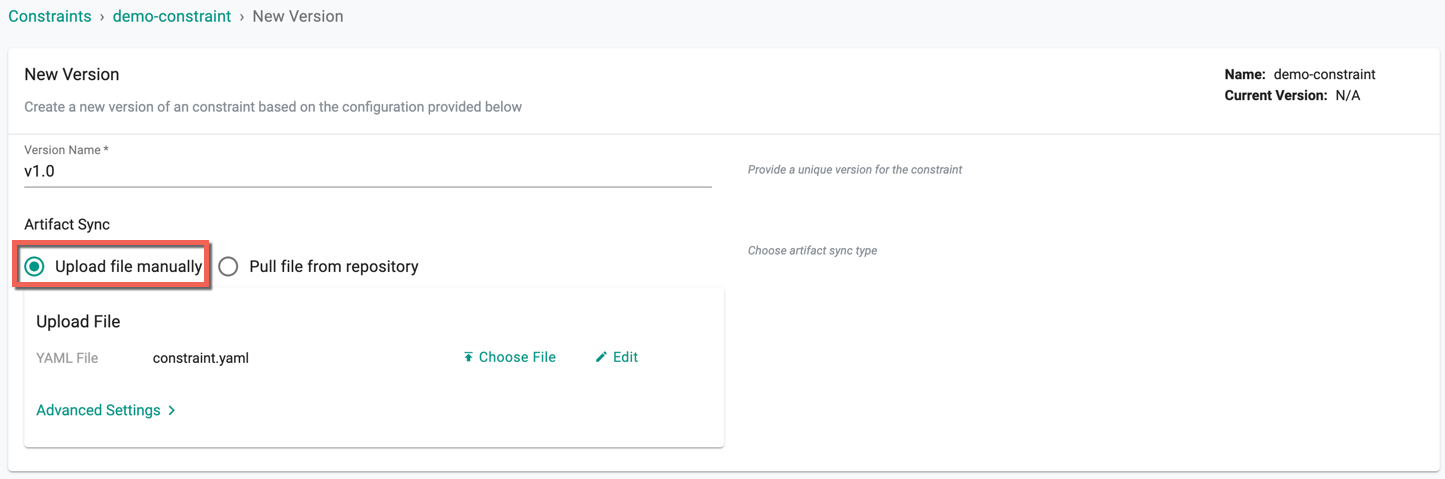
- Provide a version number/name
- Select an Artifact Sync. To upload the files from the system, select Upload files manually and click Choose File to upload the YAML file
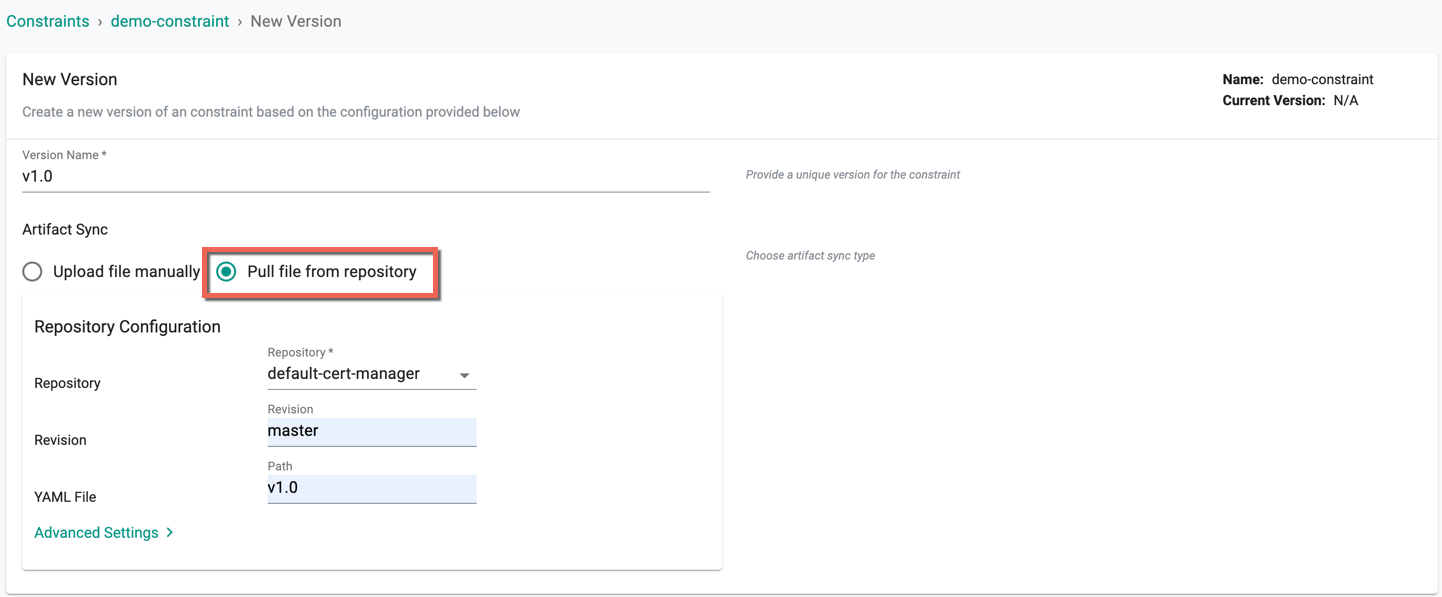
- To use the files available from the git repository, select Pull files from repository
Below is an example of a constraint code set to 3 minimum replicas and 50 maximum replicas. Applications that enters with less than 3 replicas and more than 50 replicas are not allowed.
apiVersion: constraints.gatekeeper.sh/v1beta1
kind: K8sReplicaLimits
metadata:
  name: replica-limits
spec:
  match:
    kinds:
      - apiGroups: ["apps"]
        kinds: ["Deployment"]
  parameters:
    ranges:
    - min_replicas: 3
      max_replicas: 50
- Click Advanced Settings (optional) to select any of the provided options. Refer Constraint Templates for more information on Advanced Settings
- Click Save Changes to proceed or Discard Changes & Exit to abort the process
Edit / Delete Constraints
- Click the Delete icon to delete or Edit icon to edit the existing constraints

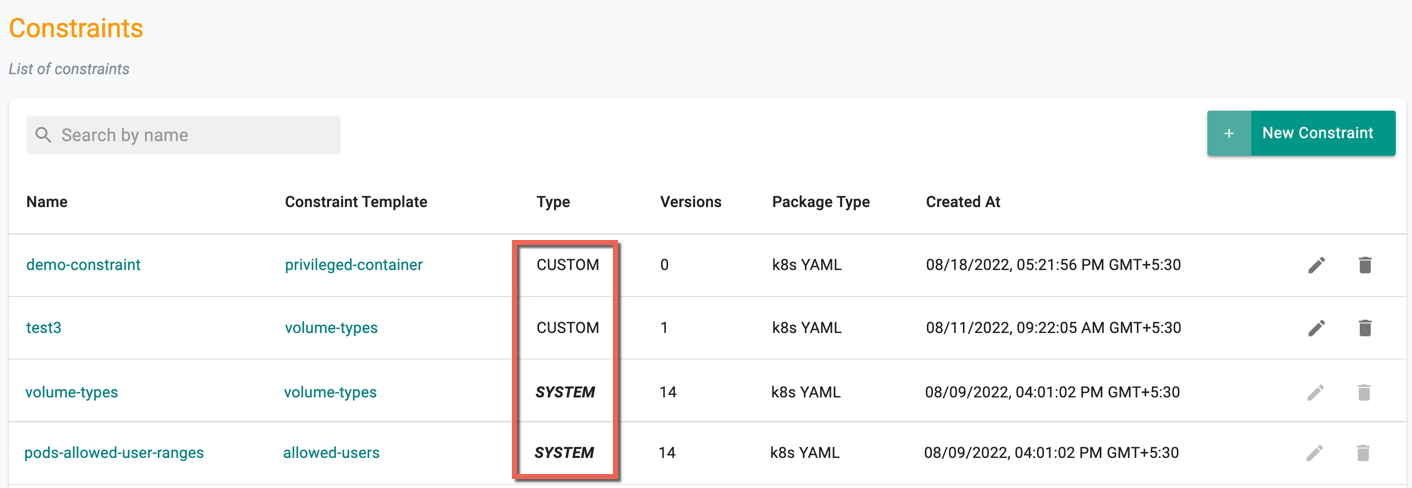
Constraint Types
Two types of Constraints are Custom and System
- Constraints created by customers are listed as Custom
- Constraints created by system for reference are listed as System. Users can edit but cannot delete the System Constraints
Important
Users with Namespace Admin role do not have access to Constraints page