Part 3: Blueprint
What Will You Do
In this part of the self-paced exercise, you will create a custom cluster blueprint with the previously created OPA Gatekeeper policy.
Step 4: Create Blueprint
In this step, you will create a custom cluster blueprint with OPA Gatekeeper.
- Under Infrastructure section, navigate to Blueprints
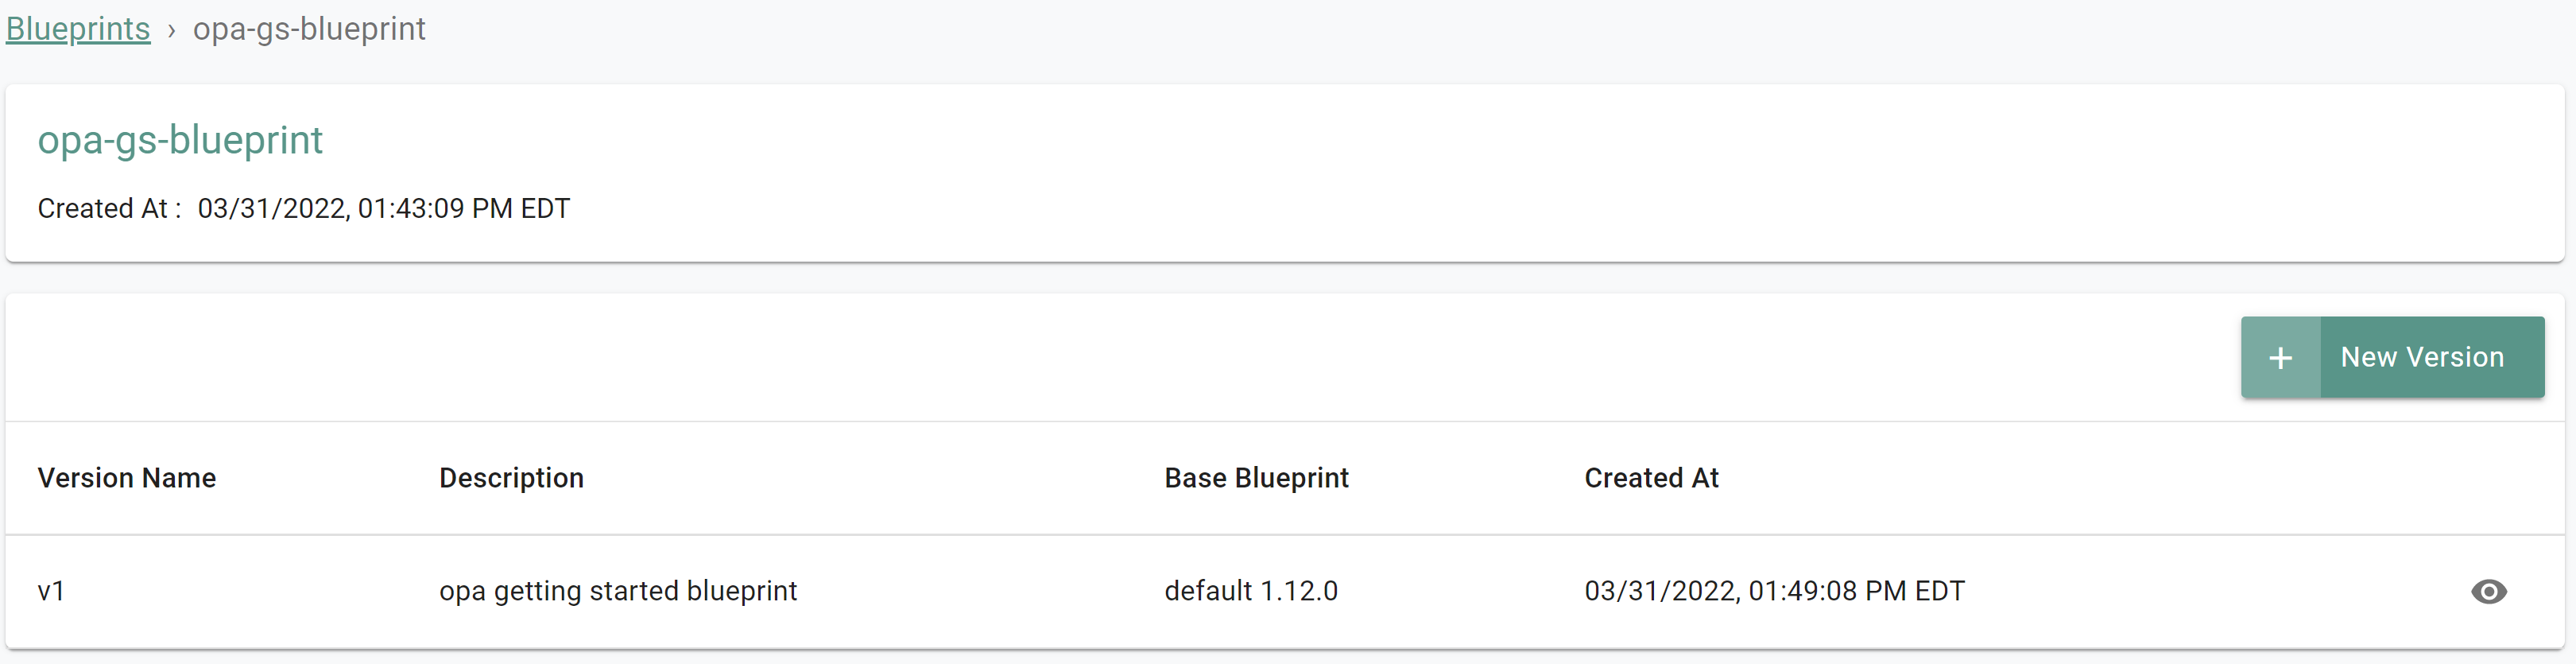
- Create a New Blueprint, provide a name (e.g. opa-gs-blueprint) and select Custom Blueprint as the type
- Provide a version name (e.g. v1)
- Navigate to the OPA Gatekeeper section and select Enable
- Click Add Policy and add the OPA Gatekeeper policy along with the version (opa-gs-policy, v1)
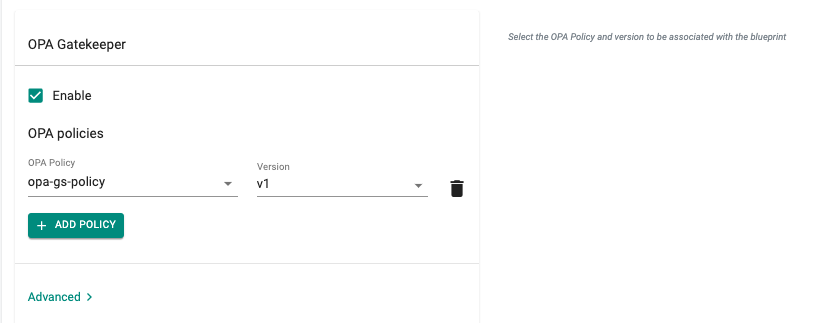
- Click Save Changes
Step 5: Update Cluster Blueprint
In this step, you will update the cluster to use the newly created custom blueprint with OPA Gatekeeper and the defined policy.
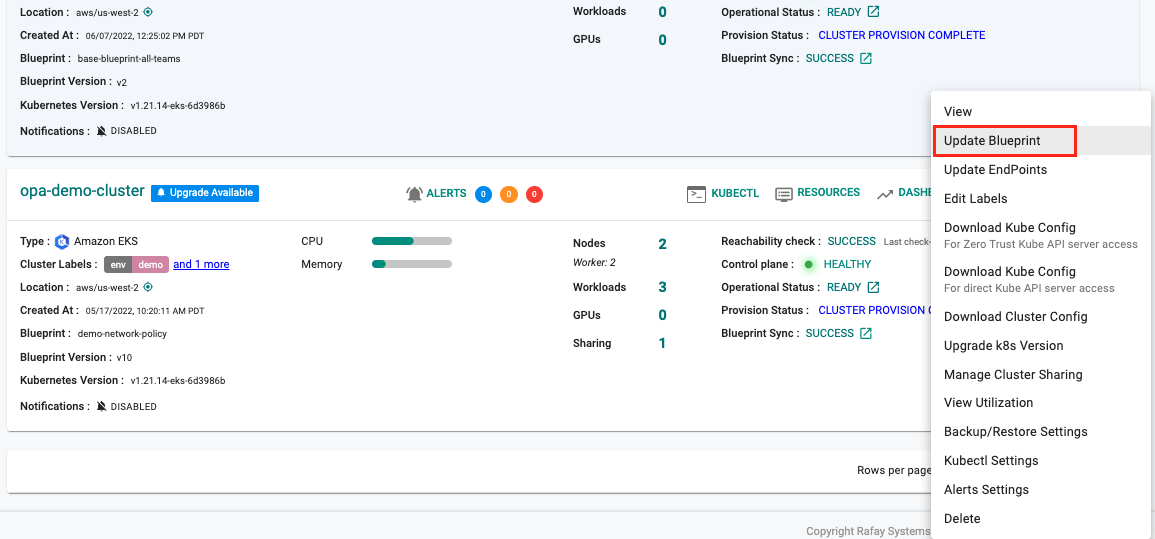
- Navigate to Infrastructure -> Clusters page
- Click on the gear icon next to the cluster
- Select Update Blueprint
- Select the blueprint and the version (e.g. opa-gs-blueprint, v1)
- Click Save and Publish
After the blueprint sync operation is complete, you should see the cluster is now using the "opa-gs-blueprint
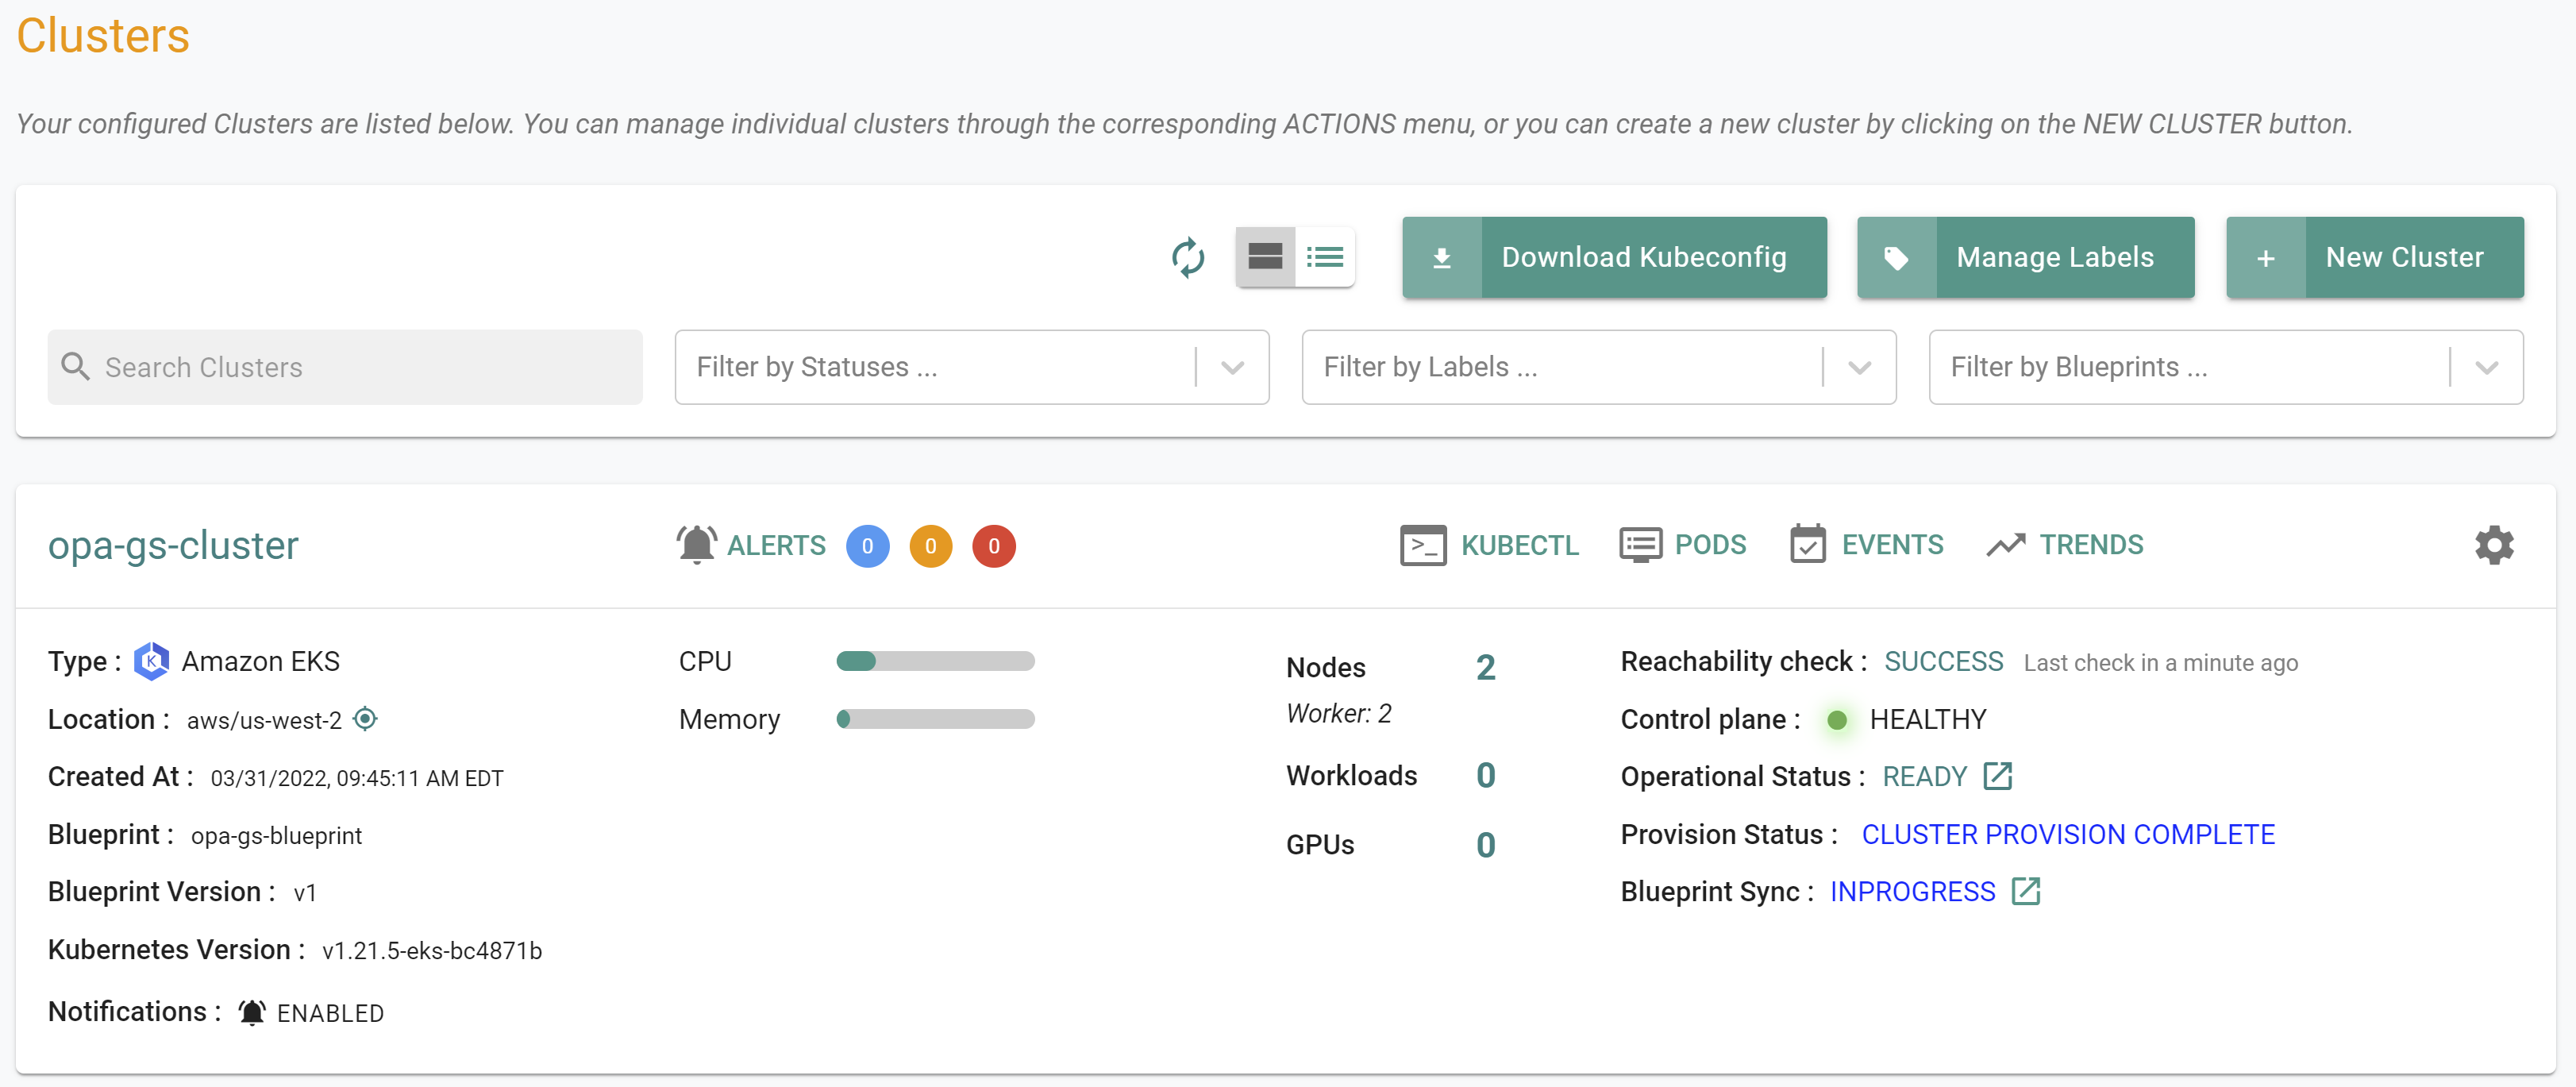
- Navigate to Infrastructure -> Clusters
- Click on "KUBECTL" in the cluster card
- Type the command below
kubectl get pods -n rafay-system
Once the custom cluster blueprint is applied to the target cluster, all configured add-ons (managed and self managed) are automatically deployed to the cluster. You should see a result like the following showing the OPA Gatekeeper pods running.
NAME                                             READY   STATUS    RESTARTS   AGE
controller-manager-v3-6b748b7695-nnffs           1/1     Running   0          4m28s
edge-client-67b7695748-9qfll                     1/1     Running   0          2m51s
gatekeeper-audit-7f574bdf8b-kkpz4                2/2     Running   0          104s
gatekeeper-controller-manager-867b454866-8g4mx   2/2     Running   0          104s
gatekeeper-controller-manager-867b454866-qd5zd   2/2     Running   0          104s
gatekeeper-controller-manager-867b454866-rjx2k   2/2     Running   0          104s
ingress-controller-v1-controller-bzhsb           1/1     Running   0          3m23s
ingress-controller-v1-controller-s6ckz           1/1     Running   0          4m4s
rafay-connector-v3-7f97cd668-wc9nj               1/1     Running   0          4m28s
relay-agent-5f99474d86-jkmz4                     1/1     Running   0          4h8m
Recap
As of this step, you have created a cluster blueprint with OPA Gatekeeper and applied this blueprint to an existing cluster. You are now ready to move onto the next step where you will deploy a test workload to test the policy constraints.
Step 4: Create Blueprint
In this step, you will create a custom cluster blueprint with OPA Gatekeeper. The "blueprint-v2.yaml" file contains the declarative specification for the blueprint.
- Open Terminal (on macOS/Linux) or Command Prompt (Windows) and navigate to the folder where you forked the Git repository
- Navigate to the folder "
/getstarted/opa_gatekeeper/blueprint"
Important
Ensure you update the "project: defaultproject" with the name of the project in your Org
apiVersion: infra.k8smgmt.io/v3
kind: Blueprint
metadata:
  name: opa-gs-blueprint
  project: defaultproject
  description: opa getting started blueprint
spec:
  base:
    name: default
    version: 1.17.0
  defaultAddons:
    csiSecretStoreConfig:
      providers: {}
    enableIngress: true
    enableLogging: false
    enableMonitoring: true
    enableVM: false
  drift:
    enabled: false
  networkPolicy: {}
  opaPolicy:
    opaPolicy:
    - name: opa-gs-policy
      version: opa-gs-policy-version
    profile:
      name: default
  placement: {}
  sharing:
    enabled: false
  version: v1
- Type the command below to create the blueprint
rctl apply -f blueprint-v2.yaml
If you did not encounter any errors, you can optionally verify if everything was created correctly on the controller.
- Navigate to the "defaultproject" project in your Org
- Select Infrastructure -> Blueprint
- Click on the "opa-gs-blueprint" custom cluster blueprint
Step 5: Update Cluster Blueprint
In this step, you will update the cluster to use the newly created custom blueprint with OPA Gatekeeper and the defined policy.
- Replace the cluster name, "opa-gs-cluster", in the command below with the name of your cluster.
- Run the updated command
rctl update cluster opa-gs-cluster -b opa-gs-blueprint --blueprint-version v1
If you did not encounter any errors, you can optionally verify if everything was created correctly on the controller.
- Navigate to the "defaultproject" project in your Org
- Select Infrastructure -> Clusters
- You should see the cluster is now using the "opa-gs-blueprint
- Navigate to Infrastructure -> Clusters
- Click on "KUBECTL" in the cluster card
- Type the command below
kubectl get pods -n rafay-system
Once the custom cluster blueprint is applied to the target cluster, all configured add-ons (managed and self managed) are automatically deployed to the cluster. You should see a result like the following showing the OPA Gatekeeper pods running.
NAME                                             READY   STATUS    RESTARTS   AGE
controller-manager-v3-6b748b7695-nnffs           1/1     Running   0          4m28s
edge-client-67b7695748-9qfll                     1/1     Running   0          2m51s
gatekeeper-audit-7f574bdf8b-kkpz4                2/2     Running   0          104s
gatekeeper-controller-manager-867b454866-8g4mx   2/2     Running   0          104s
gatekeeper-controller-manager-867b454866-qd5zd   2/2     Running   0          104s
gatekeeper-controller-manager-867b454866-rjx2k   2/2     Running   0          104s
ingress-controller-v1-controller-bzhsb           1/1     Running   0          3m23s
ingress-controller-v1-controller-s6ckz           1/1     Running   0          4m4s
rafay-connector-v3-7f97cd668-wc9nj               1/1     Running   0          4m28s
relay-agent-5f99474d86-jkmz4                     1/1     Running   0          4h8m
Recap
As of this step, you have created a cluster blueprint with OPA Gatekeeper and applied this blueprint to an existing cluster. You are now ready to move onto the next step where you will deploy a test workload to test the policy constraints.