Part 1: Create
This is Part 1 of the exercise that will focus on creating namespaces both inside and outside of the controller.
What Will You Do
In part 1, you will:
- Create a cluster blueprint
- Apply the blueprint to a cluster
- Create a namespace from the controller
- Create a namespace from KUBECTL
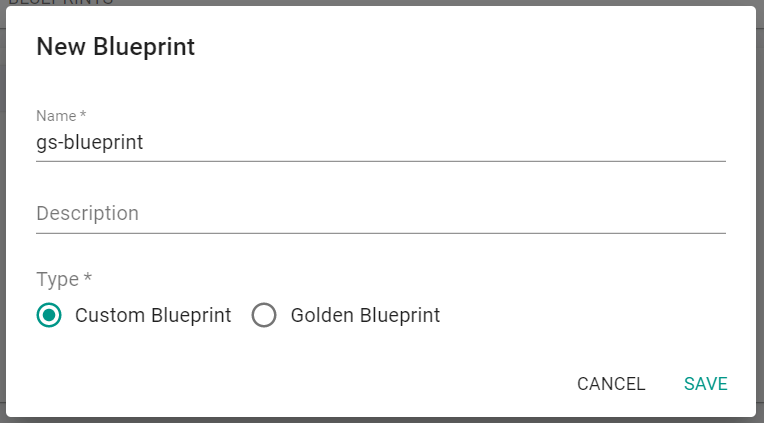
Step 1: Create Blueprint
In this step, we will create a custom blueprint based off the "minimal" blueprint.
- Navigate to the project in your Org where your cluster is located
- Select Infrastructure -> Blueprints
- Click "New Blueprint"
- Enter a name for the blueprint
- Select "Custom Blueprint" for the Type
- Click "Save"
Next, create a blueprint version for this custom blueprint.
- Enter the "Version Name"
- Select the minimal blueprint as the base blueprint
- Click "Save Changes"
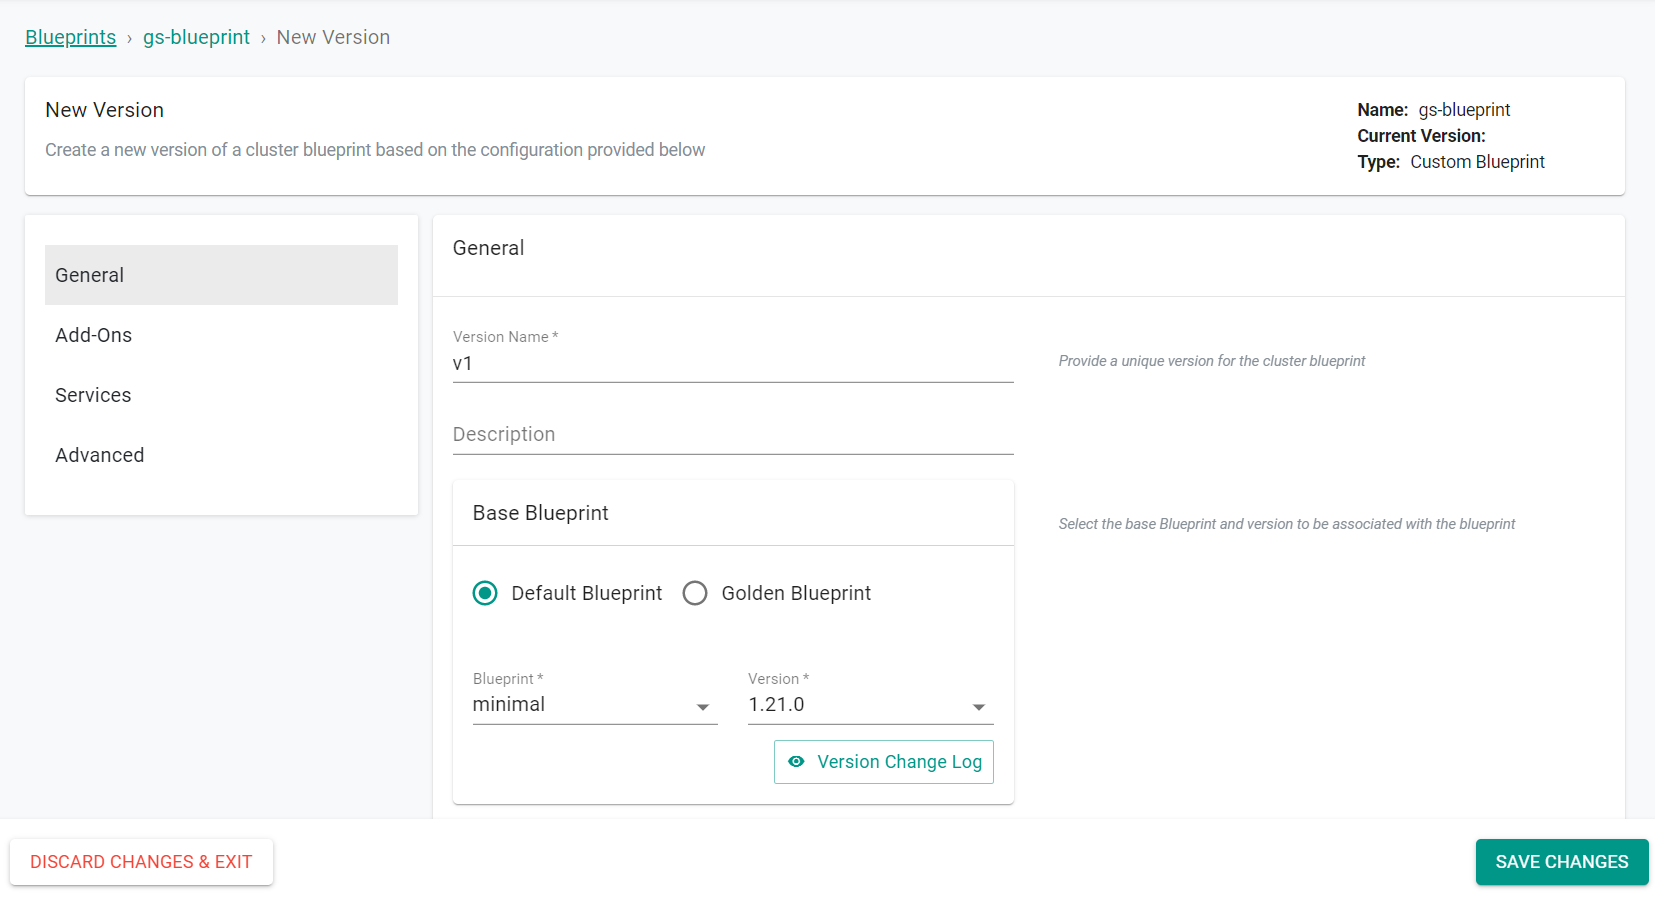
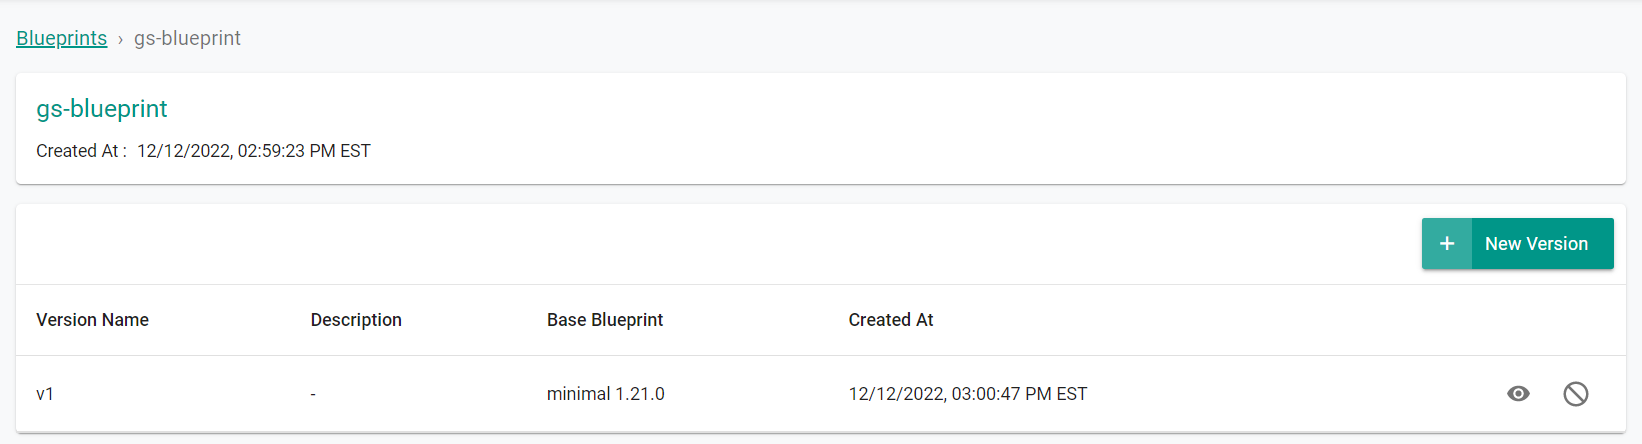
The blueprint and version will be created.
Step 2: Apply Blueprint
In this step, we will apply the blueprint to an existing cluster.
- Navigate to the project in your Org where the cluster is located
- Select Infrastructure -> Clusters
- Click the gear icon on the cluster card
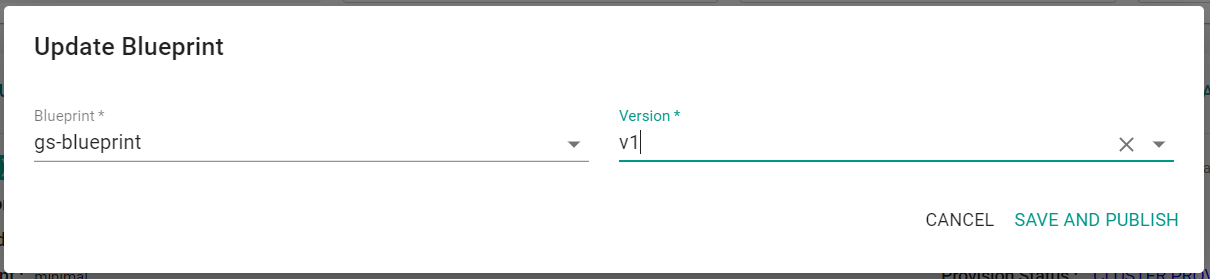
- Select "Update Blueprint"
- Select the previosuly created blueprint
- Select the blueprint version
- Click "Save and Publish"
The blueprint will begin to be applied to the cluster.
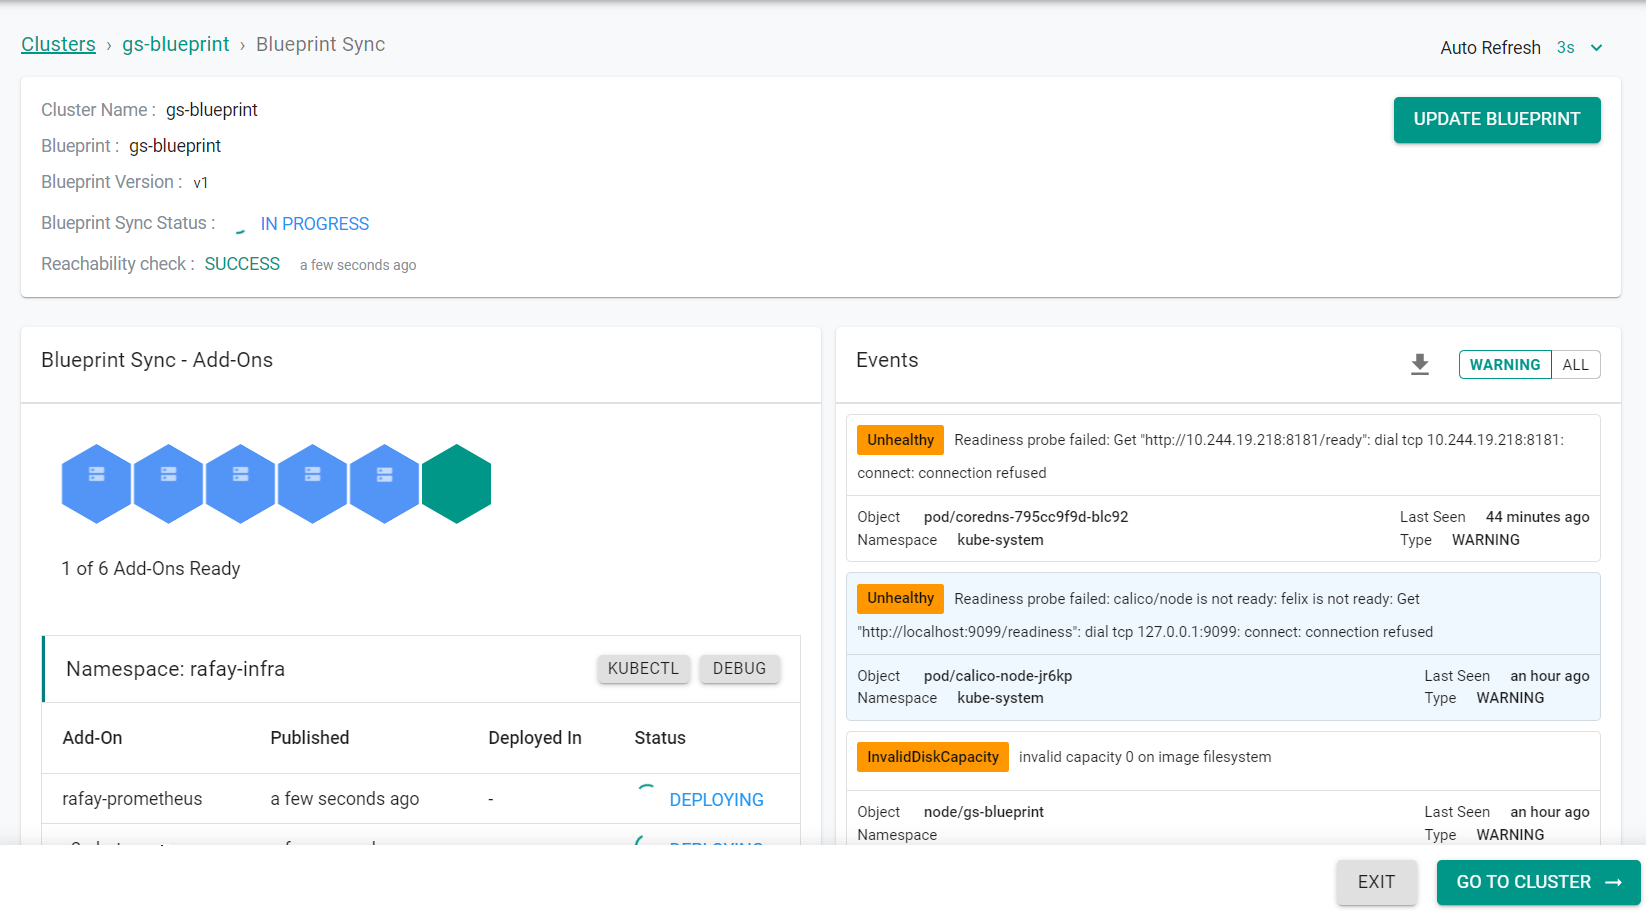
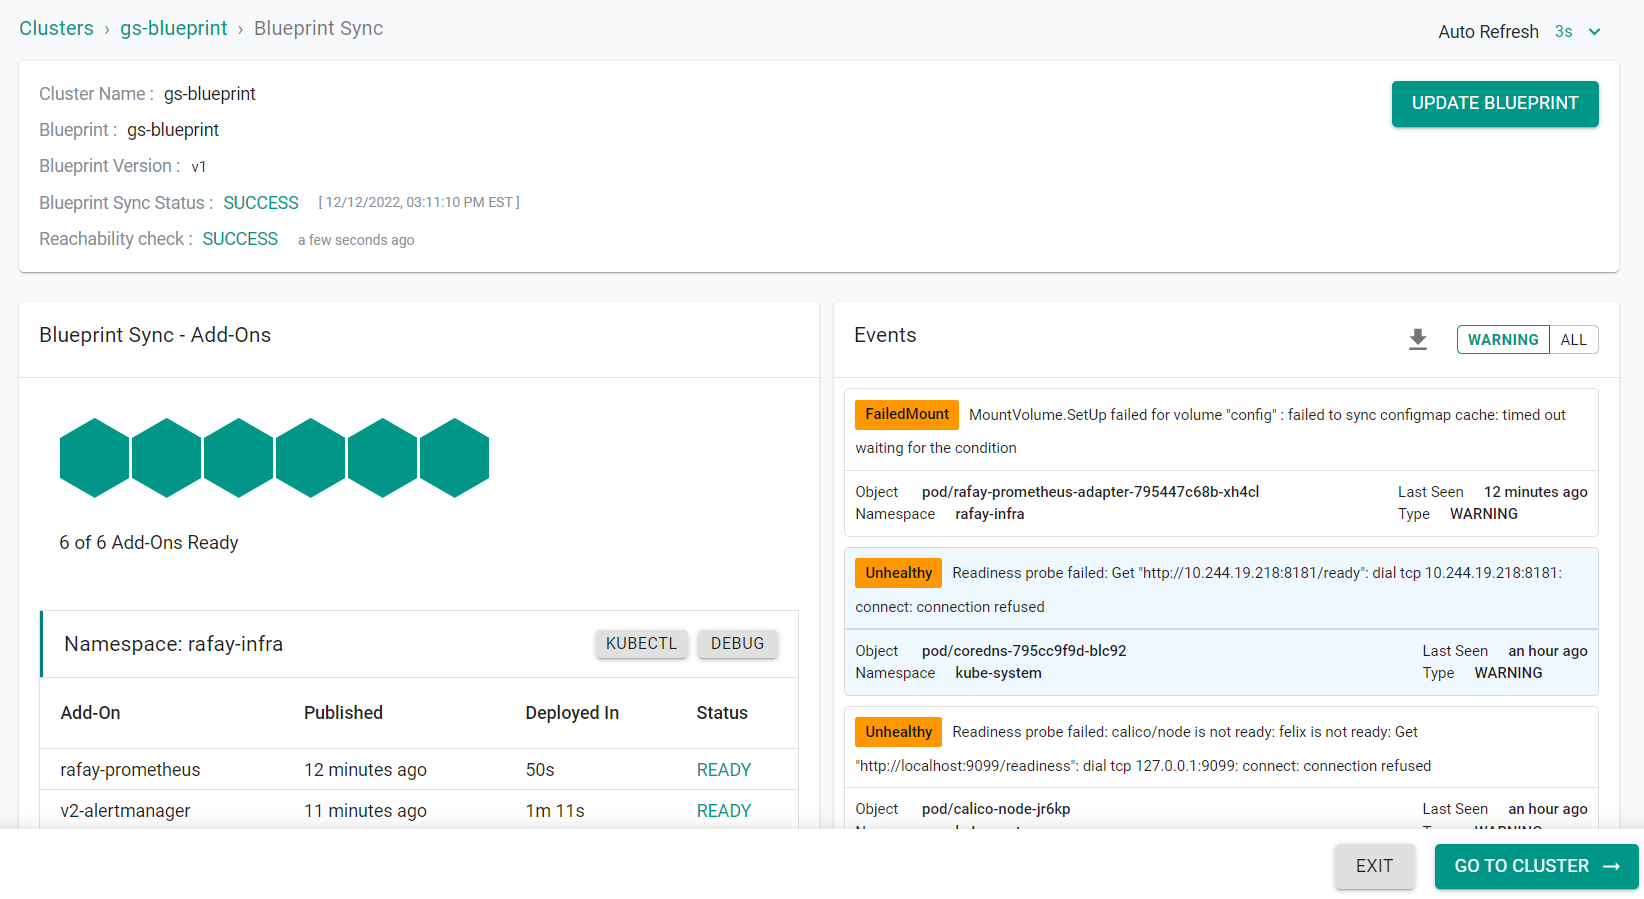
The blueprint is now applied to the cluster.
Step 3: Create Namespace Inside Controller
In this step, we will create a namespace through the UI from the controller. This namespace will be fully managed by the controller.
- Navigate to the project in your Org where the cluster is located.
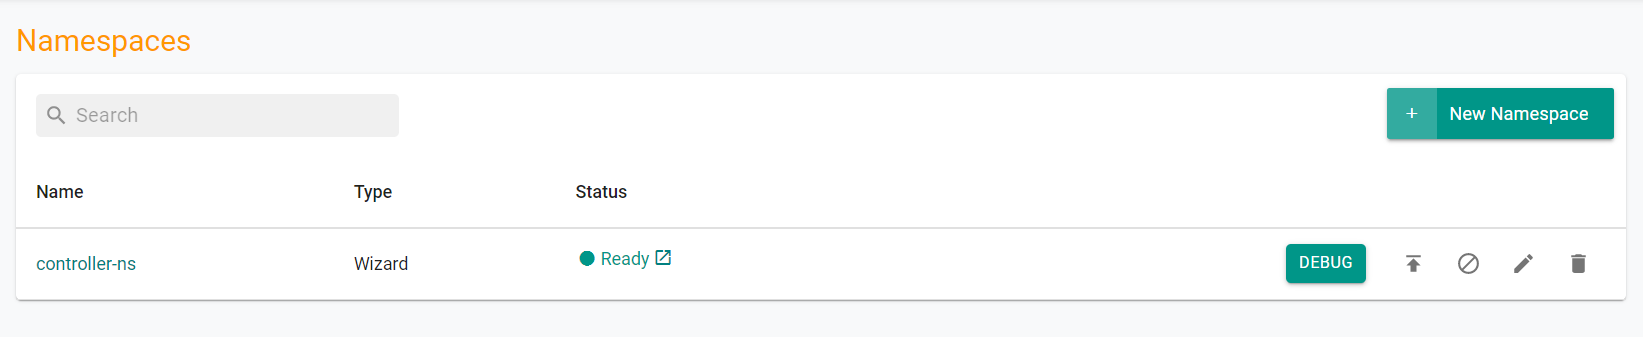
- Select Infrastructure -> Namespaces
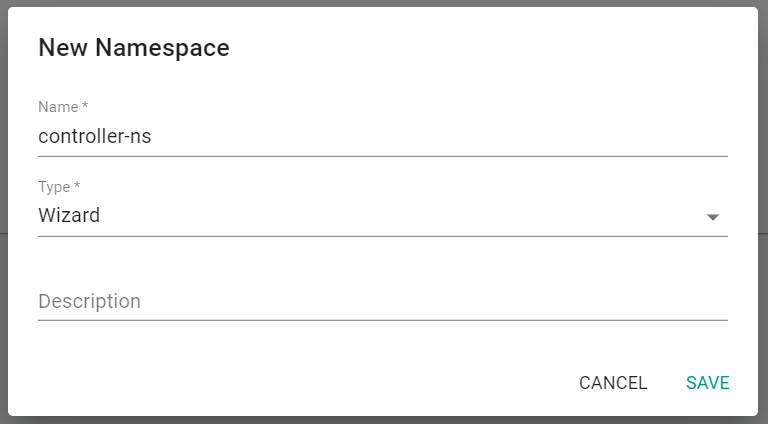
- Click "New Namespace"
- Enter a Name for the namespace
- Select "Wizard" for the Type
- Click "Save"
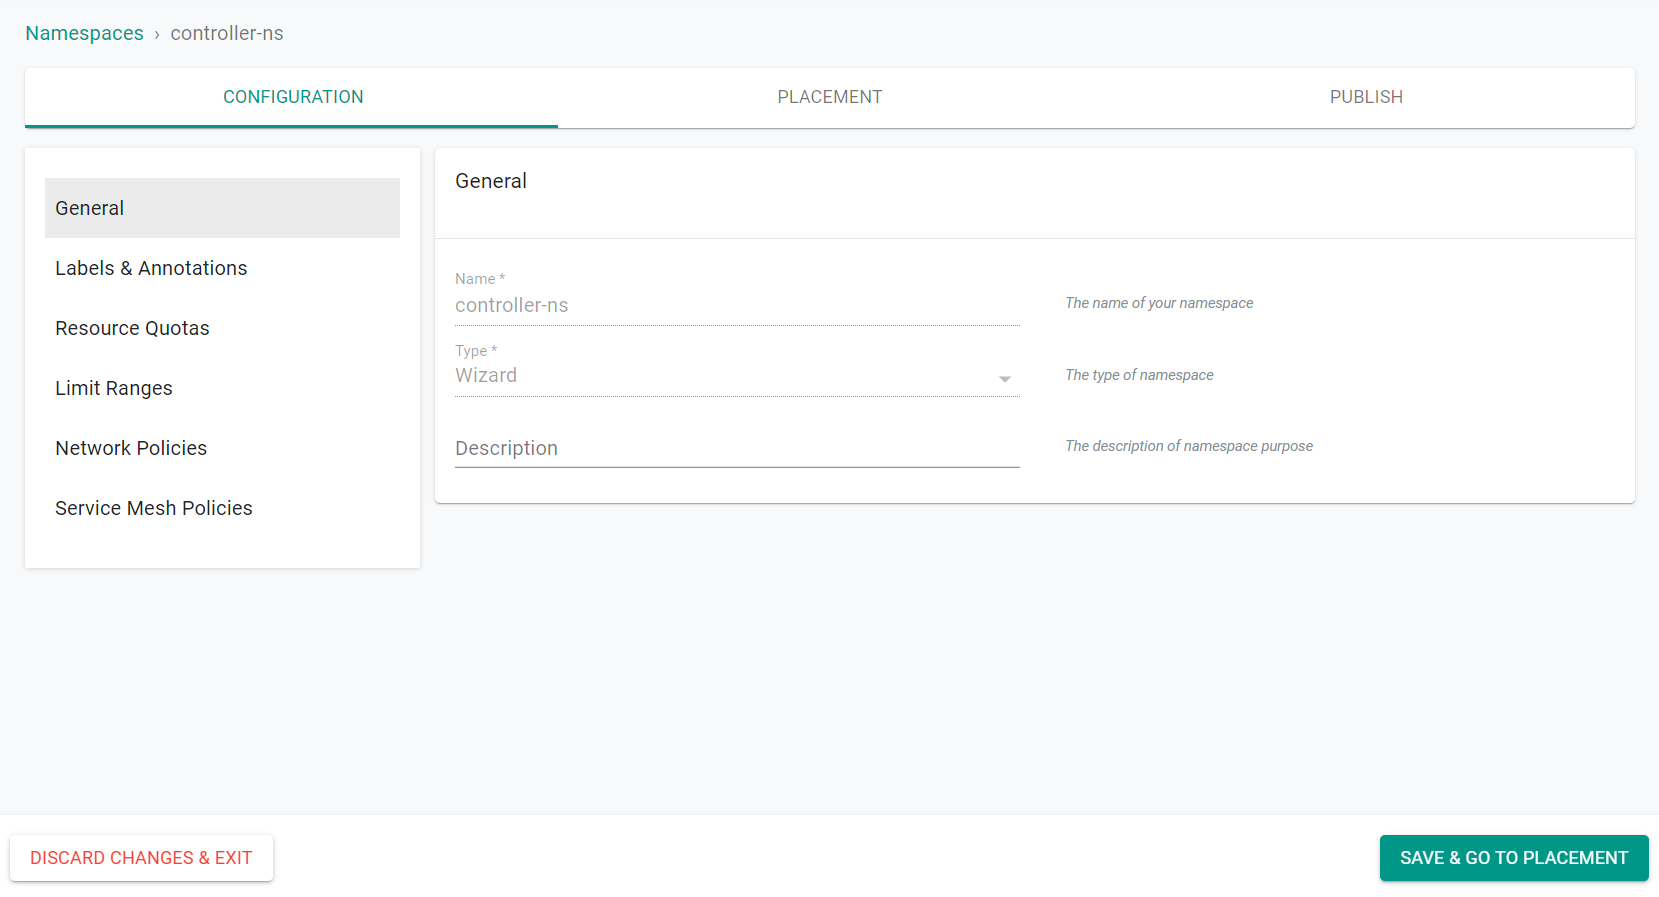
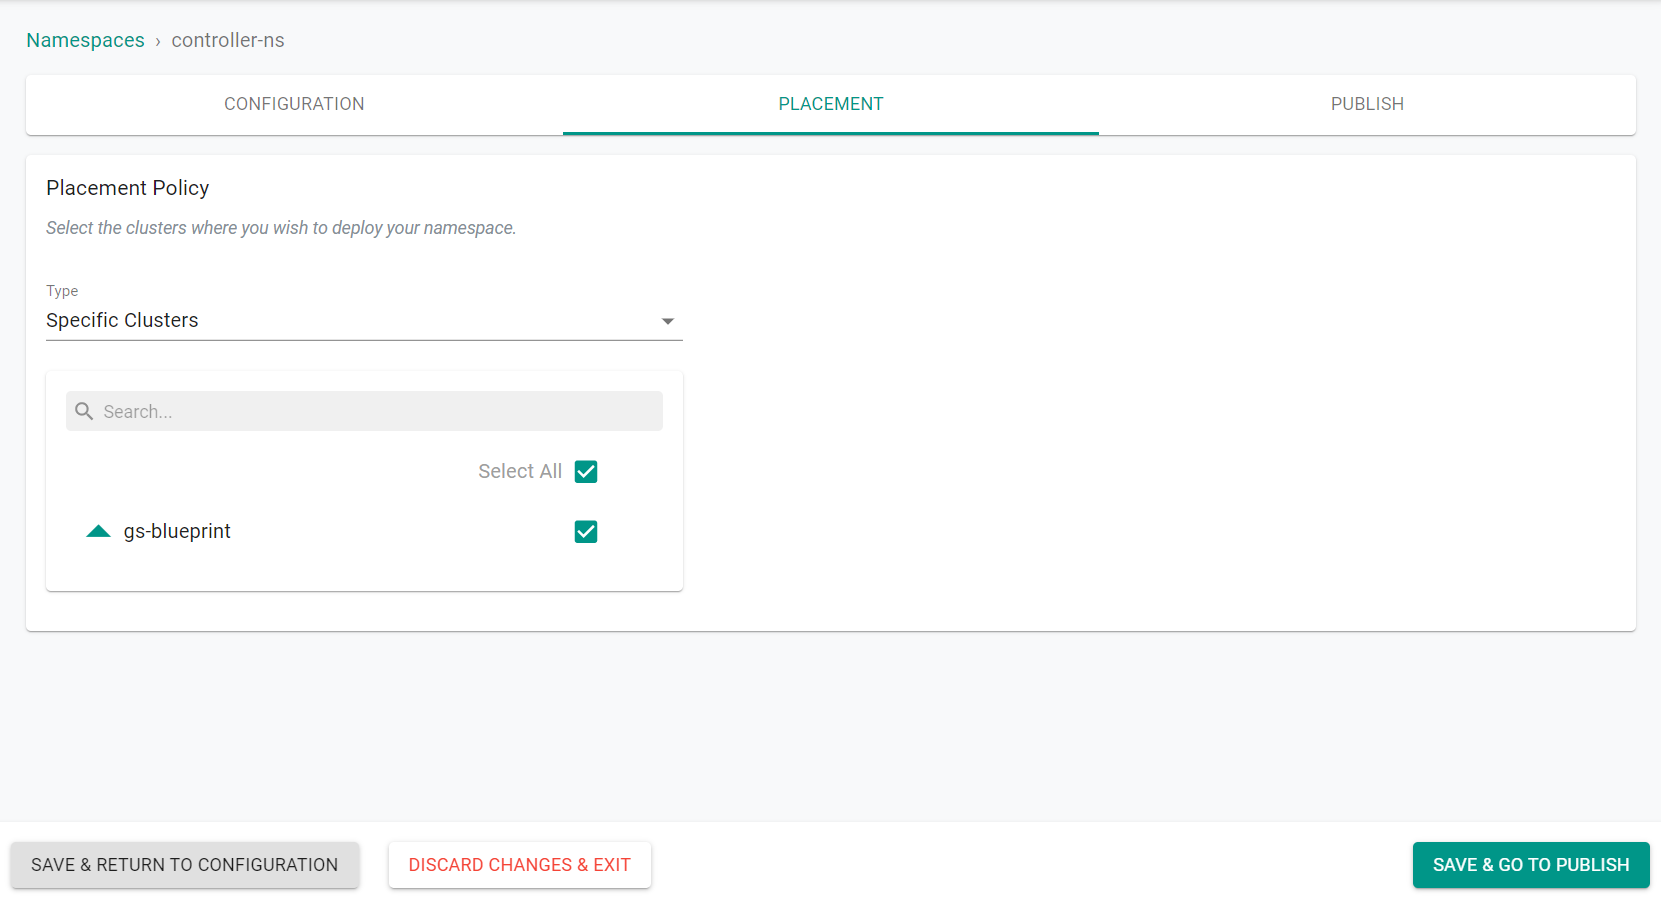
- Click "Save & Go To Placement"
- Select the cluster to create the namespace on
- Click "Save & Go To Publish"
- Click "Publish"
The namespace is now published on the cluster.
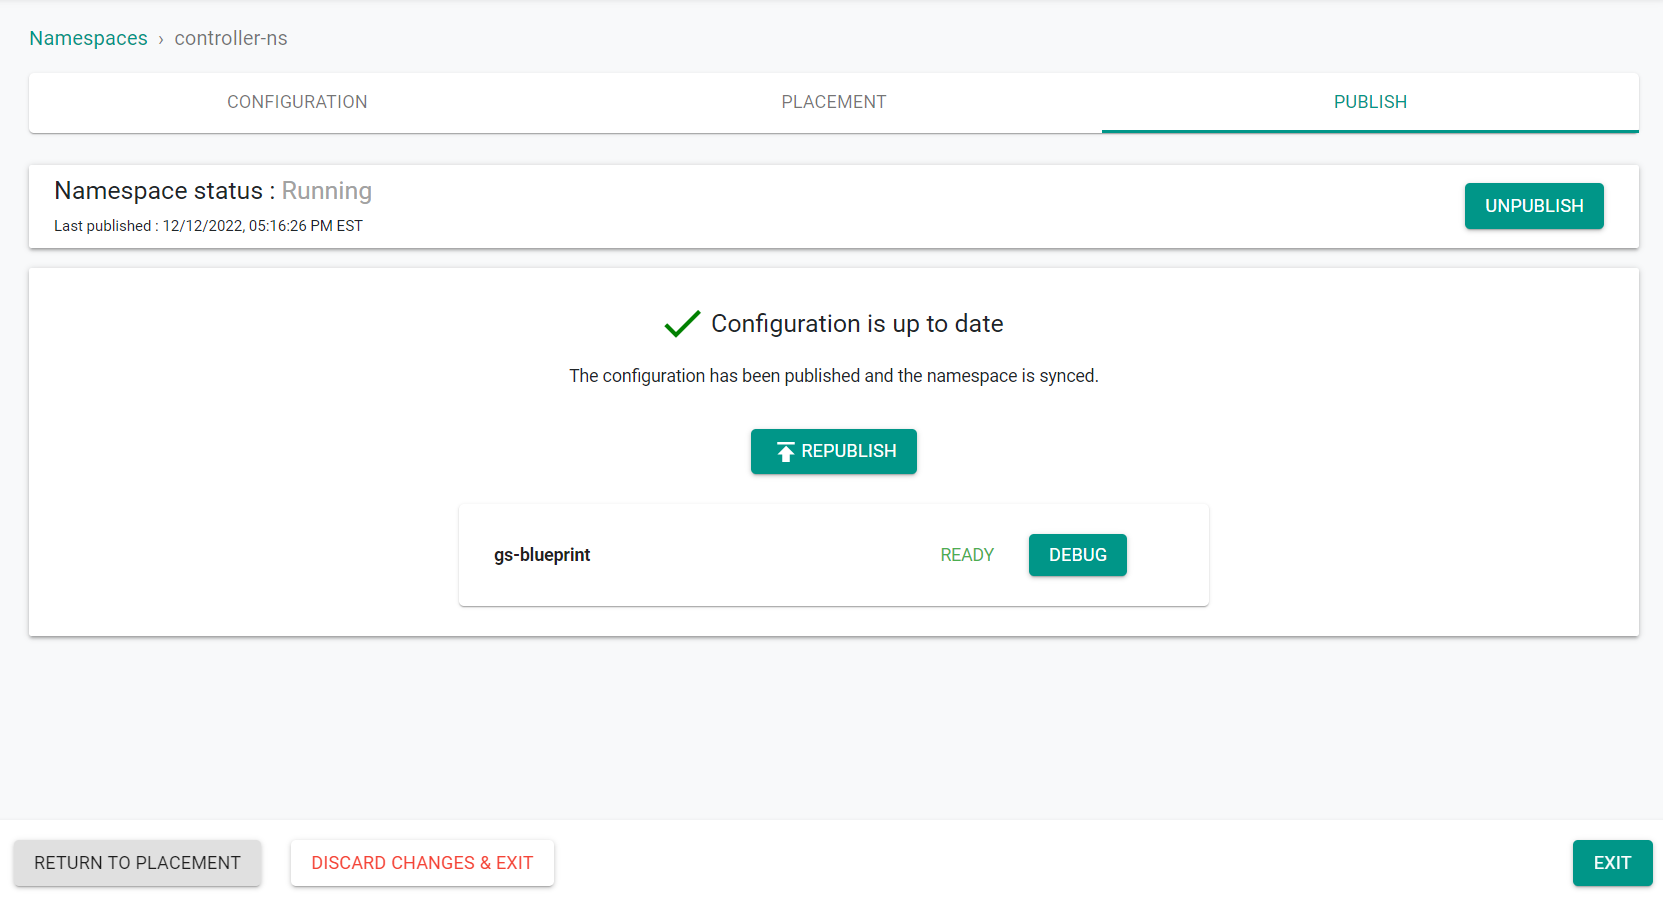
- Click "Exit"
Step 4: Create Namespace Outside Controller
In this step, we will create a namespace through KUBECTL outside of the controller. This namespace will NOT be managed by the controller becuase it was not created by the controller nor have we enabled namespace syncronization within the blueprint.
- Navigate to the project in your Org where the cluster is located.
- Select Infrastructure -> Clusters
- Click "Kubectl" on the cluster card
- Enter the following command
kubectl create namespace kubectl-ns

You will see the namespace created on the cluster.
- Enter the following command
kubectl get namespace

In the console, you will not see the namespace as it is not managed by the controller.
- Navigate to the project in your Org where the cluster is located.
- Select Infrastructure -> Namespaces
The newly created namespace is not listed.
Recap
Congratulations! At this point, you have successfully deployed a blueprint and created a namespace both inside and outside of the controller.