Part 1: Create
This is Part 1 of the exercise that will focus on creating add-ons that will be used to test cluster overrides in a later section.
What Will You Do
In part 1, you will:
- Create a Namespace
- Create a YAML Add-On
- Create a Helm Add-On
- Create a cluster blueprint
- Apply the blueprint to a cluster
Step 1: Create Namespace
In this step, we will create a namespace on the cluster that will be used for our add-ons.
- Navigate to the project in your Org where your cluster is located
- Select Infrastructure -> Namespaces
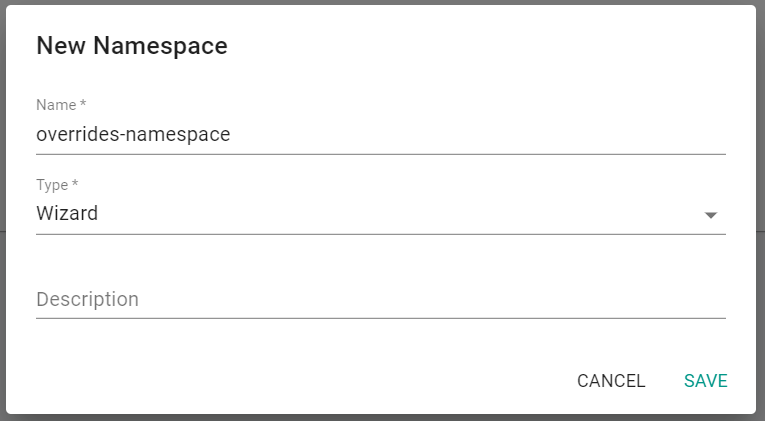
- Click "New Namespace"
- Enter a name for the namespace
- Select "Wizard" for the Type
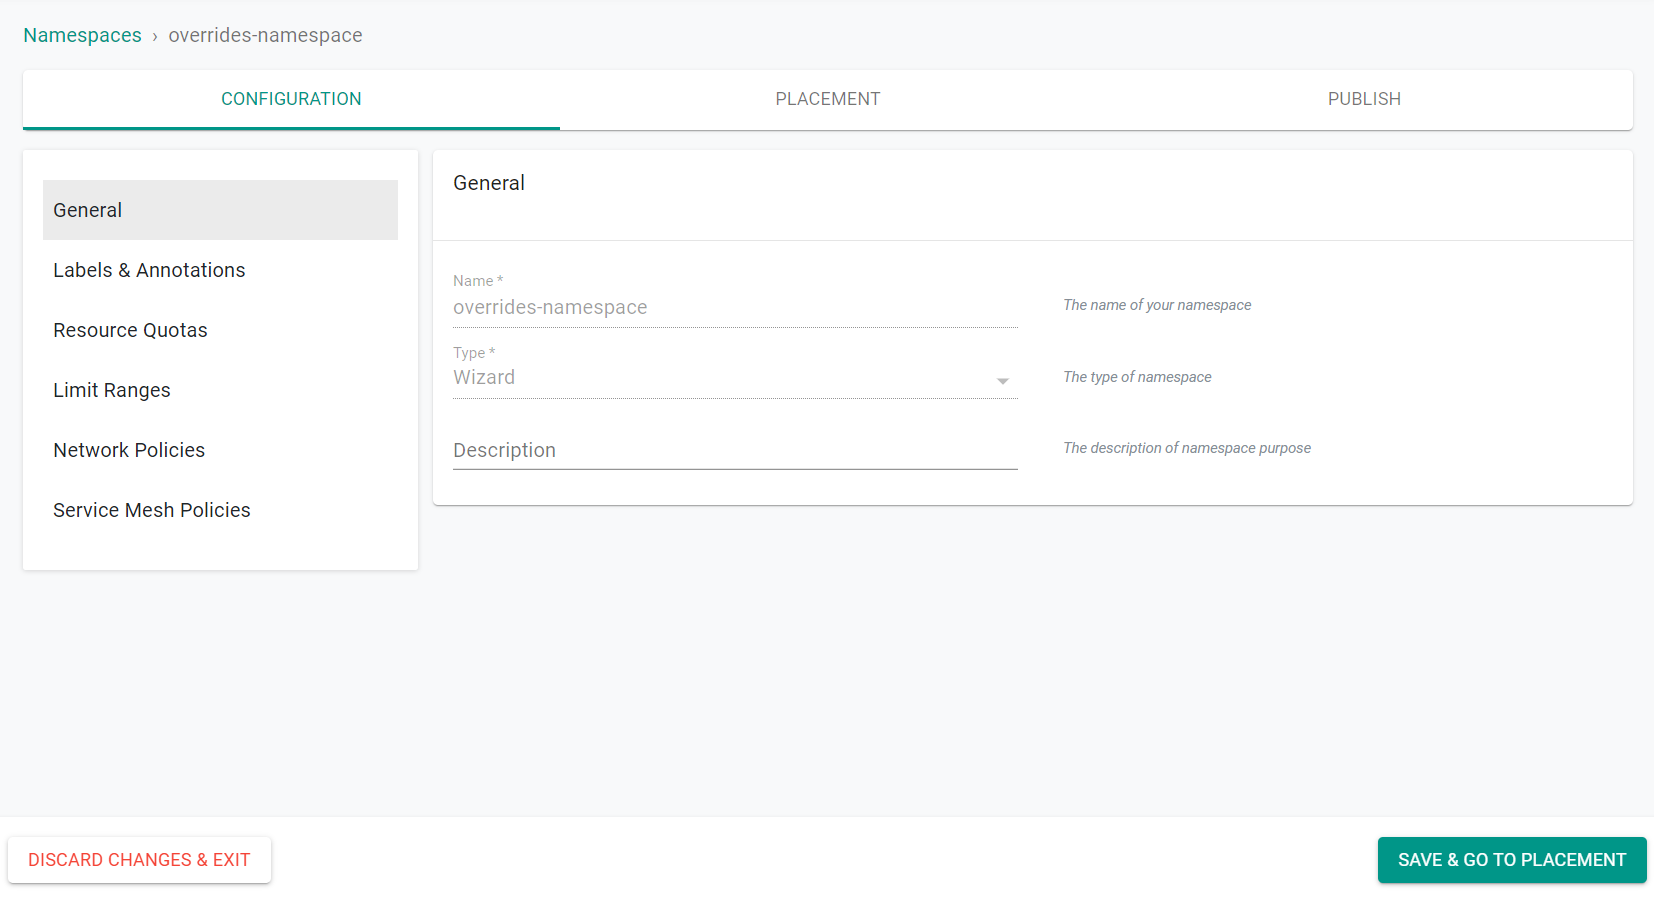
- Click "Save"
- Click "Save & Go To Placement"
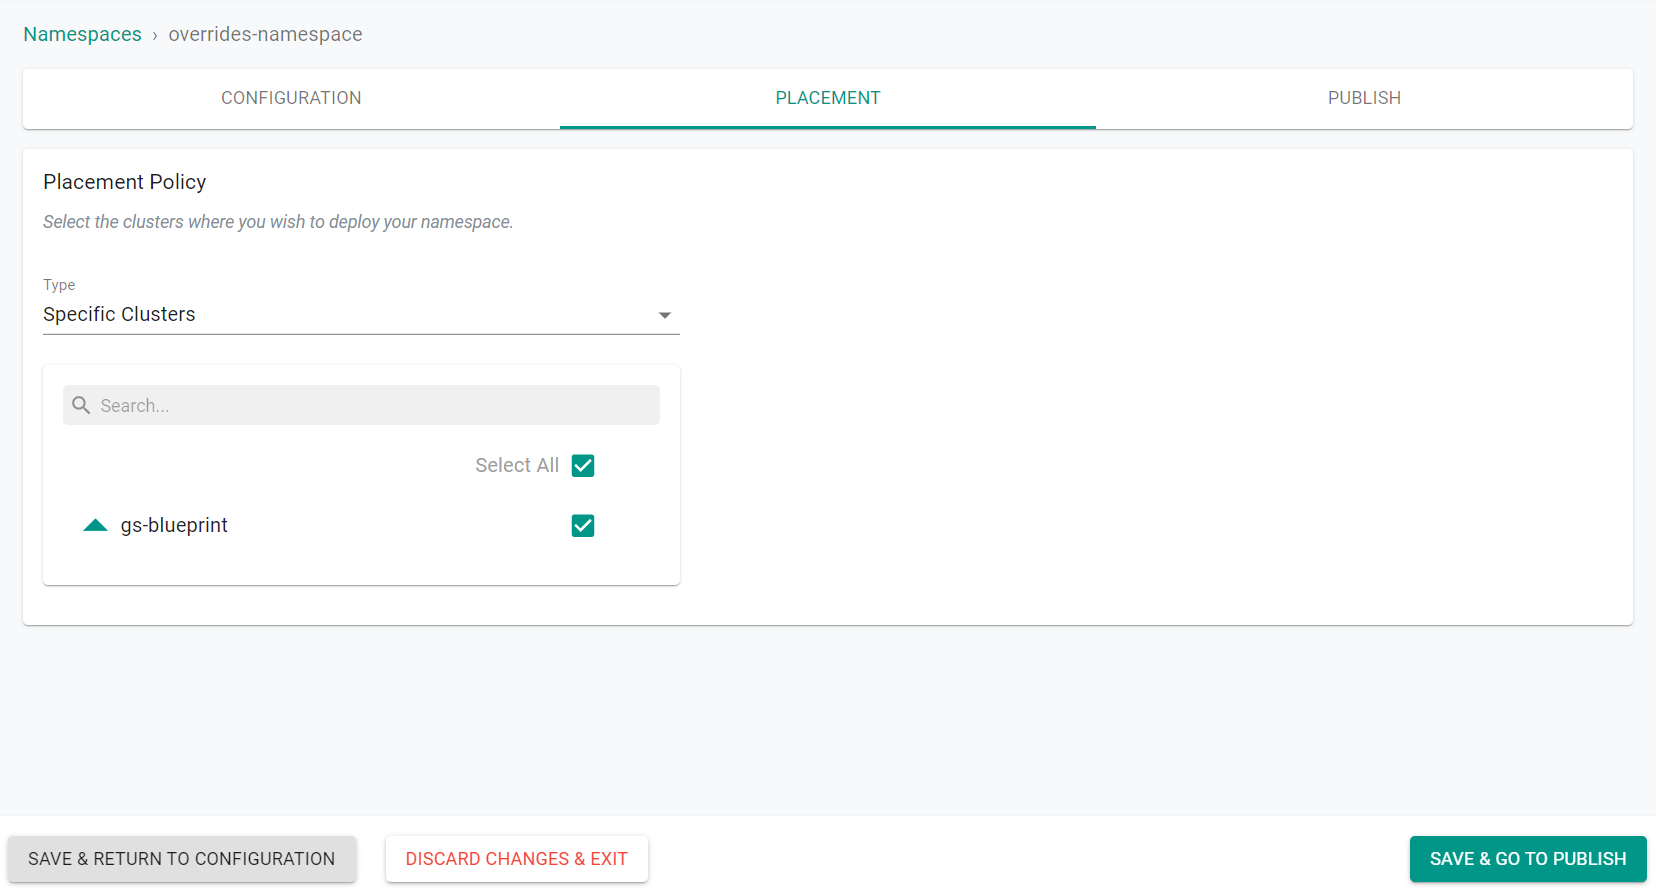
- Select the cluster where the namespace will be published
- Click "Save & Go To Publish"
- Click "Publish"
The namespace is now published on the cluster.
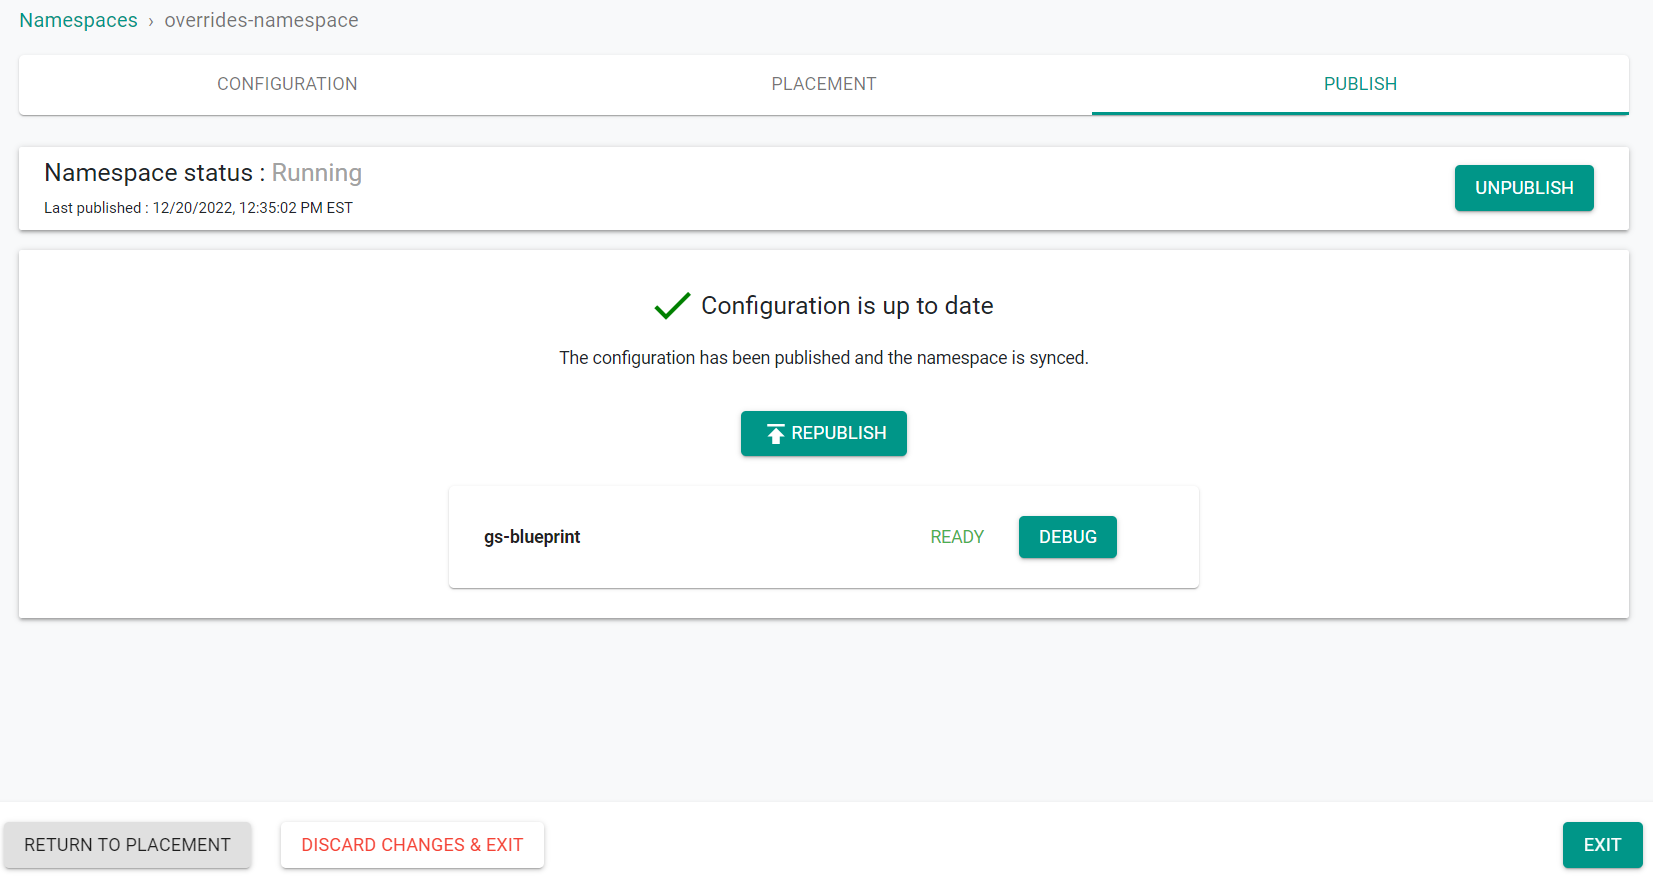
- Click "Exit"
Step 2: Create YAML Add-On
In this step, we will create a YAML based NGINX add-on. In a later section, we will use cluster overrides to customize this add-on.
- Navigate to the project in your Org where your cluster is located
- Select Infrastructure -> Add-Ons
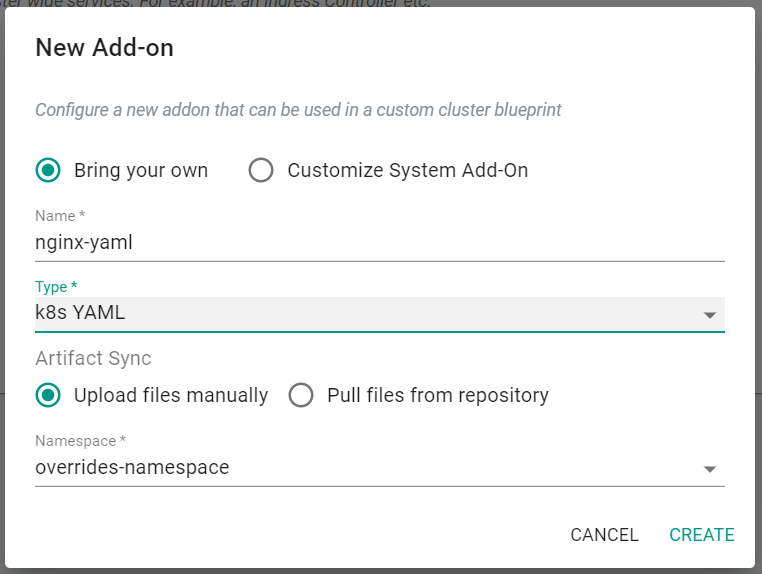
- Click "New Add-On" -> "Create New Add-On"
- Select "Bring your own"
- Enter a name for the add-on
- Select "k8s YAML" for the Type
- Select "Upload files manually"
- Select the previously created namespace
- Click "Create"
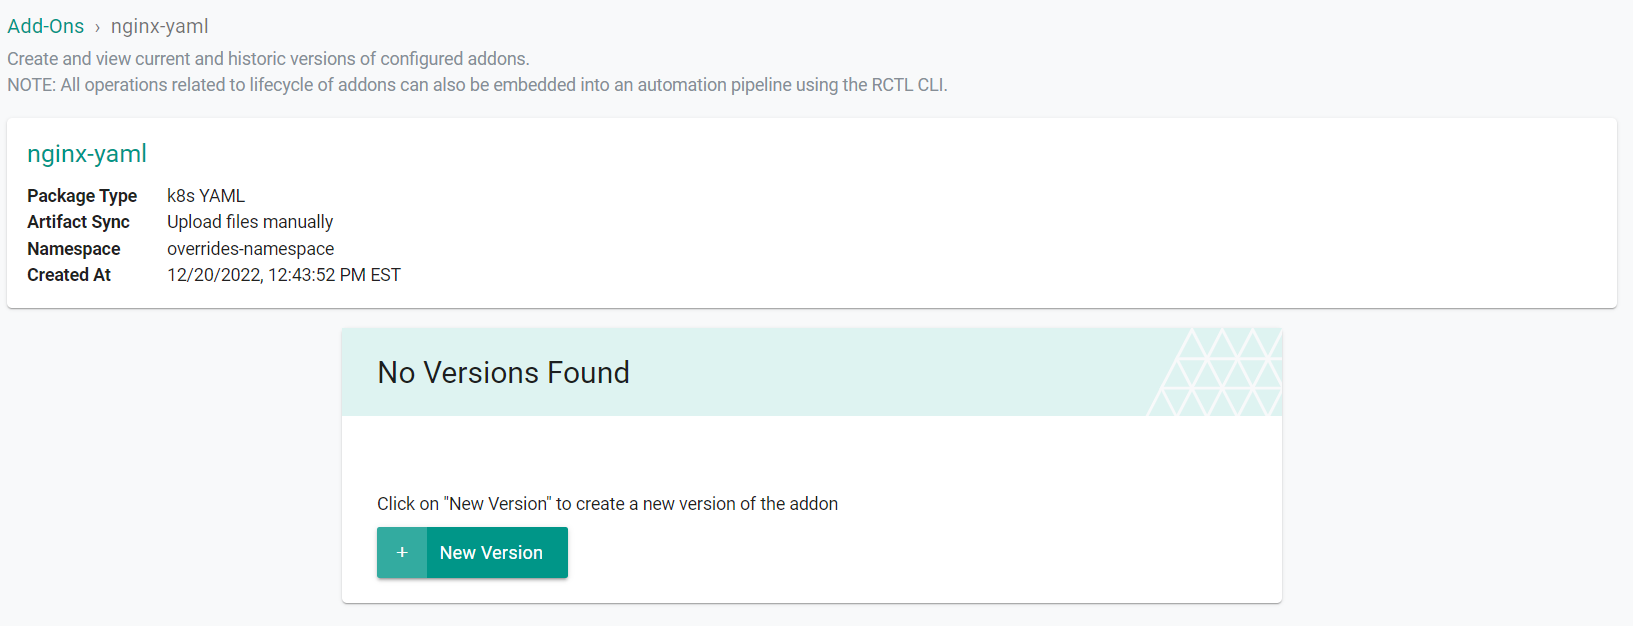
Next, create a version for this add-on.
- Click "New Version"
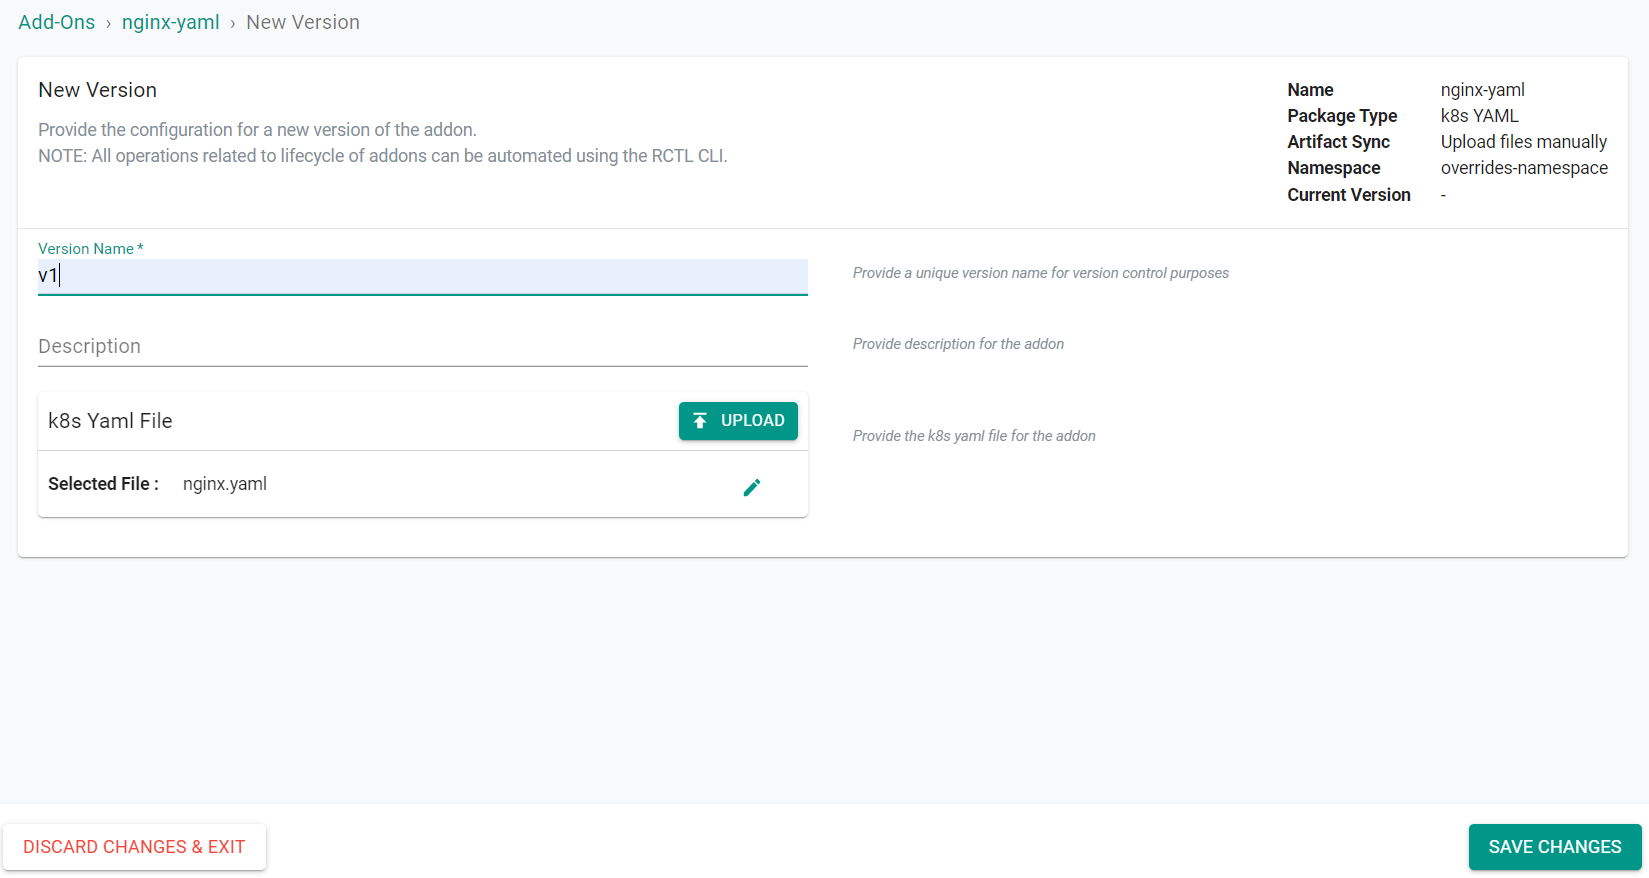
- Enter a version name
- Save the following YAML to a file and upload the file
apiVersion: apps/v1
kind: Deployment
metadata:
  name: nginx-yaml
  labels:
    app: nginx
  annotations:
spec:
  replicas: 1
  selector:
    matchLabels:
      app: nginx
  template:
    metadata:
      labels:
        app: nginx
    spec:
      containers:
      - name: nginx-yaml
        image: nginx
        ports:
        - containerPort: 80
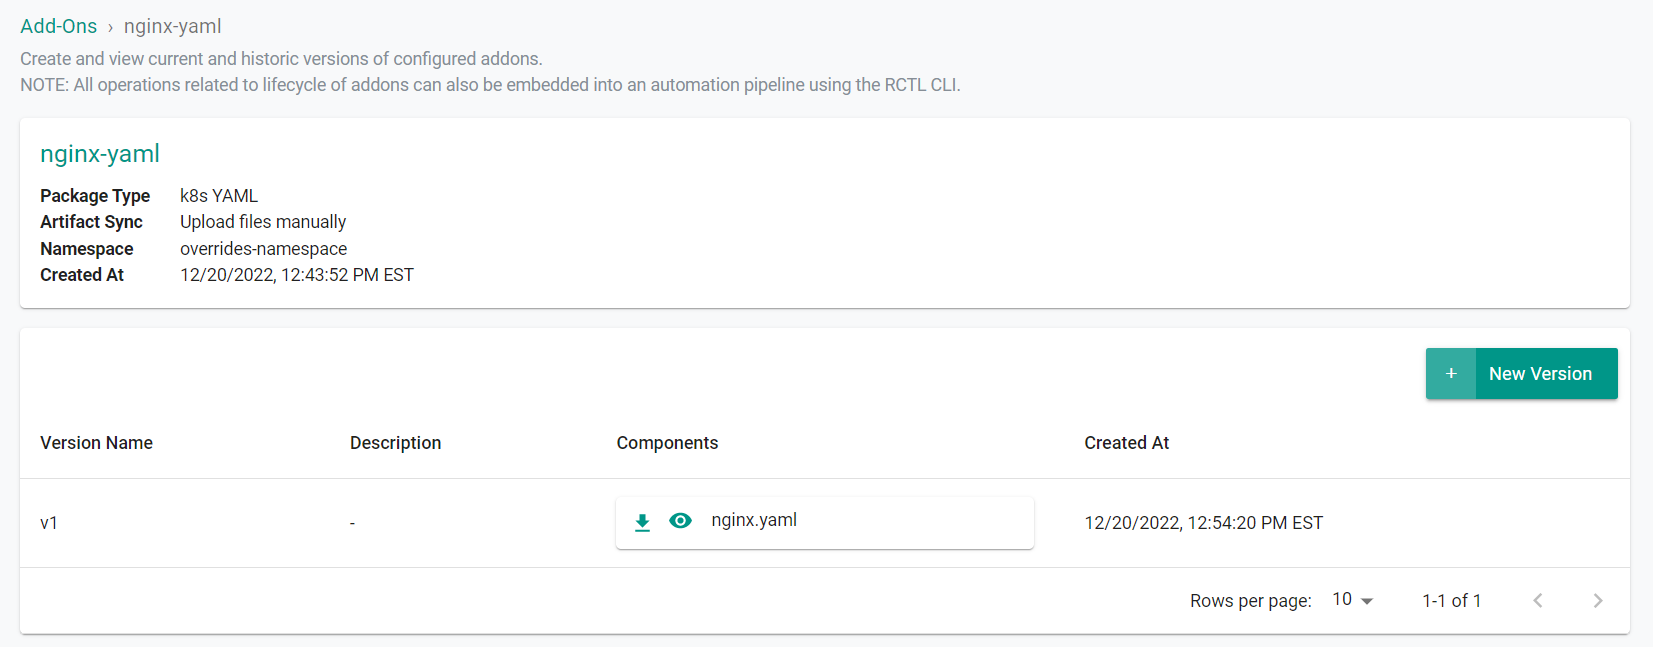
- Click "Save Changes"
The YAML add-on and version will be created.
Step 3: Create Helm Add-On
In this step, we will create a Helm based NGINX add-on. In a later section, we will use cluster overrides to customize this add-on.
- Navigate to the project in your Org where your cluster is located
- Select Infrastructure -> Add-Ons
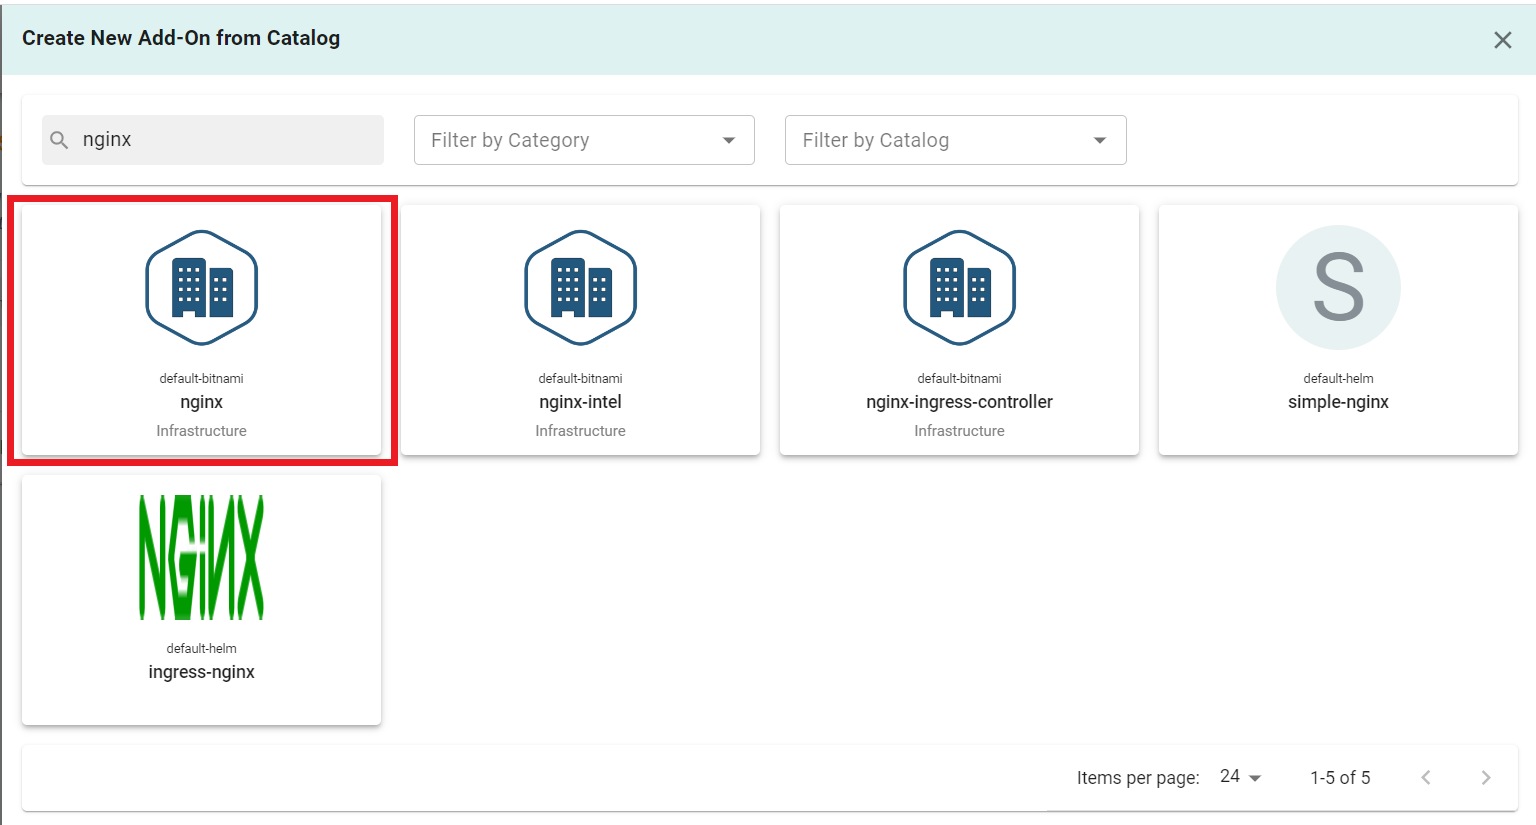
- Click "New Add-On" -> "Create New Add-On from Catalog"
- Search for "nginx"
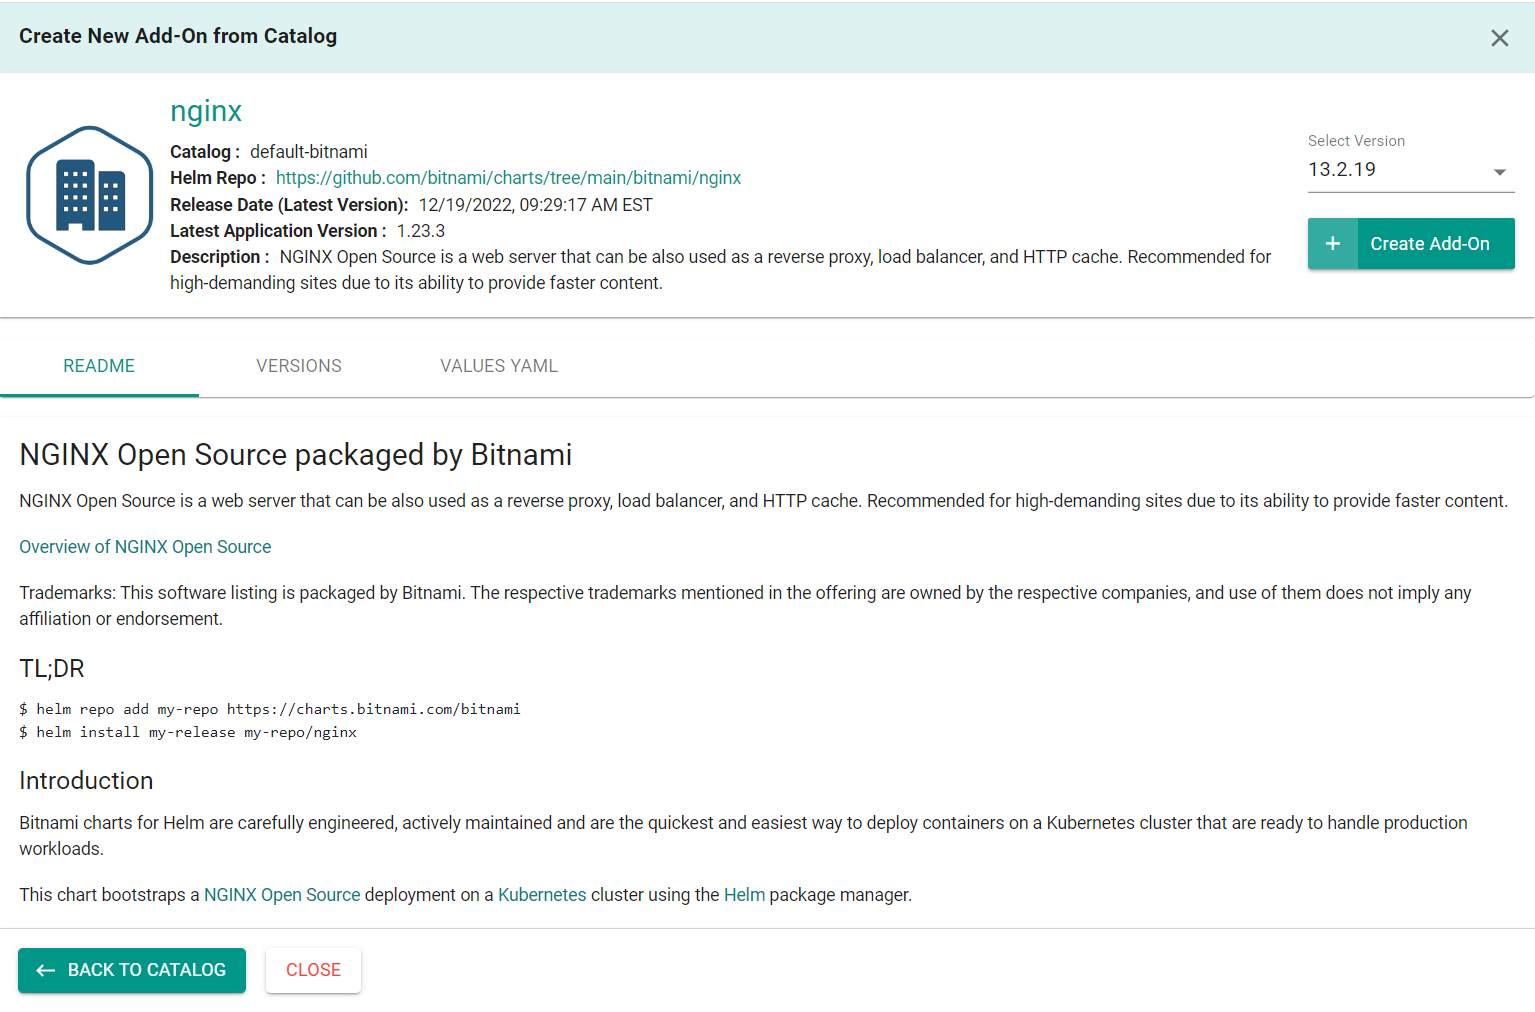
- Select "nginx" from "default bitnami"
- Click "Create Add-On"
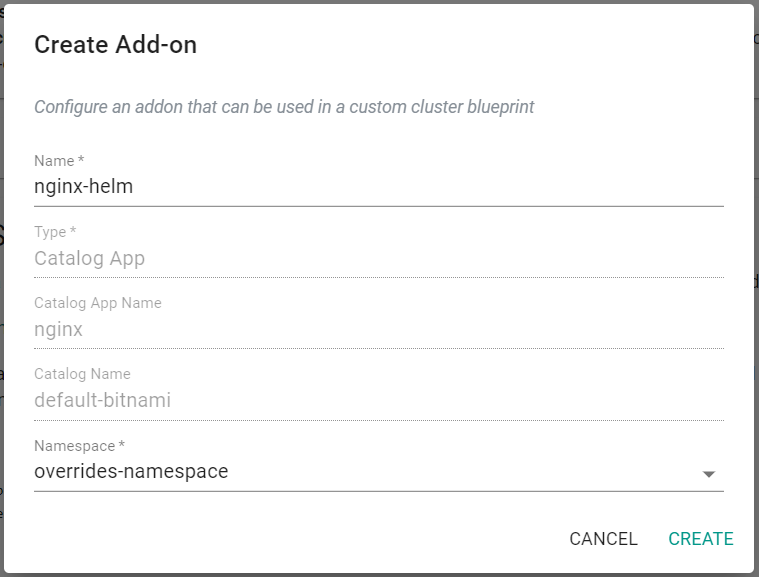
- Enter a name for the add-on
- Select the previously created namespace
- Click "Create"
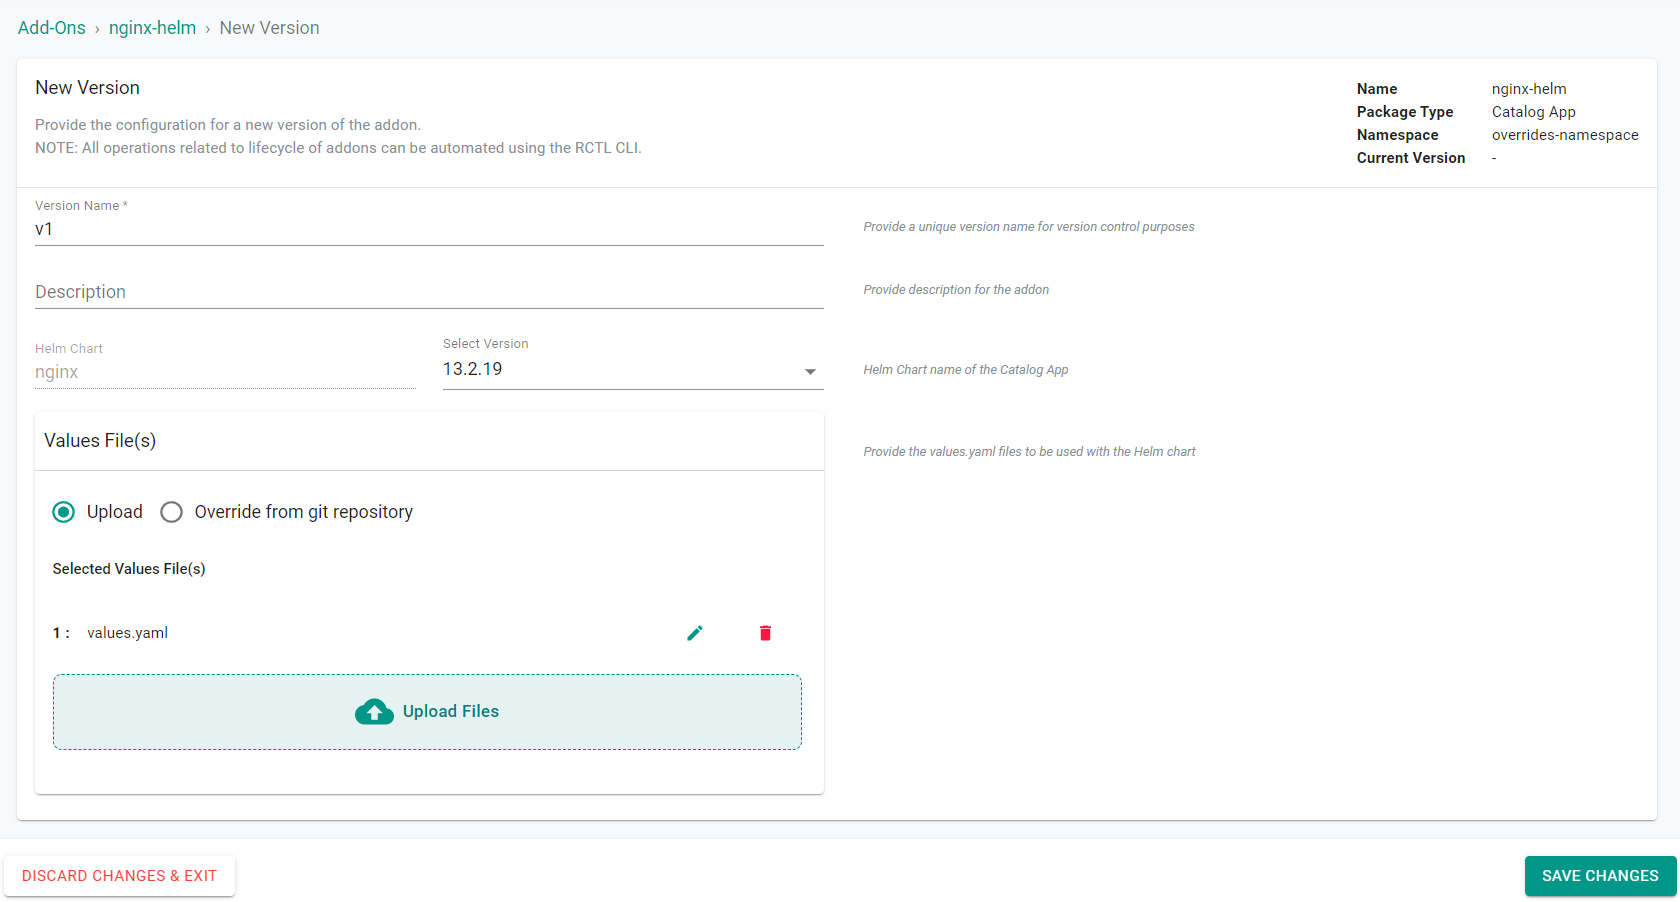
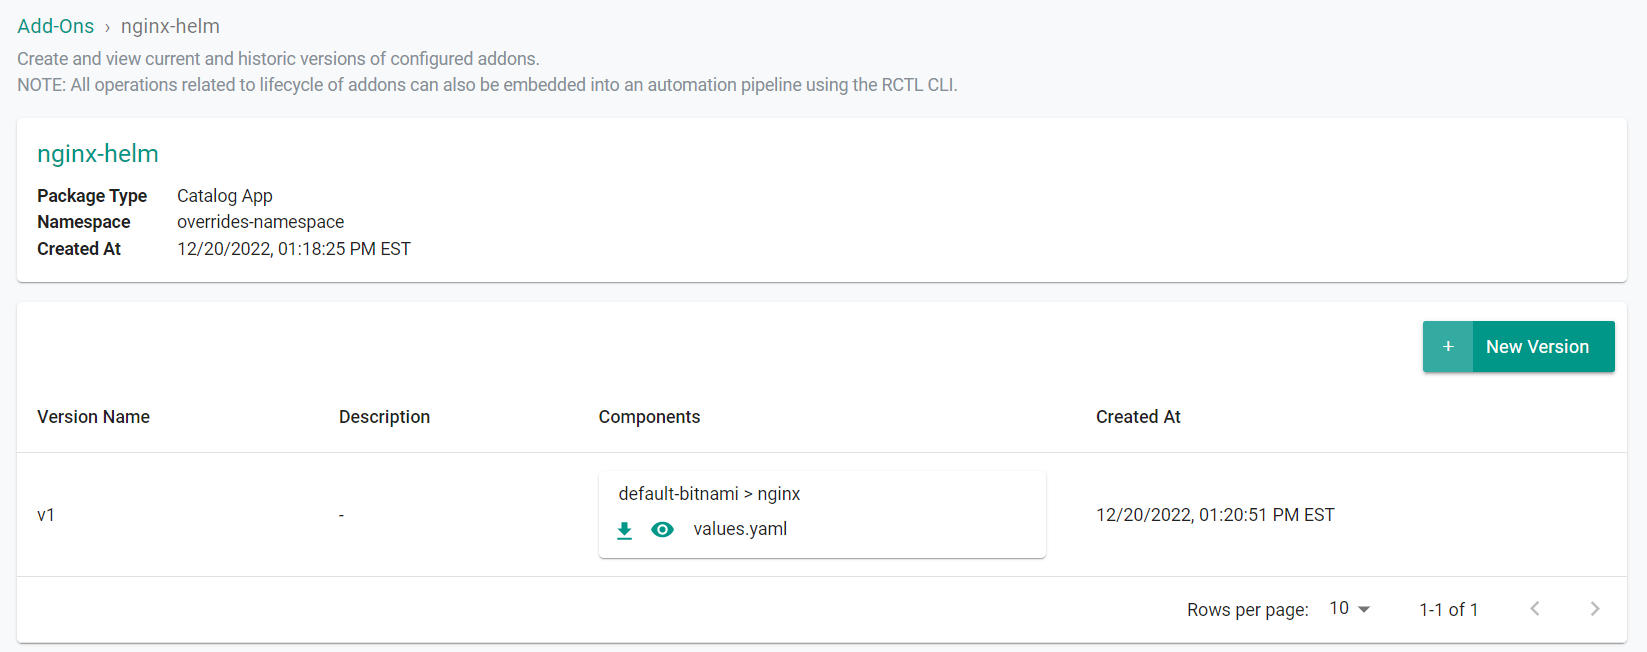
Next, create a version for this add-on.
- Enter a version name
- Save the following YAML to a file and upload the file as the values file
service:
  type: ClusterIP
- Click "Save Changes"
The Helm add-on and version will be created.
Step 4: Create Blueprint
In this step, we will create a custom blueprint based off the "minimal" blueprint. The blueprint will contain the previously created add-ons.
- Navigate to the project in your Org where your cluster is located
- Select Infrastructure -> Blueprints
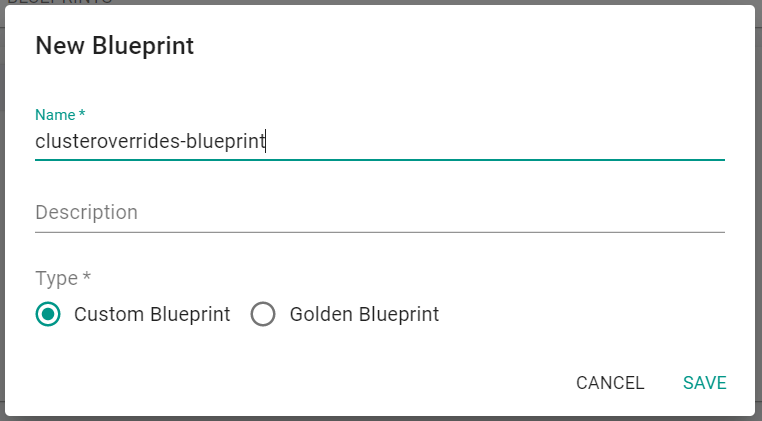
- Click "New Blueprint"
- Enter a name for the blueprint
- Select "Custom Blueprint" for the Type
- Click "Save"
Next, create a blueprint version for this custom blueprint.
- Enter the "Version Name"
- Select the minimal blueprint as the base blueprint
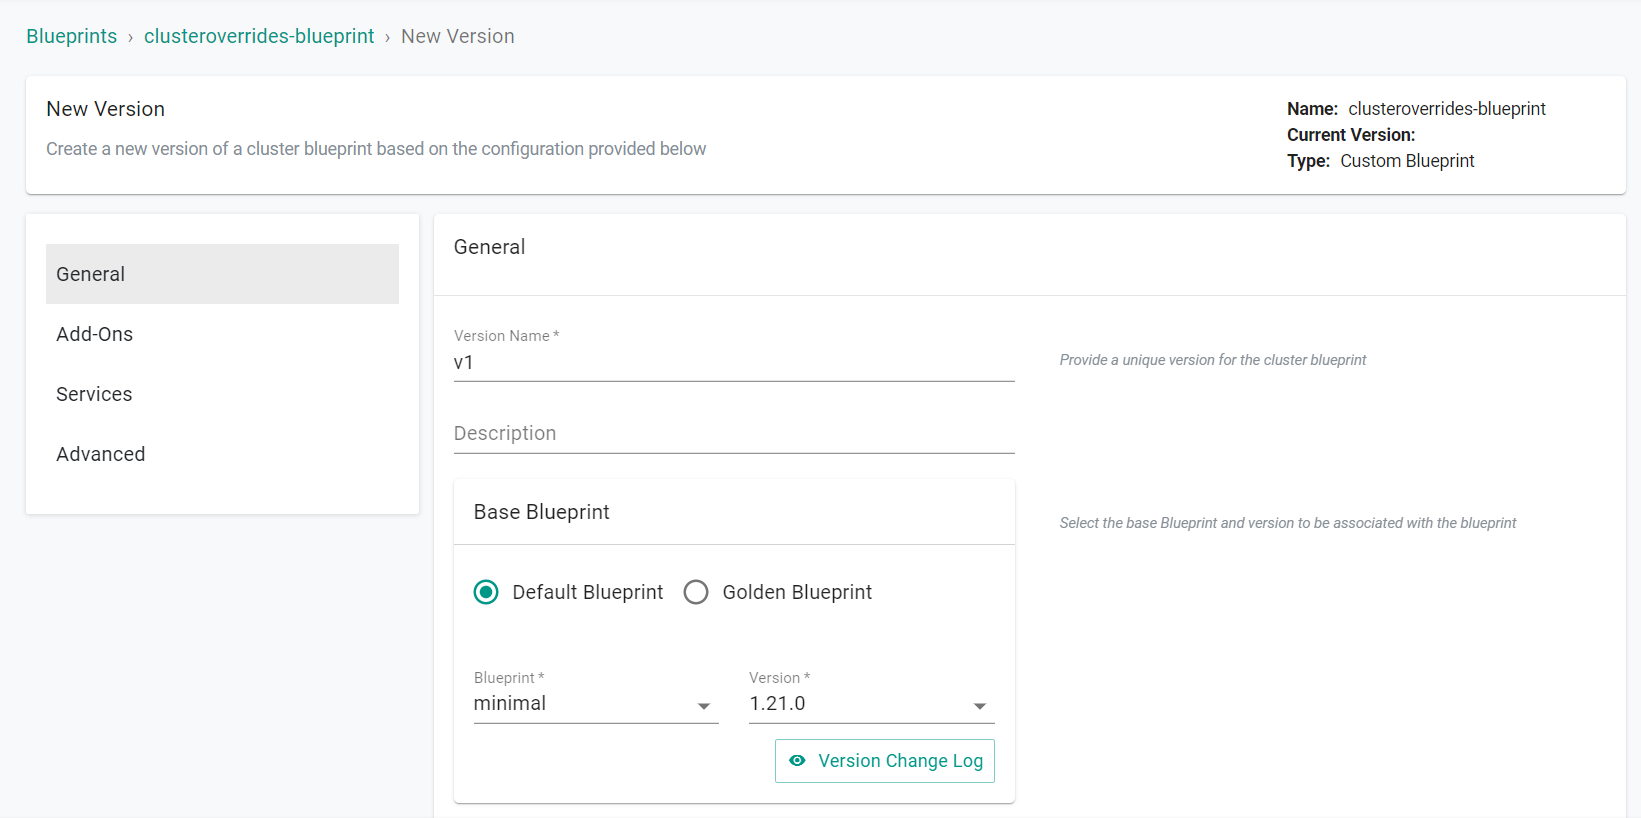
- In the add-ons section, add the previously created YAML and Helm add-ons
- In the Managed System Add-Ons section, deselect "Ingress Controller"
- Click "Save Changes"
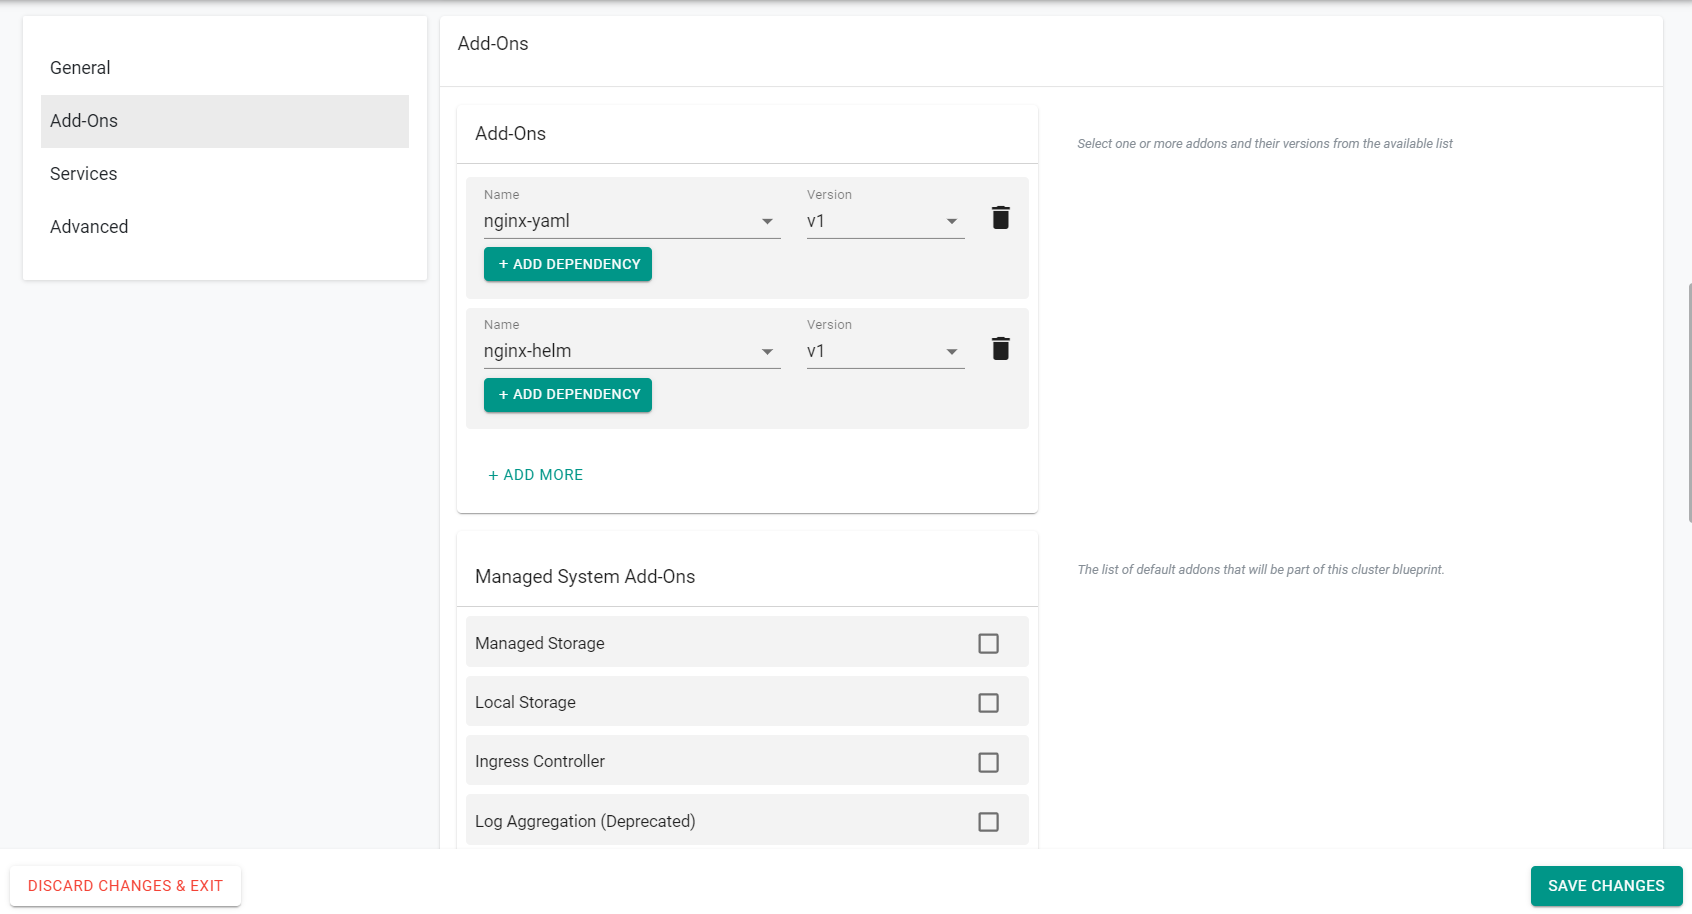
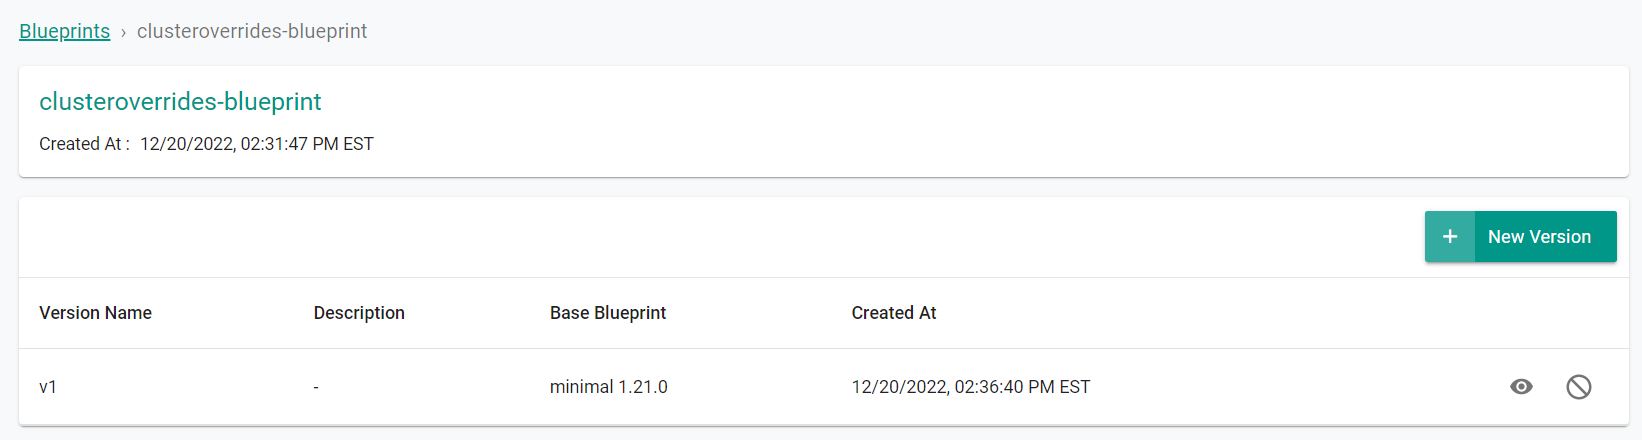
The blueprint and version will be created.
Step 5: Apply Blueprint
In this step, we will apply the blueprint to an existing cluster.
- Navigate to the project in your Org where the cluster is located
- Select Infrastructure -> Clusters
- Click the gear icon on the cluster card
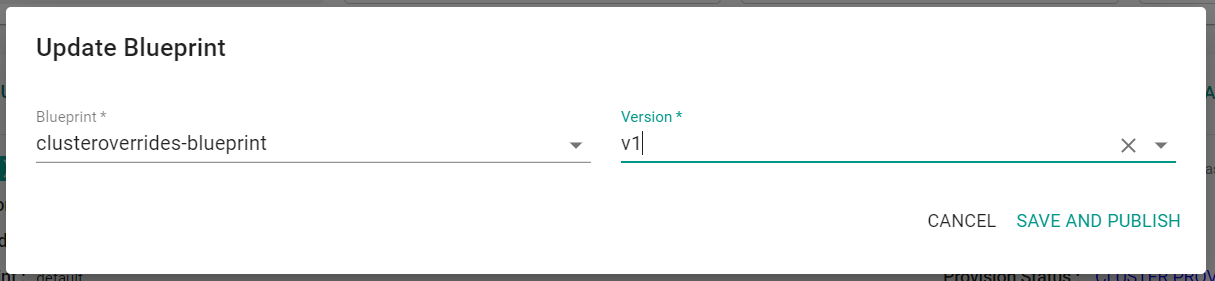
- Select "Update Blueprint"
- Select the previosuly created blueprint
- Select the blueprint version
- Click "Save and Publish"
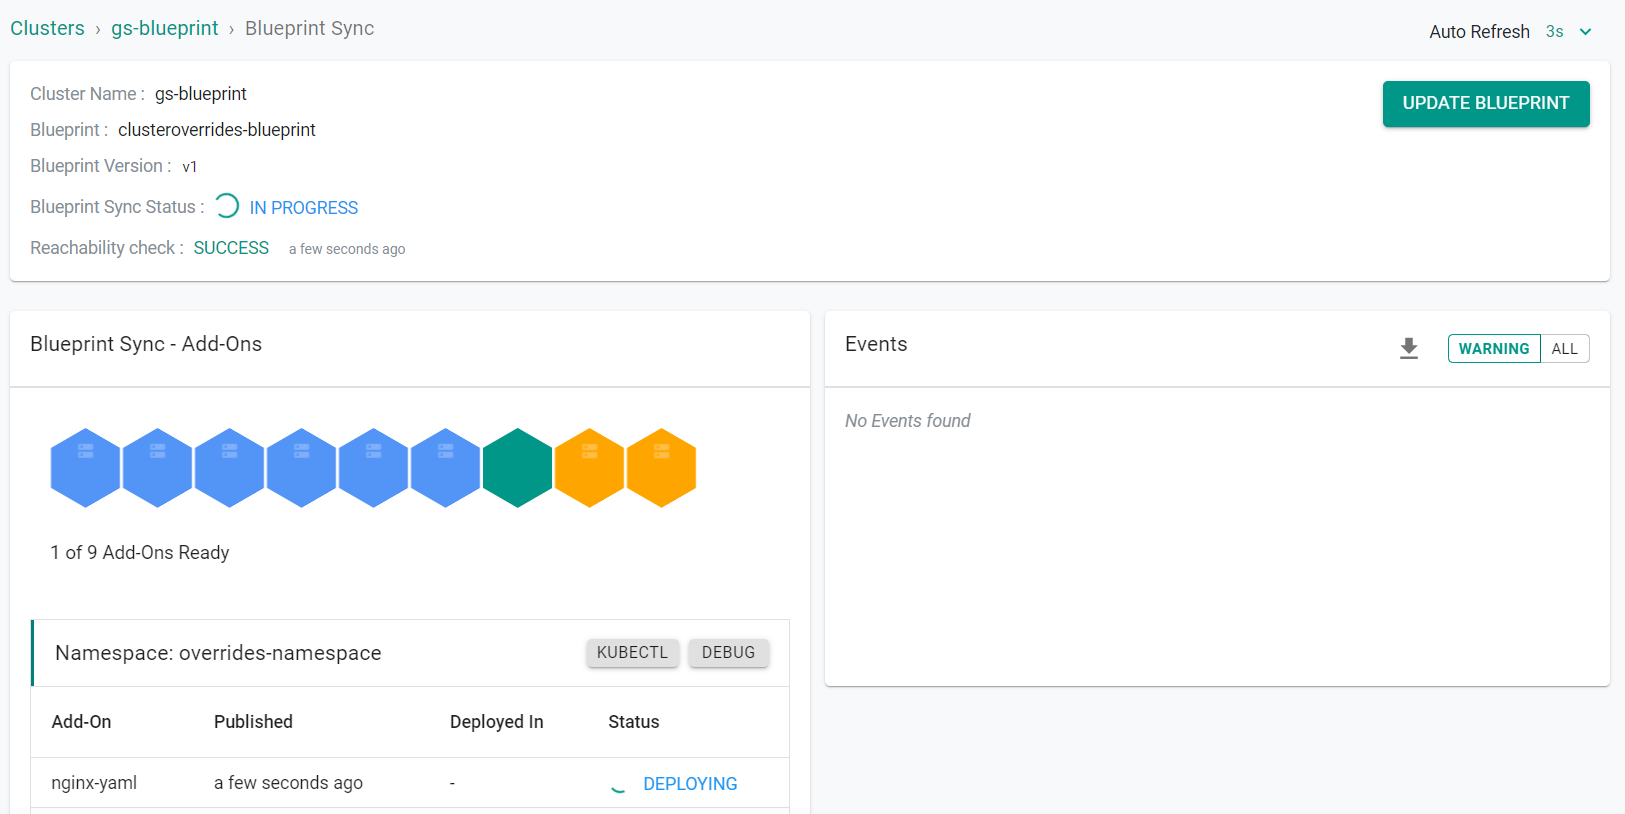
The blueprint will begin to be applied to the cluster.
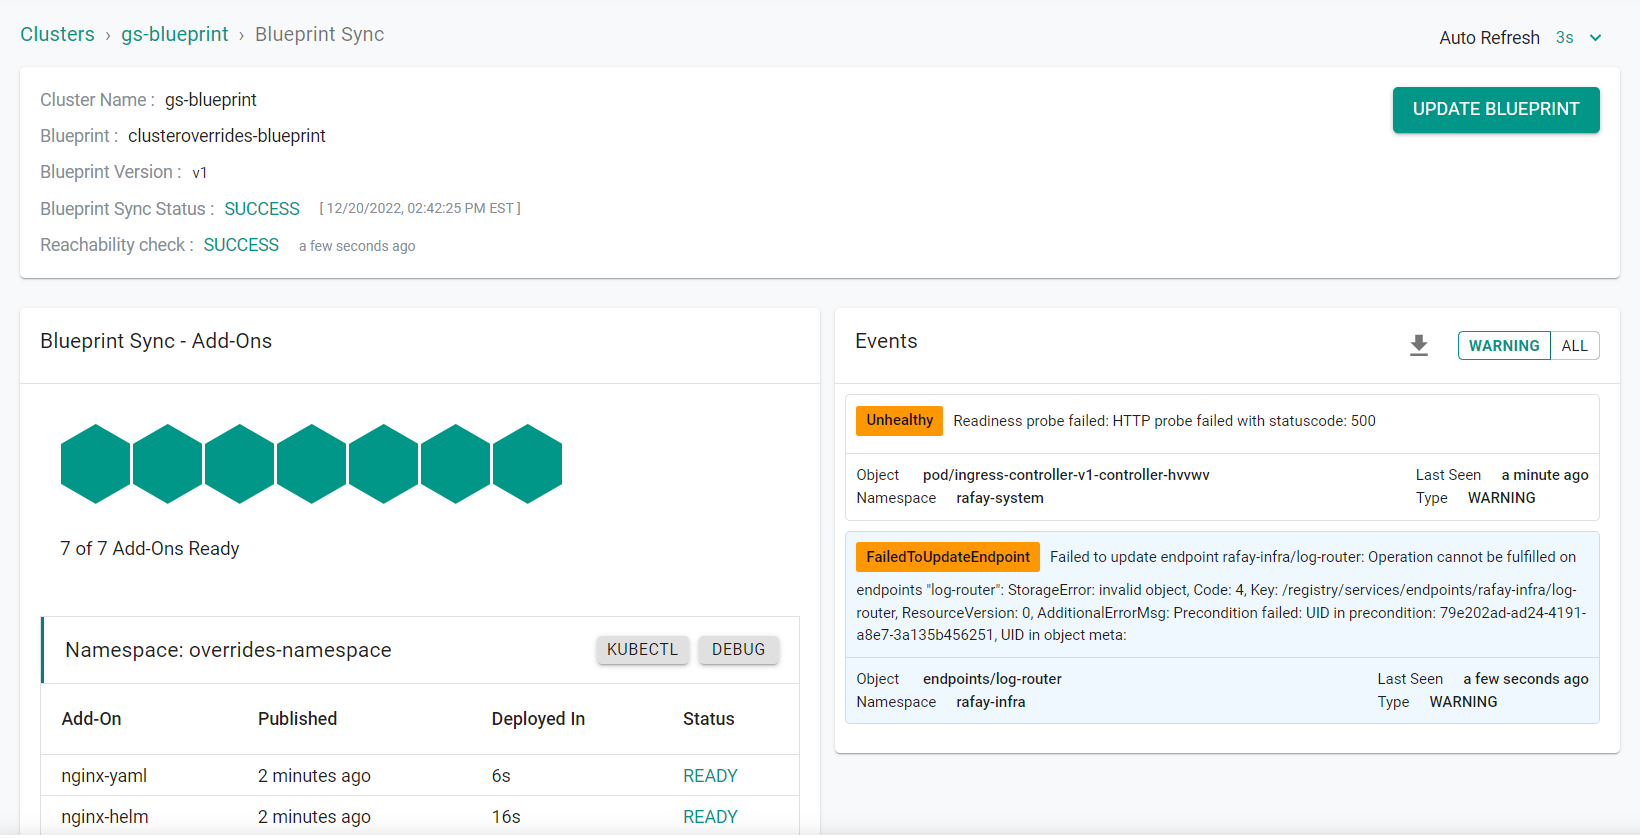
The blueprint is now applied to the cluster.
Recap
Congratulations! At this point, you have successfully created a YAML and a Helm based add-on which have been deployed to the cluster via a custom cluster blueprint.