Providers
The platform includes several integrated Provider options that can be used to stitch together infrastructure provisioning and non-infrastructure related workflows. The section below includes a summary of the available options.
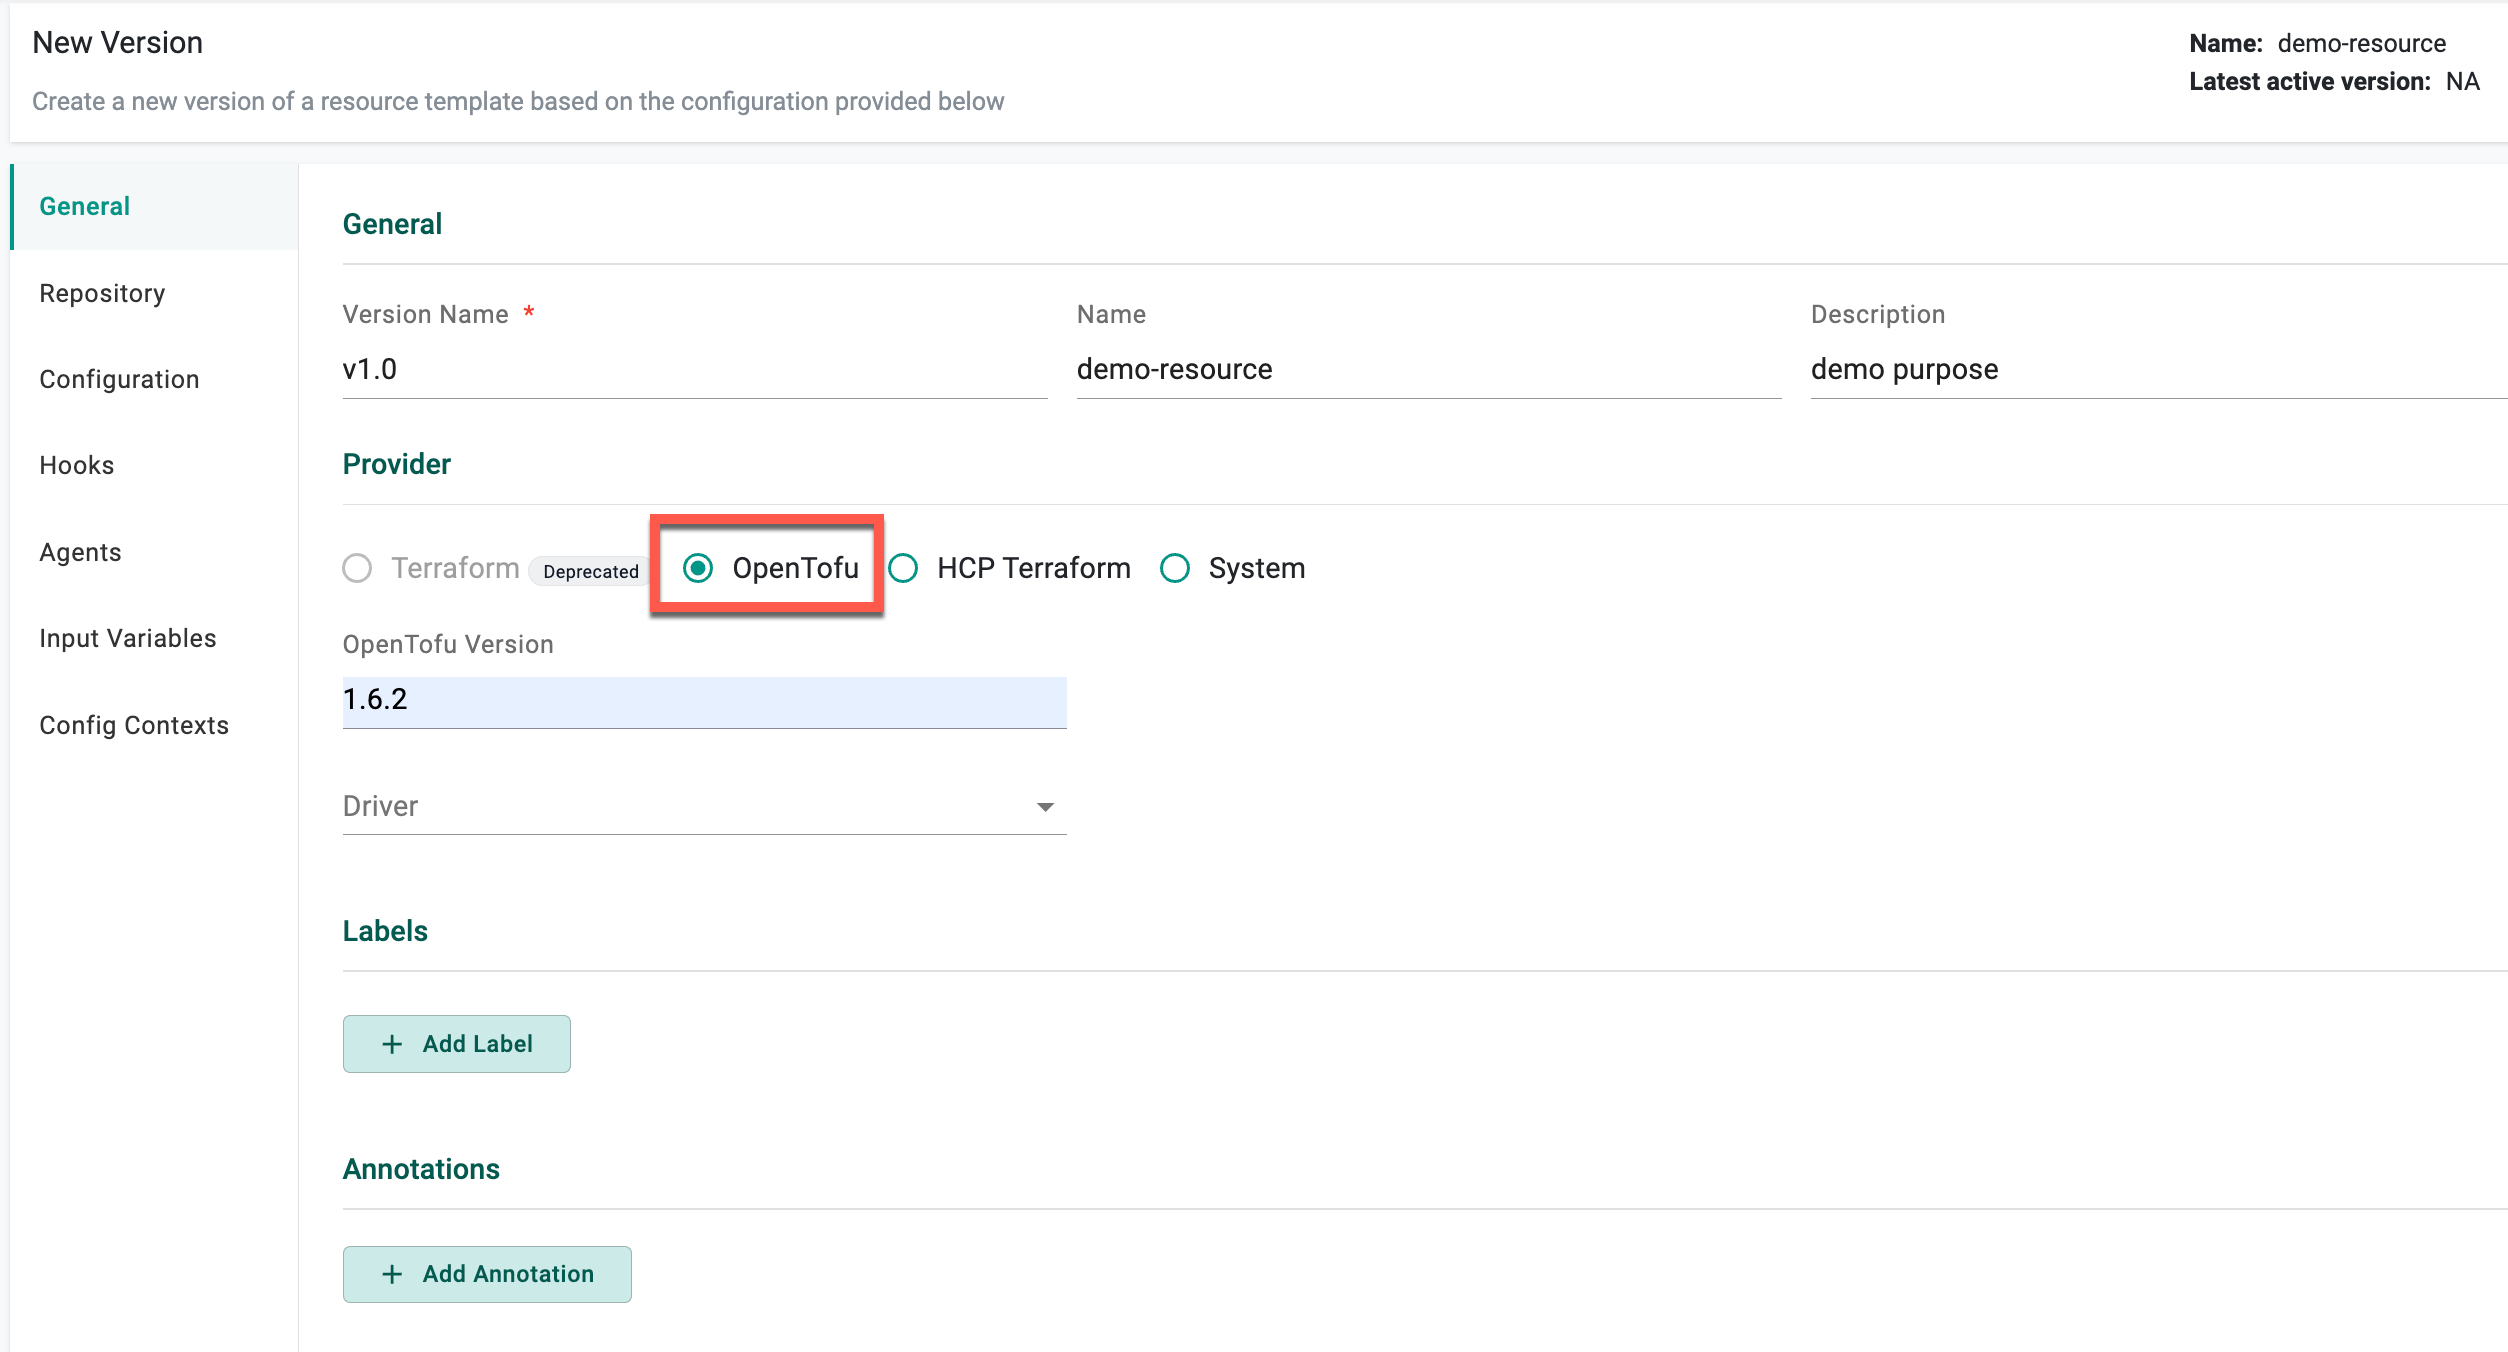
OpenTofu
OpenTofu is an open-source infrastructure IaC (infrastructure as code) tool. Rafay offers first class integration for OpenTofu that allows customers to leverage OpenTofu as the IaC provisioning tool with the Environment Manager framework.
Migrating from Terraform to OpenTofu
For users looking to migrate from the deprecated Terraform Provider option to OpenTofu Provider option, the process involves the following steps.
- Create a new version of the resource template with the provider selected as OpenTofu ensuring that all other configurations remain consistent with the older template version
- Additionally, create a new version of the Environment Template that includes the updated Resource Template. This new Environment Template version can then be used to create new environments
Important
Updating an existing environment that uses Terraform provider to the new OpenTofu provider is possible by republishing the existing environment using an updated version of Environment Template (that includes Resource Template(s) with the OpenTofu provider). While this approach may work in most cases, it's important to proceed with caution as there may be risks involved. Rafay recommends creating a new environment using OpenTofu, verifying its functionality, and then deleting the older environment.
By default, a few GitHub APIs need to be accessed to download the OpenTofu binary. If the infrastructure where the agent is running does not have access to GitHub APIs, or if users prefer to download the Tofu binary from a different endpoint for operational or security reasons, this can be accommodated using the OVERRIDE_OPENTOFU_DOWNLOAD_ENDPOINT environment variable. This variable should point to any URL that hosts the Tofu binary in a zip file, and the agent will download the Tofu binary from this endpoint. Alternatively, customers can build a workflow handler (based on OpenTofu) and reference that as part of the resource template configuration.
Example
OVERRIDE_OPENTOFU_DOWNLOAD_ENDPOINT=https://github.com/opentofu/opentofu/releases/download/v1.6.2/tofu_1.6.2_linux_amd64.zip
Custom Provider
This provider option enables customers to execute custom workflows. These workflows can be based on logic that customers package as as container or execution of functions that were written in Go, Python or as Bash scripts. An example could be writing custom code to capture a snapshot of K8s resources running on the cluster on a periodic basis for the purposes of compliance.
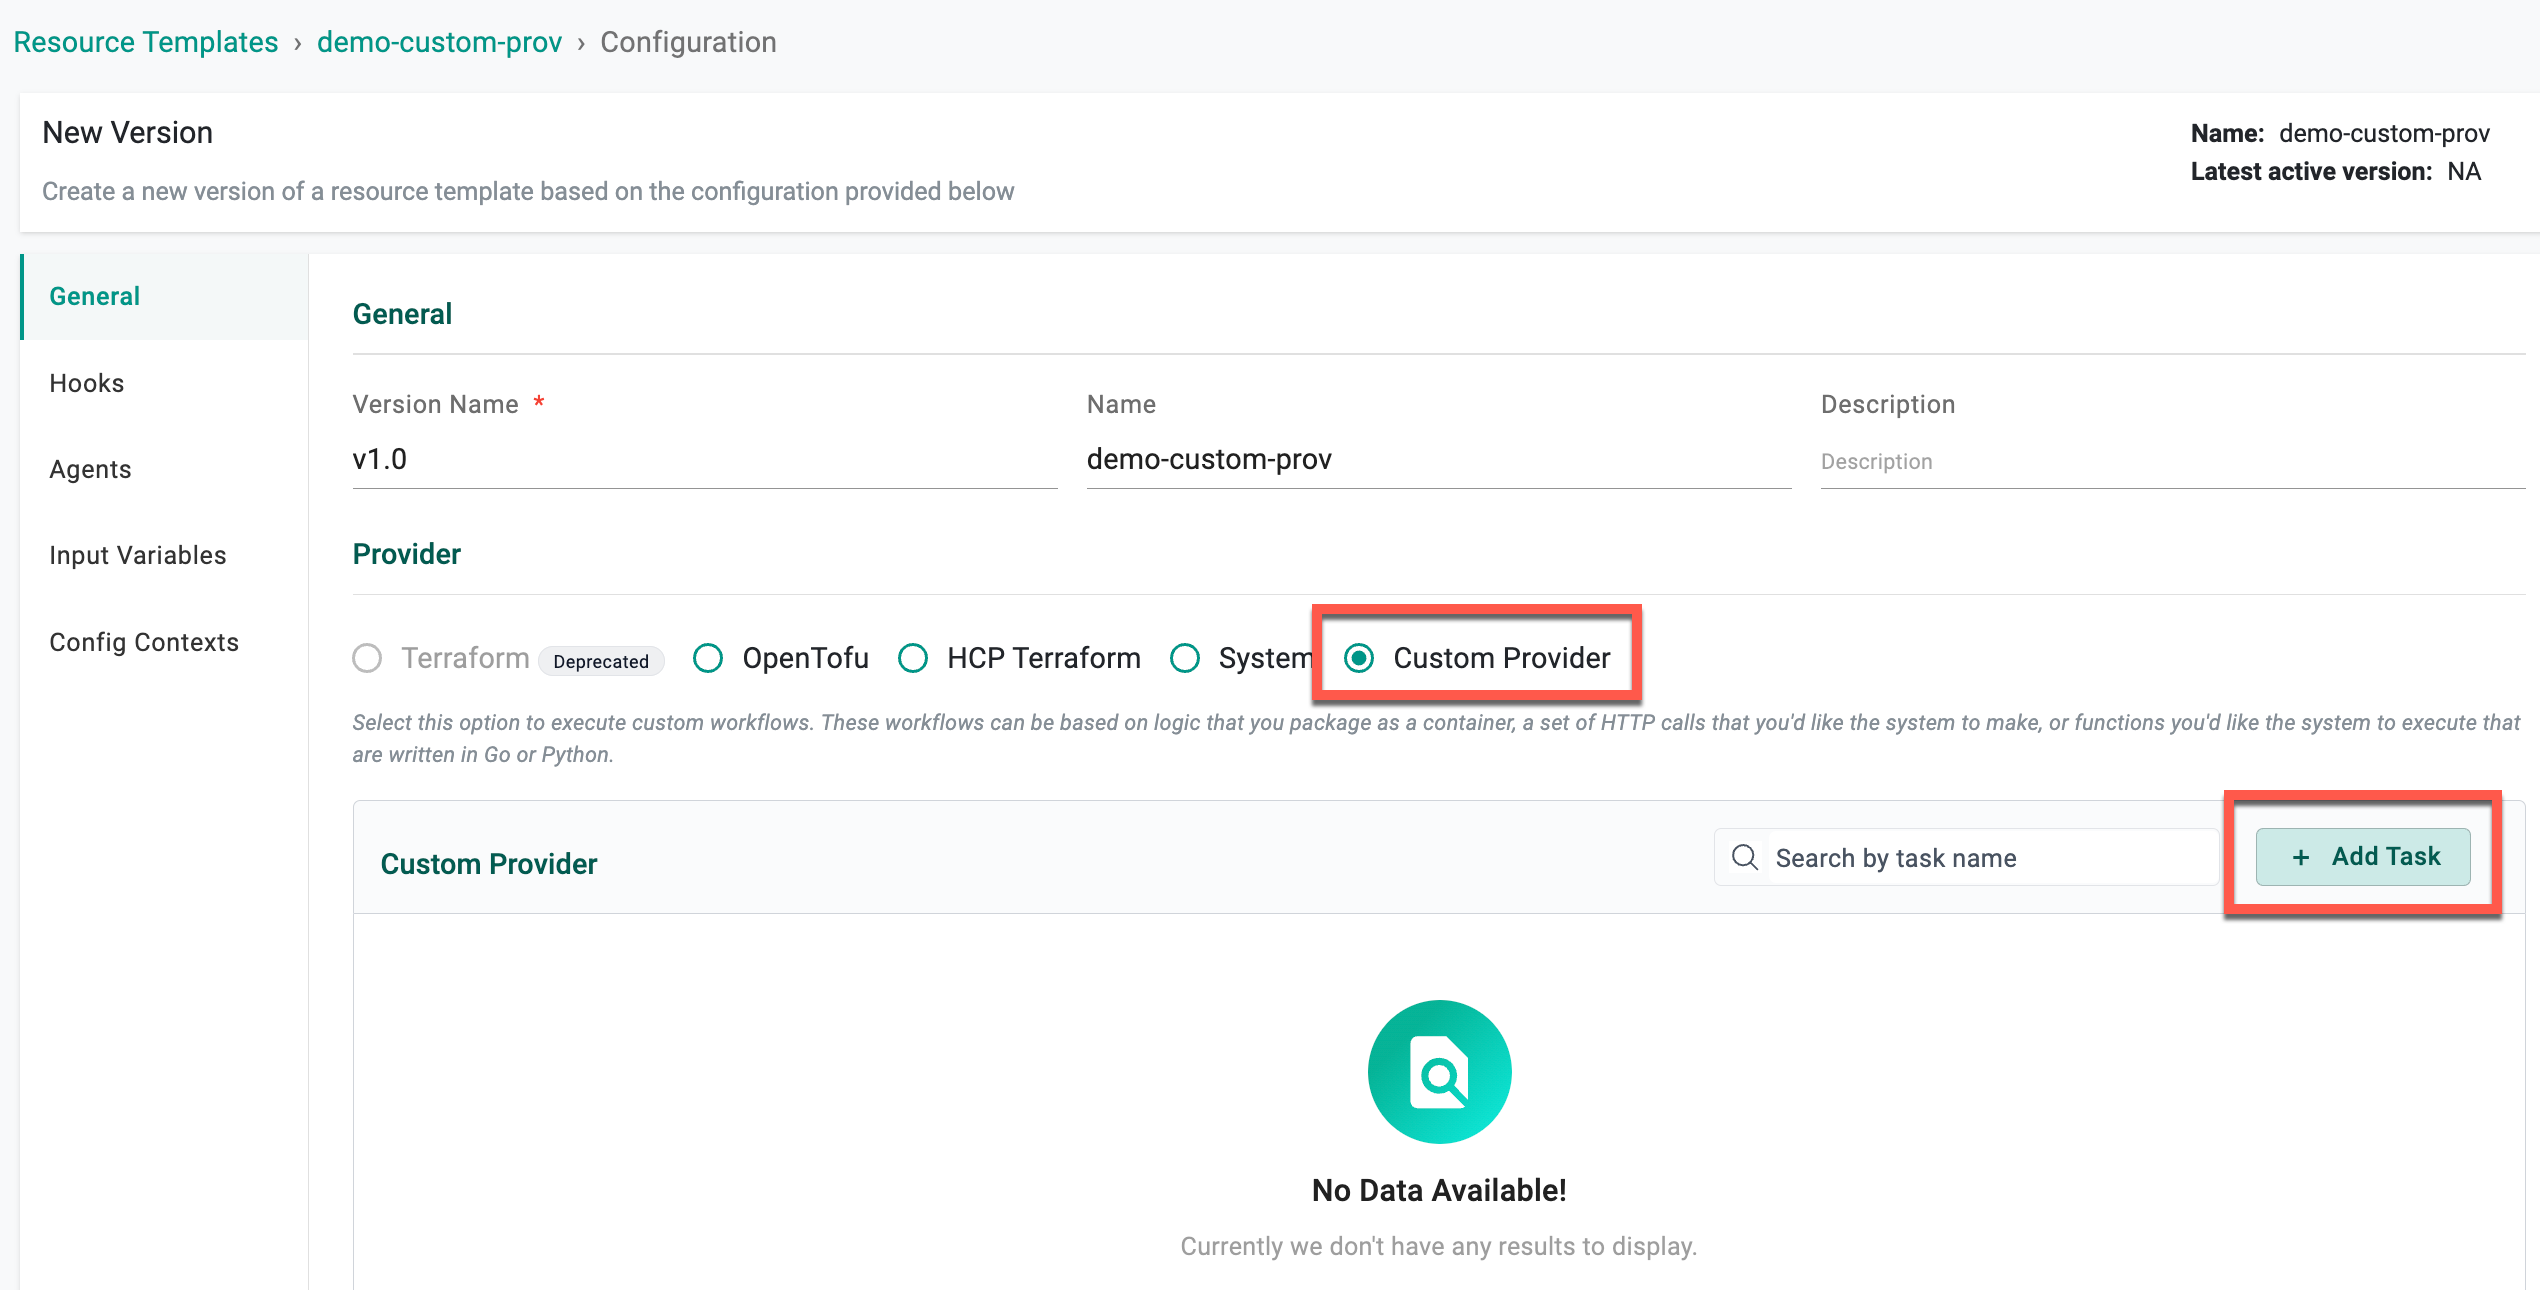
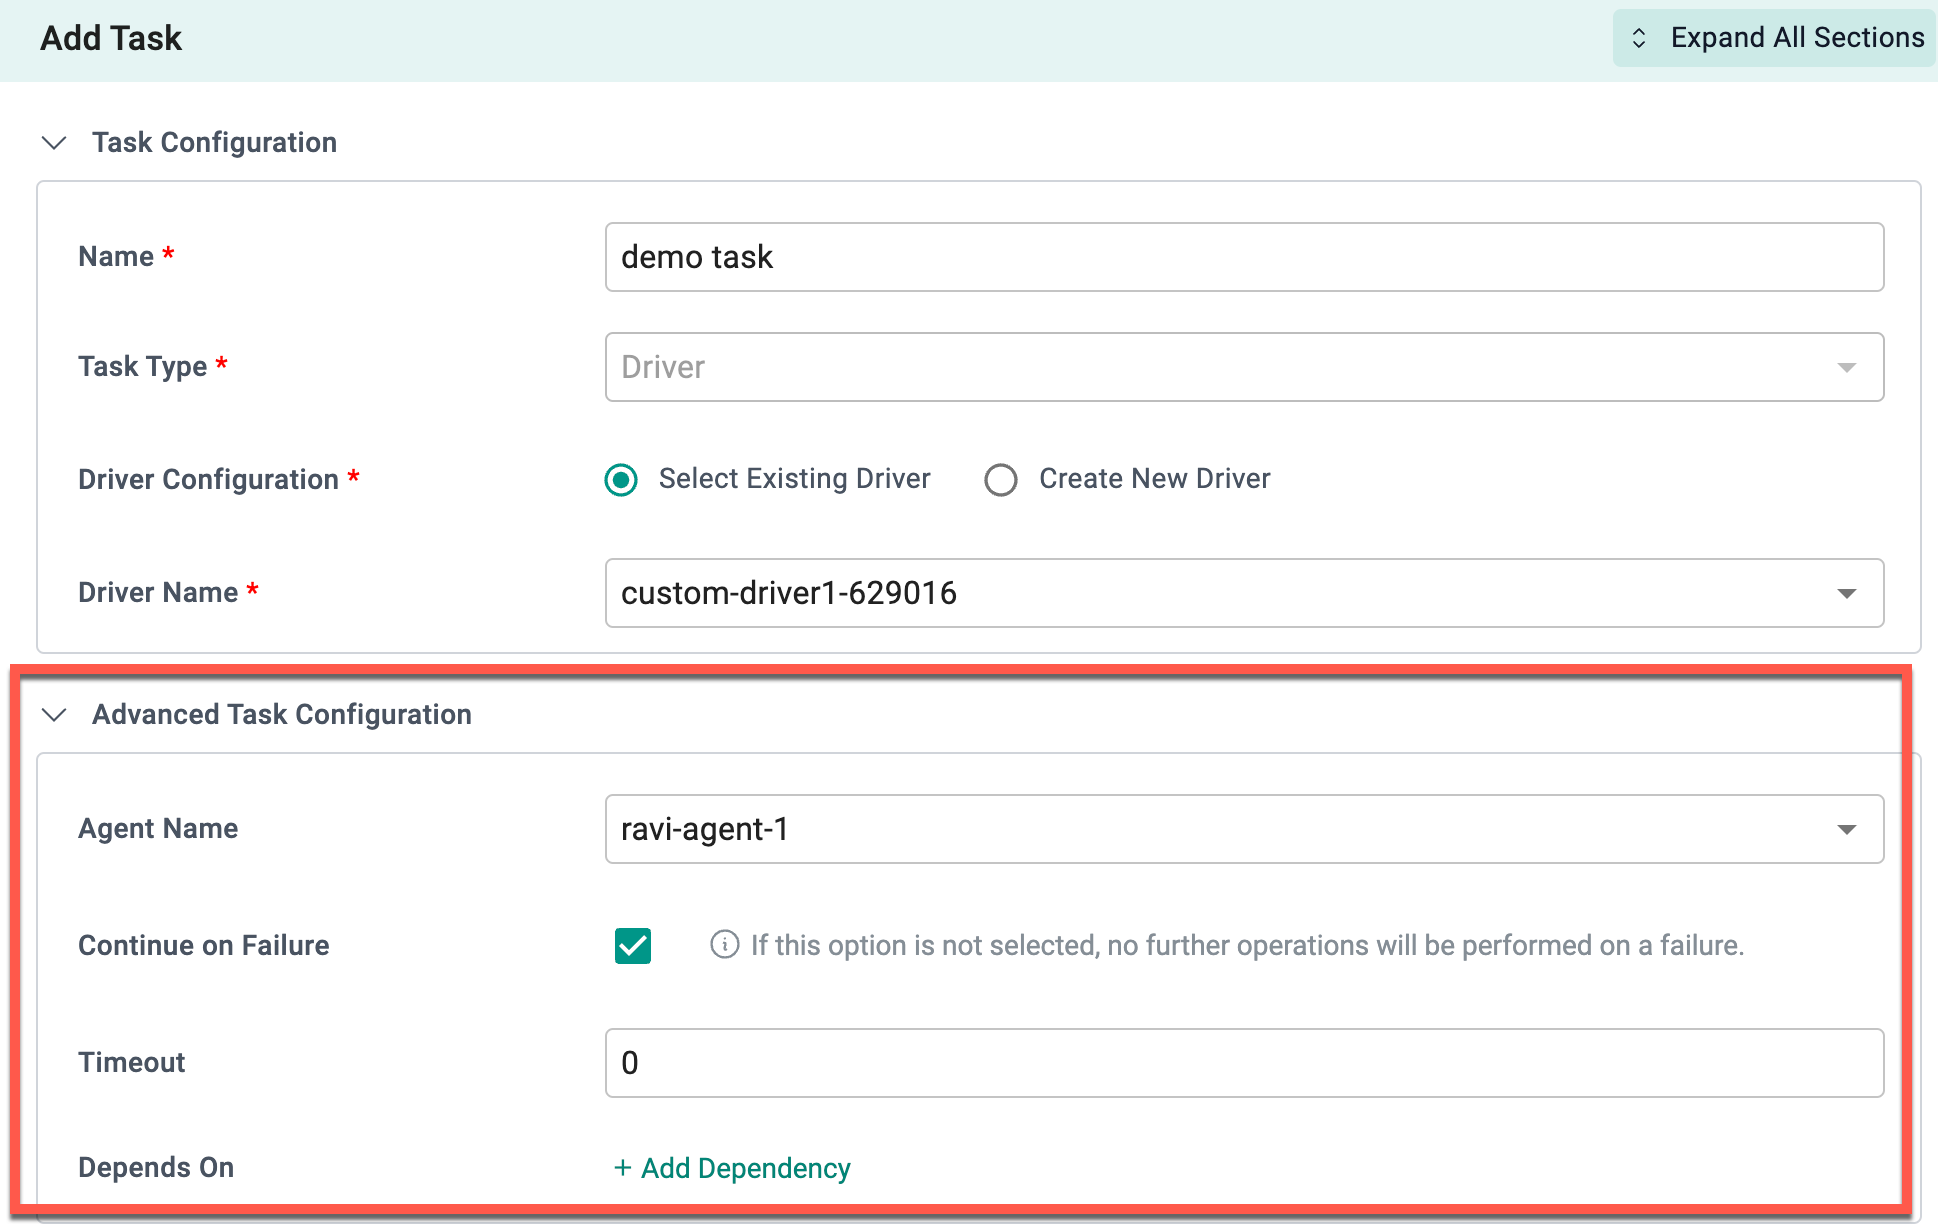
- Select Custom Provider and click Add Task. The task page appears, allowing you to define and organize the individual steps required to execute a workflow within the Custom Provider
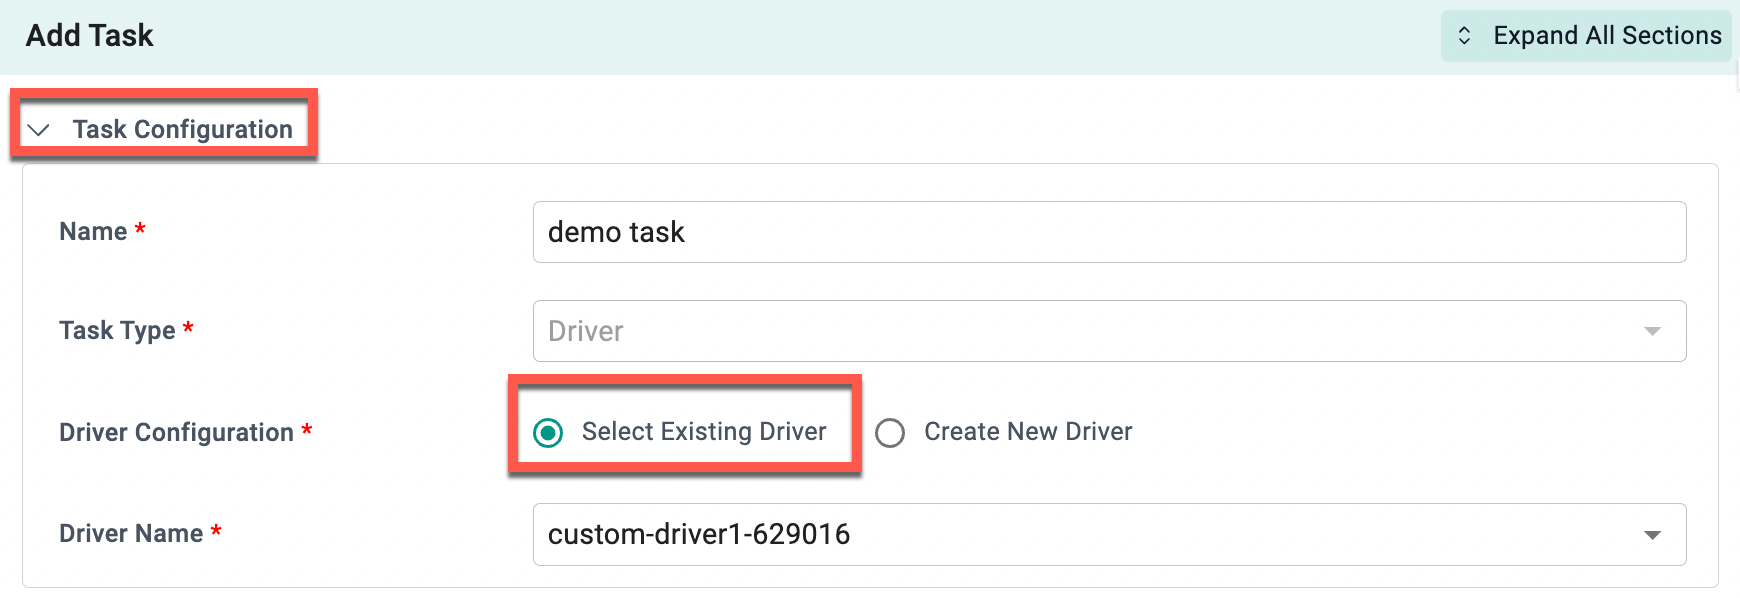
Task Configuration
- Provide a unique name for the task and Task type Driver is selected by default
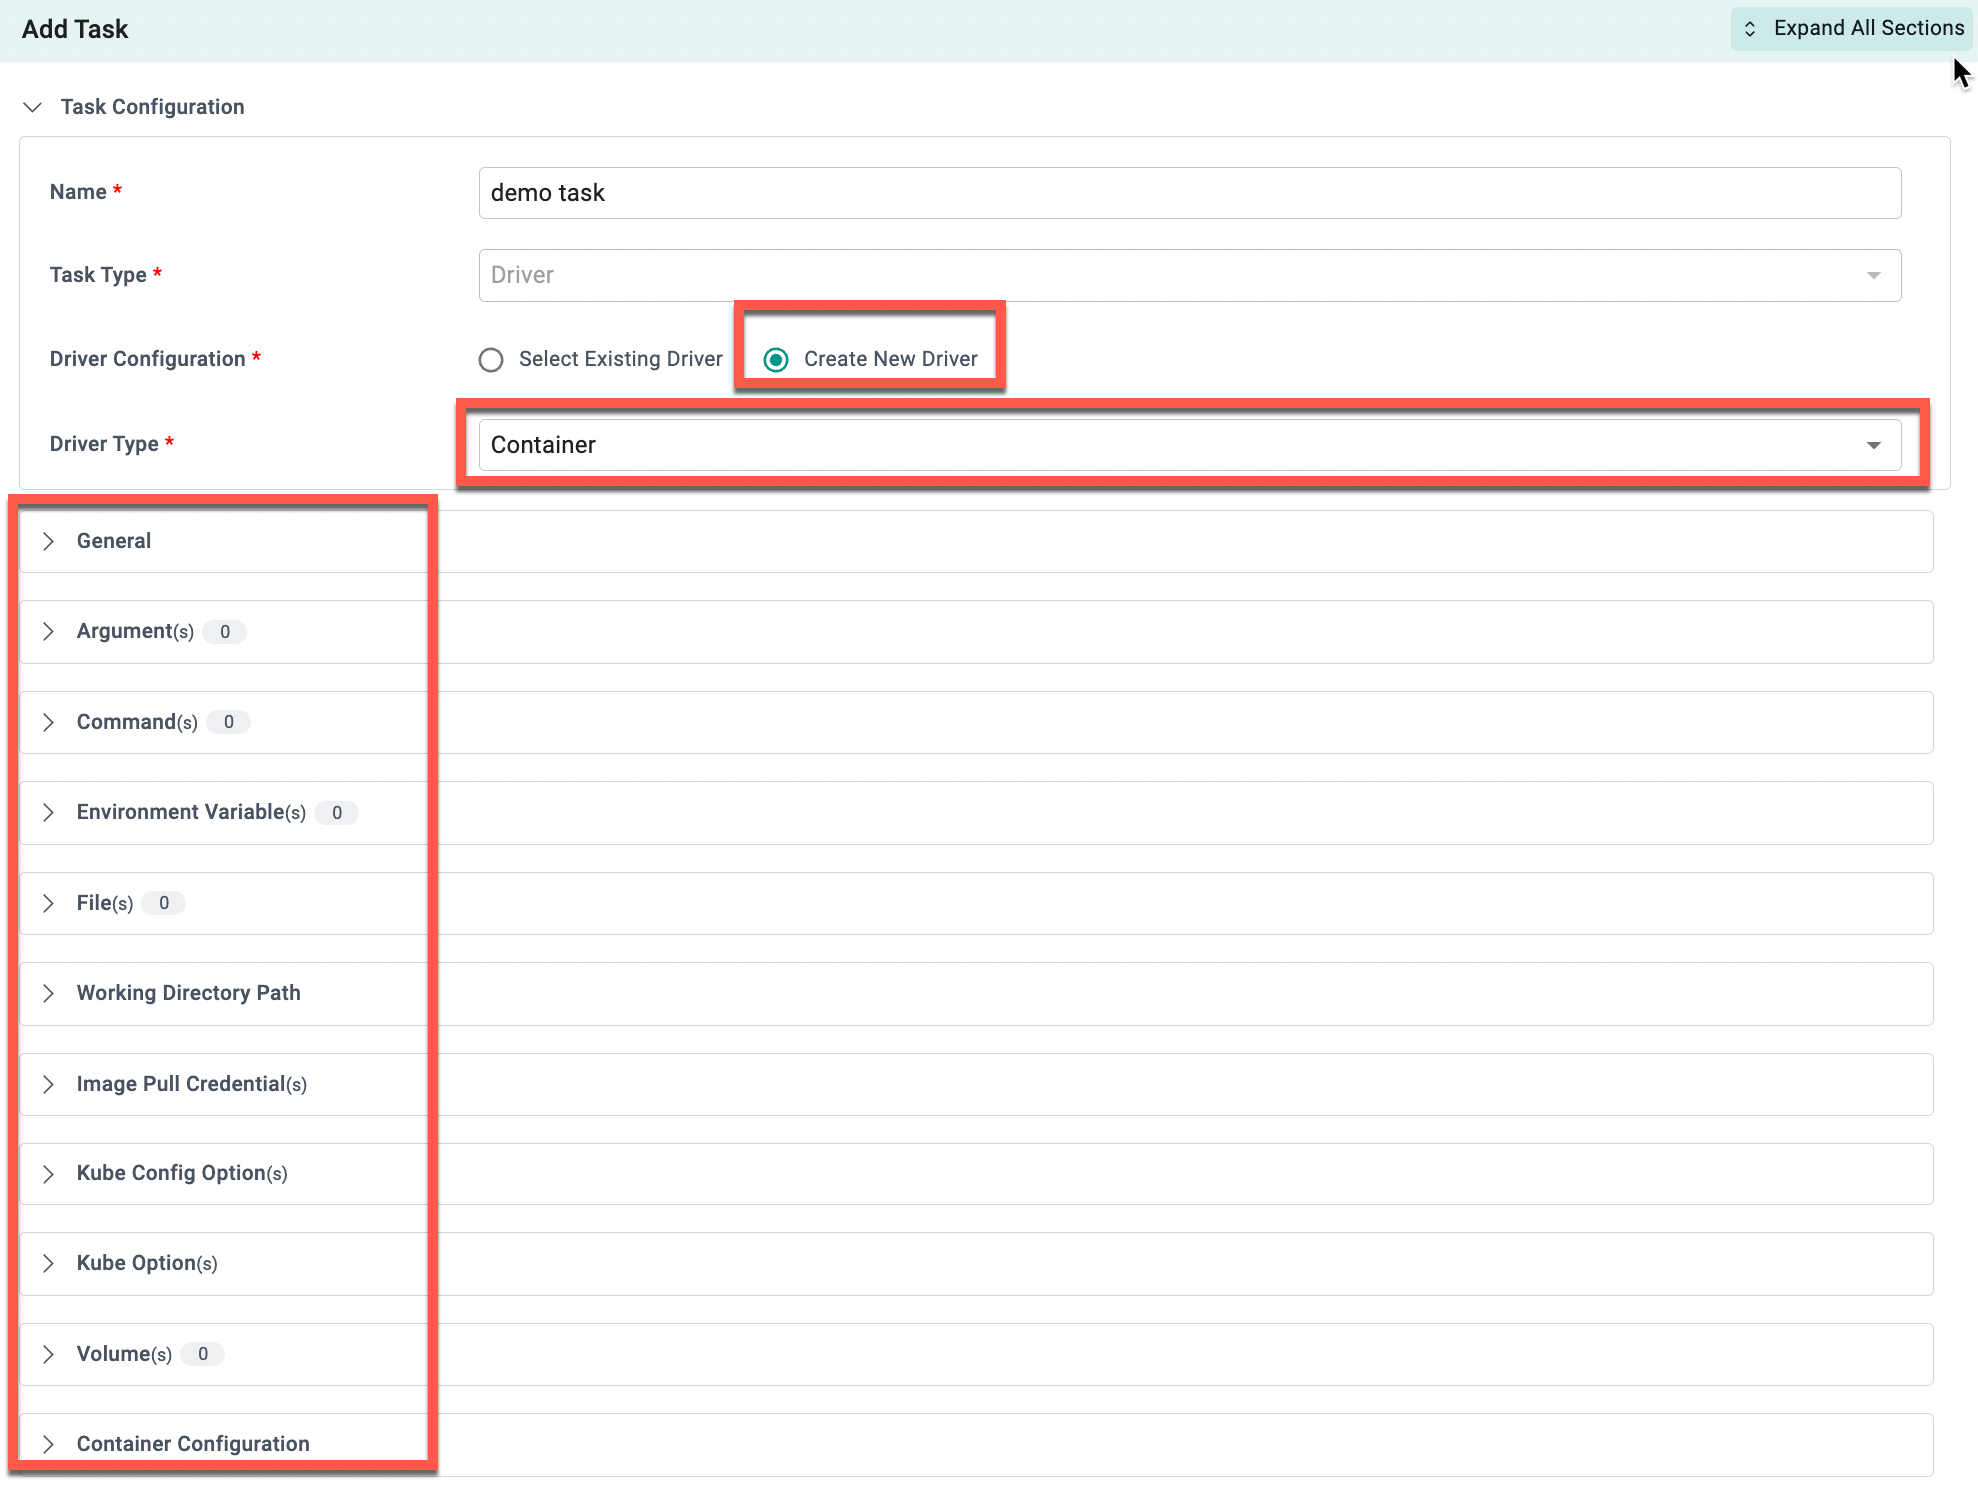
- Select the Driver Configuration: either Select Existing Driver (referring to an inline driver) or Create New Driver
- If selecting Select Existing Driver, choose the desired driver from the drop-down menu and attach to the task. The same driver can be used for multiple tasks if needed
- If selecting Create New Driver, choose the Driver Type (either Container or HTTP) and provide the necessary details
Advanced Task Configuration
- Select an Agent to ensure that tasks are executed in the appropriate environment with the necessary resources for successful workflow completion
- Enable Continue on Failure if required, and set a Timeout
- Add dependencies using the Depends On field to specify the order of task execution and establish how tasks are connected within the workflow
Note: The default timeout for a custom provider task is 5 minutes if not specified
- Click Save
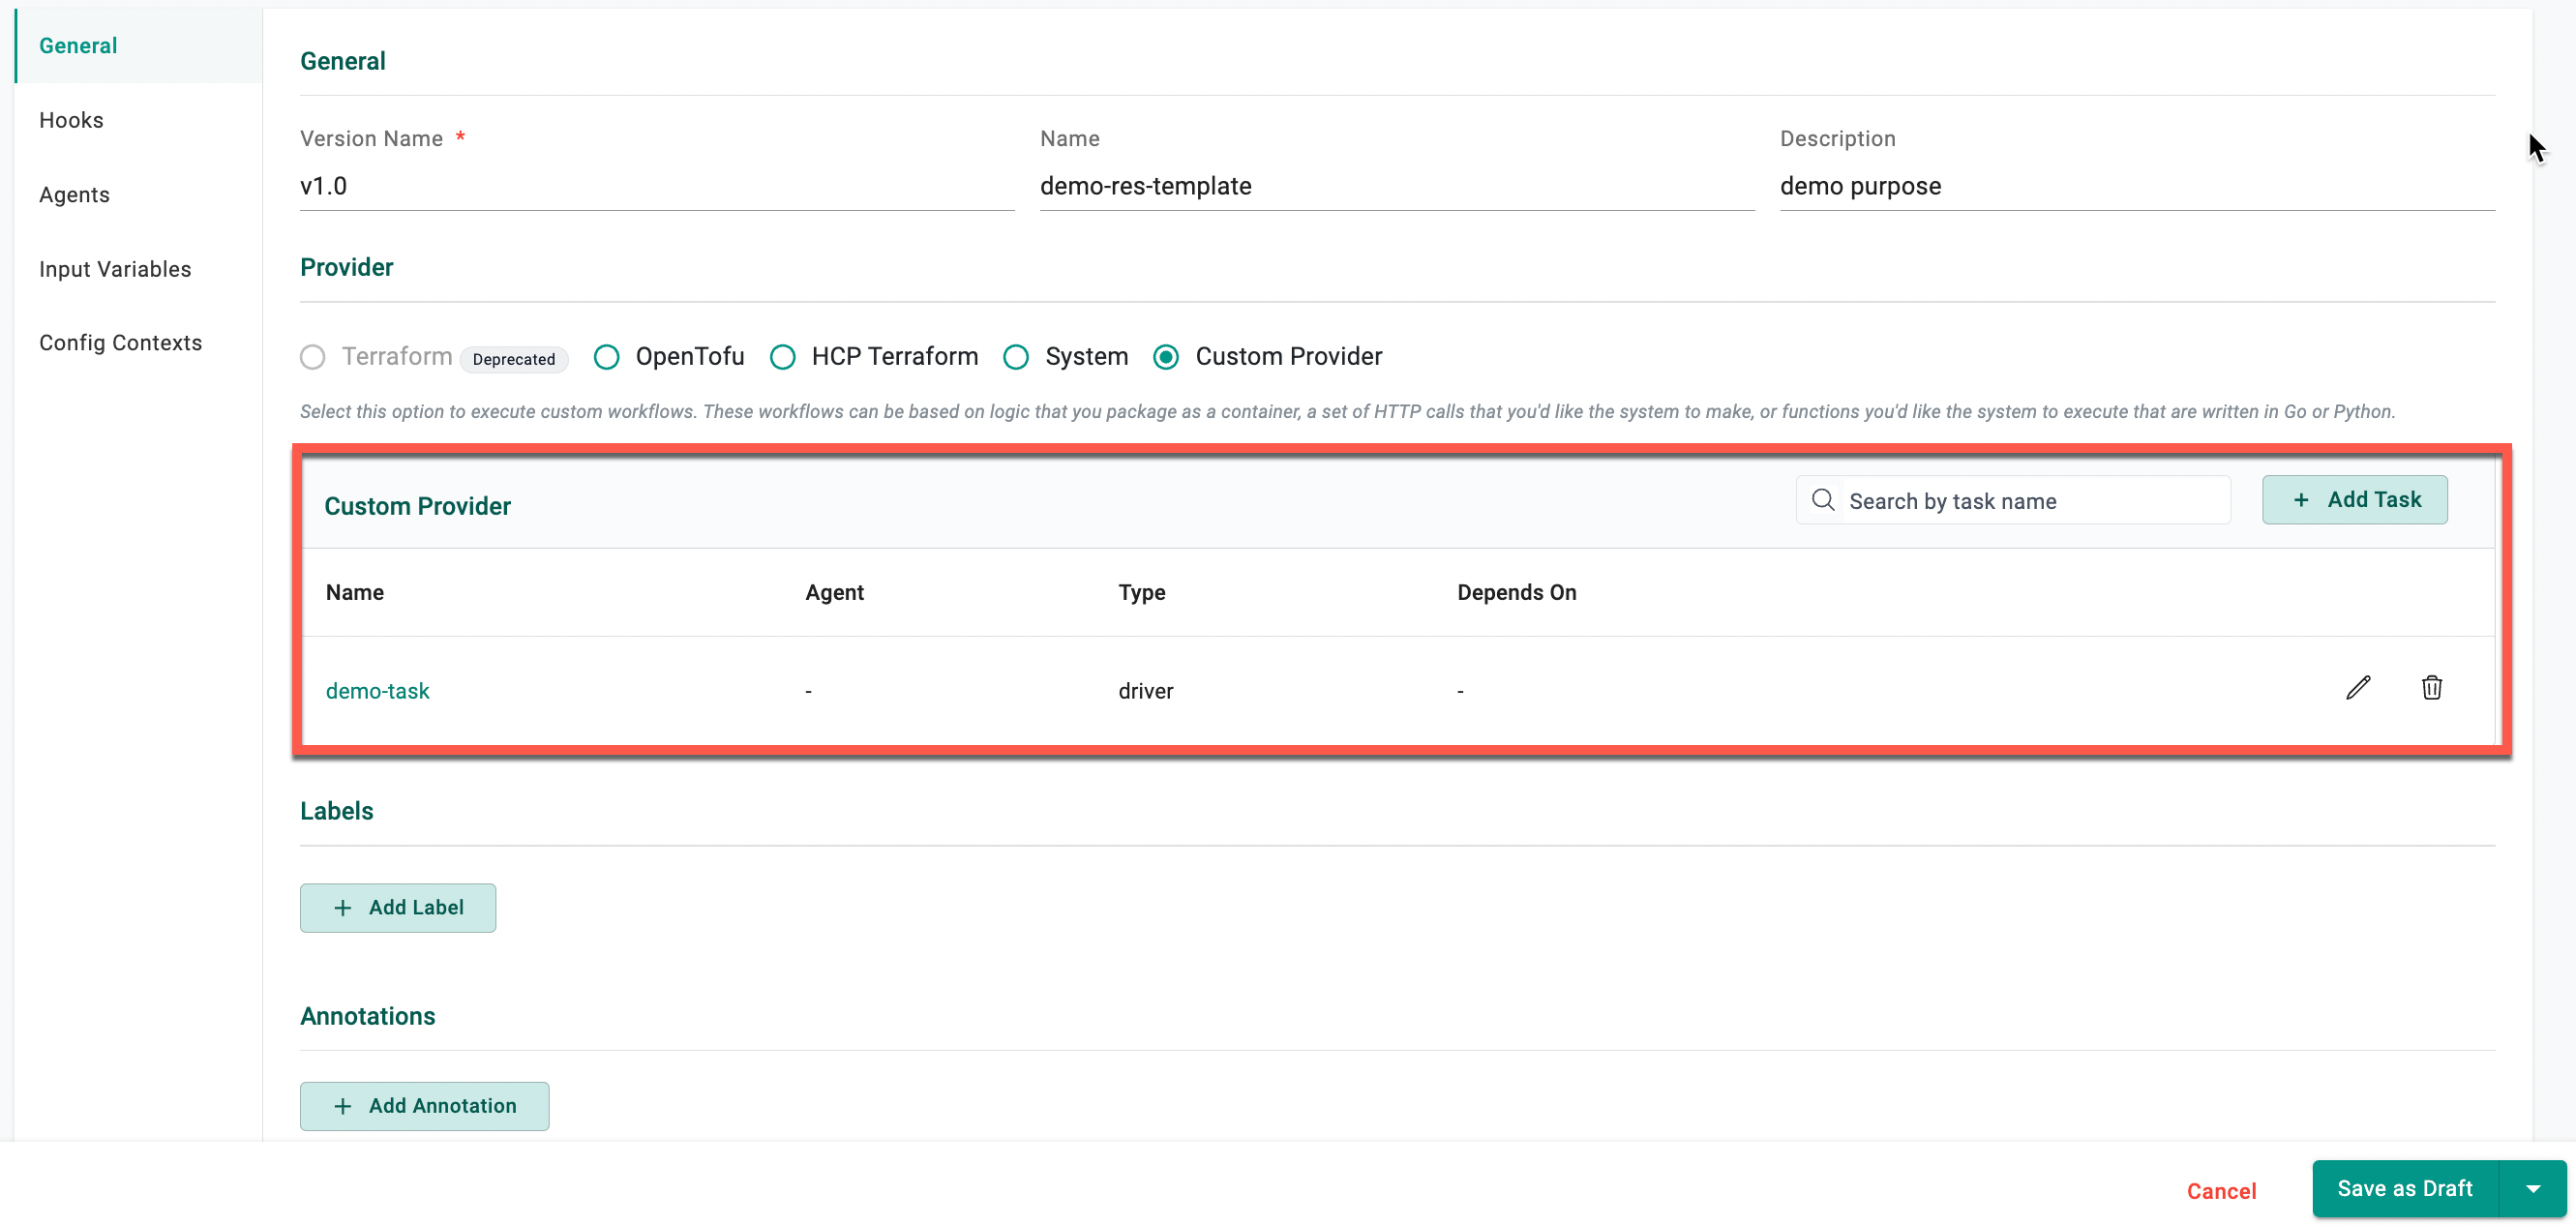
The newly added task(s) is listed as shown below:
On selecting Custom Provider, configure Hooks, Agents, Input Variables, and Config Contexts.
Task Result Sharing
-
Container tasks share their results by uploading a file called
output.json. Only tasks that follow the one sharing results (and depend on it) can access the data. The drivers of these dependent tasks can use the information inoutput.jsonto complete their execution. -
HTTP tasks also share their results through
output.json. Theoutput.jsonfor HTTP tasks typically contains the following:- statusCode: The HTTP status code
- body: The HTTP response payload
- headers: The HTTP response headers
Below is an example on how to upload the output.json file
import requests
def upload():
    return requests.post(
        os.getenv('DRIVER_UPLOAD_URL'),
        headers={"X-Engine-Helper-Token": os.getenv('DRIVER_UPLOAD_TOKEN')},
        files={'content': open('/path/to/output.json', 'rb')}
    )


package main
import (
    "bytes"
    "fmt"
    "io"
    "mime/multipart"
    "net/http"
    "os"
)
func upload() {
    // Path to the file you want to upload
    filePath := "/path/to/output.json"
    // URL to upload the file
    uploadURL := os.Getenv("DRIVER_UPLOAD_URL")
    if uploadURL == "" {
        fmt.Println("Error: DRIVER_UPLOAD_URL environment variable is not set")
        return
    }
    // Authentication token
    authToken := os.Getenv("DRIVER_UPLOAD_TOKEN")
    if authToken == "" {
        fmt.Println("Error: DRIVER_UPLOAD_TOKEN environment variable is not set")
        return
    }
    // Open the file
    file, err := os.Open(filePath)
    if err != nil {
        fmt.Println("Error opening file:", err)
        return
    }
    defer file.Close()
    // Create a new buffer to store the multipart form data
    var body bytes.Buffer
    writer := multipart.NewWriter(&body)
    // Add the file to the form data
    part, err := writer.CreateFormFile("content", filePath)
    if err != nil {
        fmt.Println("Error creating form file:", err)
        return
    }
    _, err = io.Copy(part, file)
    if err != nil {
        fmt.Println("Error copying file:", err)
        return
    }
    // Close the multipart writer
    writer.Close()
    // Create a new HTTP request
    req, err := http.NewRequest("POST", uploadURL, &body)
    if err != nil {
        fmt.Println("Error creating request:", err)
        return
    }
    // Set the helper token header
    req.Header.Set("X-Engine-Helper-Token",  authToken)
    // Set the content type header
    req.Header.Set("Content-Type", writer.FormDataContentType())
    // Send the request
    client := &http.Client{}
    resp, err := client.Do(req)
    if err != nil {
        fmt.Println("Error sending request:", err)
        return
    }
    defer resp.Body.Close()
    // Check the response
    fmt.Println("Response status:", resp.Status)
}
Refer to this page to learn more about Custom Provider Expressions.
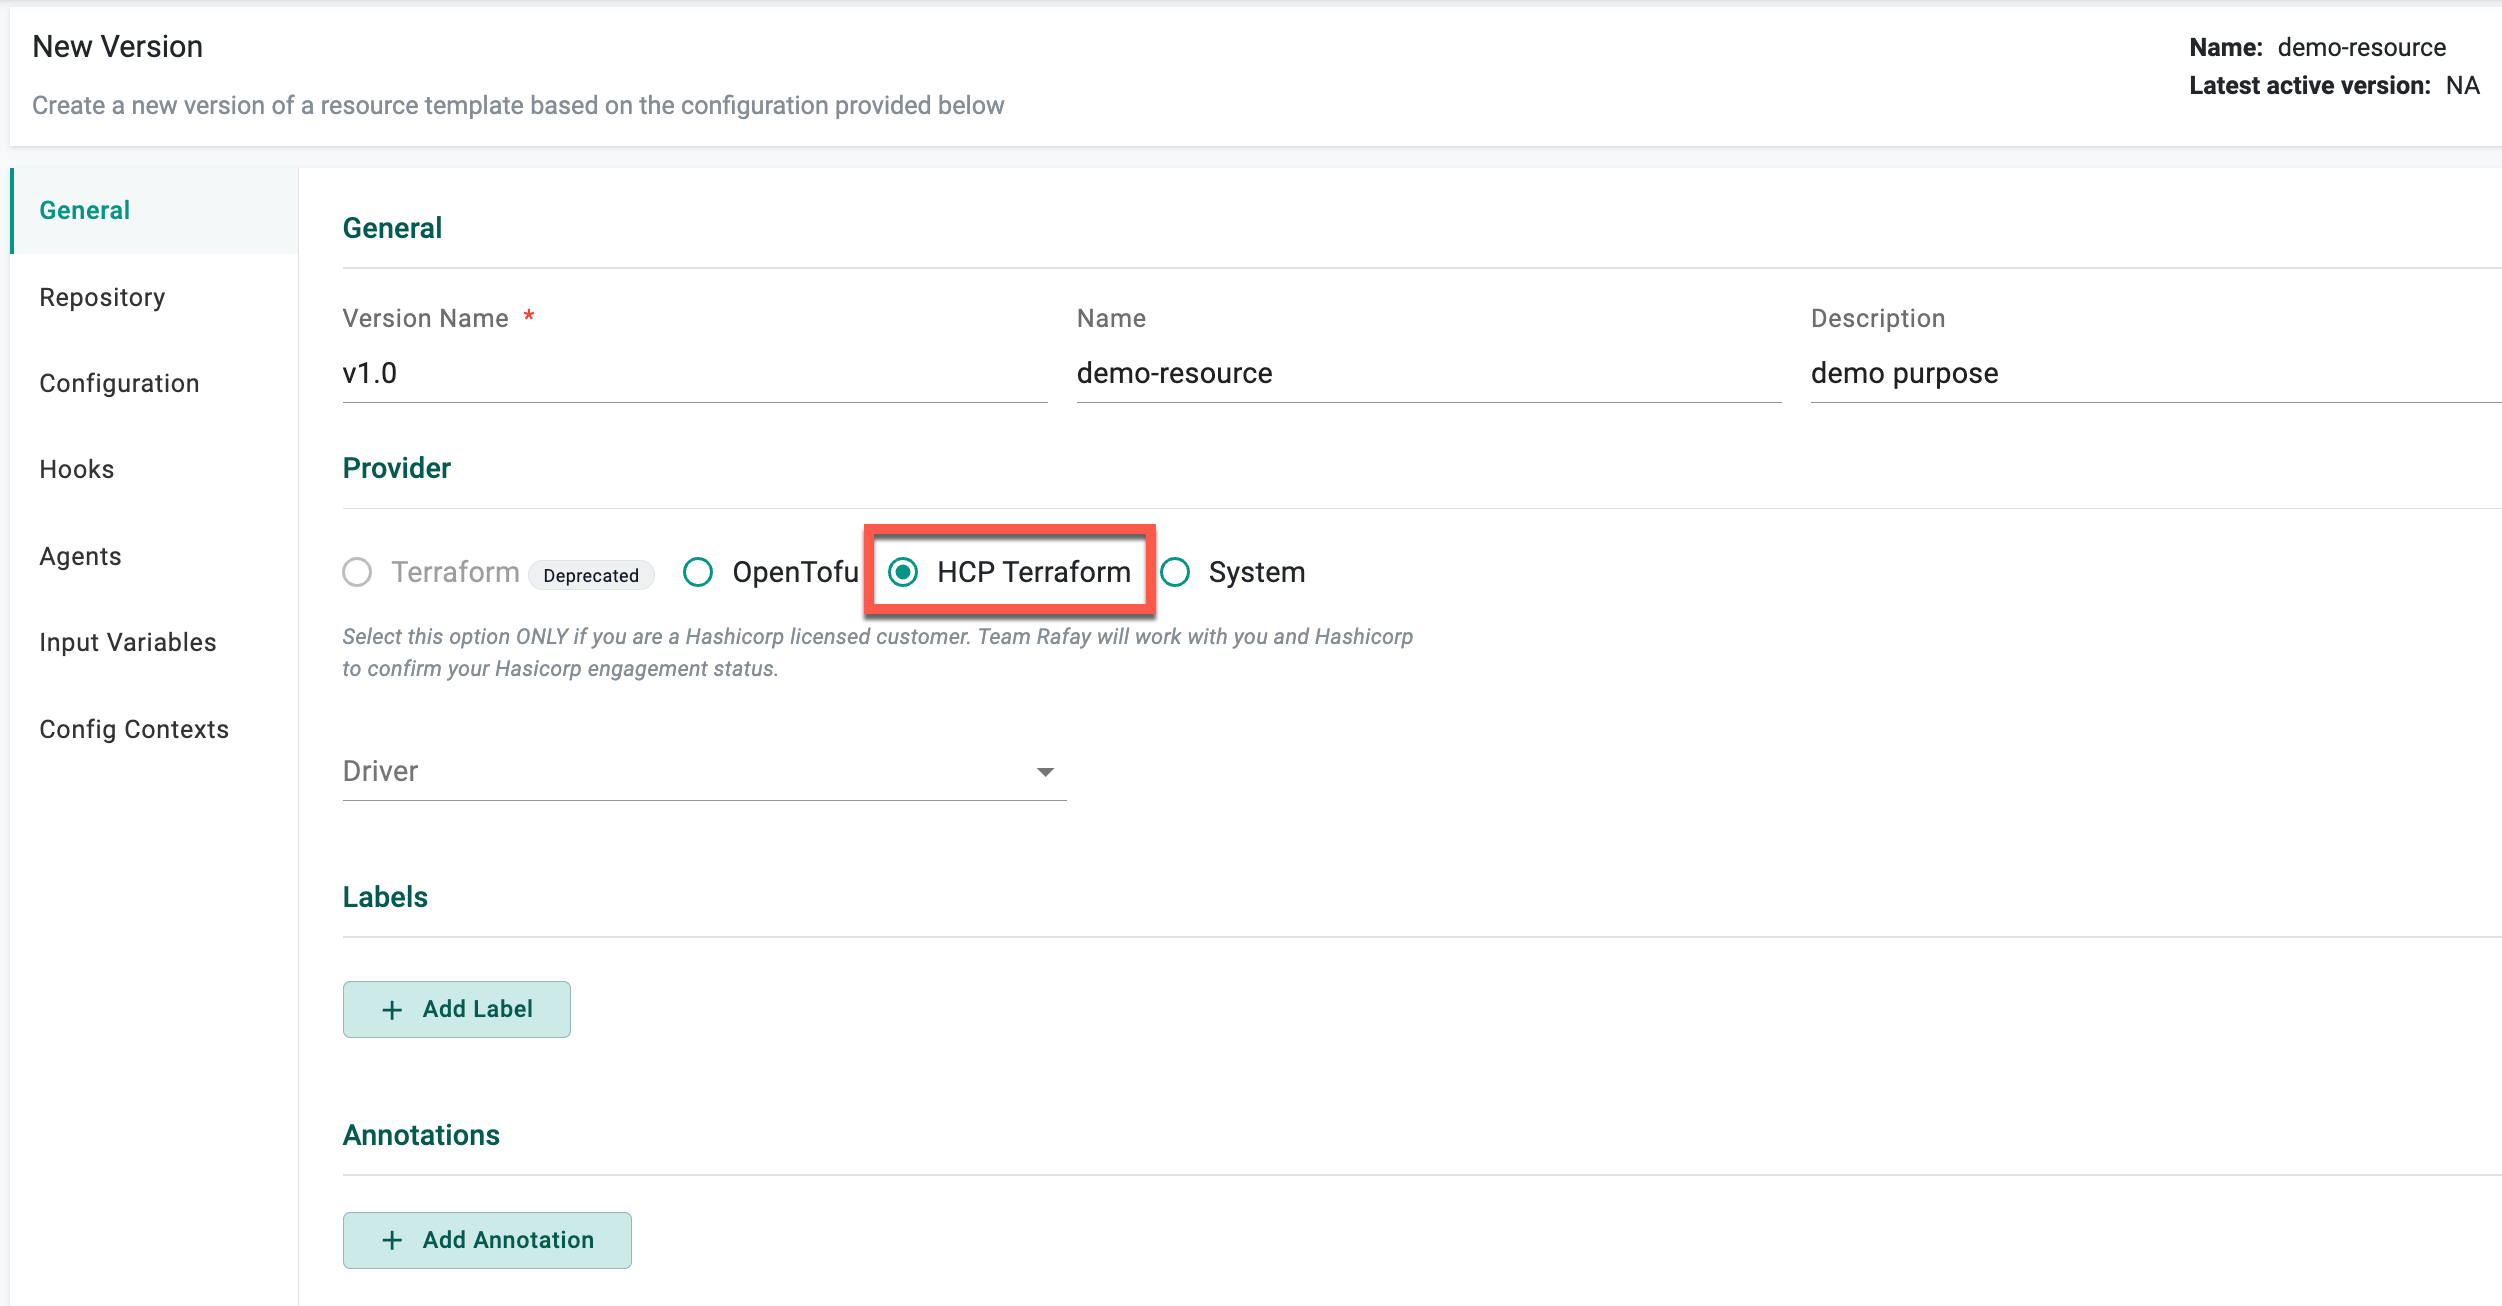
HCP Terraform
The HCP Terraform provider option is intended for licensed HashiCorp customers. With this option, users are required to provide a workflow hanlder to manage Terraform binaries in compliance with the BSL License. The backend type is always set to HCP Terraform, enabling centralized management of state store files etc.
Note: On selecting HCP Terraform, Workflow Handler is MANDATORY
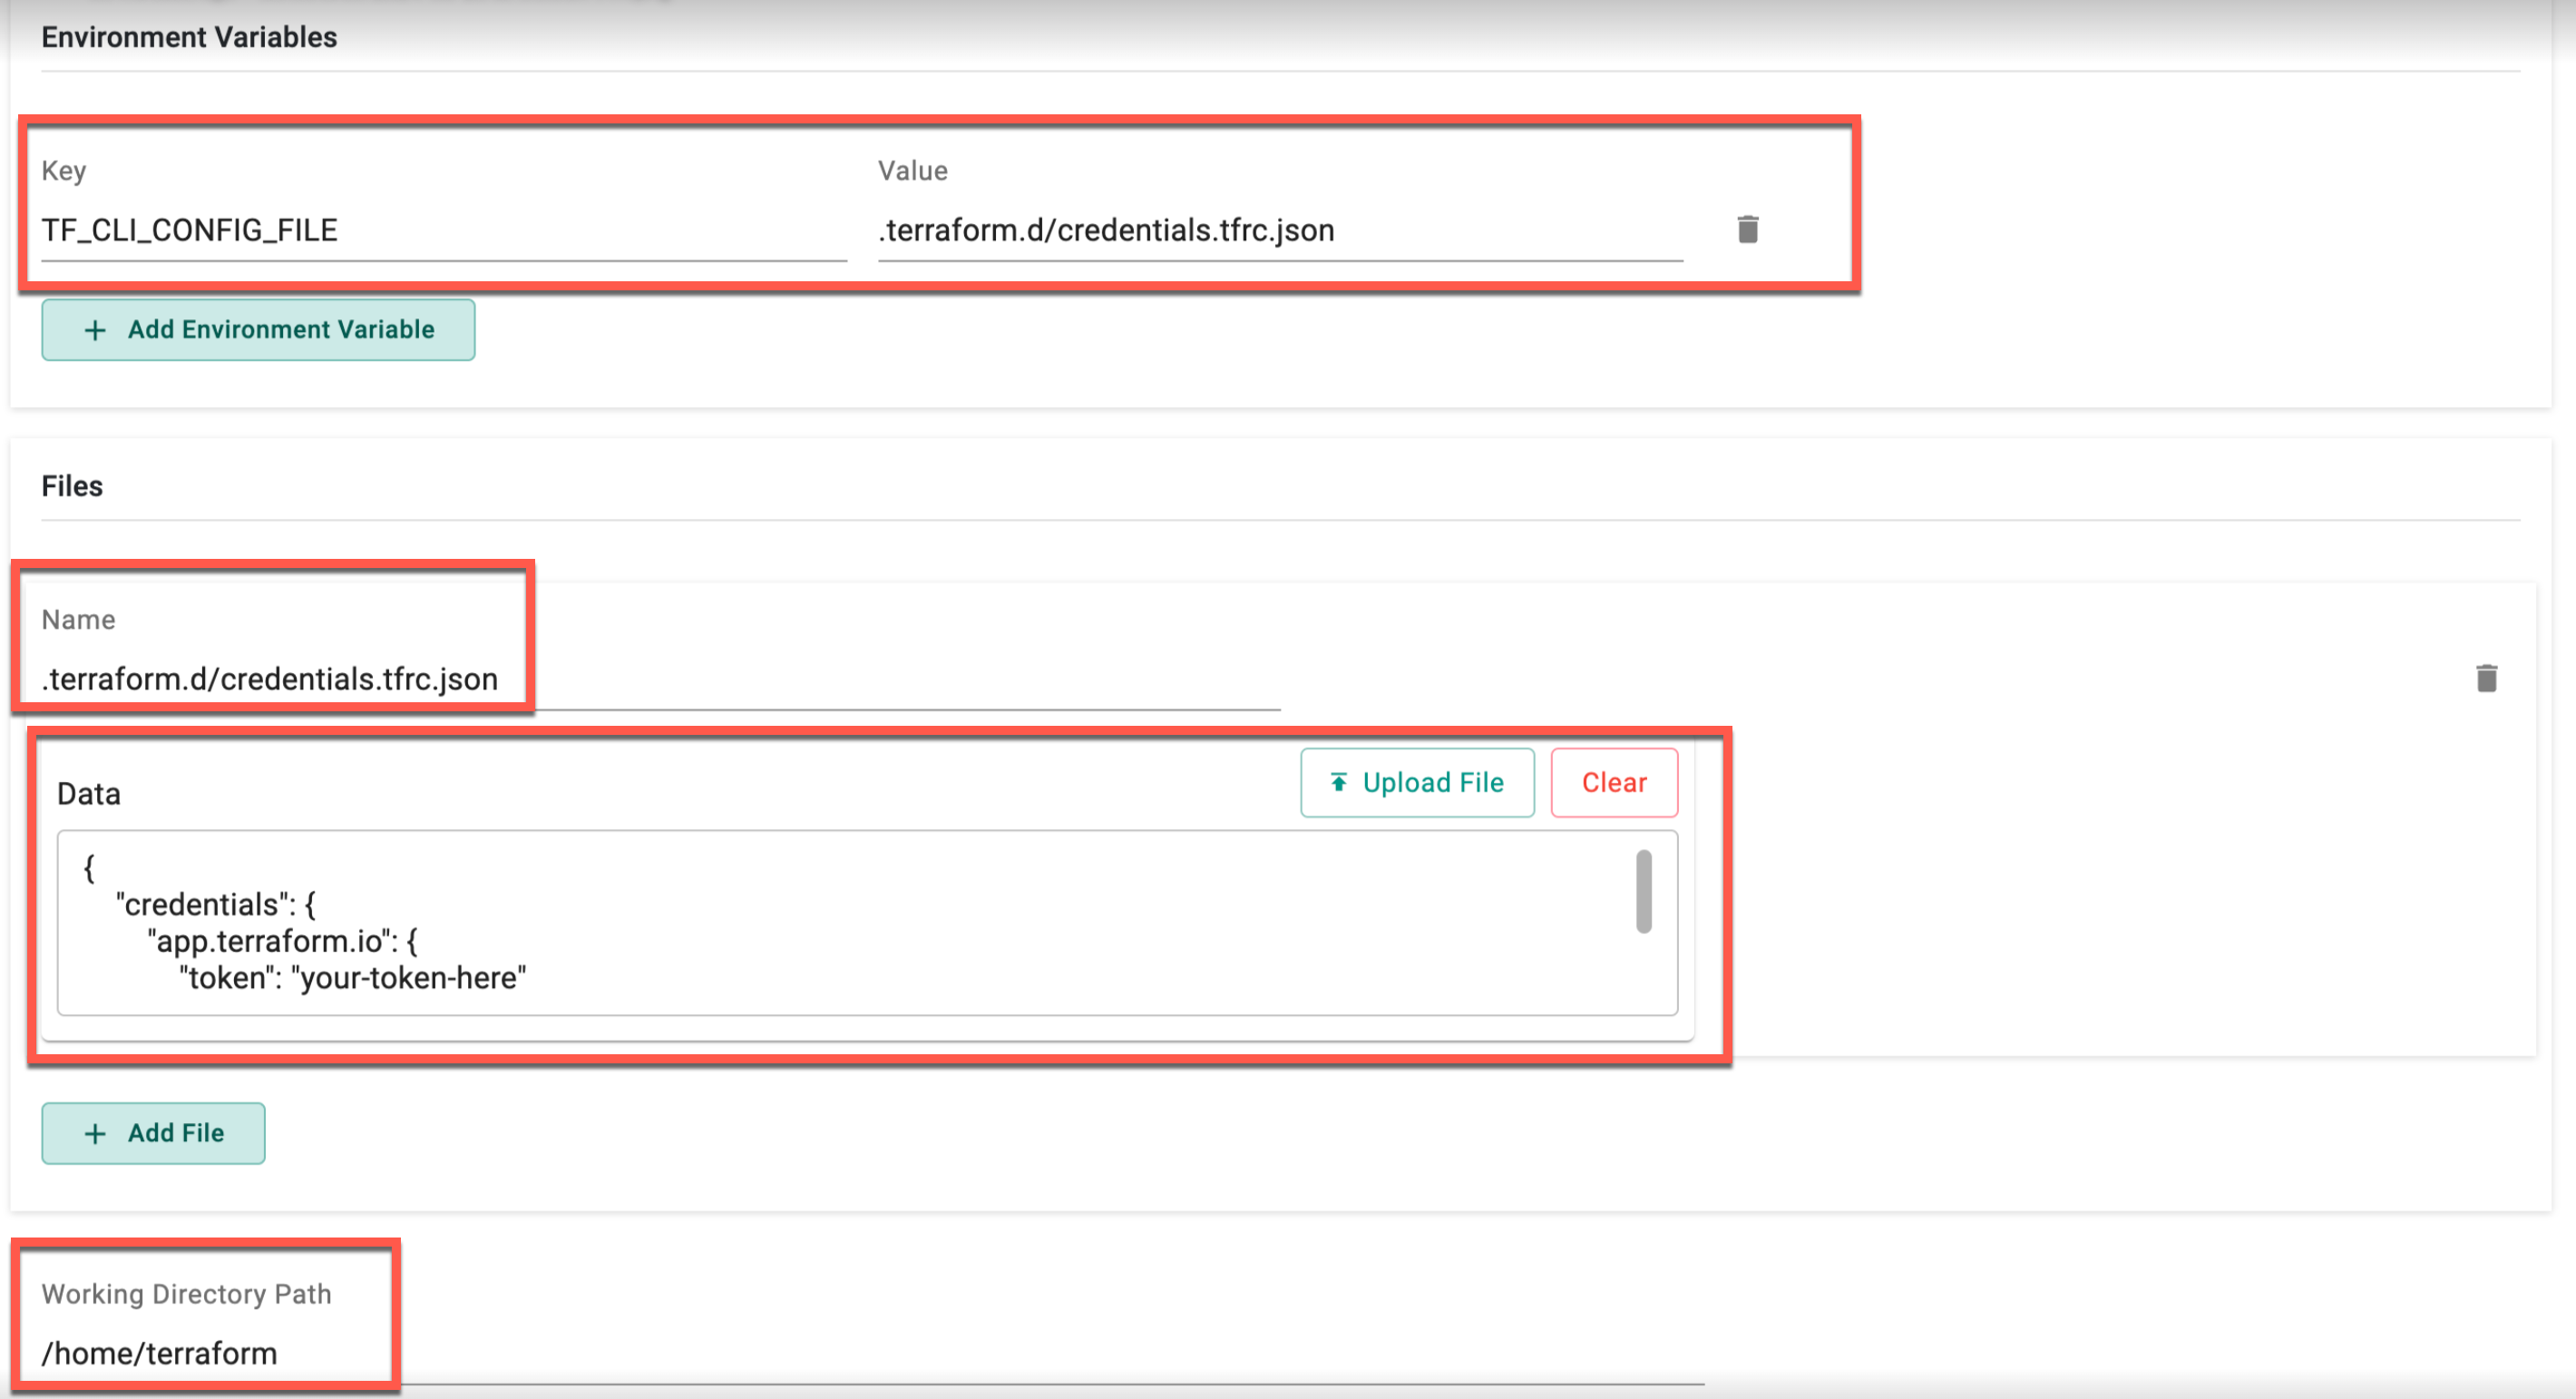
- To enable the Terraform driver to work with the Terraform Cloud organization, users need to provide a token that allows the driver to authenticate with Terraform Cloud. This token should be stored in a specific file:
File Name: .terraform.d/credentials.tfrc.json
{
    "credentials": {
        "app.terraform.io": {
            "token": "your-token-here"
          }
        }
      }
- Next step is to configure the driver to read the token from this file using an environment variable:
Environment Variable:
- Key: TF_CLI_CONFIG_FILE
- Value: .terraform.d/credentials.tfrc.json
Specify this file and environment variable in either of the following ways: - In the workflow handler configuration used for Terraform - Using a configuration context which is then attached to the Resource Template
- Additionally, in the Container Driver, the "working directory path" value should either be set to
/home/terraformor left empty (in which case, the default value will be /home/terraform).
- Add the Cloud block. You can define it's arguments in the configuration file or supply them as environment variables
