Part 1: Provision
What Will You Do
In this part of the self-paced exercise, you will provision an Amazon EKS cluster based on a declarative cluster specification using the minimal blueprint
Step 1: Cluster Spec
- Open a suitable YAML editor and copy/paste the example EKS cluster specification provided below.
- Save the file as "external-dns-demo.yaml" (an example)
Cluster Spec Explained
In the example cluster spec provided,
- The name of the EKS cluster will be "external-dns-demo" and it is configured to be provisioned in the "defaultproject" in your Org
- The EKS cluster is configured with one managed node group
- The node group will have the necessary permissions to modify Route 53 hosted zones
The following items in the declarative cluster specification will need to be updated/customized for your environment.
- cluster name: "external-dns-demo"
- project: "defaultproject"
- cloudCredentials: "my-cloud-credential"
- region: "us-west-2"
- AWS Tags as required in your AWS account
apiVersion: infra.k8smgmt.io/v3
kind: Cluster
metadata:
  # The name of the cluster
  name: external-dns-demo
  # The name of the project the cluster will be created in
  project: defaultproject
spec:
  blueprintConfig:
    # The name of the blueprint the cluster will use
    name: minimal
    # The version of the blueprint the cluster will use
    version: latest
  # The name of the cloud credential that will be used to create the cluster
  cloudCredentials: my-cloud-credential
  config:
    # The EKS addons that will be applied to the cluster
    addons:
    - name: kube-proxy
      version: latest
    - name: vpc-cni
      version: latest
    - name: coredns
      version: latest
    managedNodeGroups:
      # The AWS AMI family type the nodes will use
    - amiFamily: AmazonLinux2
      # The desired number of nodes that can run in the node group
      desiredCapacity: 1
      iam:
        withAddonPolicies:
          # Enables the IAM policy for cluster autoscale
          autoScaler: true
          # Adds policies for using the aws-load-balancer-controller
          awsLoadBalancerController: true
          # Adds the external-dns project policies for Amazon Route 53
          externalDNS: true
      # The AWS EC2 instance type that will be used for the nodes
      instanceType: t3.large
      # The maximum number of nodes that can run in the node group
      maxSize: 6
      # The minimum number of nodes that can run in the node group
      minSize: 1
      # The name of the node group that will be created in AWS
      name: my-ng
      # Enable private networking for the nodegroup
      privateNetworking: true
      # The size in gigabytes of the volume attached to each node
      volumeSize: 80
      # The type of disk backing the node volume. alid variants are: "gp2" is General Purpose SSD, "gp3" is General Purpose SSD which can be optimised for high throughput (default), "io1" is Provisioned
      volumeType: gp3
    metadata:
      # The name of the cluster
      name: external-dns-demo
      # The AWS region the cluster will be created in
      region: us-west-2
      # The tags that will be applied to the AWS cluster resources
      tags:
        owner: rafay
      # The Kubernetes version that will be installed on the cluster
      version: latest
    vpc:
      clusterEndpoints:
        # Enables private access to the Kubernetes API server endpoints
        privateAccess: true
        # Enables public access to the Kubernetes API server endpoints
        publicAccess: false
  proxyConfig: {}
  type: aws-eks
Step 2: Provision Cluster
- Type the command below to provision the EKS cluster
rctl apply -f external-dns-demo.yaml
If there are no errors, you will be presented with a "Task ID" that you can use to check progress/status. Note that this step requires creation of infrastructure in your AWS account and can take ~20-30 minutes to complete.
{
  "taskset_id": "z24xwvk",
  "operations": [
    {
      "operation": "ClusterCreation",
      "resource_name": "external-dns-demo",
      "status": "PROVISION_TASK_STATUS_PENDING"
    },
    {
      "operation": "NodegroupCreation",
      "resource_name": "my-ng",
      "status": "PROVISION_TASK_STATUS_PENDING"
    },
    {
      "operation": "BlueprintSync",
      "resource_name": "external-dns-demo",
      "status": "PROVISION_TASK_STATUS_PENDING"
    }
  ],
  "comments": "The status of the operations can be fetched using taskset_id",
  "status": "PROVISION_TASKSET_STATUS_PENDING"
}
- Navigate to the specified "project" in your Org
- Click on Infrastructure -> Clusters.
The provisioning process can take approximately 30 minutes to fully complete.
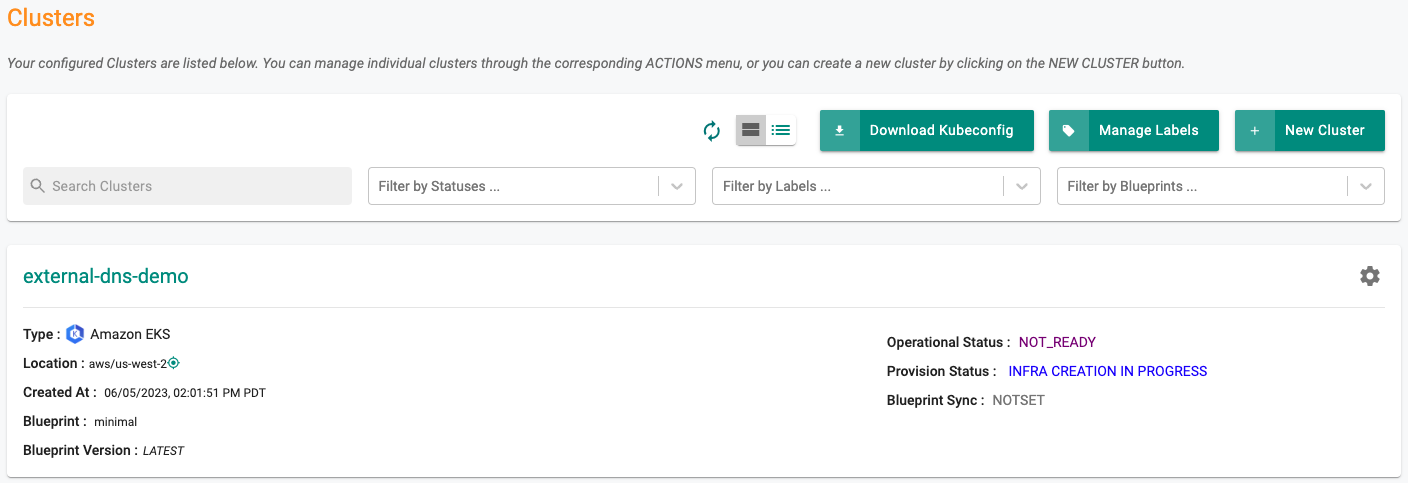
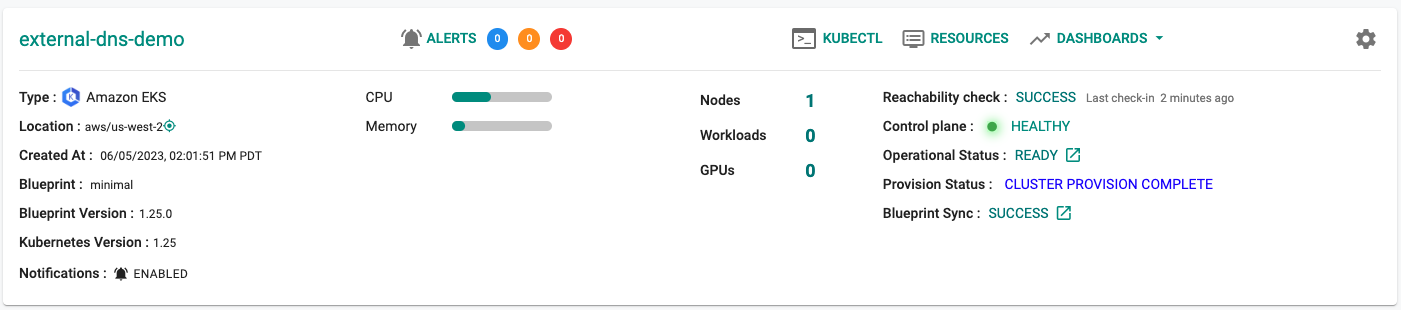
Step 3: Verify Cluster
Once provisioning is complete, you should see the cluster in the web console
Recap
Congratulations! At this point, you have successfully provisioned an Amazon EKS cluster in your AWS account using the RCTL CLI.