Part 1: Using StatefulSets
This is Part 1 of a multi-part, self-paced quick start exercise.
Note
This exercise requires MicroK8s and uses alias kubectl='microk8s kubectl'. If you do not have these already installed and running, see "Prerequisites".
What Will You Do
In part 1, you will:
- Use StatefulSets on your cluster.
- Scale up a StatefulSet.
- Scale down a StatefulSet.
Estimated Time
Estimated time for this exercise is 20 minutes. Watch a video of this exercise.
Using StatefulSets
Kubernetes supports multiple virtual clusters backed by the same physical cluster. These virtual clusters are called Namespaces. A namespace isolates and virtualizes system resources. Processes are restricted to a namespace and can only interact with processes and resources in the same namespace.
Namespaces are useful for larger teams or projects to share a cluster without impacting each other's work. Namespaces also help when access to a namespace needs to be restricted, like creating a namespace for your production site and restricting access to the operations team.
Note: For information about Deployments, see the Deployments exercise.
Create a StatefulSet
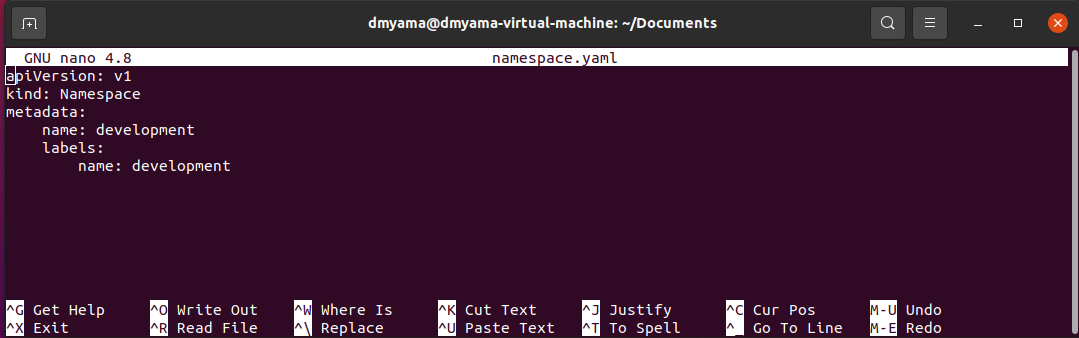
You can also create a namespace using a YAML file, which is a configuration file. You could create a YAML file from the command line, but for this exercise, you can just use a text editor. Using a YAML file to create namespaces can be useful if you create multiple clusters that have the same namespaces, like development and production.
For macOS, use touch namespace.yaml to create a YAML file. You can then edit the YAML file and copy/paste the YAML file contents.
- Open the Terminal.
-
Make sure that Storage is enabled for MicroK8s.
microk8s status- If this add-on is not enabled, run the following command.
microk8s enable storage
- If this add-on is not enabled, run the following command.
-
Navigate to the Downloads folder.
cd ./Downloads - Use the following command to open an empty YAML file in the nano text editor.
nano statefulset.yaml- Or you can download the namespace YAML file from a Git repository and go to step 7.
- Copy and paste the configuration below into the text editor.
- Press Cmd + X, then type Y and press Return to save the namespace.yaml file.
- Open the command prompt.
-
Make sure that Storage is enabled for MicroK8s.
microk8s status- If this add-on is not enabled, run the following command.
microk8s enable storage
- If this add-on is not enabled, run the following command.
-
Navigate to the Documents folder.
cd ./Documents - Use the following command to create an empty YAML file in your Documents folder.
copy NUL namespace.yaml- Or you can download the namespace YAML file from a Git repository and go to step 7.
- Open the namespace.yaml file with a text editor. For example, use Notepad++ to edit the YAML file.
- Copy and paste the configuration below into the text editor.
- Save the namespace.yaml file.
- Open the Terminal.
-
Make sure that Storage is enabled for MicroK8s.
microk8s status- If this add-on is not enabled, run the following command.
microk8s enable storage
- If this add-on is not enabled, run the following command.
-
Navigate to the Documents folder.
cd ./Documents - Use the following command to open an empty YAML file in the nano text editor.
nano statefulset.yaml- Or you can download the namespace YAML file from a Git repository and go to step 7.
- Copy and paste the configuration below into the text editor.
- Press Ctrl + X, then type Y and press Enter to save the namespace.yaml file.
Add a StatefulSet
- Add the StatefulSet to your environment using a YAML file.
kubectl create -f statefulset.yaml - List the Services. The NGINX service has been added.
kubectl get service - List the StatefulSet. The Web StatefulSet has been added.
kubectl get statefulset - List the Pods. Two Web Pods have been added (web-0 and web-1).
kubectl get pods -
List the PersistentVolumeClaims (PVC). Two PVCs have been added (www-web-0 and www-web-1).
kubectl get pvc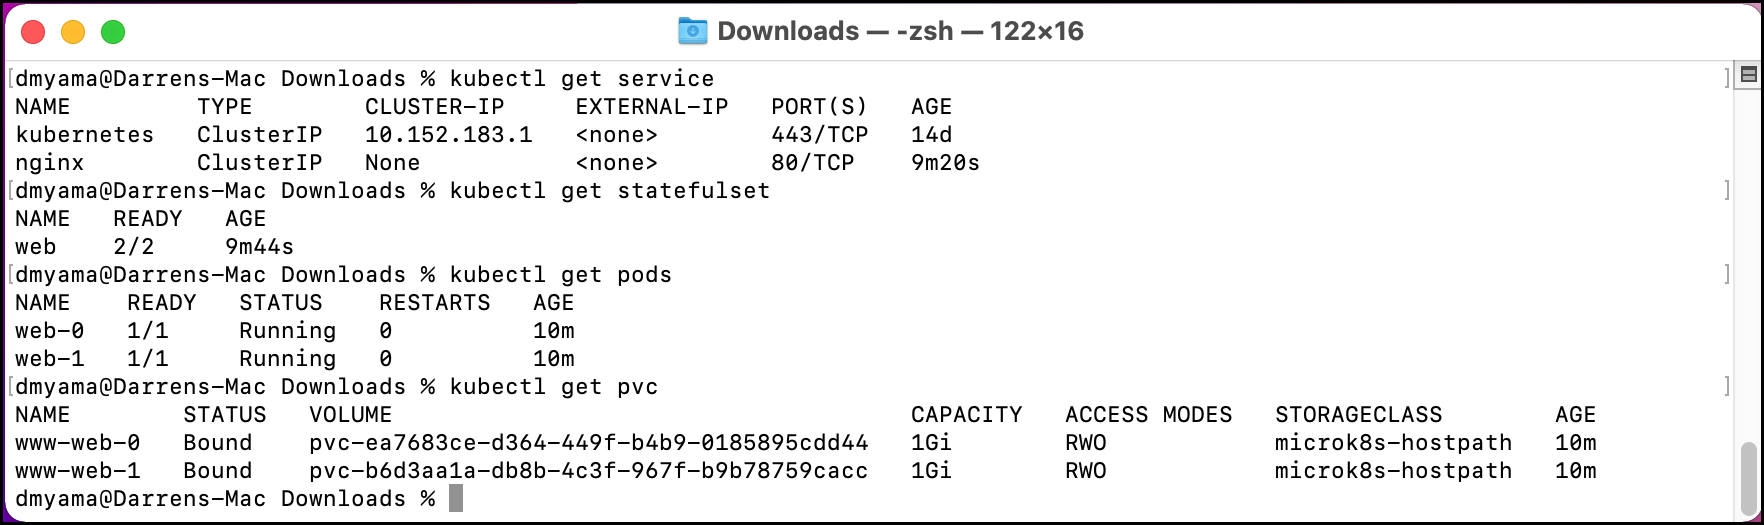
-
Open a second Terminal to watch the StatefulSet Pods. Note: Using the second Terminal requires including
microk8sor adding the alias.microk8s kubectl get pod -w -l app=nginx -
In the first Terminal, delete the StatefulSet Pods. The second Terminal should show the Pods being deleted.
kubectl delete pod -l app=nginx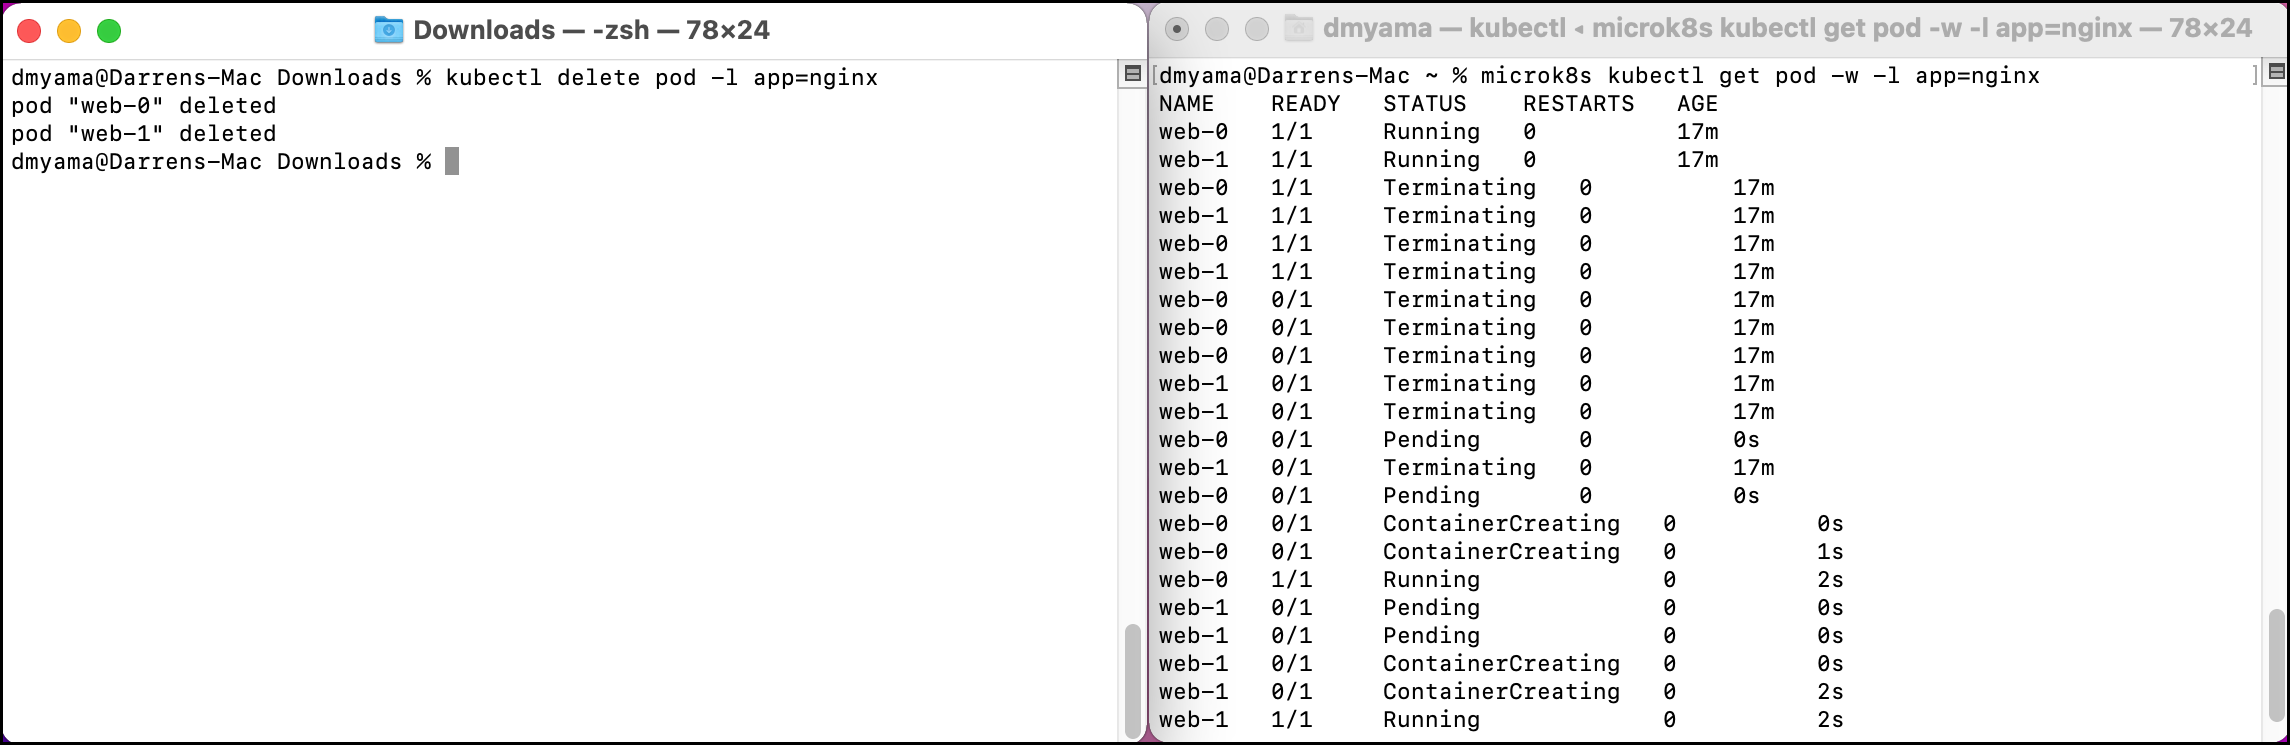
-
In the first Terminal, manually scale up the Replicas to 5.
kubectl scale sts web --replicas=5 -
In the first Terminal, manually scale down the Replicas to 3.
kubectl scale sts web --replicas=3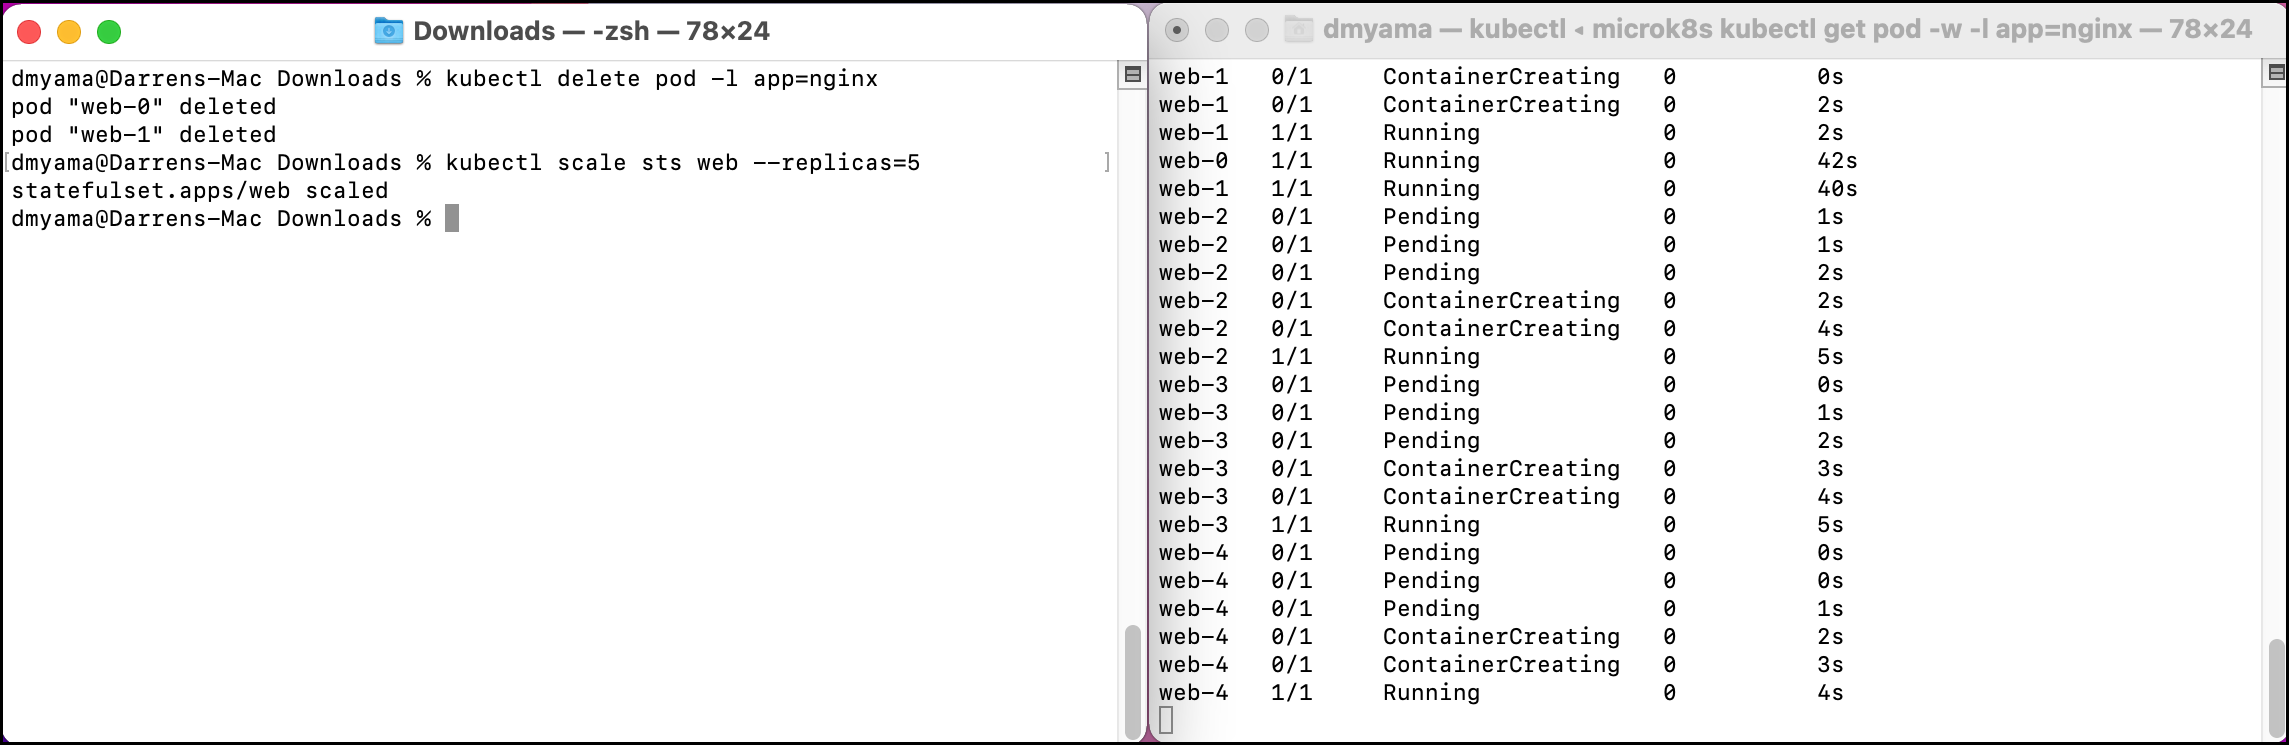
statefulset.yaml
apiVersion: v1
kind: Service
metadata:
  name: nginx
  labels:
    app: nginx
spec:
  ports:
  - port: 80
    name: web
  clusterIP: None
  selector:
    app: nginx
---
apiVersion: v1
kind: PersistentVolume
metadata:
  name: www
spec:
  capacity:
    storage: 1Gi
  volumeMode: Filesystem
  accessModes:
  - ReadWriteOnce
  storageClassName: slow
  claimRef:
    name: web
  hostPath:
    path: /var/lib/pv
---
apiVersion: apps/v1
kind: StatefulSet
metadata:
  name: web
spec:
  serviceName: "nginx"
  replicas: 2
  selector:
    matchLabels:
      app: nginx
  template:
    metadata:
      labels:
        app: nginx
    spec:
      containers:
      - name: nginx
        image: k8s.gcr.io/nginx-slim:0.8
        ports:
        - containerPort: 80
          name: web
        volumeMounts:
        - name: www
          mountPath: /usr/share/nginx/html
  volumeClaimTemplates:
  - metadata:
      name: www
    spec:
      accessModes: [ "ReadWriteOnce" ]
      resources:
        requests:
          storage: 1Gi