Part 1: Provision
What Will You Do
In this part of the self-paced exercise, you will provision an Amazon EKS cluster through the UI.
Step 1: Create Cloud Credentials
Cloud credentials provide privileges to programmatically interact with your Amazon AWS account so that the lifecycle of infrastructure associated with the Amazon EKS cluster can be managed.
- Follow the step-by-step instructions to create an IAM Role based cloud credential.
- Provide the name "aws-cloud-credential" for the cloud credential. Note, if a different name is used, the specification files will need to be updated to match the new name.
Step 2: Provision Cluster
In this step you will provision an EKS cluster from the UI using the previously created cloud credential. The cluster will be used in the remainder of this excercise.
- Navigate to the "defaultproject" project in your Org
- Select Infrastructure -> Clusters
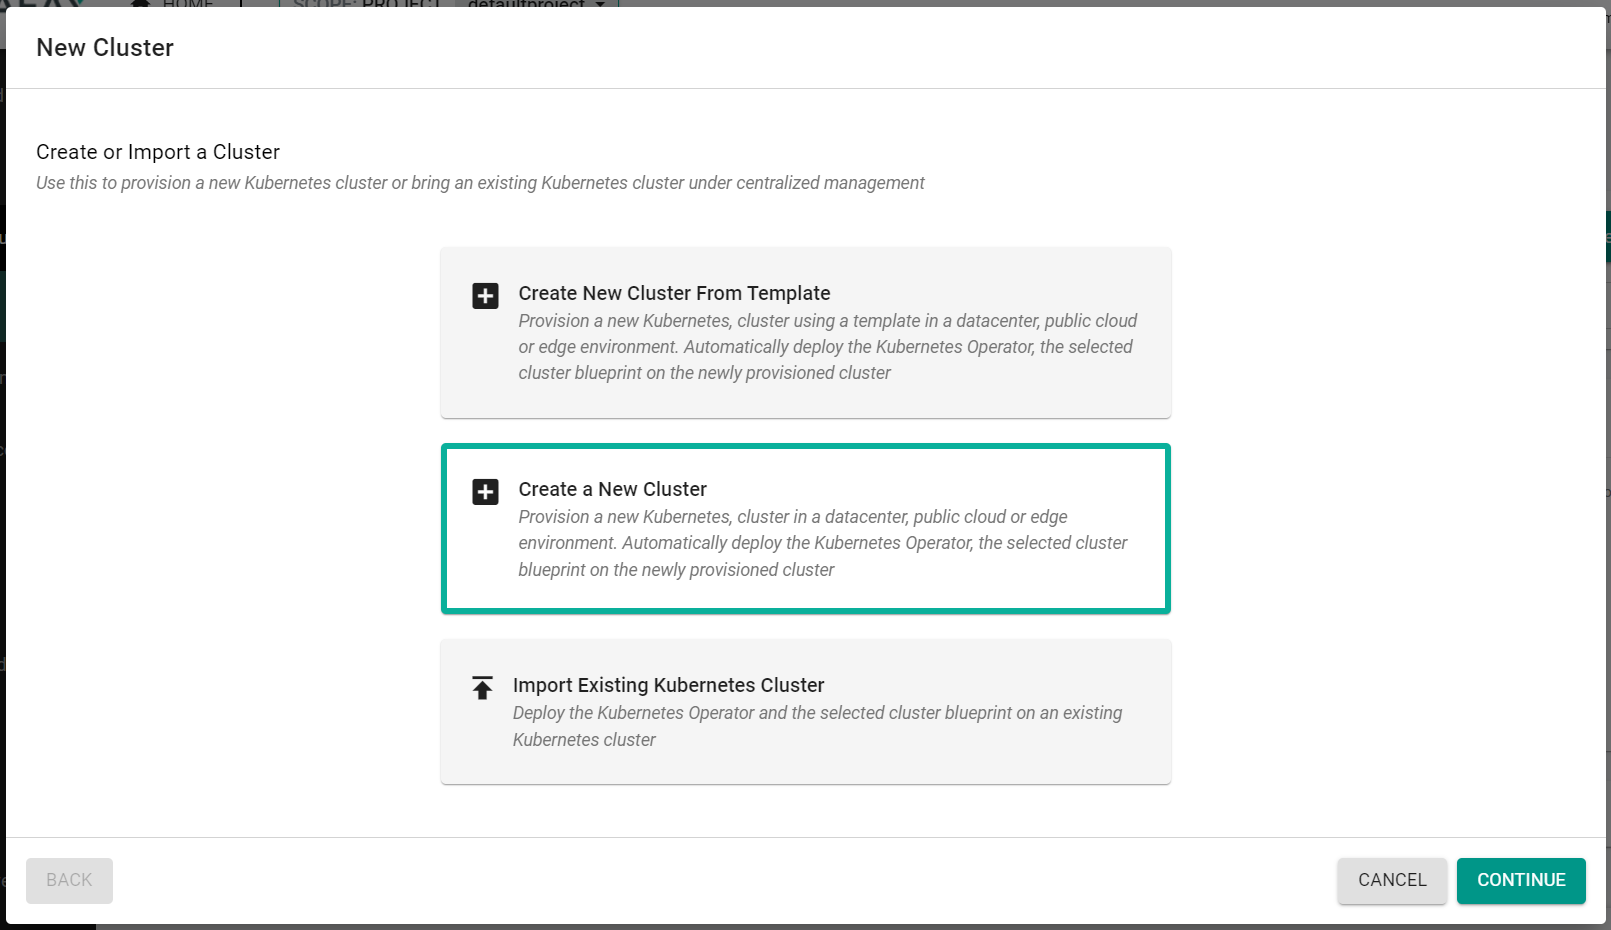
- Click "New Cluster"
- Select "Create a New Cluster"
- Click "Continue"
- Select "Public Cloud"
- Select "AWS"
- Select "Amazon EKS"
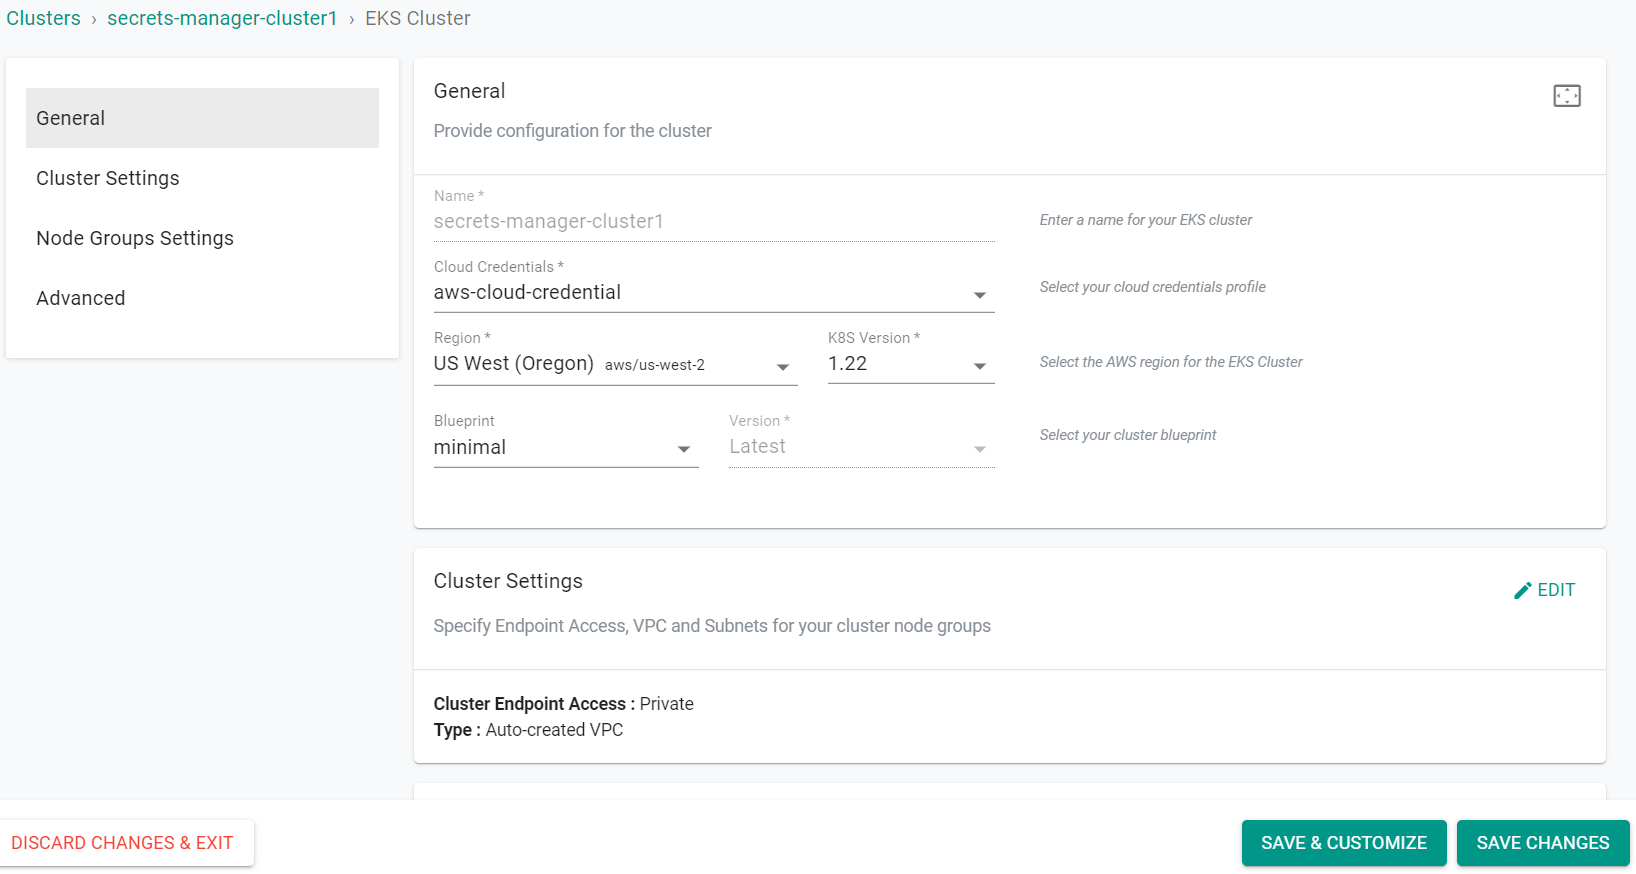
- Enter a cluster name
- Click "Continue"

- Select the previously created Cloud Credential
- Select the AWS Region for the cluster
- Click "Save Changes"
- Click "Provision"
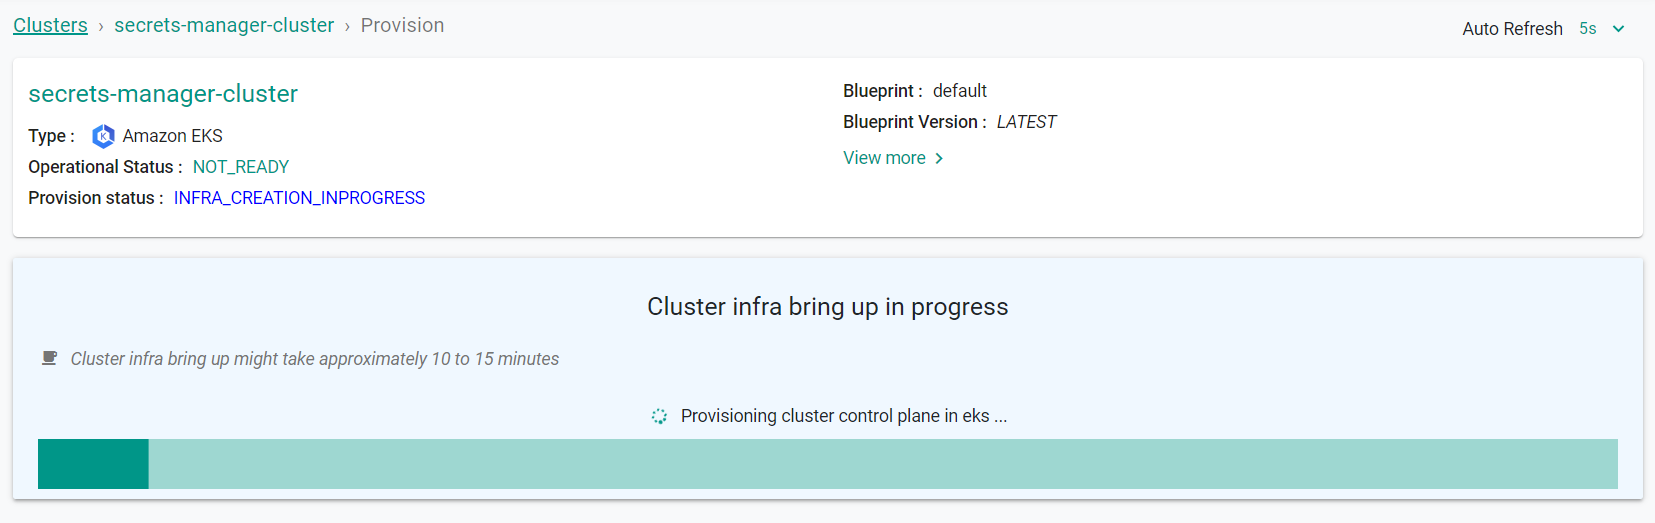
Step 3: Verify Cluster
Once provisioning is complete, you should see a healthy cluster in the web console
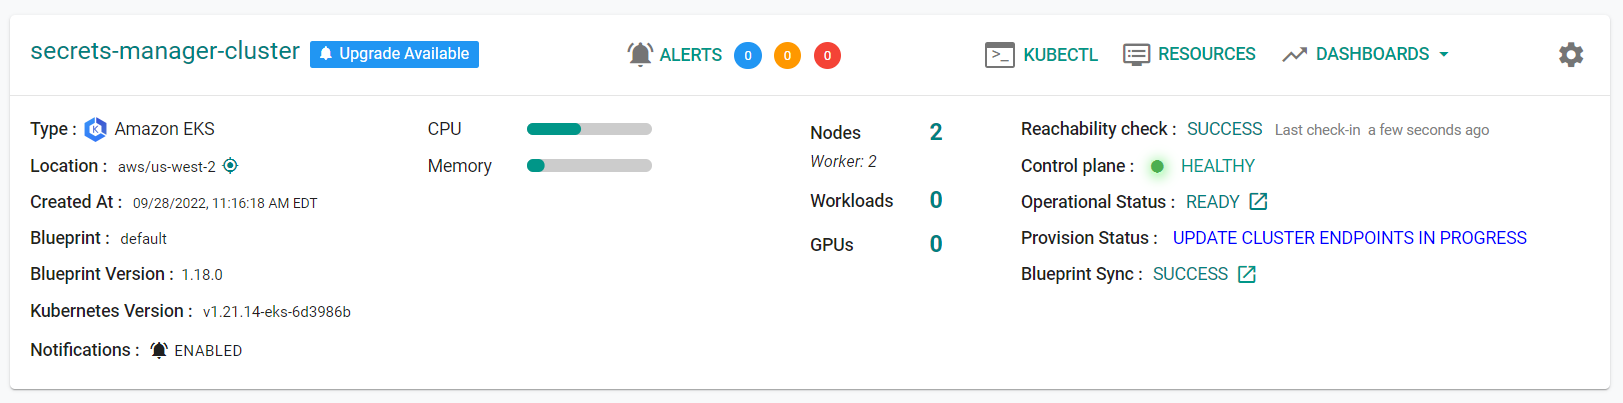
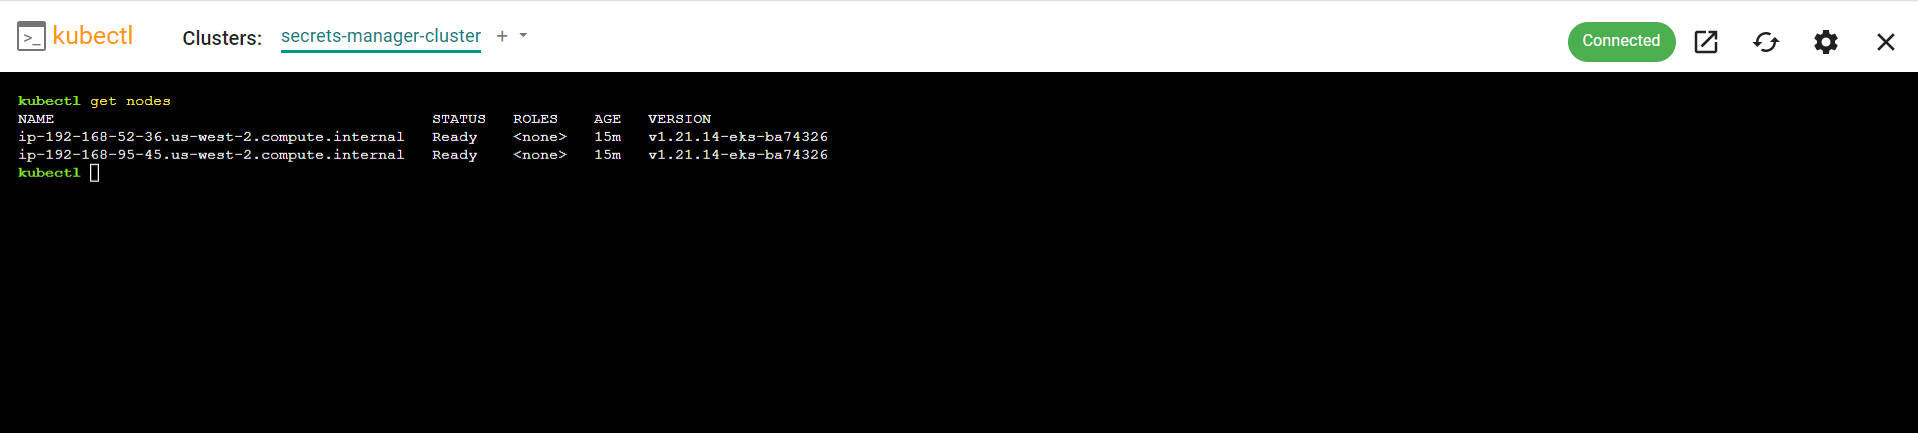
- Click on the kubectl link and type the following command
kubectl get nodes
You should see something like the following
Recap
As of this step, you have created an EKS cluster with the default cluster blueprint. In the next section, you will create a custom cluster blueprint with the Secret Store CSI Driver as a managed addon.