Part 4: Workload
What Will You Do
In this part of the self-paced exercise, you will deploy Nvidia's Triton Inference Server to your Amazon EKS cluster that has a GPU node group.
Step 1: Create Workload Namespace
We will now create a namespace for the Triton Inference Server resources.
- Open Terminal (on macOS/Linux) or Command Prompt (Windows) and navigate to the folder where you forked the Git repository
- Navigate to the folder "
/getstarted/tritoneks/workload" - Type the command
rctl create ns -f triton-namespace.yaml
This step creates a namespace in your project. The controller can create a namespace on "multiple clusters" based on its placement policy.
rctl publish ns triton
Verify
To verify that the namespace was successfully created on your EKS cluster, run the following kubectl command
kubectl get ns triton
You should see results like the following showing the namespace on the cluster.
NAME     STATUS   AGE
triton   Active   11s
Step 2: Create Metrics Repository
The Triton Inference Server requires both Prometheus and Grafana to be deployed. In this step, you will create a repository in your project so that the controller can retrieve the Helm chart to deploy these resources.
- Open Terminal (on macOS/Linux) or Command Prompt (Windows) and navigate to the folder where you forked the Git repository
- Navigate to the folder "
/getstarted/tritoneks/workload"
The "metrics-repository.yaml" file contains the declarative specification for the repository.
If you used a different cluster name, be sure to update the spec with the new cluster name.
apiVersion: config.rafay.dev/v2
kind: Repository
metadata:
  name: triton-metrics
spec:
  repositoryType: GitRepository
  endpoint:  https://github.com/prometheus-community/helm-charts.git
  credentialType: CredentialTypeNotSet
Type the command below
rctl create repository -f metrics-repository.yaml
If you did not encounter any errors, you can optionally verify if everything was created correctly on the controller.
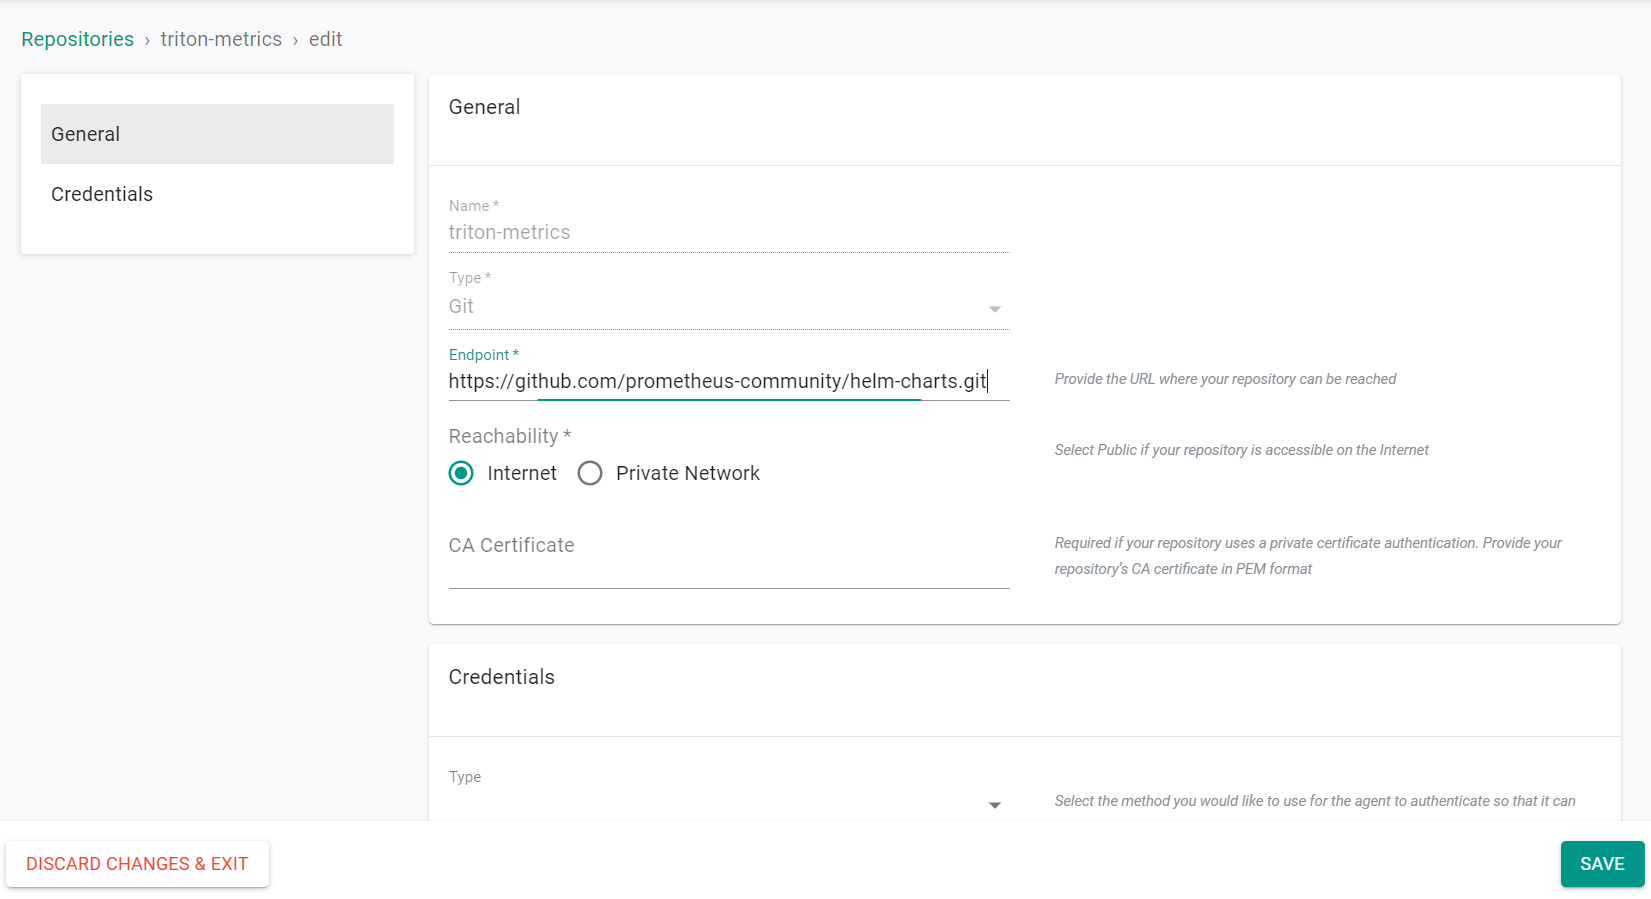
- Navigate to your Org and Project
- Select Integrations -> Repositories and click on "triton-metrics"
Step 3: Deploy Metrics Workload
The Triton Inference Server requires both Prometheus and Grafana to be deployed. In this step, we will deploy these resources as a workload with a custom override.
- Navigate to the console, select Applications -> Workloads
- Click New Workload -> Create New Workload
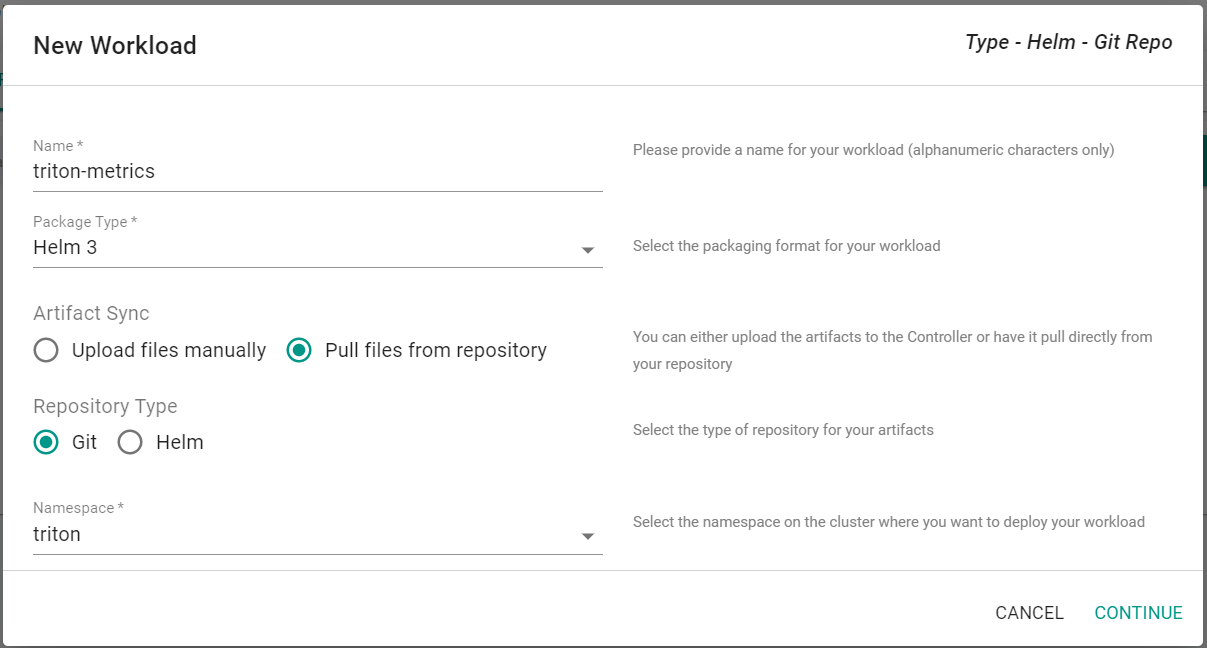
- Enter triton-metrics for the name
- Select Helm 3 for the package type
- Select Pull files from repository
- Select Git for the repository type
- Select triton for the namespace
- Click Continue
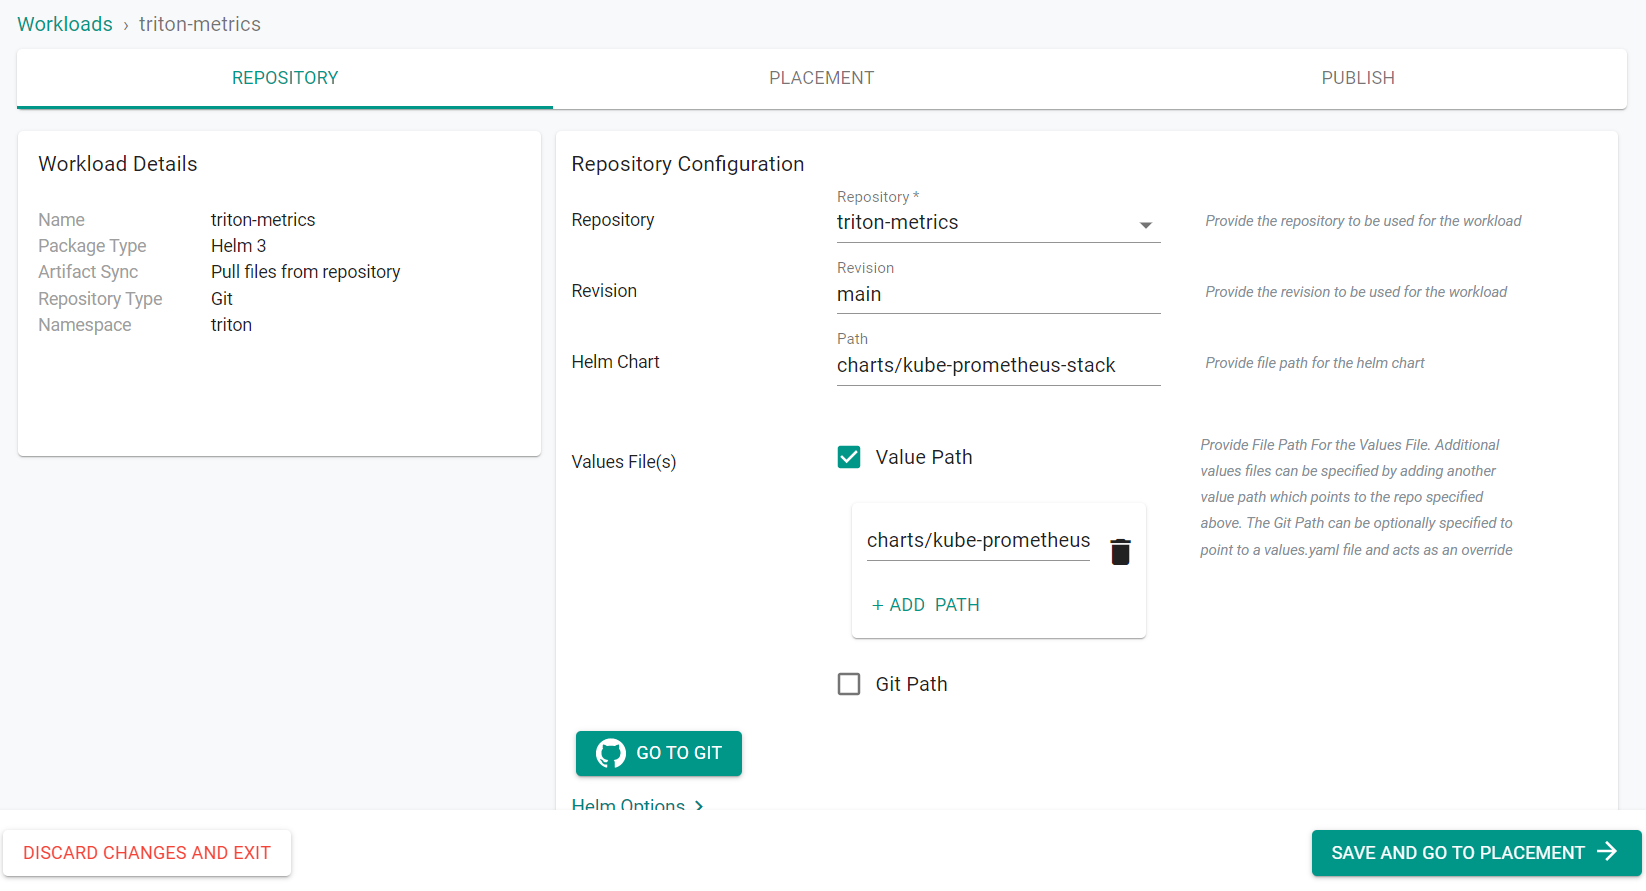
- Select triton-metrics for the repository
- Enter main for the revision
- Enter charts/kube-prometheus-stack for the path
- Select Value Path
- Click ADD PATH
- Enter charts/kube-prometheus-stack/values.yaml for the path
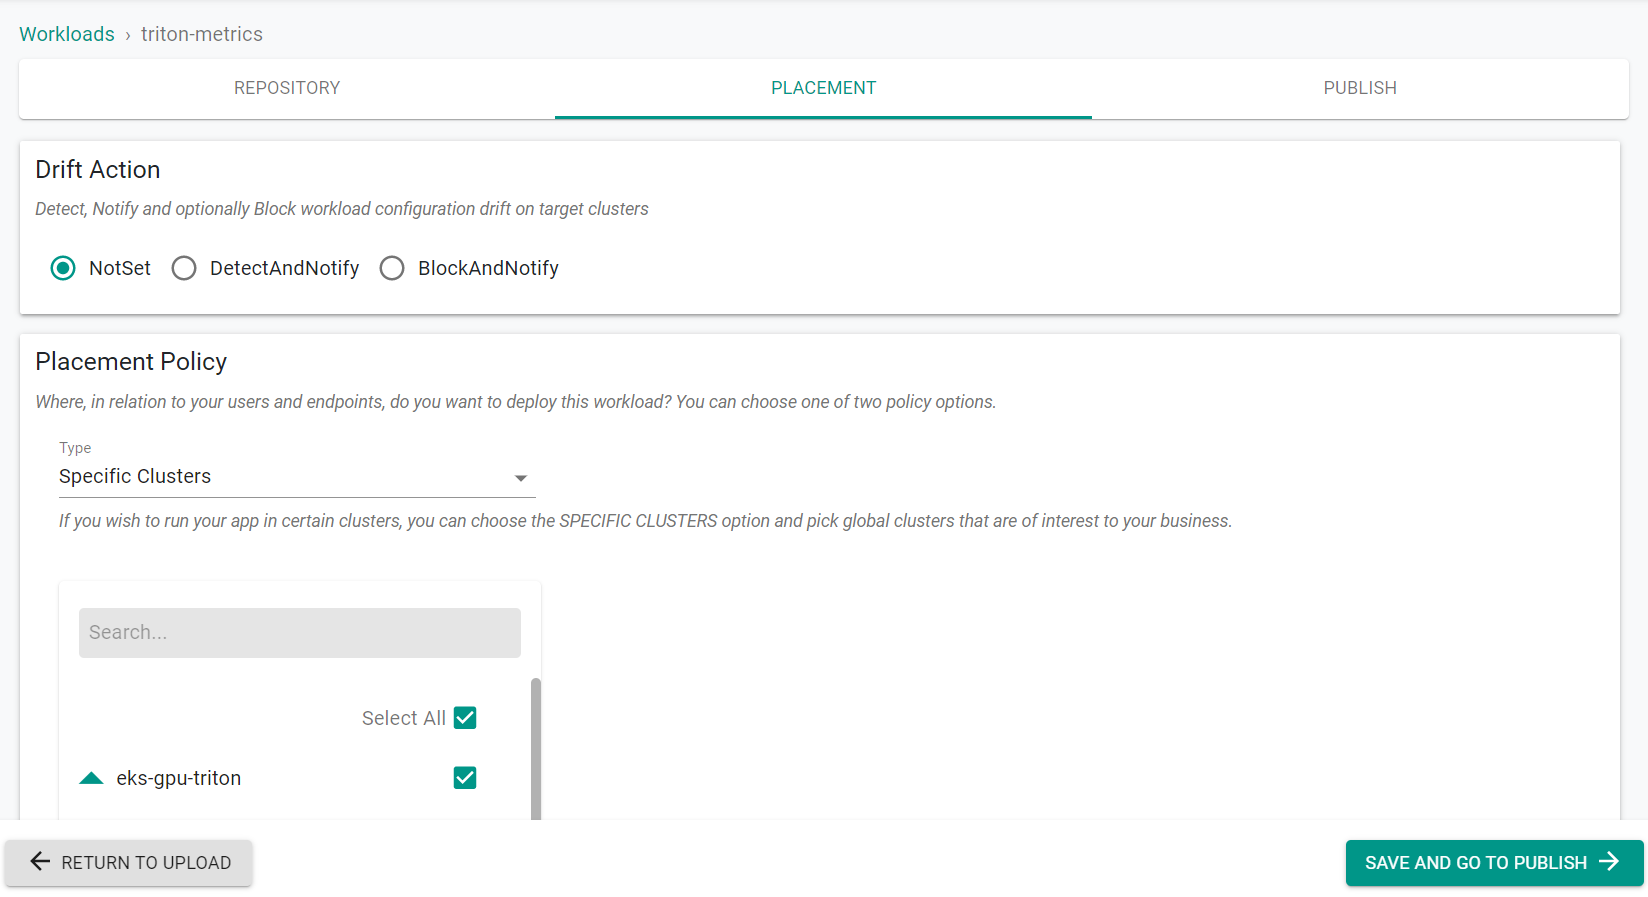
- Click Save and Go to Placement
- Select the GPU cluster
- Click Save and Go to Publish
-
Click Exit
-
Navigate to Applications -> Cluster Overrides
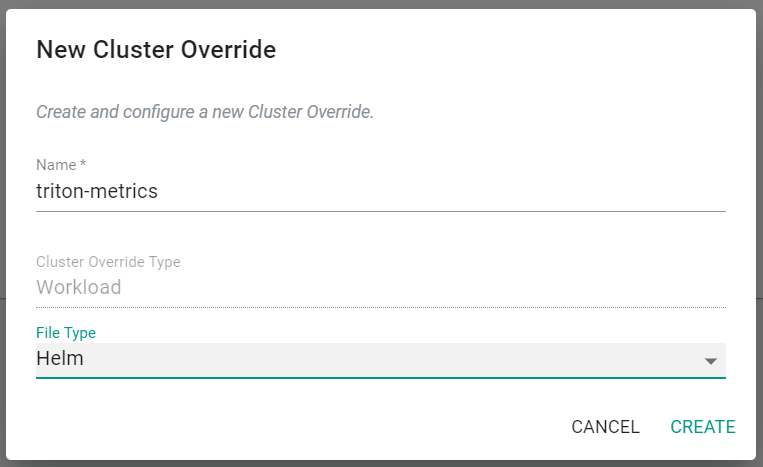
- Select New Override
- Enter triton-metrics for the name
- Select Helm for the file type
- Click Create
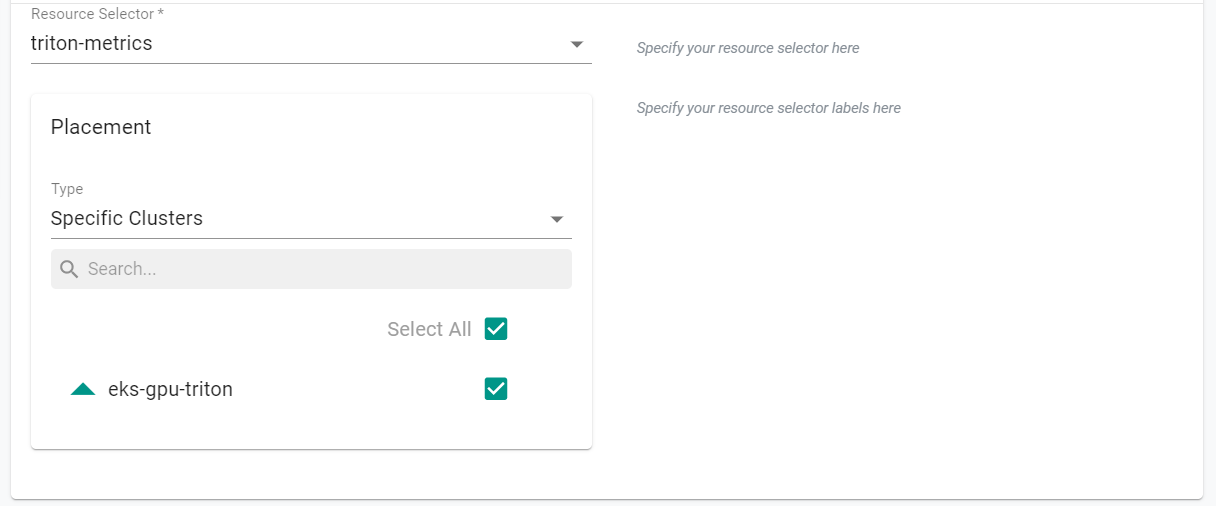
- Select triton-metrics for the resource selcector
- Select Specific Clusters for placement type
- Select the GPU Cluster
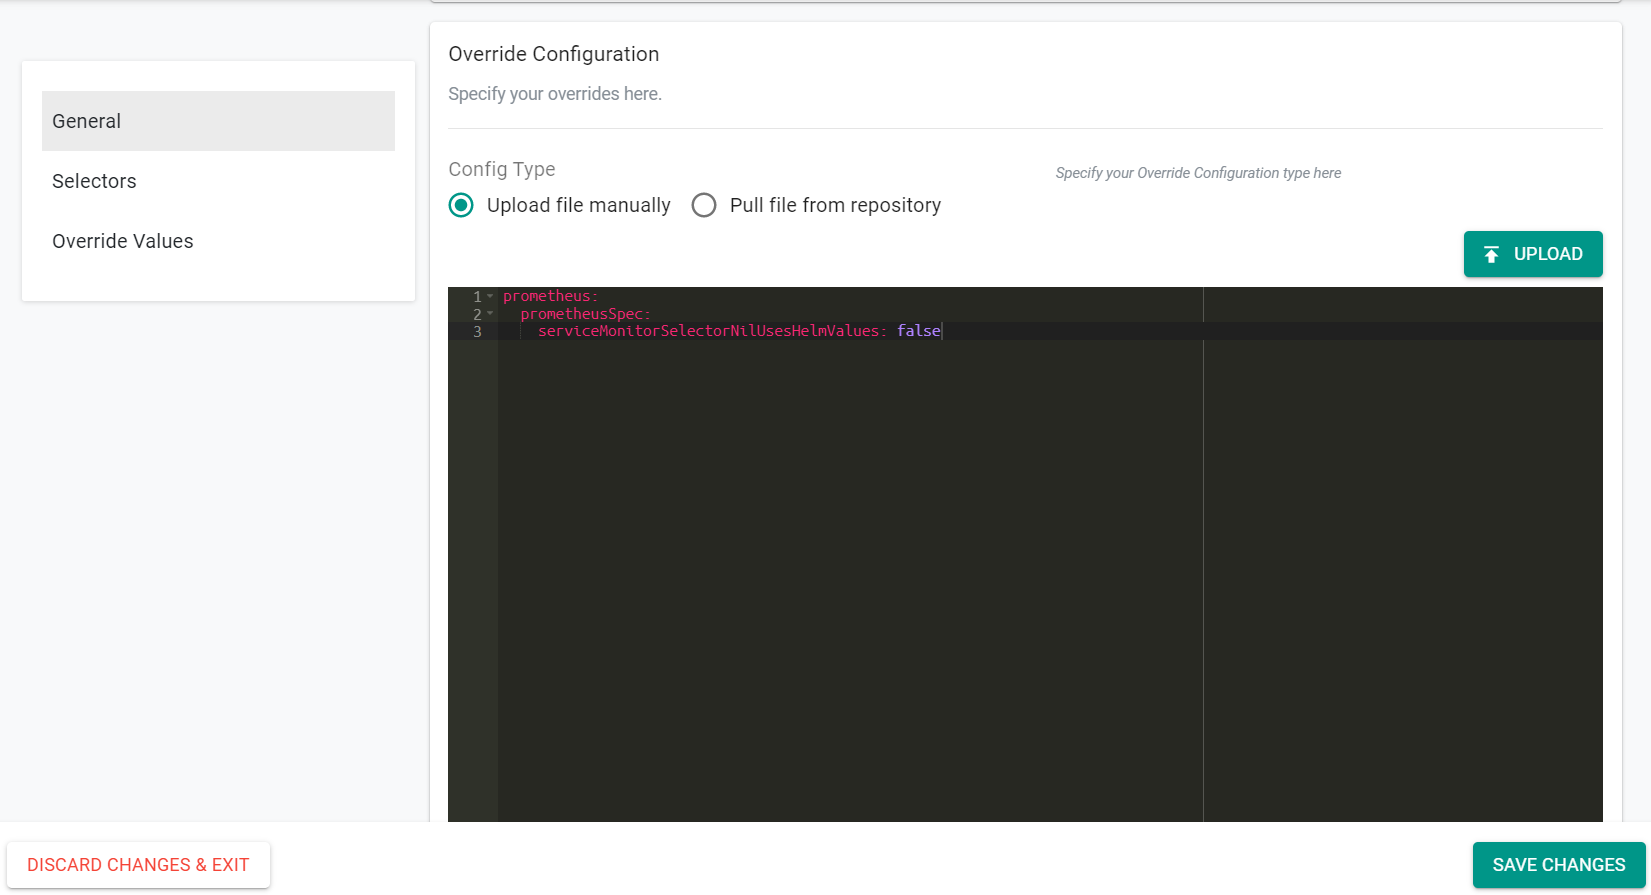
- Select Upload file manually
- Enter the following text into the window
prometheus:
  prometheusSpec:
    serviceMonitorSelectorNilUsesHelmValues: false
- Navigate to Applications -> Workloads
- Click on the triton-metrics workload
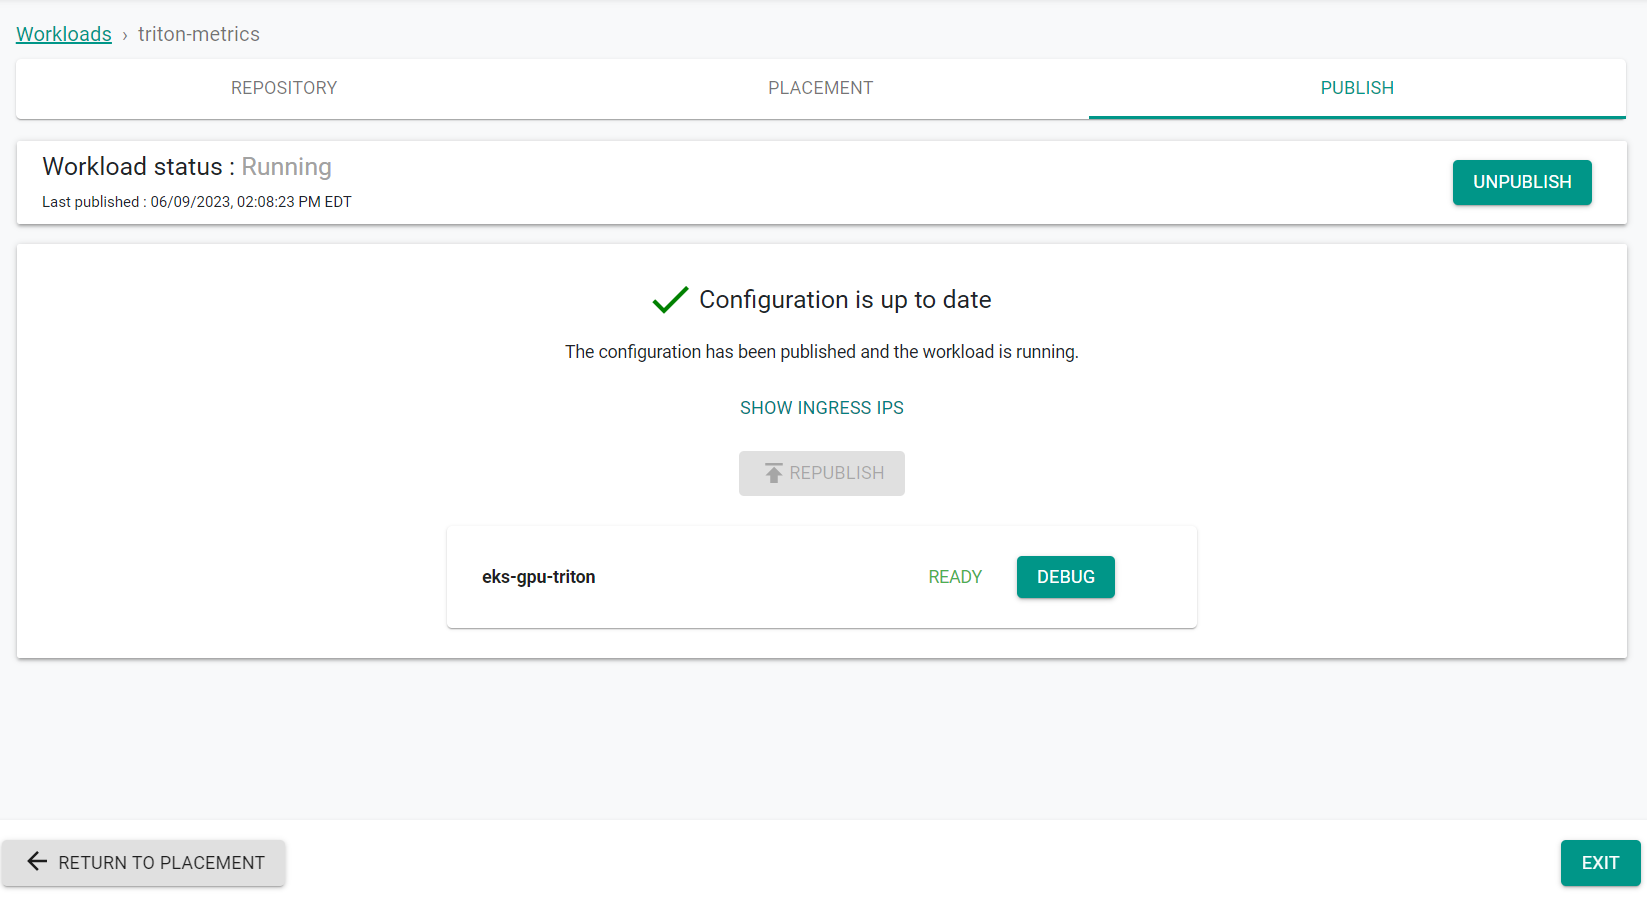
- Go to the Publish tab
- Click Publish
The workload is now published using the overrides.
- Click Exit
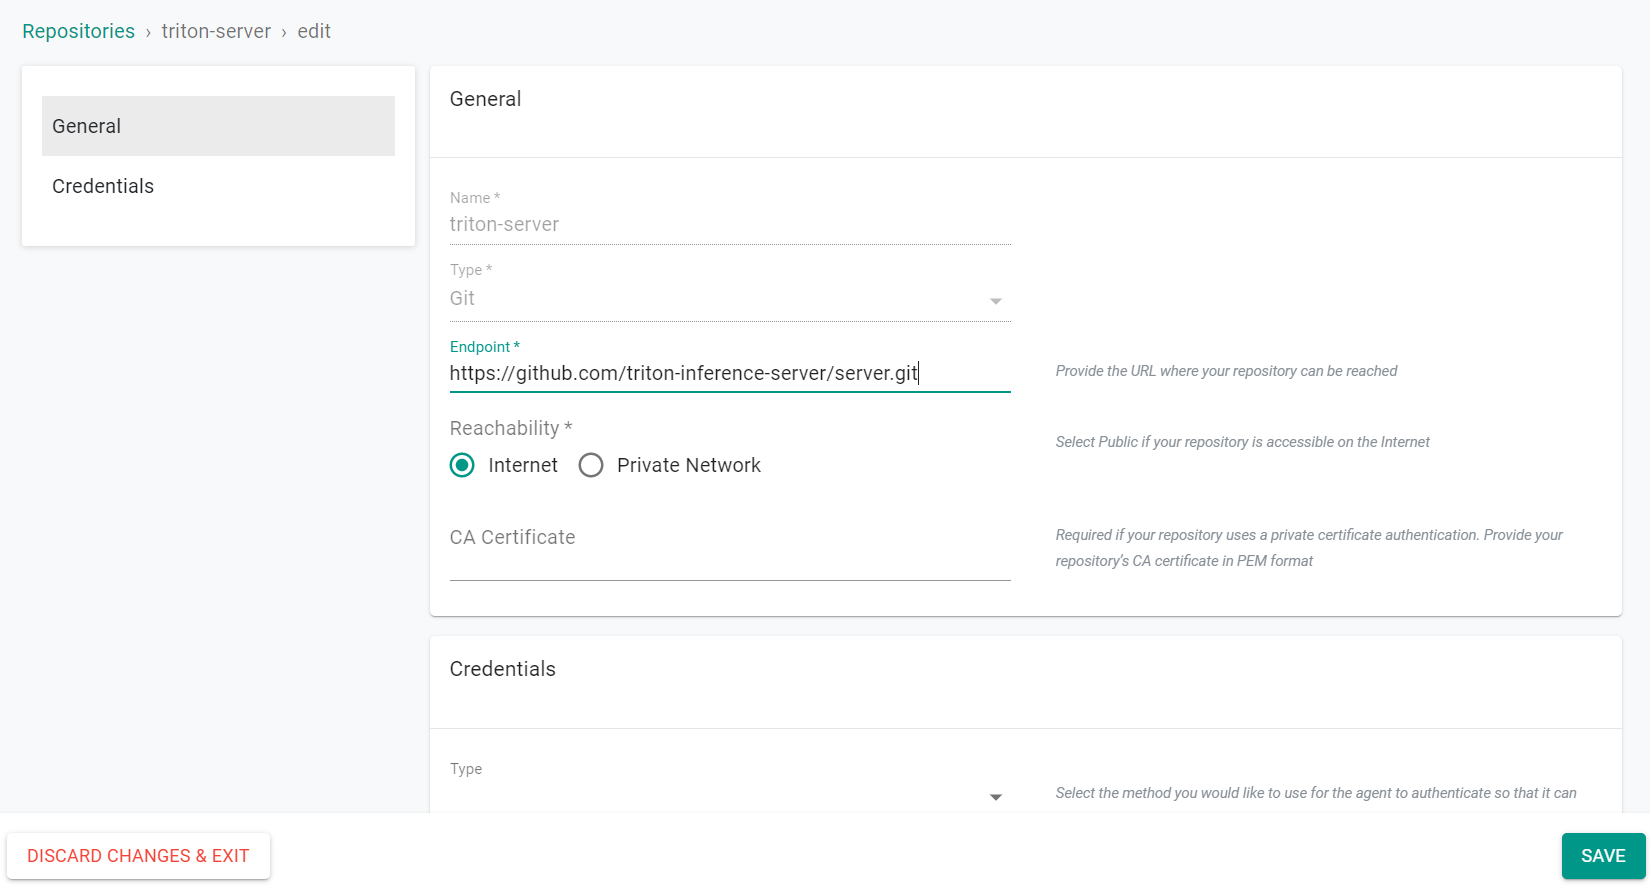
Step 4: Create Triton Repository
In this step, you will create a repository in your project so that the controller can retrieve the Helm chart to deploy the Triton Inference Server.
- Open Terminal (on macOS/Linux) or Command Prompt (Windows) and navigate to the folder where you forked the Git repository
- Navigate to the folder "
/getstarted/tritoneks/workload"
The "triton-repository.yaml" file contains the declarative specification for the repository.
If you used a different cluster name, be sure to update the spec with the new cluster name.
apiVersion: config.rafay.dev/v2
kind: Repository
metadata:
  name: triton-server
spec:
  repositoryType: GitRepository
  endpoint:  https://github.com/triton-inference-server/server.git
  credentialType: CredentialTypeNotSet
Type the command below
rctl create repository -f triton-repository.yaml
If you did not encounter any errors, you can optionally verify if everything was created correctly on the controller.
- Navigate to your Org and Project
- Select Integrations -> Repositories and click on "triton-server"
Step 5: Deploy Triton Workload
In this step, we will deploy the Triton Inference Server with a custom override.
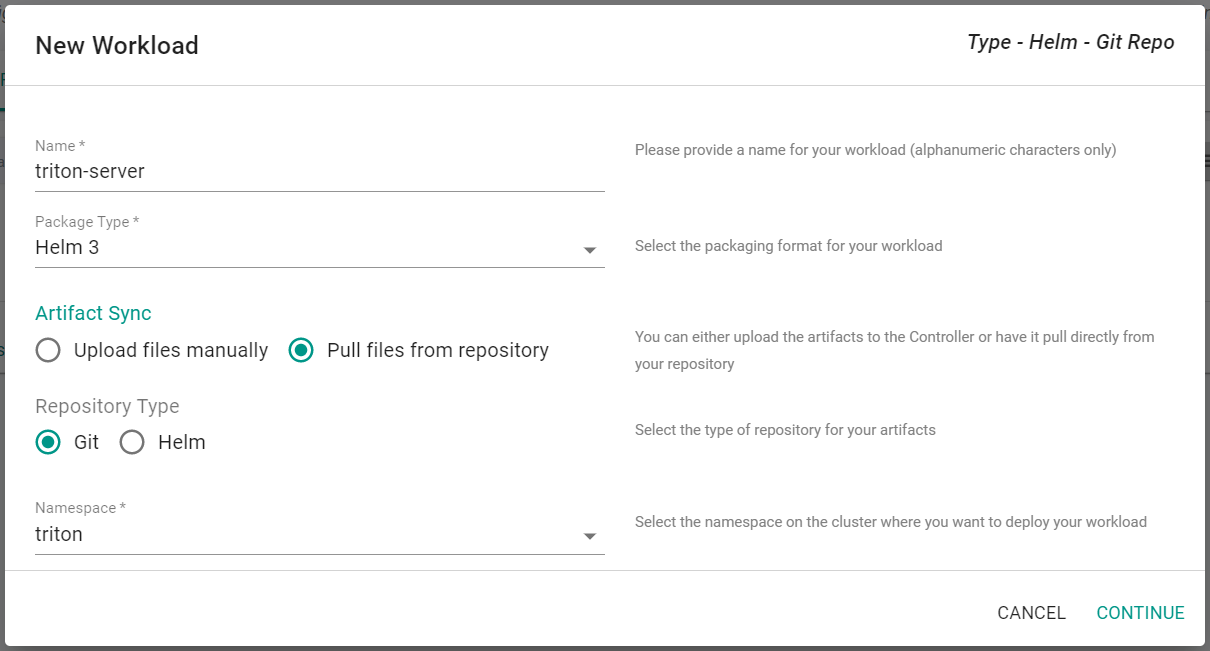
- Navigate to the console, select Applications -> Workloads
- Click New Workload -> Create New Workload
- Enter triton-server for the name
- Select Helm 3 for the package type
- Select Pull files from repository
- Select Git for the repository type
- Select triton for the namespace
- Click Continue
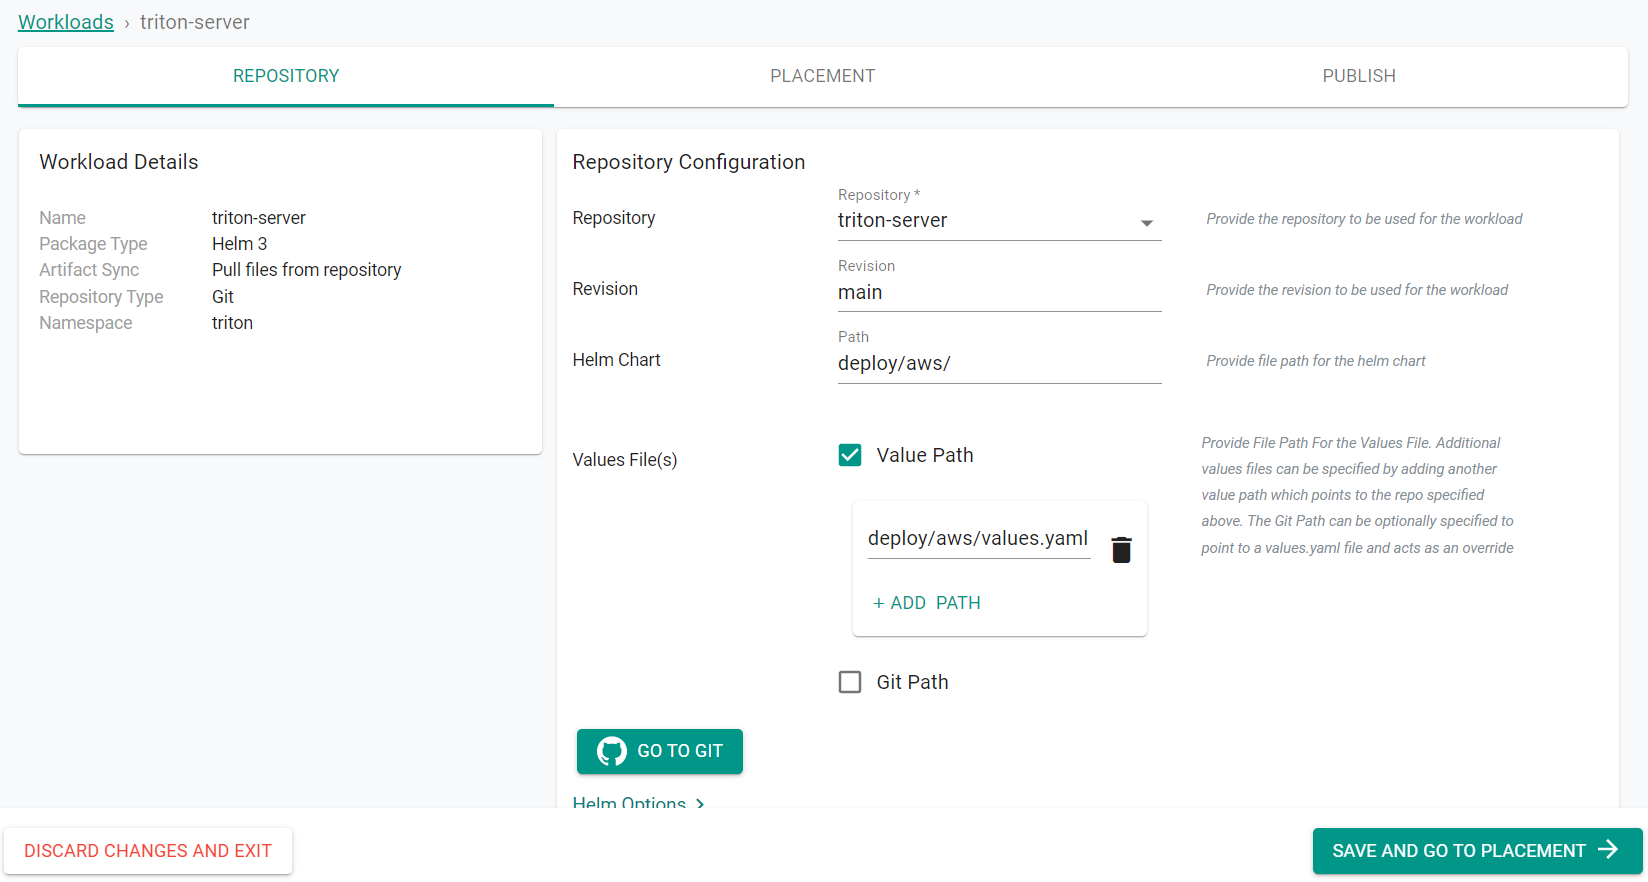
- Select triton-server for the repository
- Enter main for the revision
- Enter deploy/aws/ for the path
- Select Value Path
- Click ADD PATH
- Enter deploy/aws/values.yaml for the path
- Click Save and Go to Placement
- Select the GPU cluster
- Click Save and Go to Publish

-
Click Exit
-
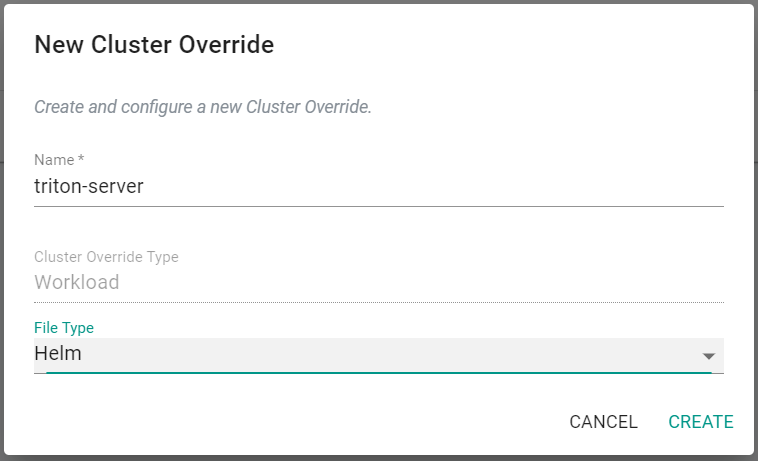
Navigate to Applications -> Cluster Overrides
- Select New Override
- Enter triton-server for the name
- Select Helm for the file type
- Click Create
- Select triton-server for the resource selcector
- Select Specific Clusters for placement type
- Select the GPU Cluster
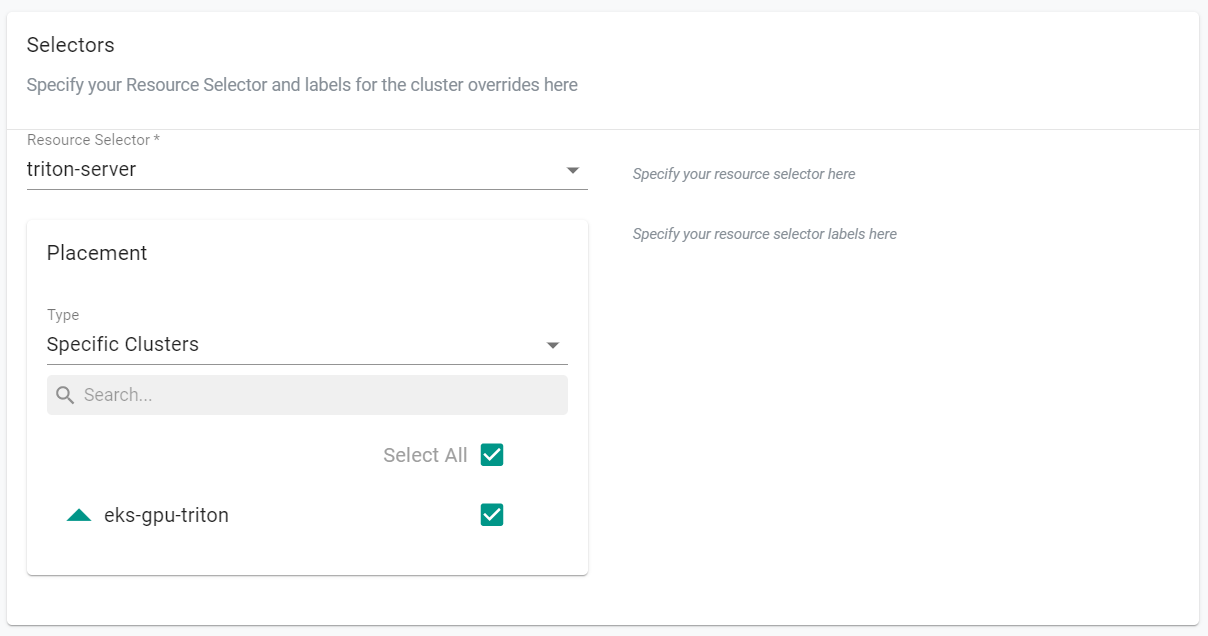
- Select Upload file manually
- Enter the following text into the window. Be sure to populate the values with the correct information for your environment.
image:
  modelRepositoryPath: s3://triton-inference-server-repo/model_repository/
  numGpus: 1
secret:
  region: <AWS Region base64 encoded>
  id: <AWS_SECRET_KEY_ID base64 encoded>
  key: <AWS_SECRET_ACCESS_KEY base64 encoded>

- Navigate to Applications -> Workloads
- Click on the triton-server workload
- Go to the Publish tab
- Click Publish
The workload is now published using the overrides.
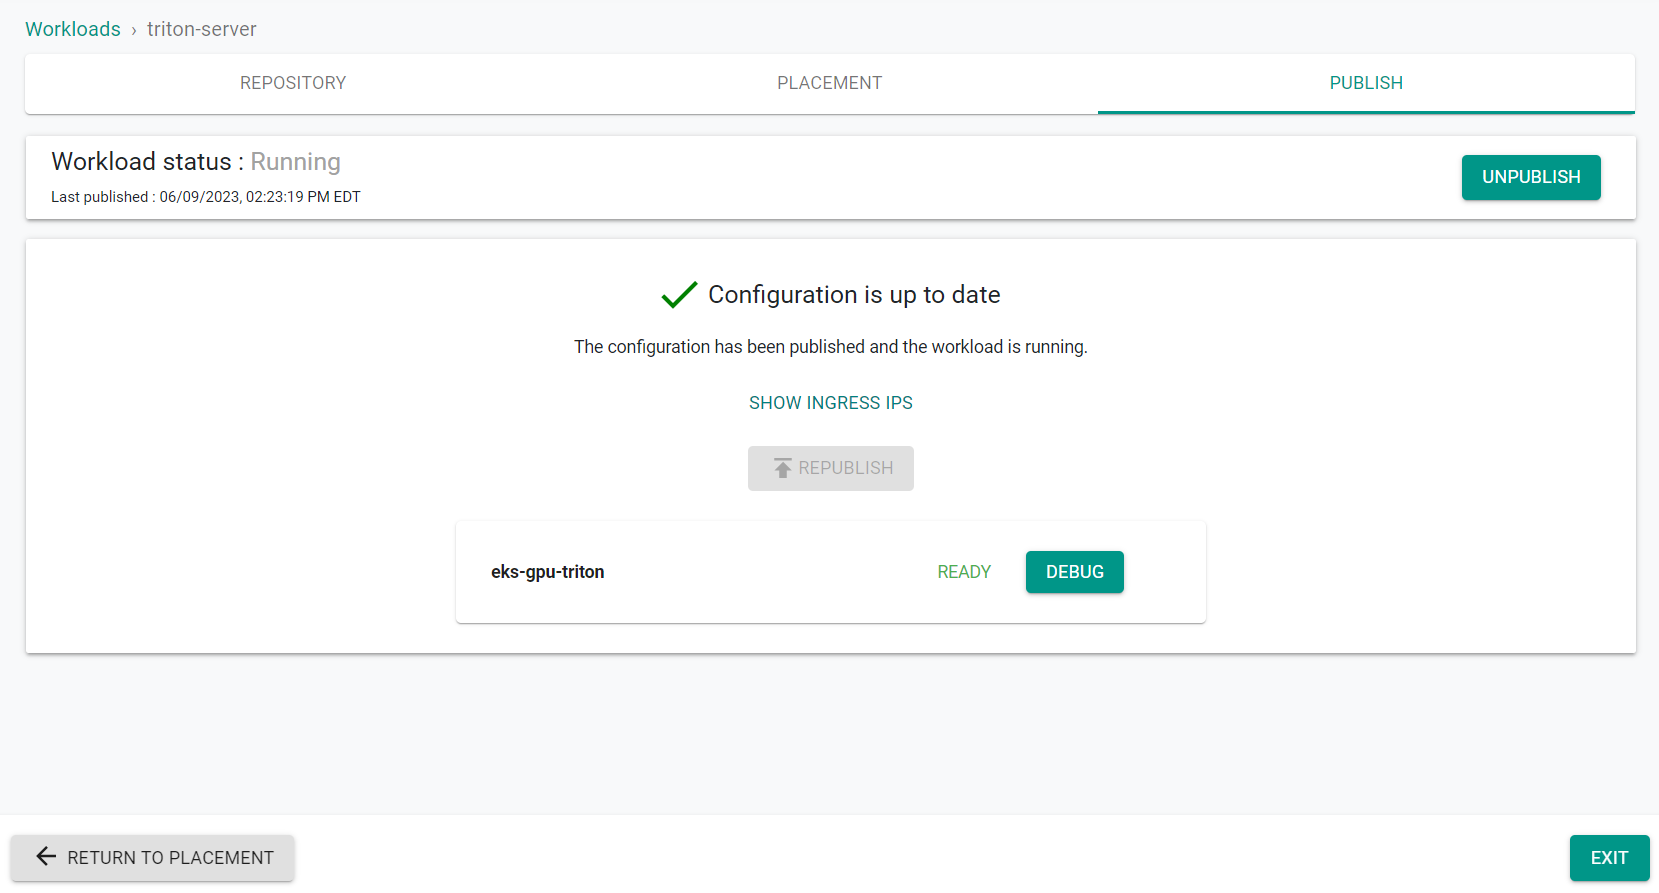
- Click Exit
Step 6: Verify Workload
We will now verify the Triton Inference Server is up and running.
- Navigate to the console, select Infrastructure -> Clusters
- Click kubectl on the GPU cluster
- Enter the following command
kubectl get services -n triton
Locate the EXTRERNAL-IP of the Triton Inference Server in the output
kubectl get services -n triton
NAME                                            TYPE           CLUSTER-IP       EXTERNAL-IP                                                              PORT(S)                                        AGE
alertmanager-operated                           ClusterIP      None             <none>                                                                   9093/TCP,9094/TCP,9094/UDP                     29m
prometheus-operated                             ClusterIP      None             <none>                                                                   9090/TCP                                       29m
triton-metrics-kube-promet-alertmanager         ClusterIP      10.100.177.6     <none>                                                                   9093/TCP                                       29m
triton-metrics-kube-promet-operator             ClusterIP      10.100.218.176   <none>                                                                   443/TCP                                        29m
triton-metrics-kube-promet-prometheus           ClusterIP      10.100.62.137    <none>                                                                   9090/TCP                                       29m
triton-server-triton-inference-server           LoadBalancer   10.100.85.69     a402d3e788c4140f2a5e7d3c464d779e-504447761.us-west-1.elb.amazonaws.com   8000:32522/TCP,8001:32350/TCP,8002:30133/TCP   14m
triton-server-triton-inference-server-metrics   ClusterIP      10.100.107.12    <none>                                                                   8080/TCP                                       14m
kubectl
- Add :8000/v2 to the end of the External-IP and enter the URL into a browser
You will see something similar to the following showing the running server

Recap
Congratulations! At this point, you have successfuly configured and provisioned an Amazon EKS cluster with the Triton Inference Server.