Part 2: Provision
What Will You Do
In this part of the self-paced exercise, you will provision two Amazon EKS clusters based on declarative cluster specifications using the minimal blueprint. One of the clusters named blue will simulate an existing cluster running a stateless application on an older version of kubernetes. The other cluster named green will be running a newer version of kubernetes and will and simulate as the upgraded cluster we want to move our application to.
Step 1: Provision Blue Cluster
In this step, we will create the declarative cluster specification file for the blue cluster and use the RCTL CLI to provision the cluster from the specification file.
- Save the below specification file to your computer as "blue.yaml". Note, the highlighted sections in the spec will need to be updated to match your environment.
apiVersion: infra.k8smgmt.io/v3
kind: Cluster
metadata:
  # The name of the cluster
  name: blue
  # The name of the project the cluster will be created in
  project: defaultproject
spec:
  blueprintConfig:
    # The name of the blueprint the cluster will use
    name: minimal
    # The version of the blueprint the cluster will use
    version: latest
  # The name of the cloud credential that will be used to create the cluster
  cloudCredentials: aws-cloud-credential
  config:
    # The EKS addons that will be applied to the cluster
    addons:
    - name: kube-proxy
      version: latest
    - name: vpc-cni
      version: latest
    - name: coredns
      version: latest
    iam:
     # Enables the IAM OIDC provider as well as IRSA for the Amazon CNI plugin
      withOIDC: true
    managedNodeGroups:
      # The AWS AMI family type the nodes will use
    - amiFamily:
      # The desired number of nodes that can run in the node group
      desiredCapacity: 1
      # The AWS EC2 instance type that will be used for the nodes
      instanceType: t3.large
      # The labels applied to the nodes in the node group
      labels:
        nodes:
      # The maximum number of nodes that can run in the node group
      maxSize:
      # The minimum number of nodes that can run in the node group
      minSize:
      # The name of the node group that will be created in AWS
      name: managed-system
    metadata:
      # The name of the cluster
      name:
      # The AWS region the cluster will be created in
      region: us-west-2
      # The Kubernetes version that will be installed on the cluster
      version: latest
    vpc:
      # AutoAllocateIPV6 requests an IPv6 CIDR block with /56 prefix for the VPC
      autoAllocateIPv6: false
      clusterEndpoints:
        # Enables private access to the Kubernetes API server endpoints
        privateAccess: true
        # Enables public access to the Kubernetes API server endpoints
        publicAccess: true
      # The CIDR that will be used  by the cluster VPC
      cidr: 192.168.0.0/16
  type: aws-eks
Update the following sections of the specification file with details to match your environment
-
Update the project section with the name of the Rafay project to be used
project: defaultproject -
Update the cloudCredentials section with the name of the AWS cloud credential that was previously created
cloudCredentials: aws-cloud-credential -
Update the name and region sections with the cluster name and the AWS region where the cluster will be located
metadata: region: us-west-2 -
Save the updates that were made to the file
- Open Terminal (on macOS/Linux) or Command Prompt (Windows) and navigate to the folder where you saved the file
-
Execute the following command to provision the cluster from the specification file previously saved
./rctl apply -f blue.yaml -
Login to the web console
- Navigate to your project
- Select Infrastructure -> Clusters
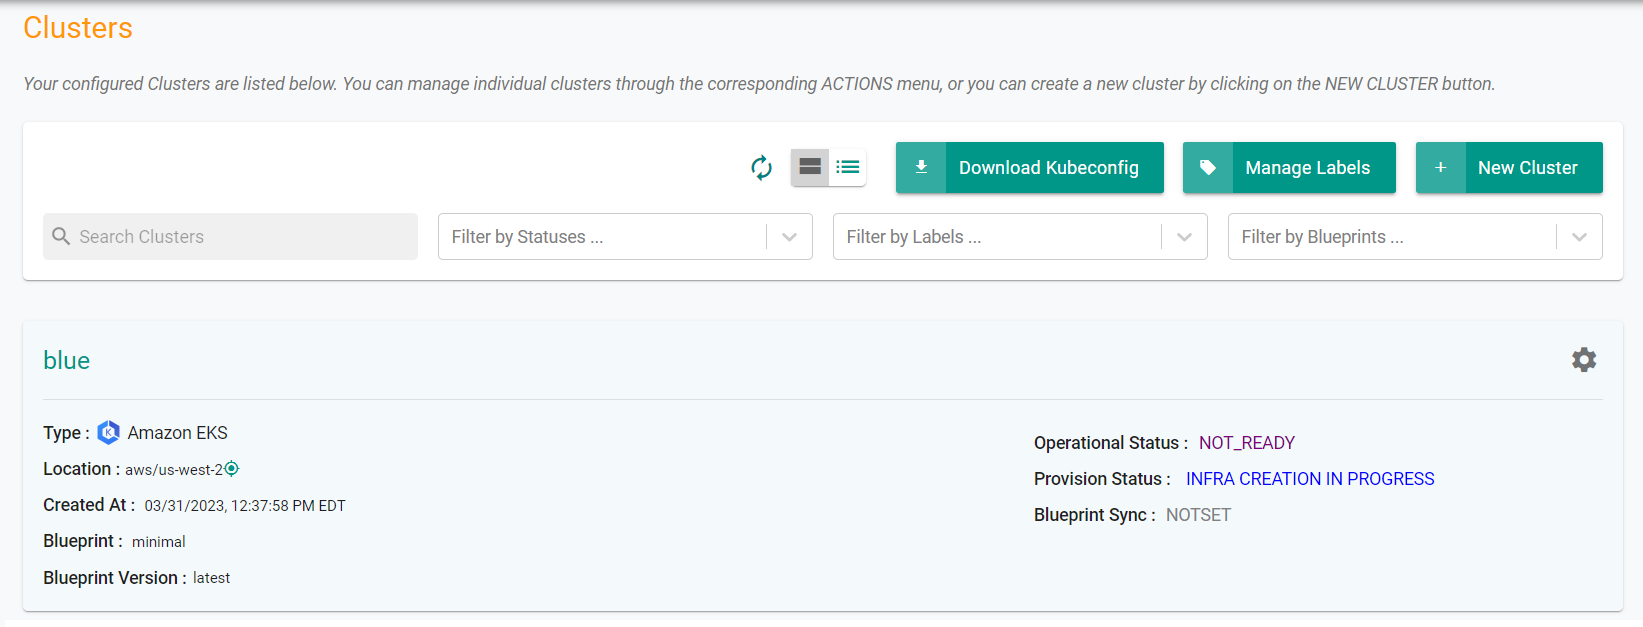
- Click on the cluster name to monitor progress
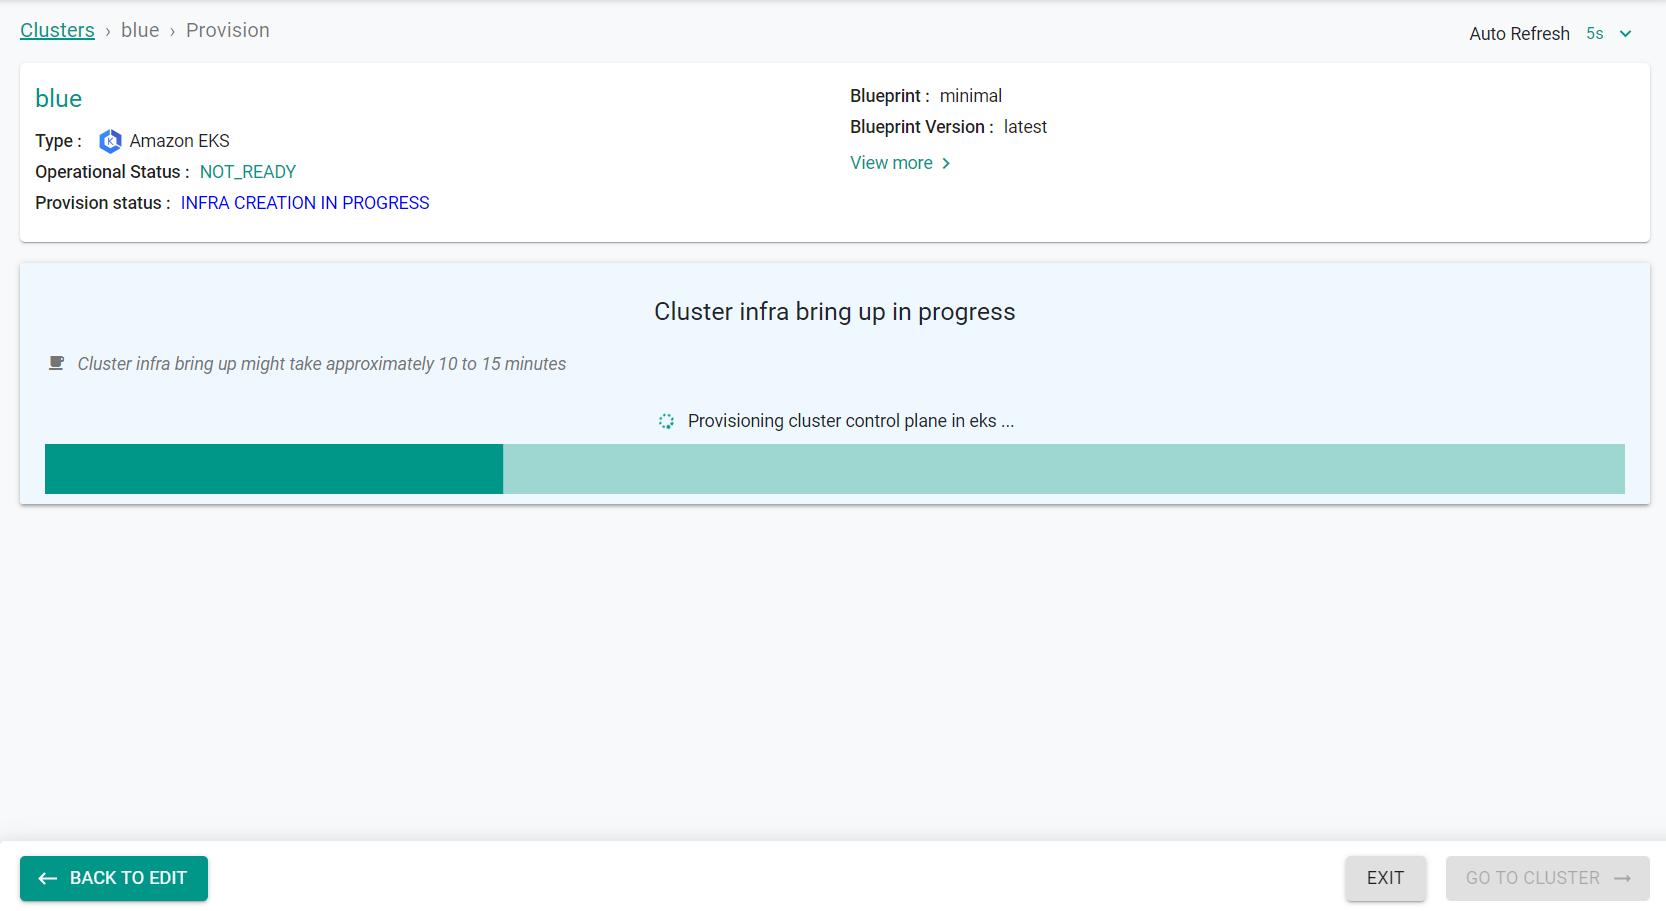
Provisioning the infrastructure will take approximately 45 minutes to complete. You can move on to the next step while this cluster is provisioning.
Step 2: Provision Green Cluster
In this step, we will create the declarative cluster specification file for the green cluster and use the RCTL CLI to provision the cluster from the specification file. Note, that the version in this specification file is newer than the version in the blue cluster spec.
- Save the below specification file to your computer as "green.yaml". Note, the highlighted sections in the spec will need to be updated to match your environment.
apiVersion: infra.k8smgmt.io/v3
kind: Cluster
metadata:
  name: green
  project: defaultproject
spec:
  blueprintConfig:
    name: minimal
    version: latest
  cloudCredentials: aws-cloud-credential
  config:
    addons:
    - name: kube-proxy
      version: latest
    - name: vpc-cni
      version: latest
    - name: coredns
      version: latest
    iam:
      withOIDC: true
    managedNodeGroups:
    - amiFamily: AmazonLinux2
      desiredCapacity: 1
      instanceType: t3.large
      labels:
        nodes: system
      maxSize: 2
      minSize: 1
      name: managed-system
    metadata:
      name: green
      region: us-west-2
      version: latest
    vpc:
      autoAllocateIPv6: false
      clusterEndpoints:
        privateAccess: true
        publicAccess: true
      cidr: 192.168.0.0/16
  type: aws-eks
Update the following sections of the specification file with details to match your environment
-
Update the project section with the name of the Rafay project to be used
project: defaultproject -
Update the cloudCredentials section with the name of the AWS cloud credential that was previously created
cloudCredentials: aws-cloud-credential -
Update the name and region sections with the cluster name and the AWS region where the cluster will be located
metadata: region: us-west-2 -
Save the updates that were made to the file
- Open Terminal (on macOS/Linux) or Command Prompt (Windows) and navigate to the folder where you saved the file
-
Execute the following command to provision the cluster from the specification file previously saved
./rctl apply -f green.yaml -
Login to the web console
- Navigate to your project
- Select Infrastructure -> Clusters
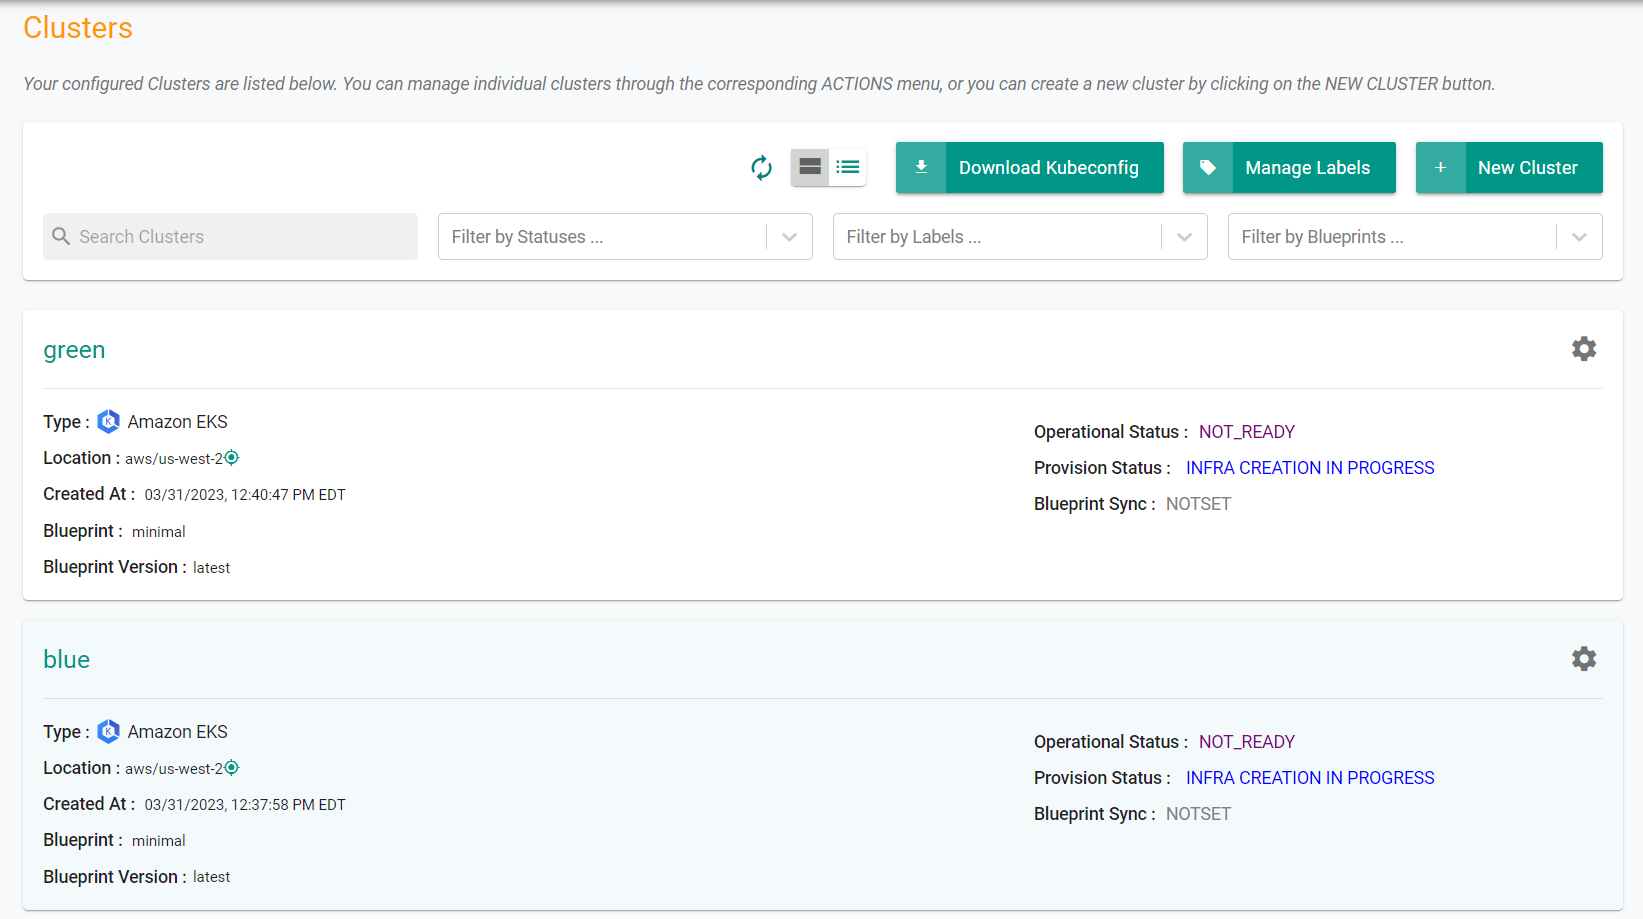
- Click on the cluster name to monitor progress
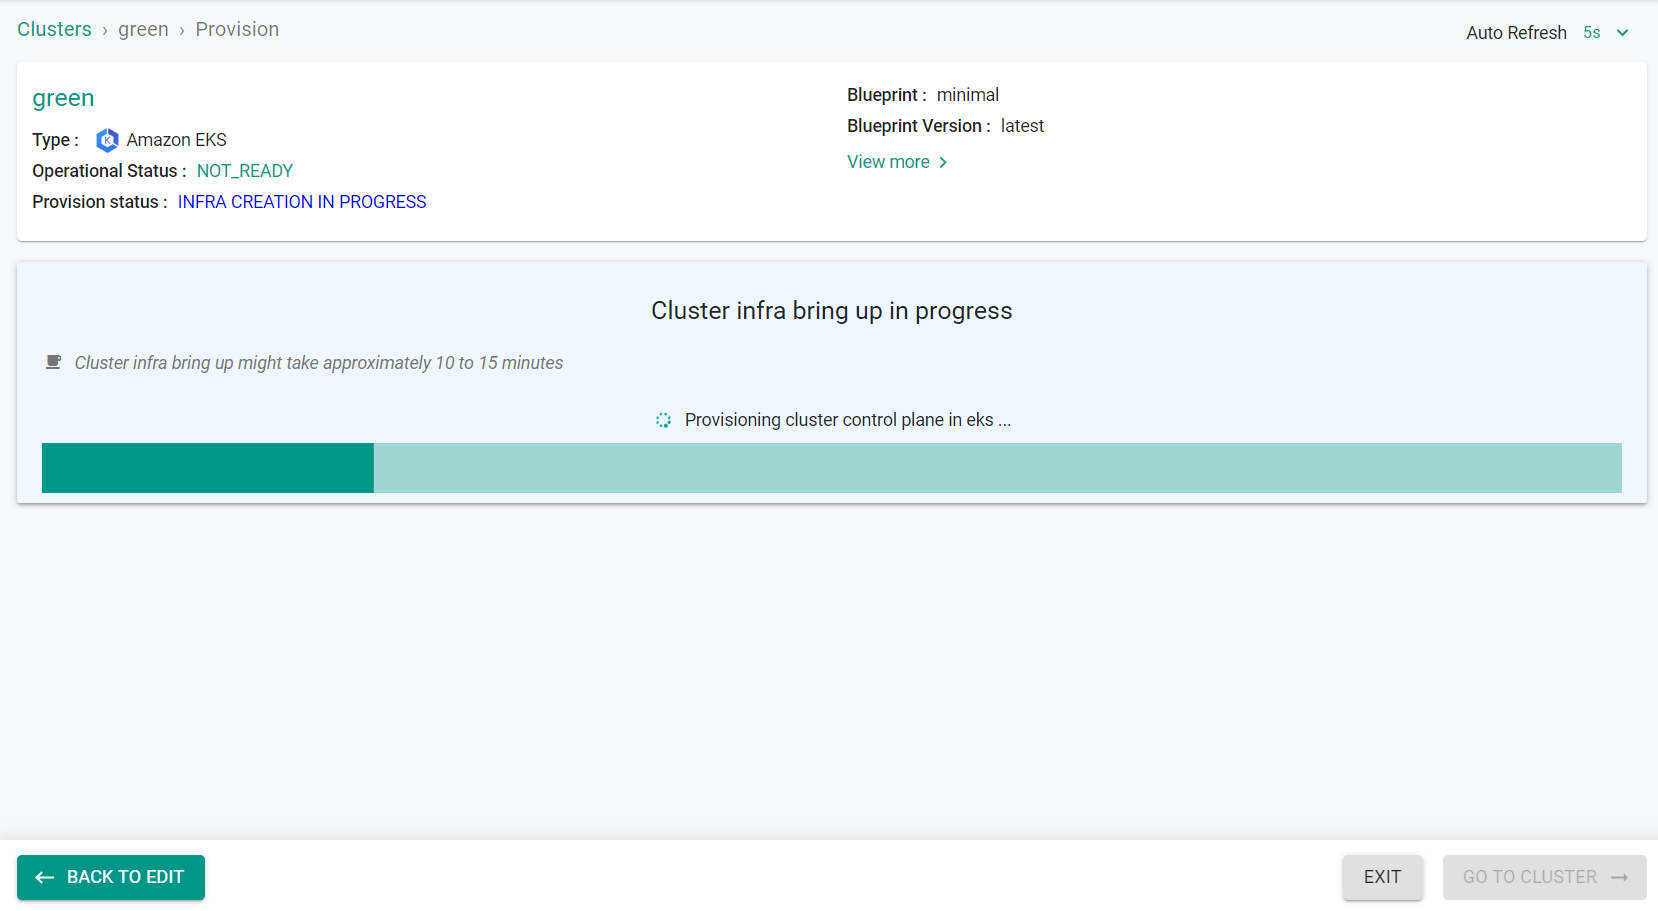
Provisioning the infrastructure will take approximately 45 minutes to complete.
Step 3: Verify Clusters
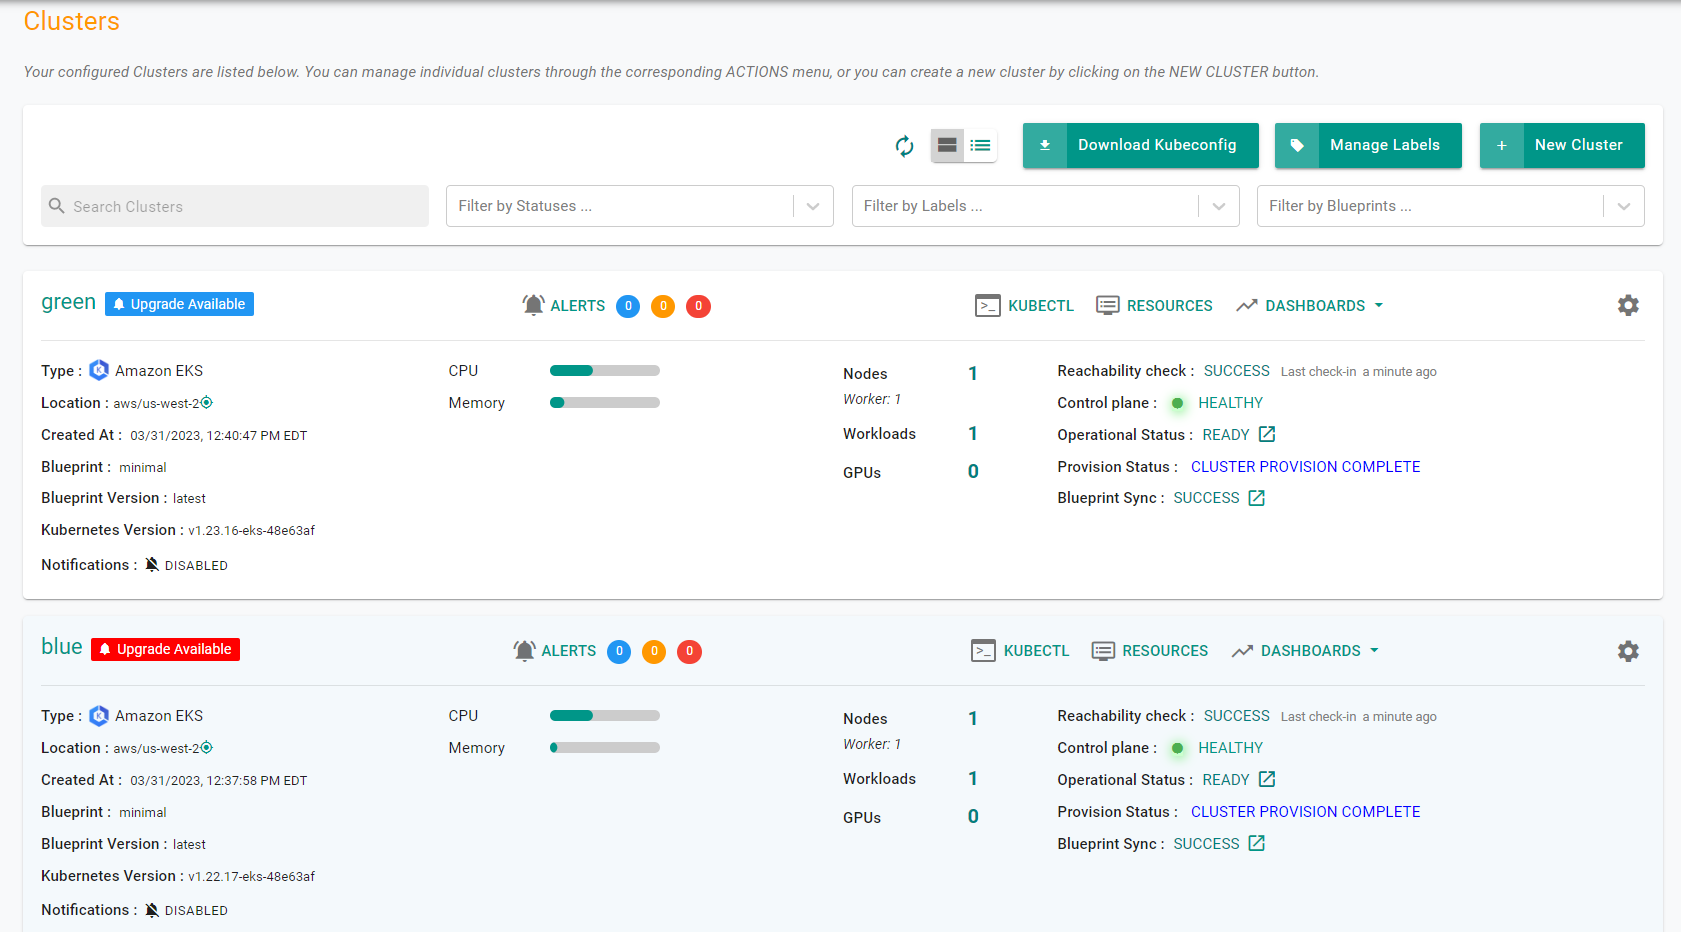
Once provisioning is complete, you should see the clusters in the web console
- Click on the kubectl link and type the following command on each cluster
kubectl get nodes
You should see something like the following for the blue cluster
NAME                                           STATUS   ROLES    AGE    VERSION
ip-192-168-78-147.us-west-2.compute.internal   Ready    <none>   12m   v1.22.17-eks-a59e1f0
You should see something like the following for the green cluster
NAME                                           STATUS   ROLES    AGE    VERSION
ip-192-168-14-213.us-west-2.compute.internal   Ready    <none>   14m   v1.23.17-eks-a59e1f0
Recap
Congratulations! At this point, you have successfully provisioned two Amazon EKS clusters with different kubernetes versions.