Part 2: Provision
What Will You Do
In this part of the self-paced exercise, you will configure the SOM automation in order to import your upstream cluster and configure other environment resources.
Step 1: Upload SSH key
- In the forked repo, navigate to the "mks/cluster" directory
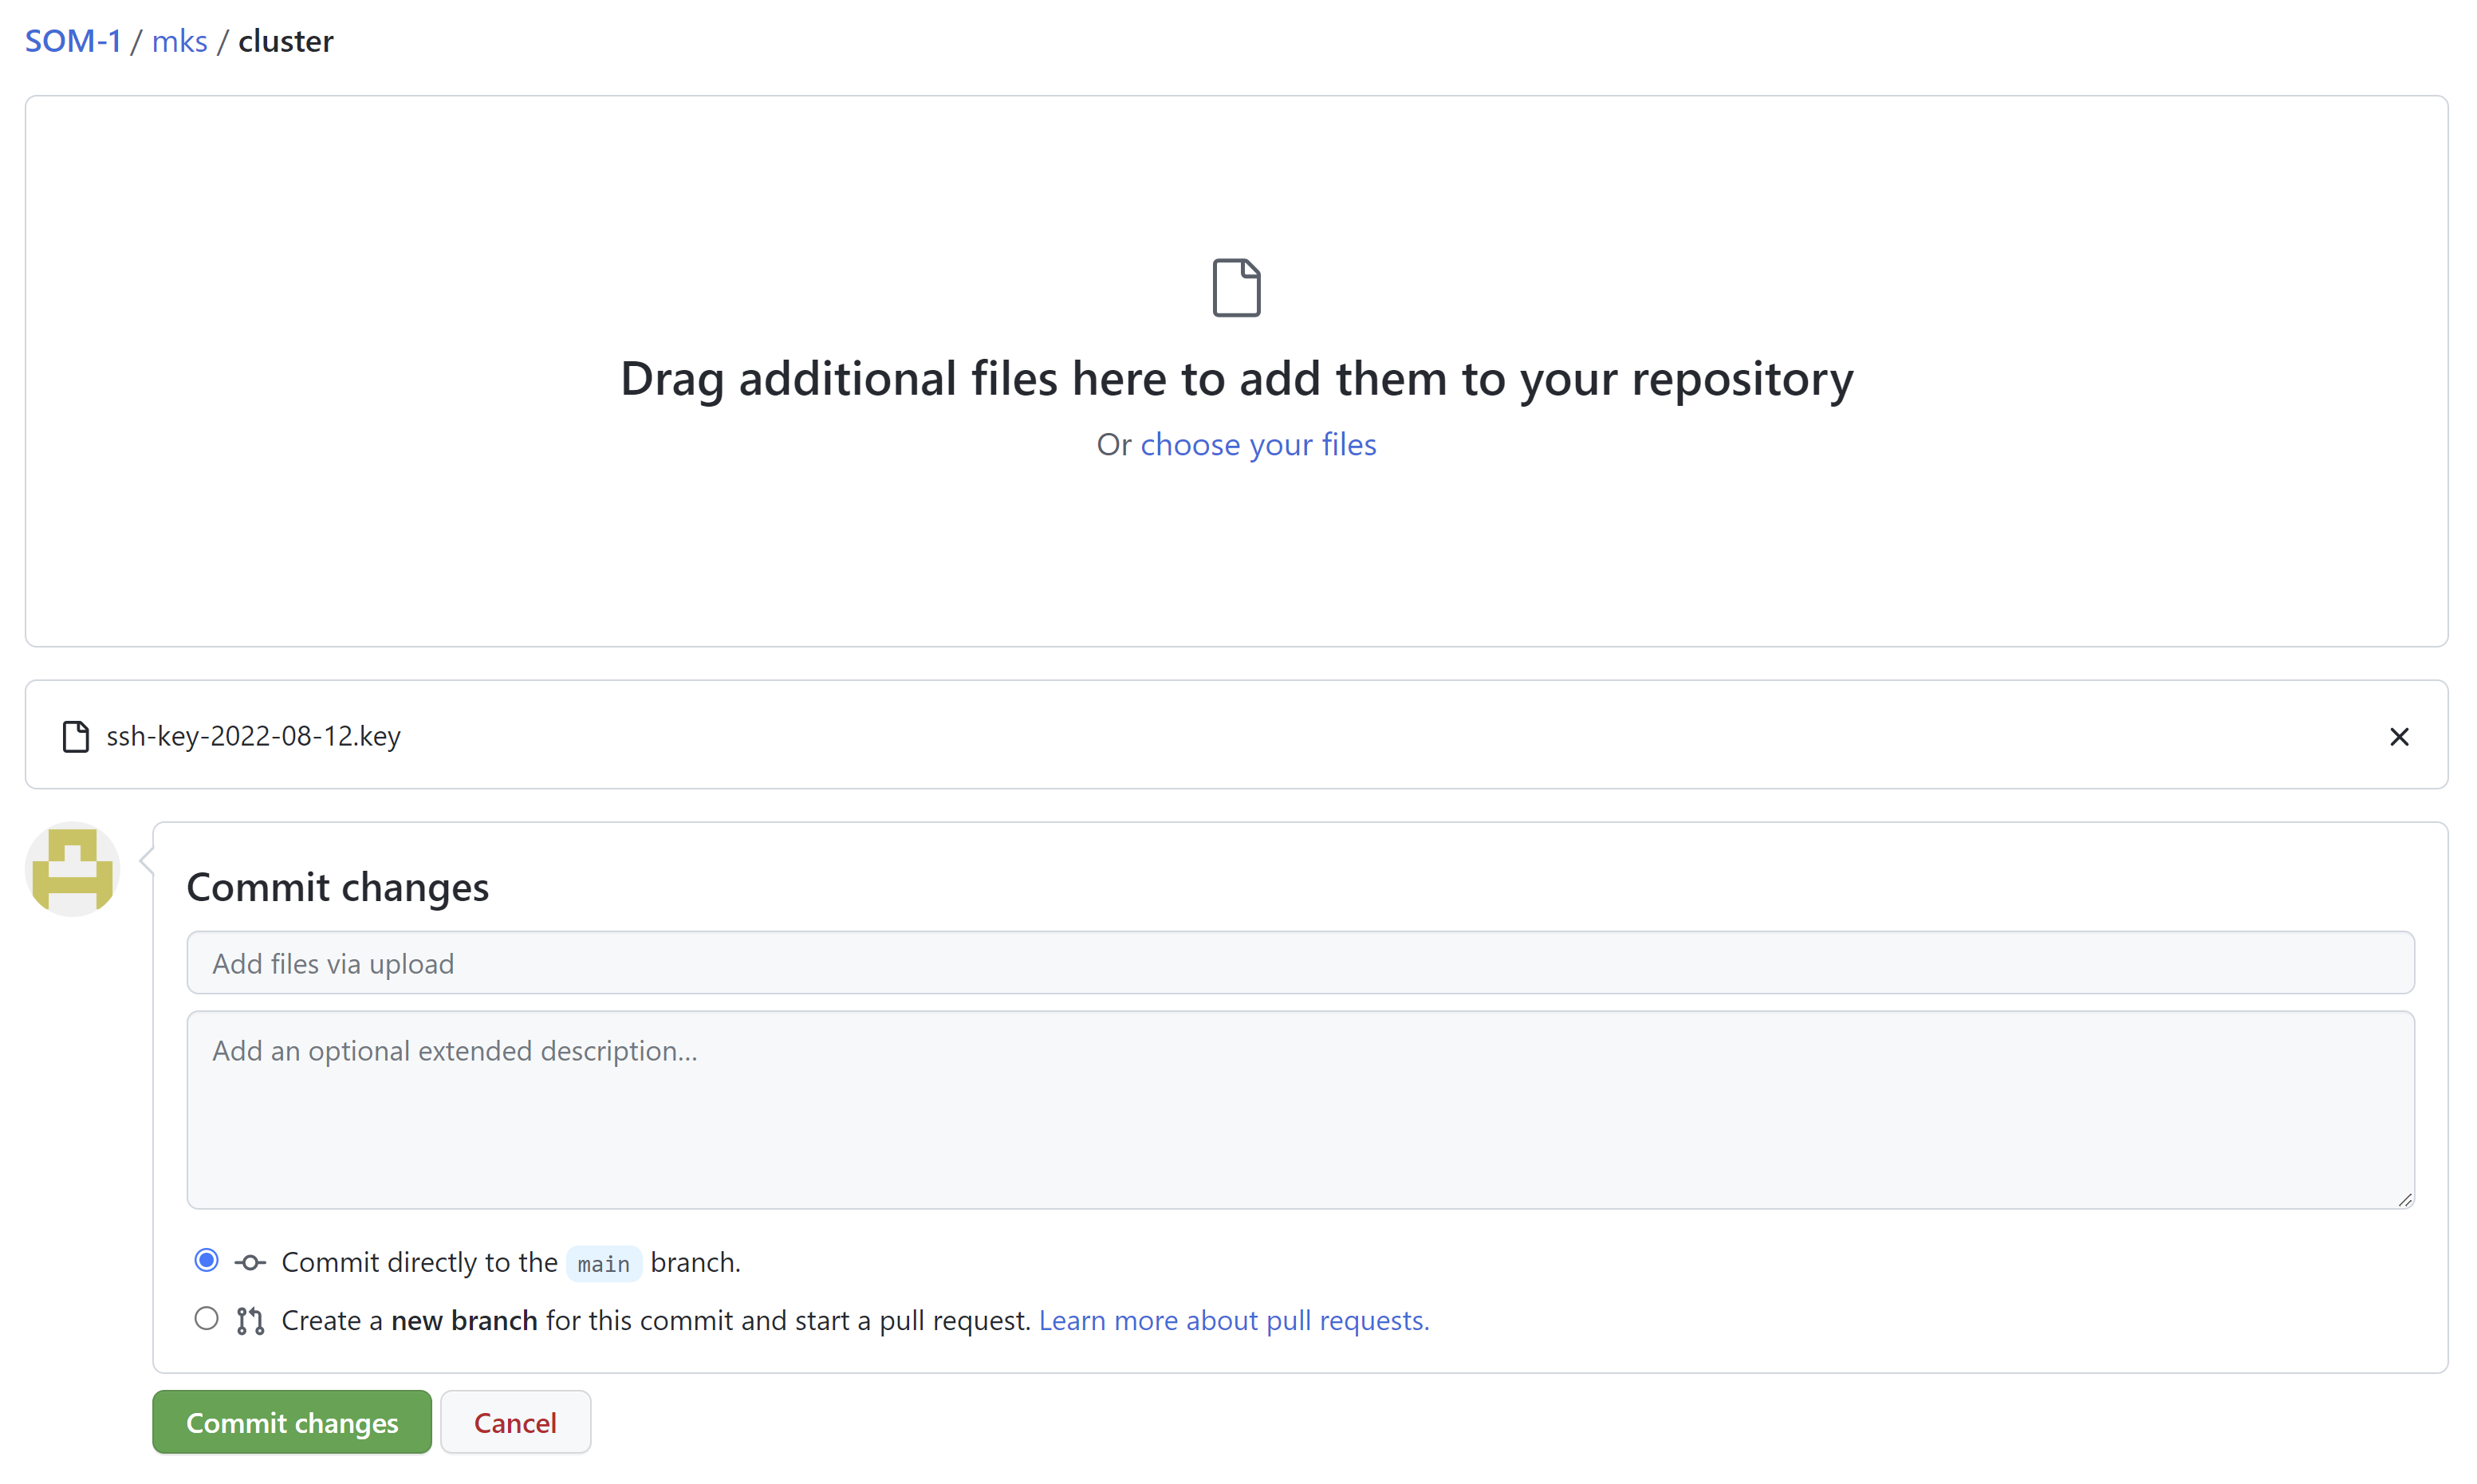
- Upload the cluster node SSH private key file
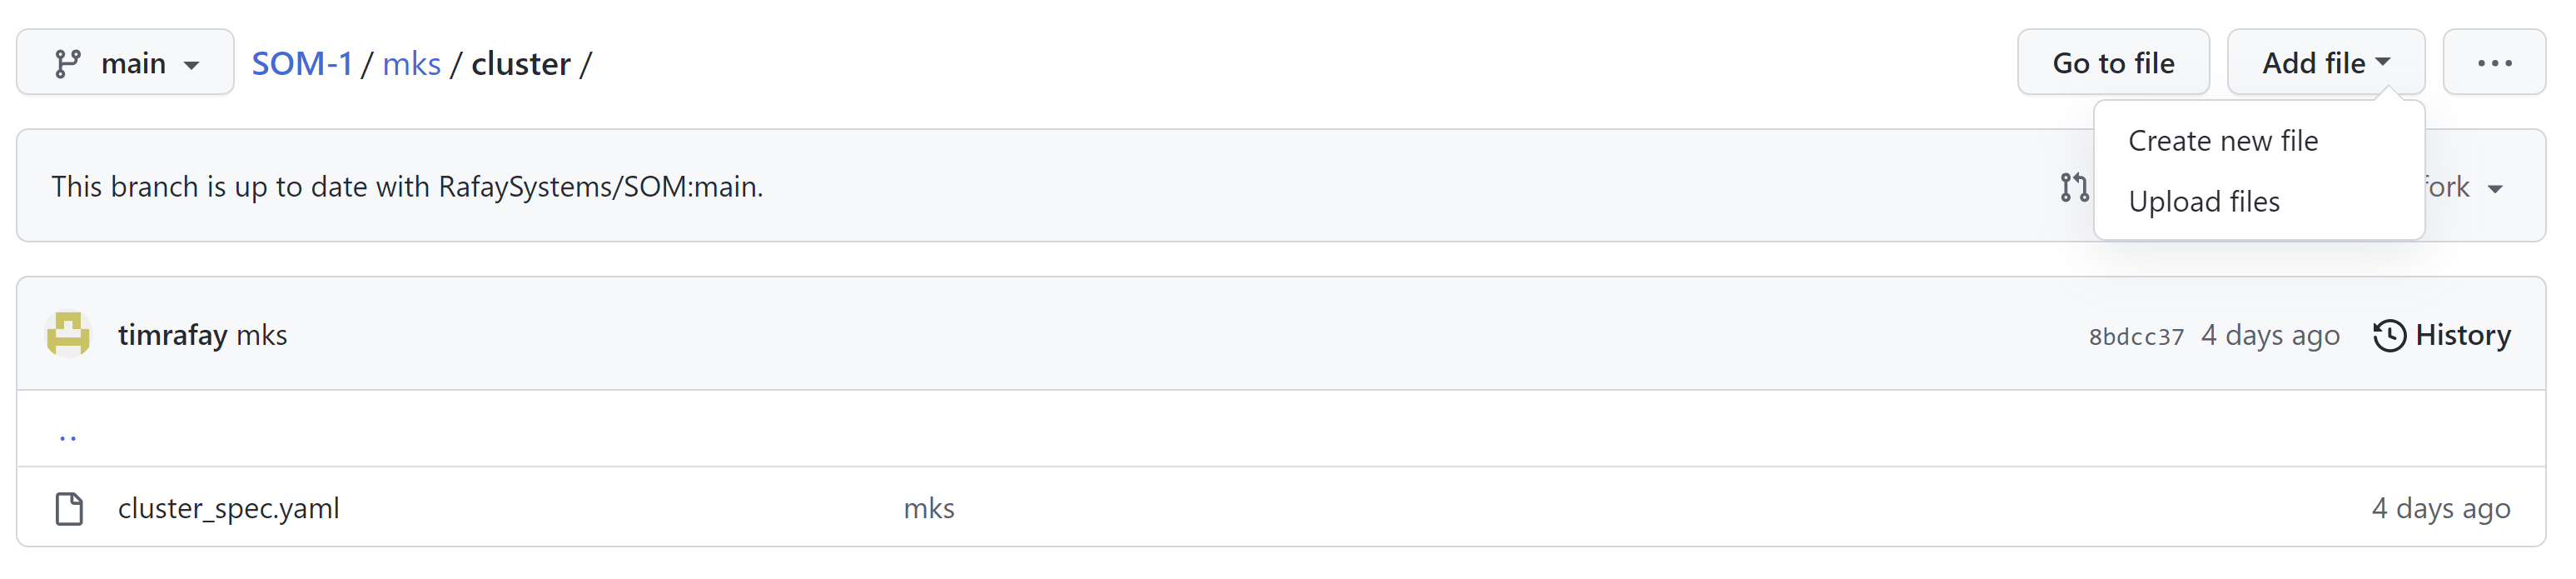
- Commit the file upload
- Note the filename of the private SSH key file for use in the next step
Step 2: Provision Environment Resources
- In the forked repo, navigate to the "mks" directory
- Open the file “provision_mks.ps1”
- Click "Edit this file"
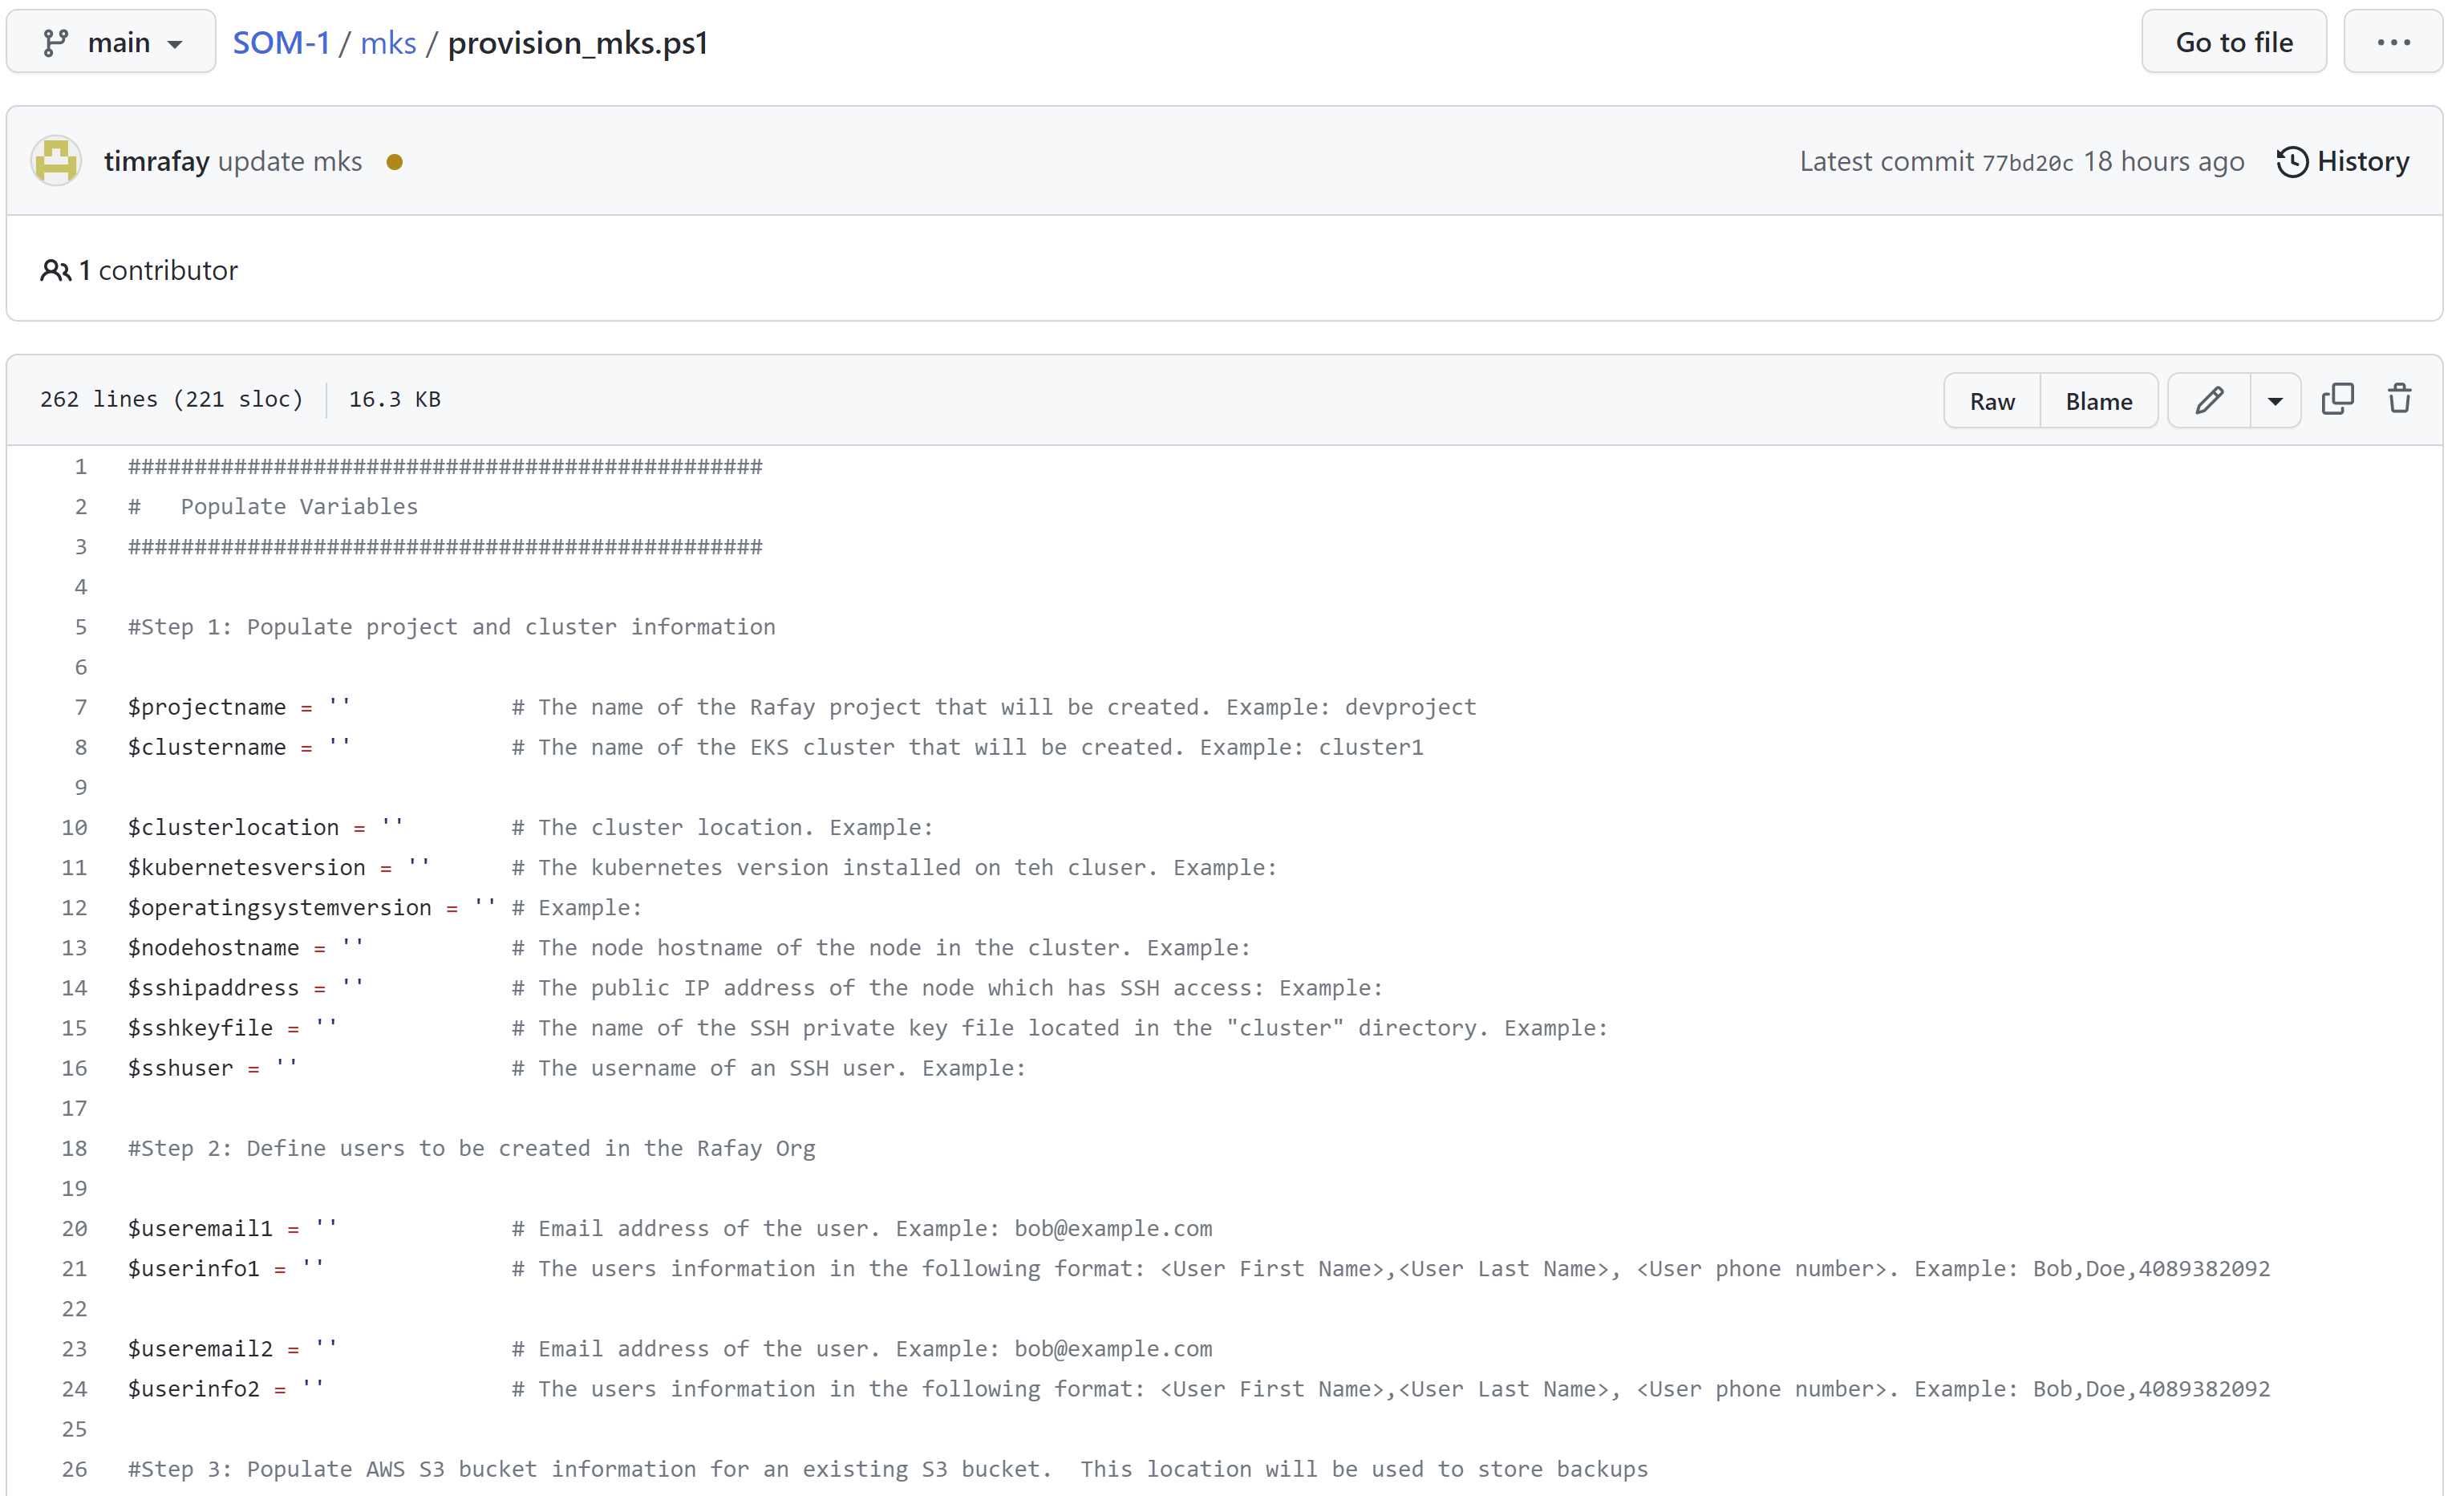
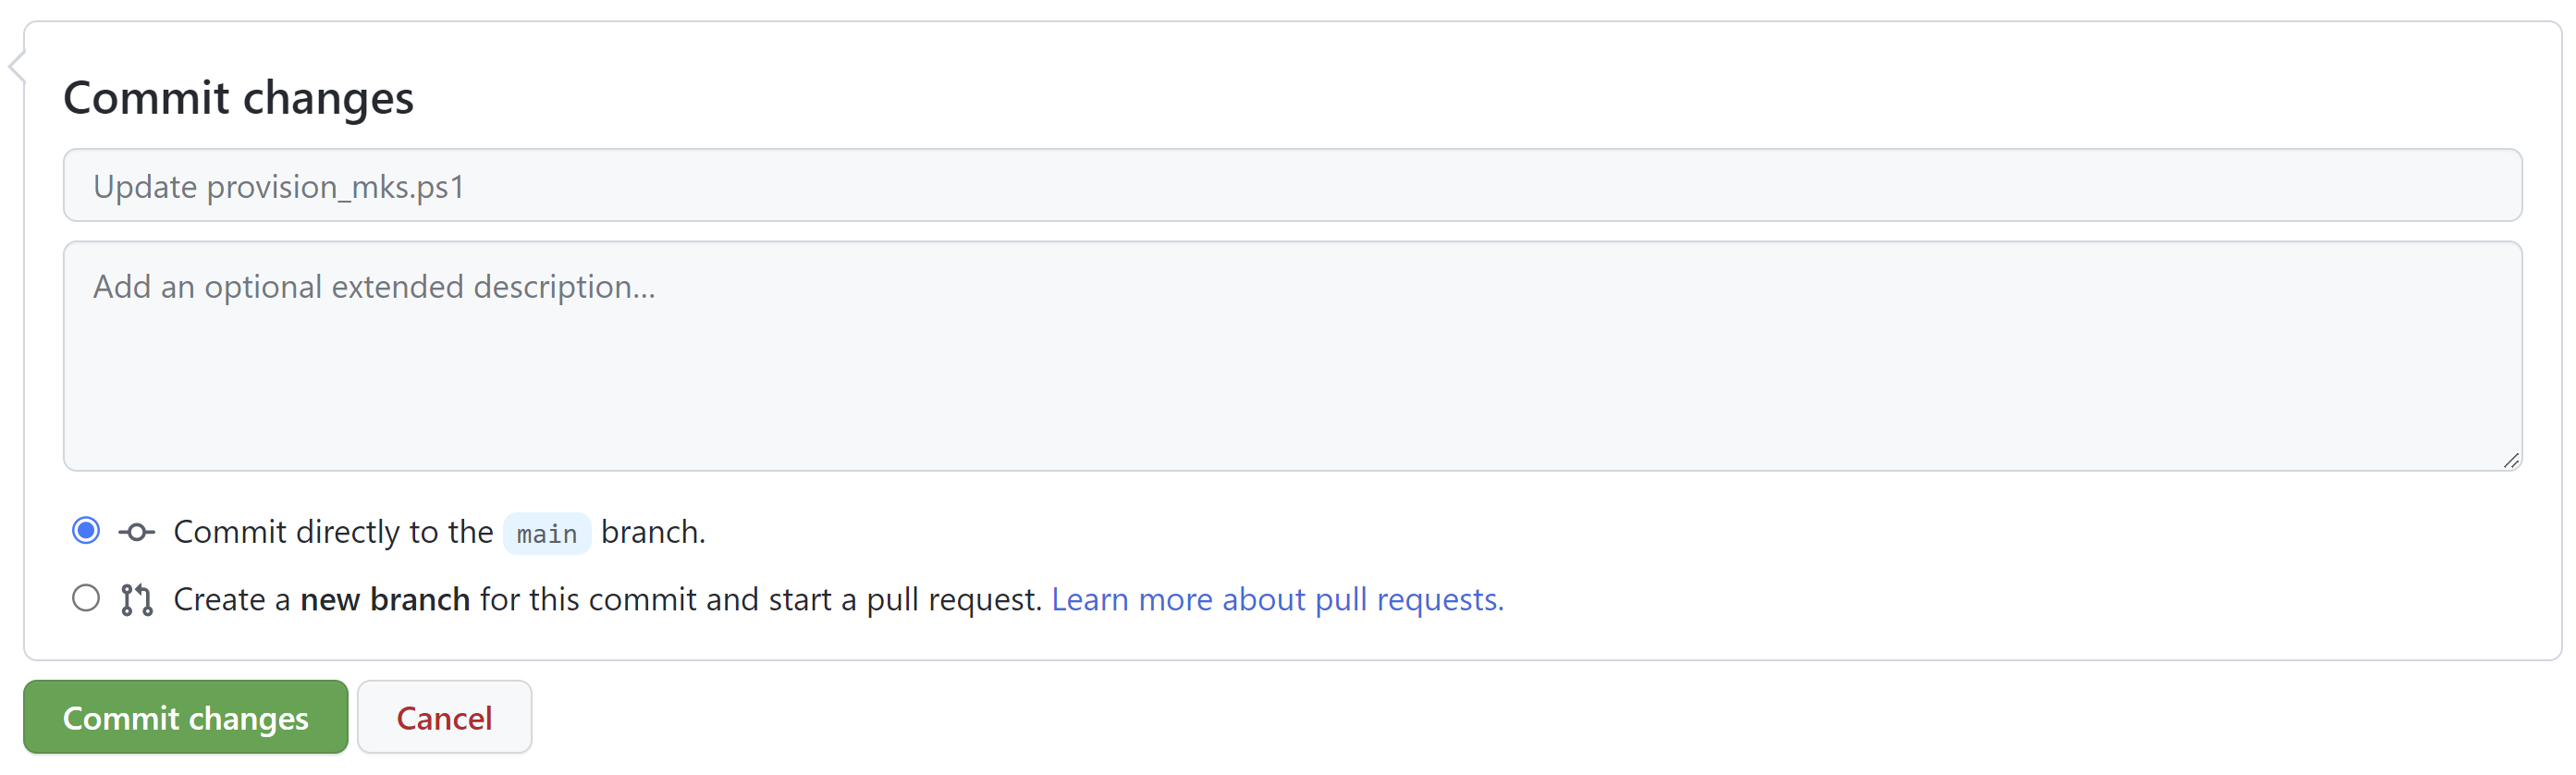
- In the “Populate Variables” section, follow the steps to populate the needed values
- Once the values are populated, click "Commit changes"
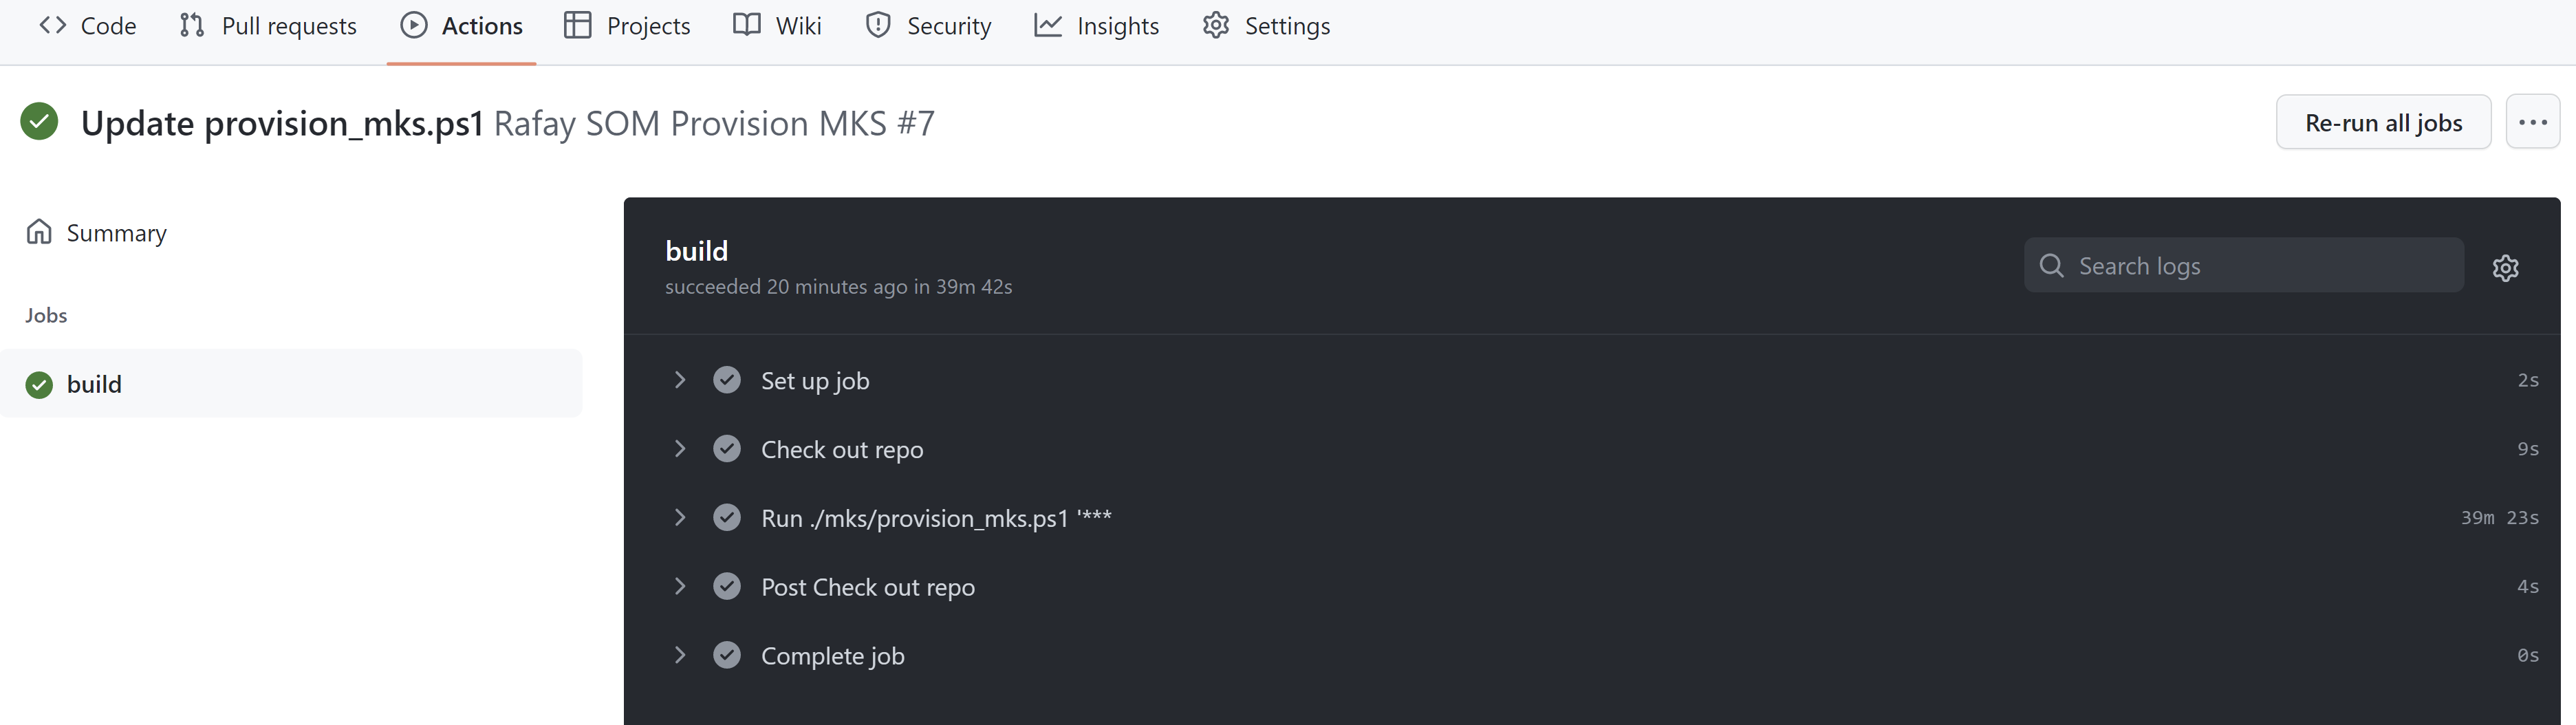
- Once committed, go to the "Actions" tab in GitHub. You will see the workflow running.
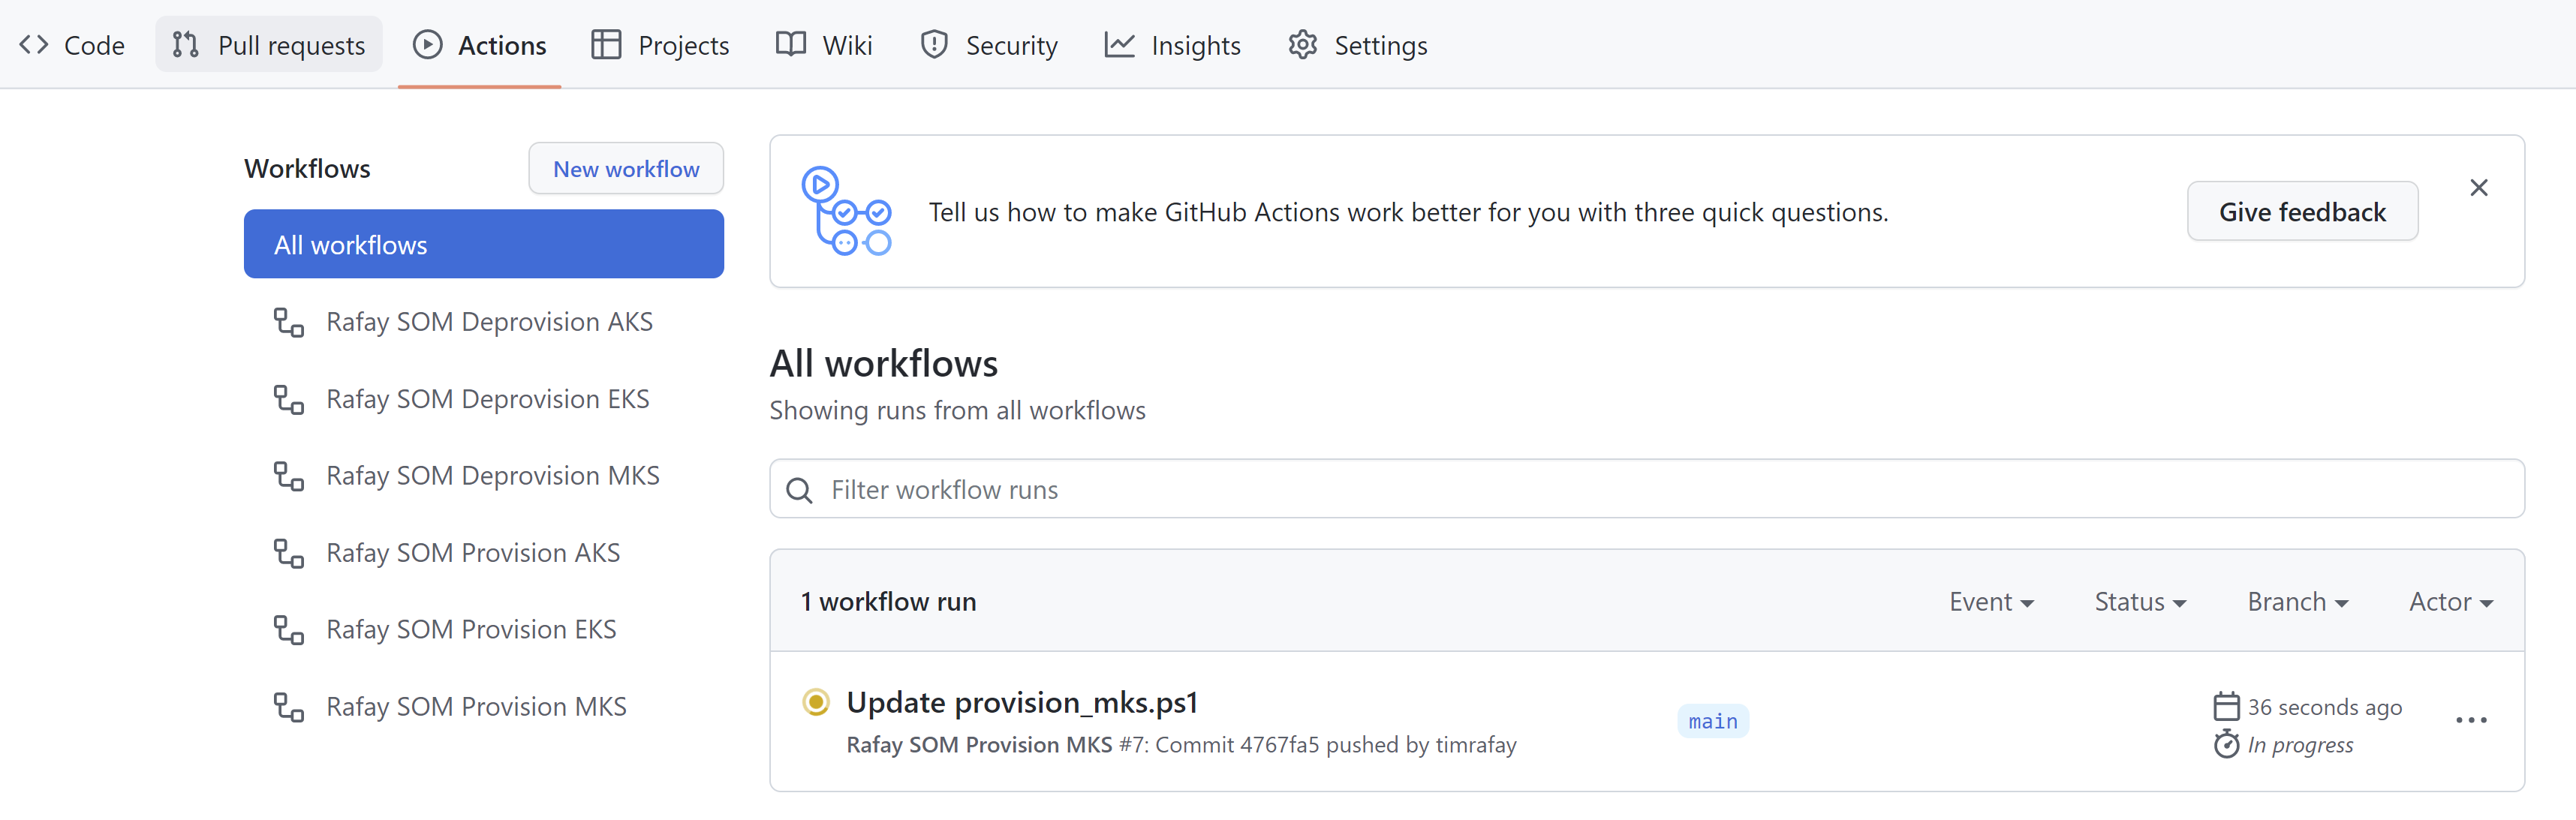
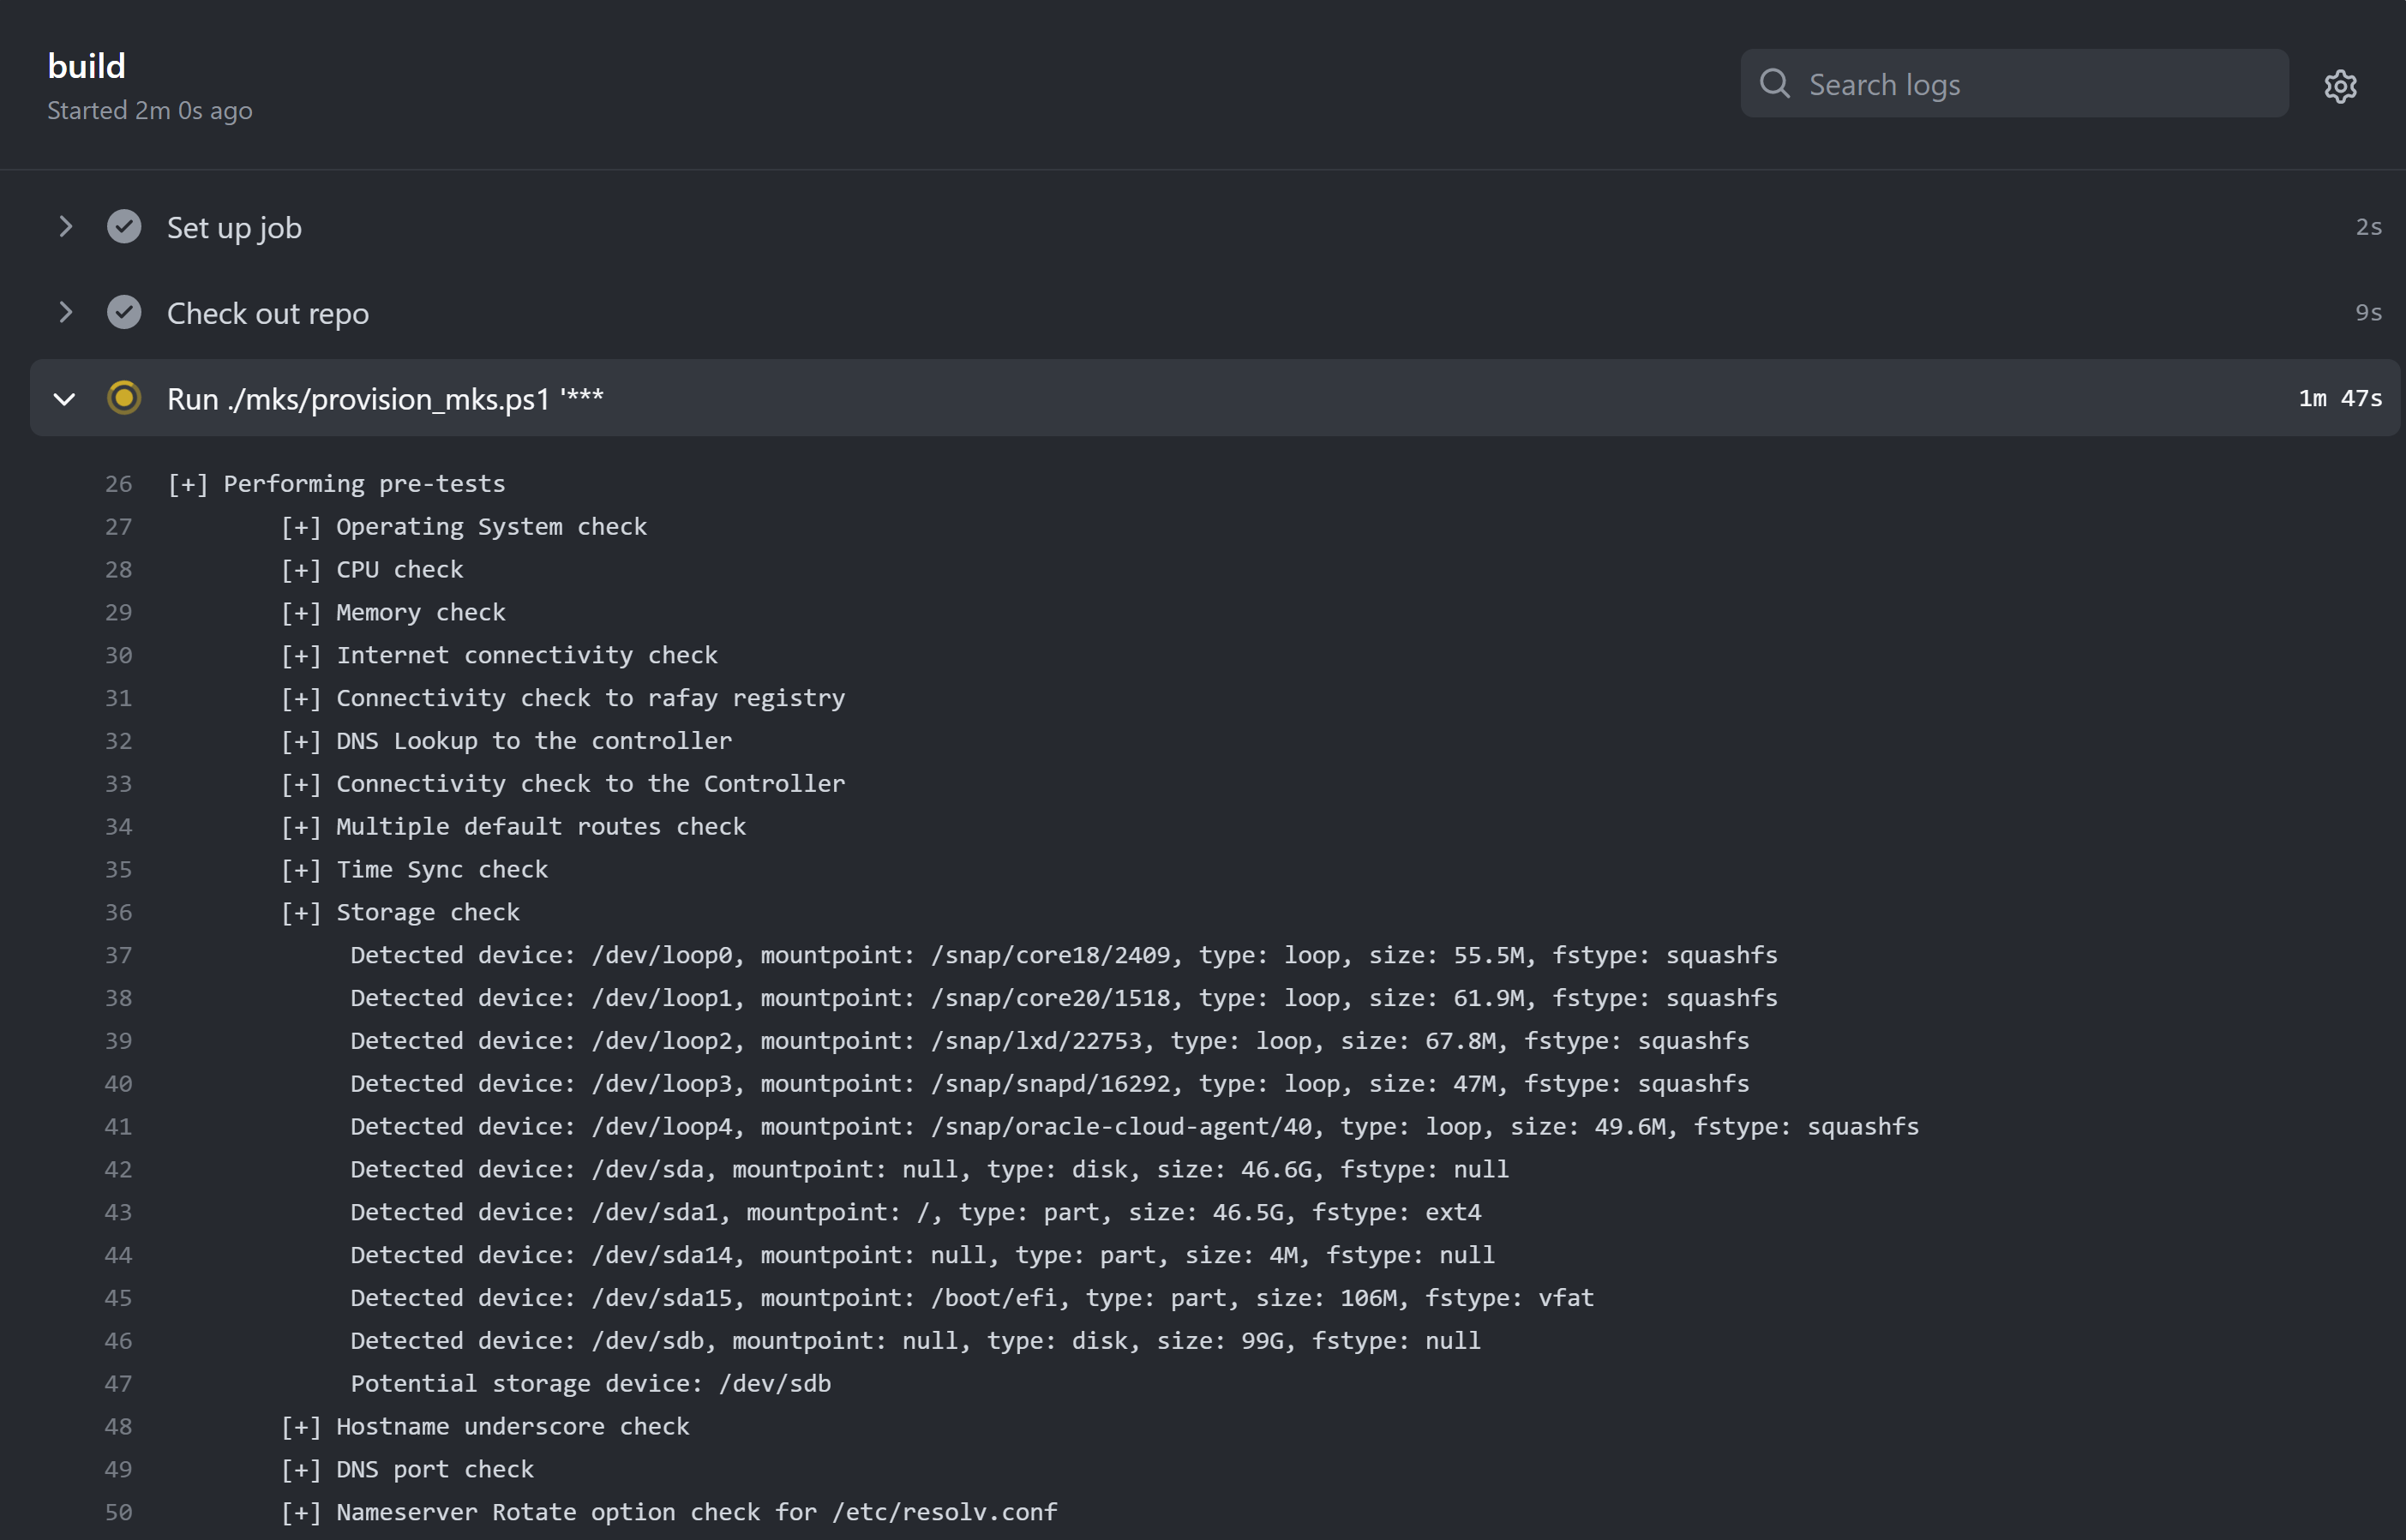
- Click on the running workflow, click "build" to see the workflow output
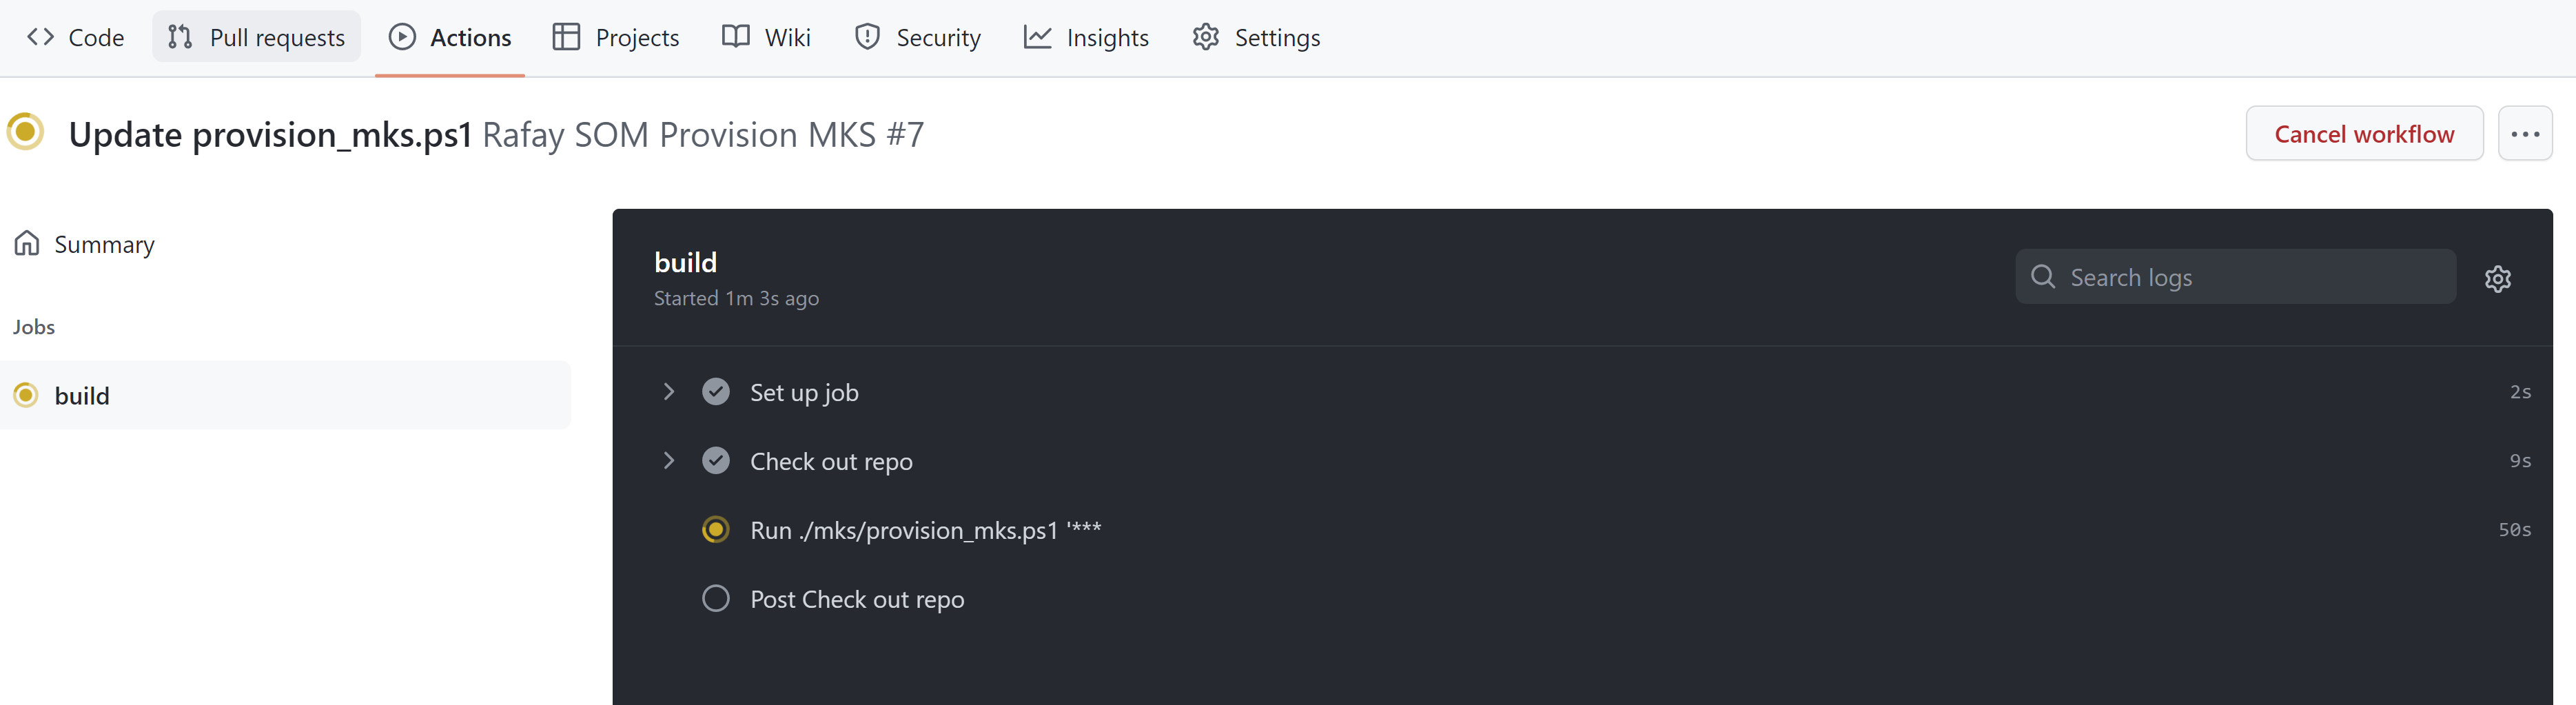
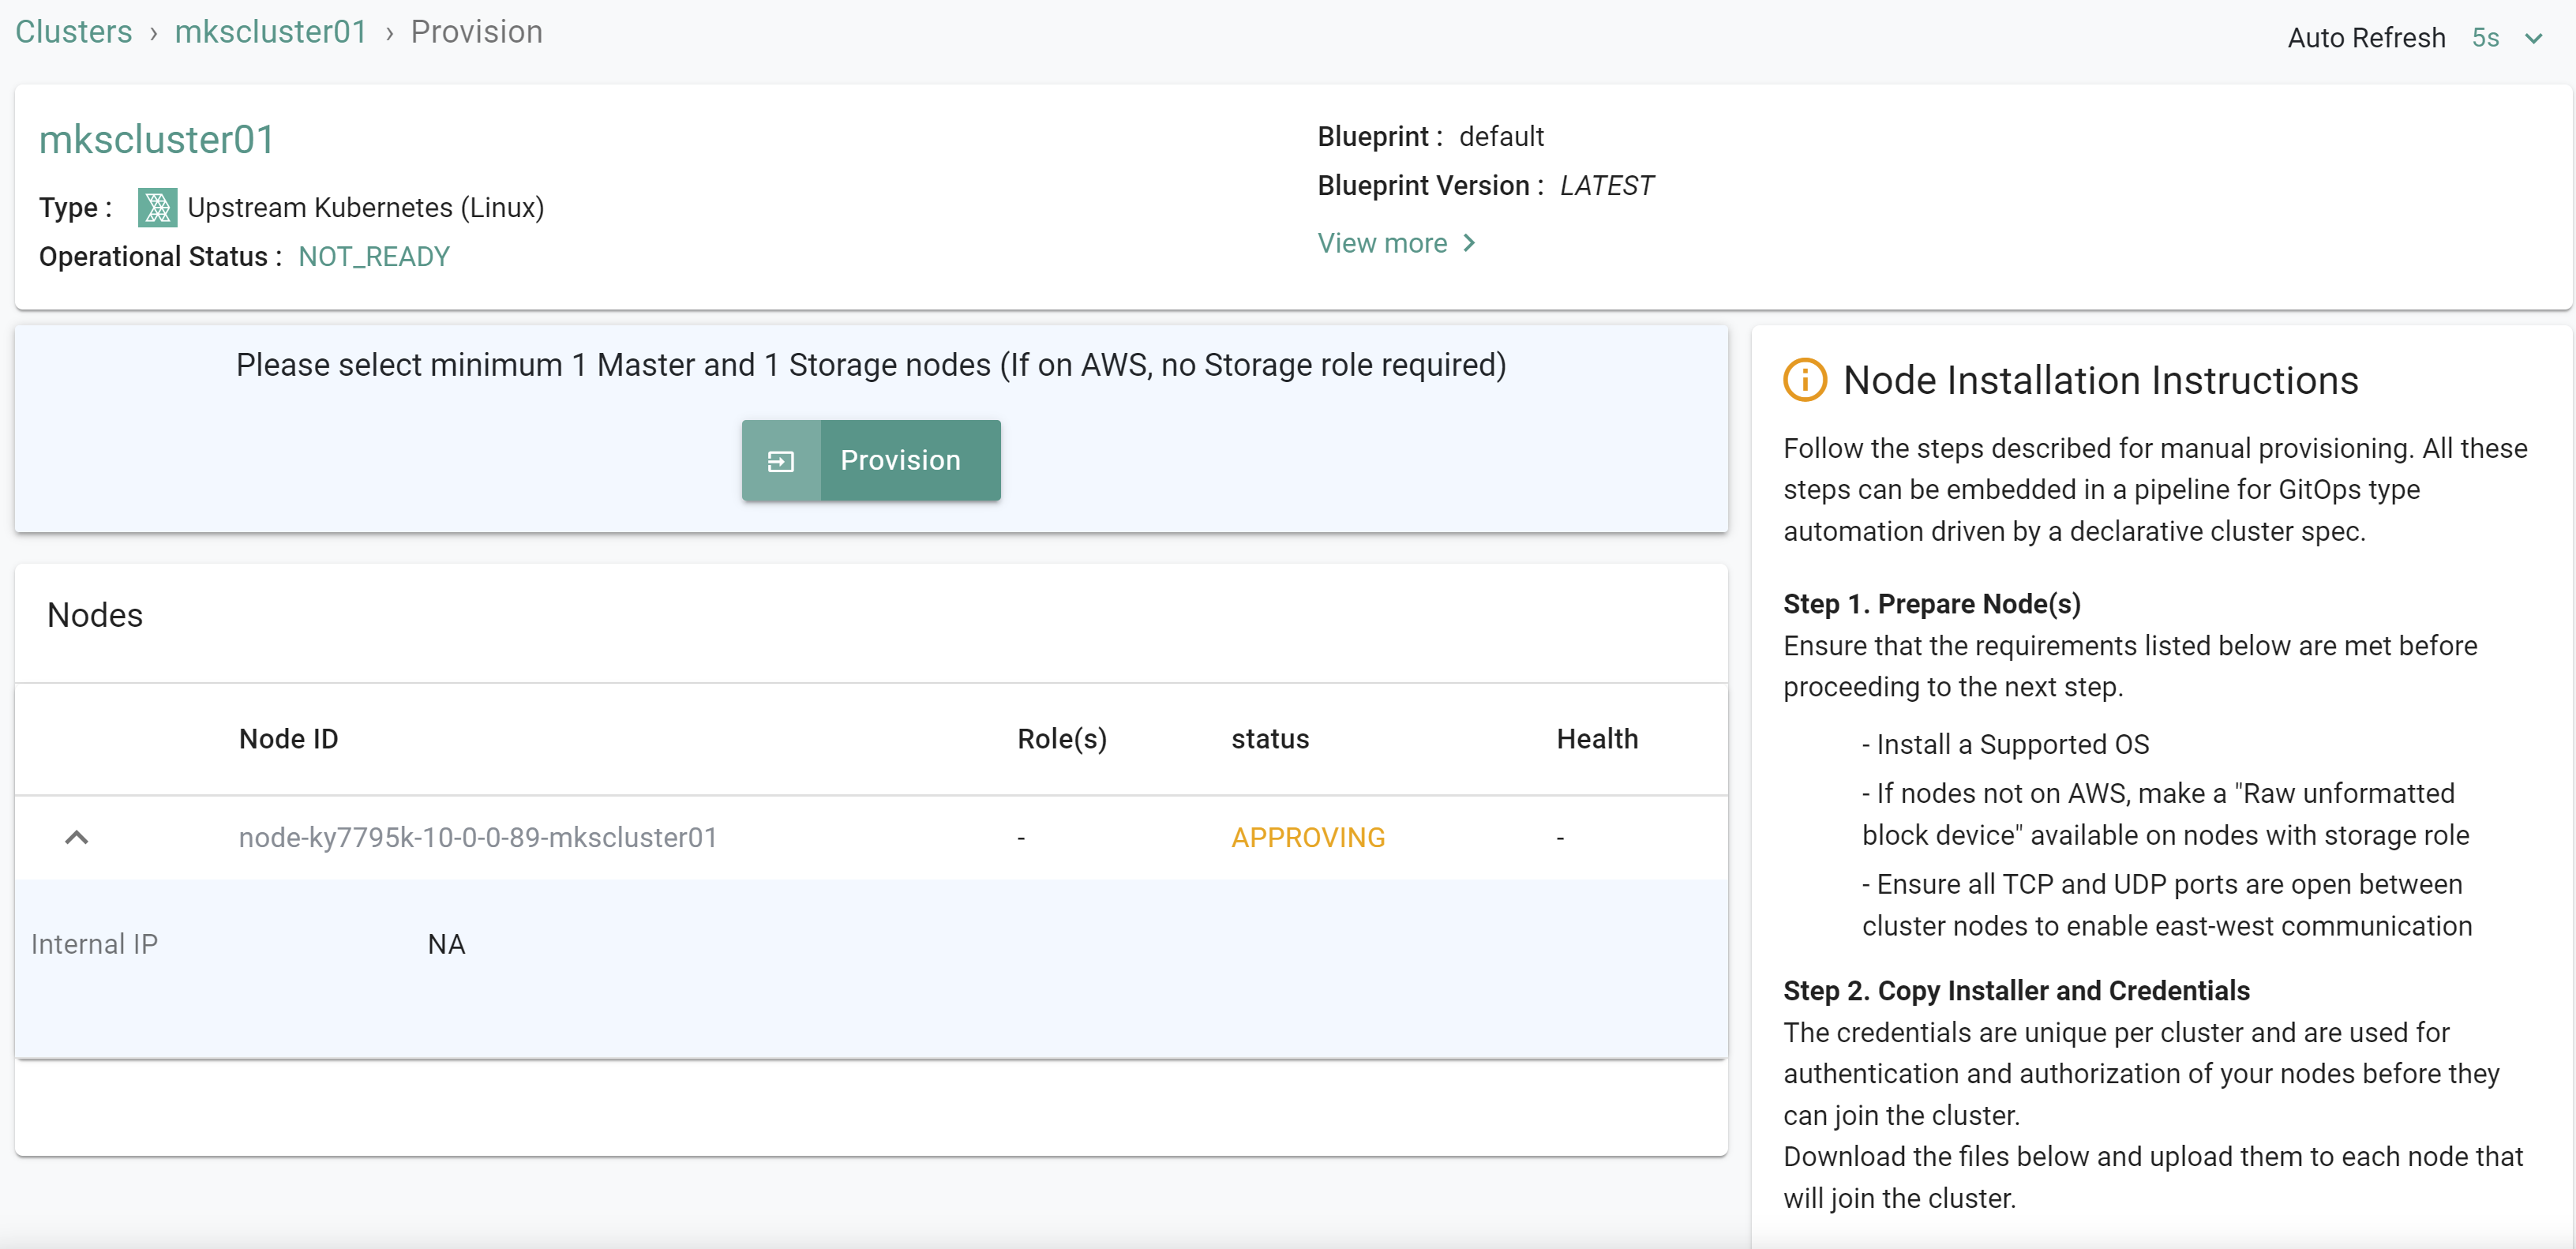
- The workflow will take roughly 30 minutes to provision all resources. You can monitor the workflow job output and the Rafay console to see the resources being provisioned.
Recap
As of this step, the automation has created a new project in your organization along with custom groups and users. It has also imported an upstream cluster with a custom cluster blueprint that contains a custom PSP OPA policy. The needed resources to backup and restore from an Amazon S3 bucket have been created. You can manually execute a backup job to begin backing up to the S3 bucket.