Part 2: Blueprint
What Will You Do
In this part of the self-paced exercise, you will create a custom cluster blueprint with the Secret Store CSI Driver managed add-on and apply the blueprint to the EKS cluster.
Step 1: Create Blueprint
In this step, you will create a custom cluster blueprint with the Secret Store CSI Driver managed add-on.
- Navigate to the "defaultproject" project in your Org
- Select Infrastructure -> Blueprint
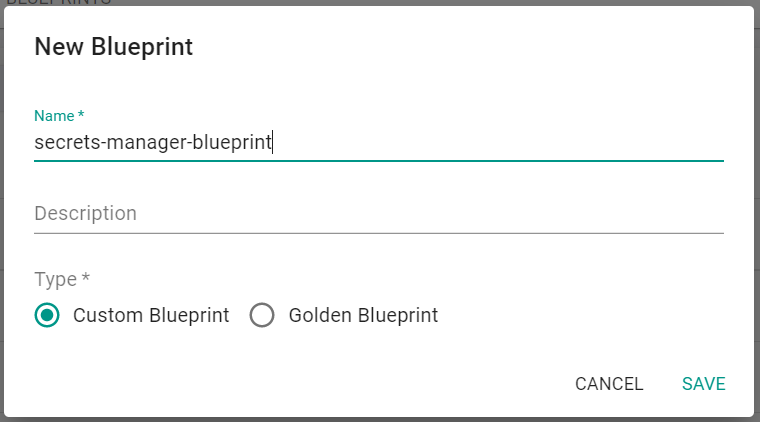
- Click "New Blueprint"
- Provide a name for the blueprint
- Select "Custom Blueprint"
- Click "Save"
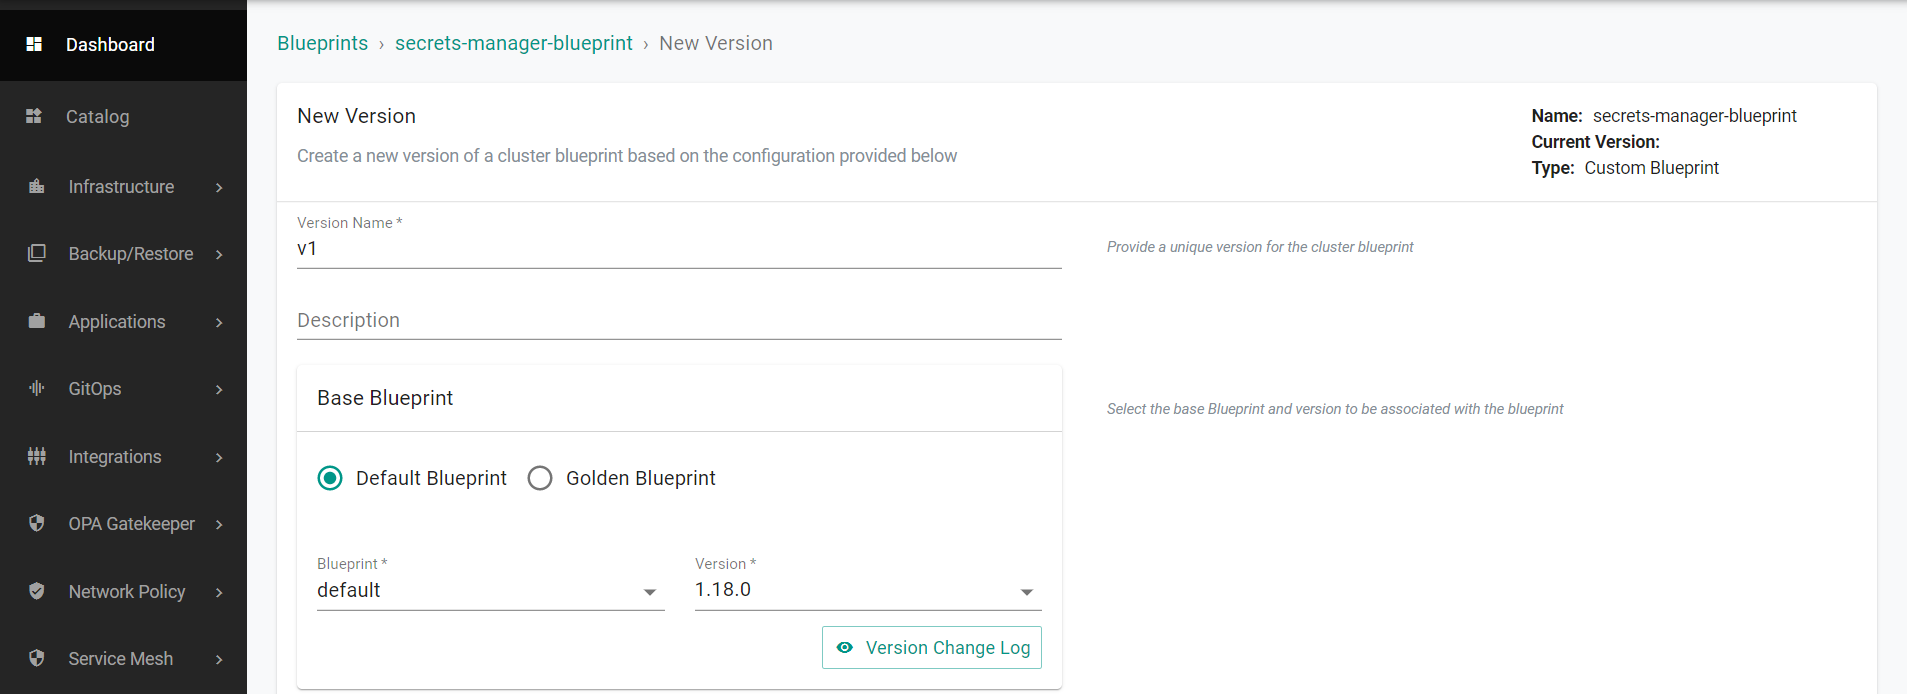
Next, you will create a version for the blueprint.
- Provide a "Version Name" for the blueprint version
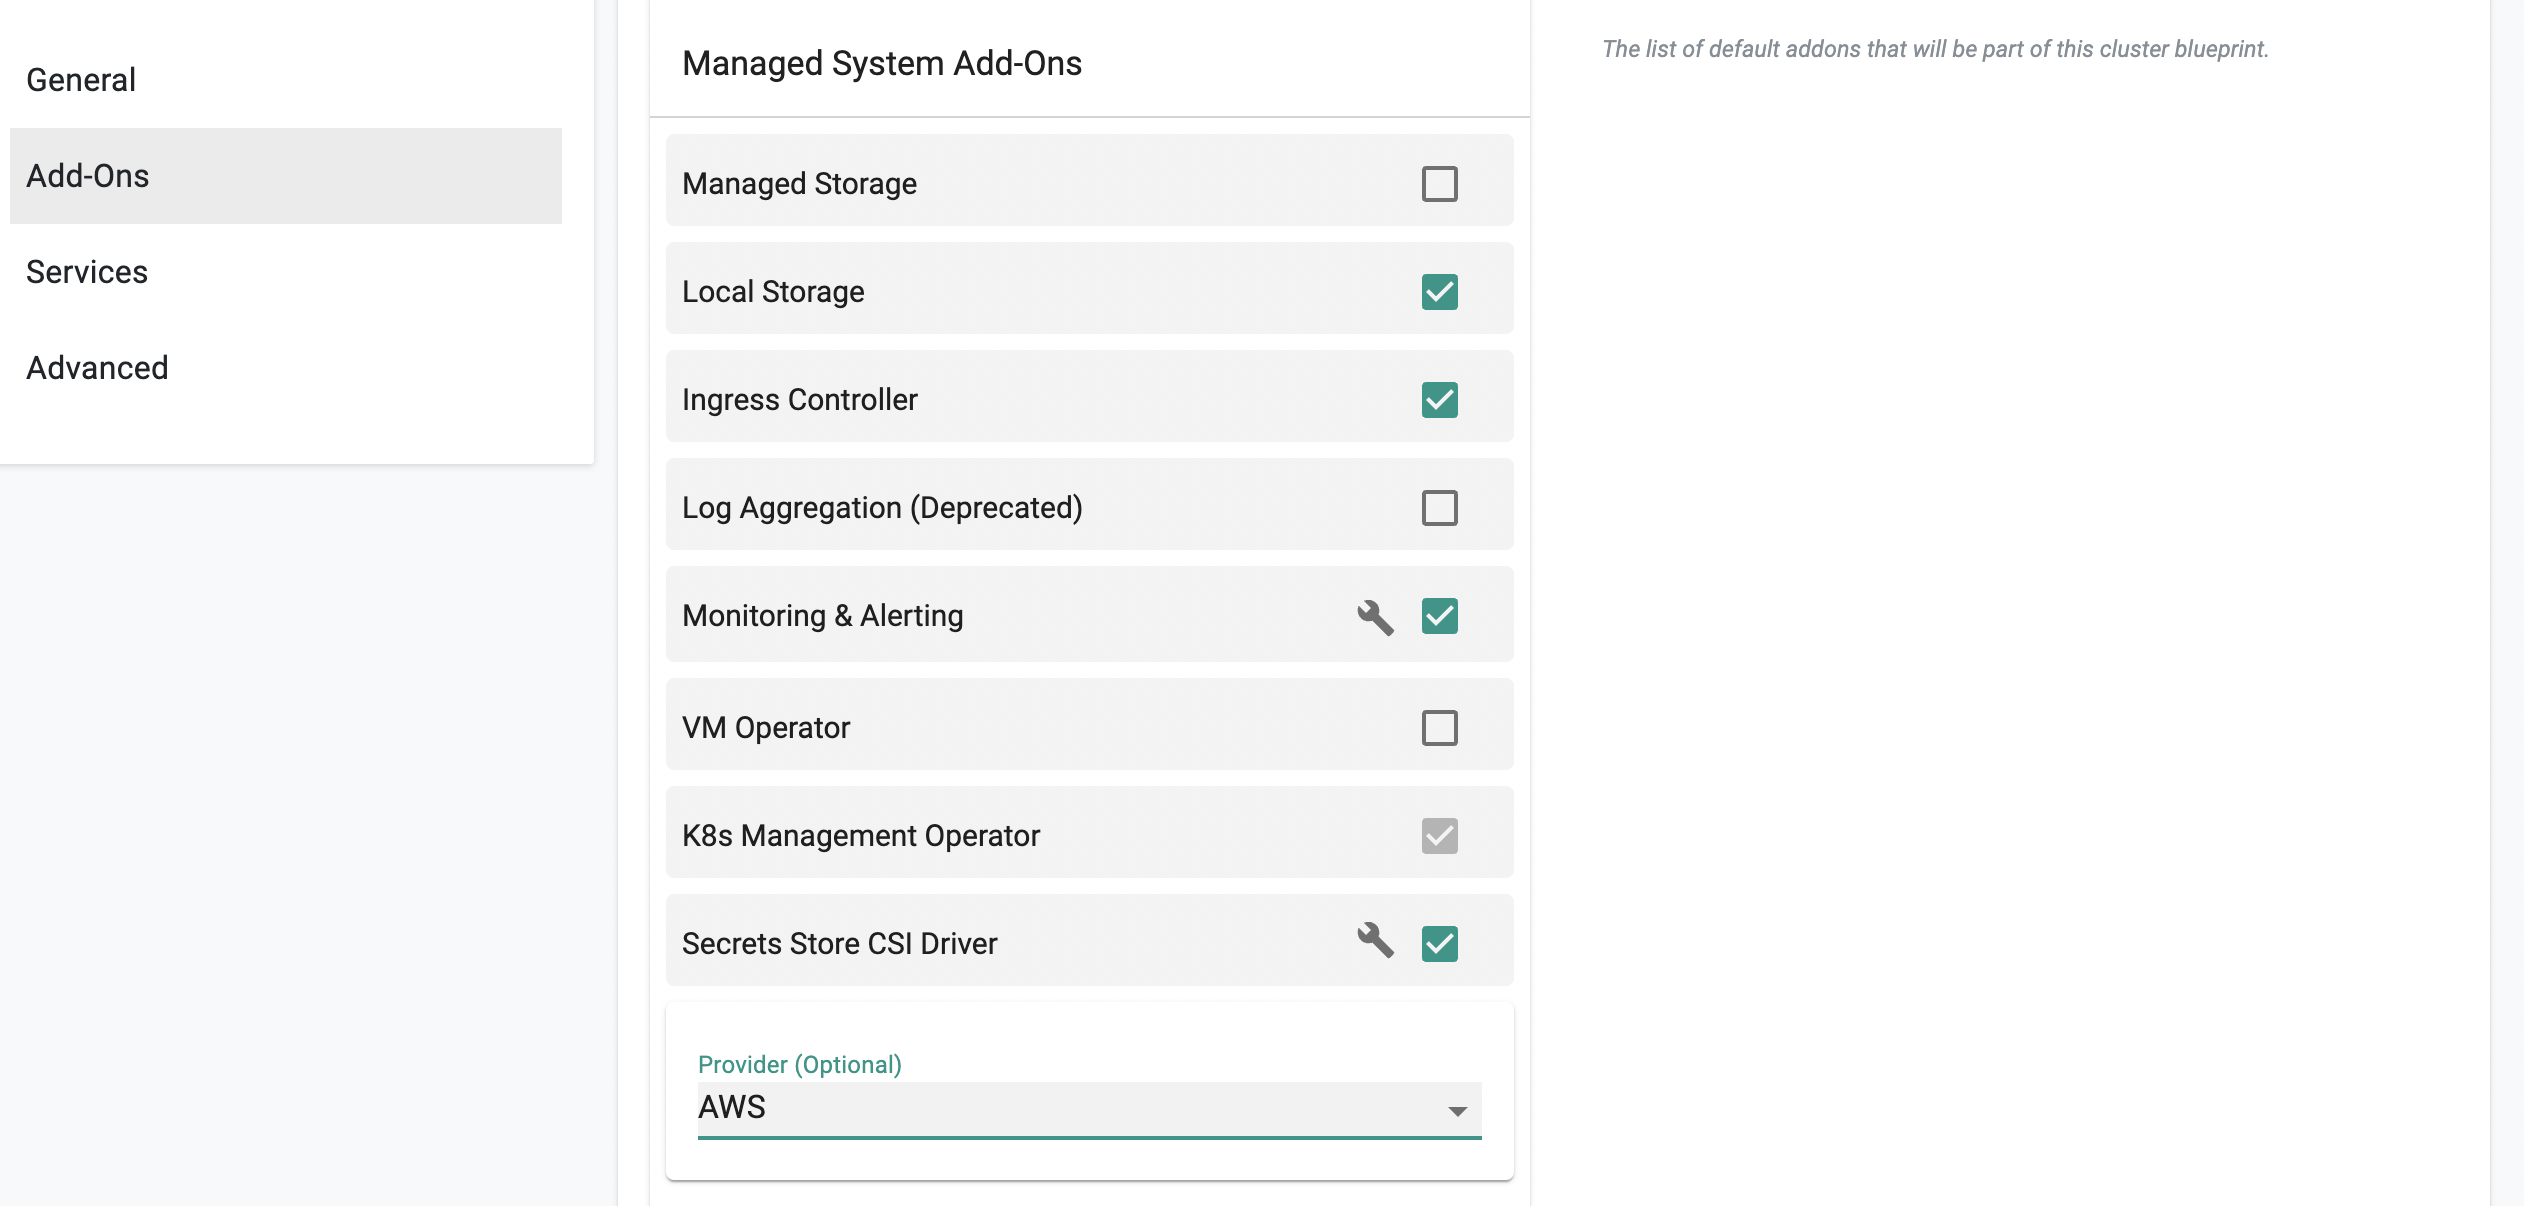
- Scroll down to the "Managed System Add-Ons"
- Check Secrets Store CSI Driver
- In the Provider dropdown select AWS.
- Click "Save Changes"
You will then see the created blueprint with version.

Step 2: Apply Blueprint
In this step, you will apply the newly created custom cluster blueprint to the previously provisioned EKS cluster. The blueprint contains the Secret Store CSI Driver managed add-on.
- Navigate to the "defaultproject" project in your Org
- Select Infrastructure -> Clusters
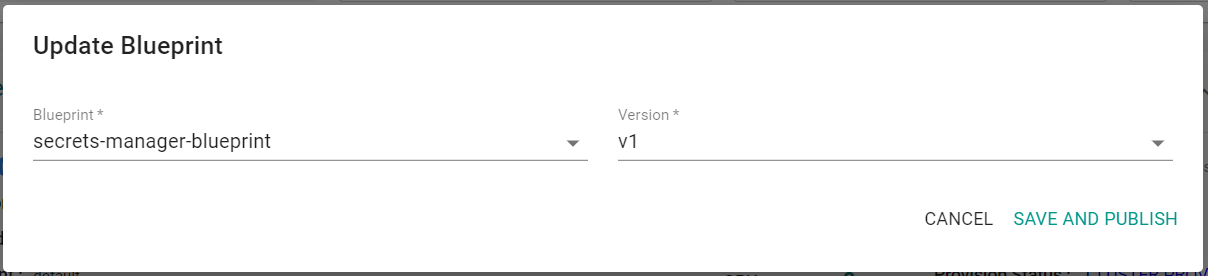
- Click the gear icon on the cluster panel and select "Update Blueprint"
- Select the previously created blueprint and version
- Click "Save and Publish"
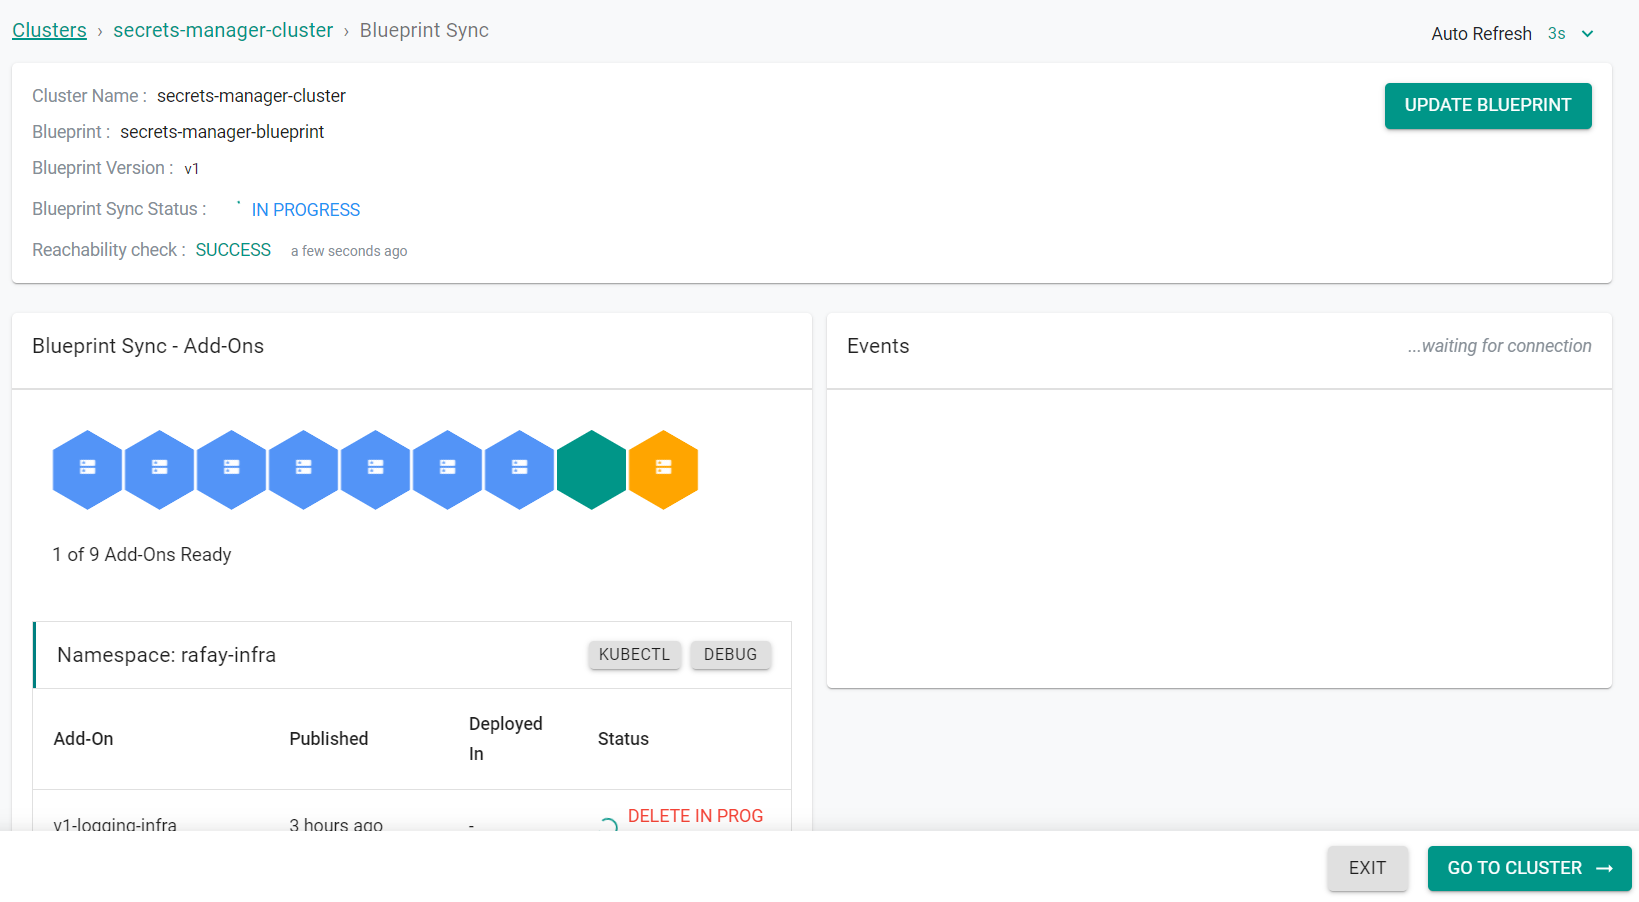
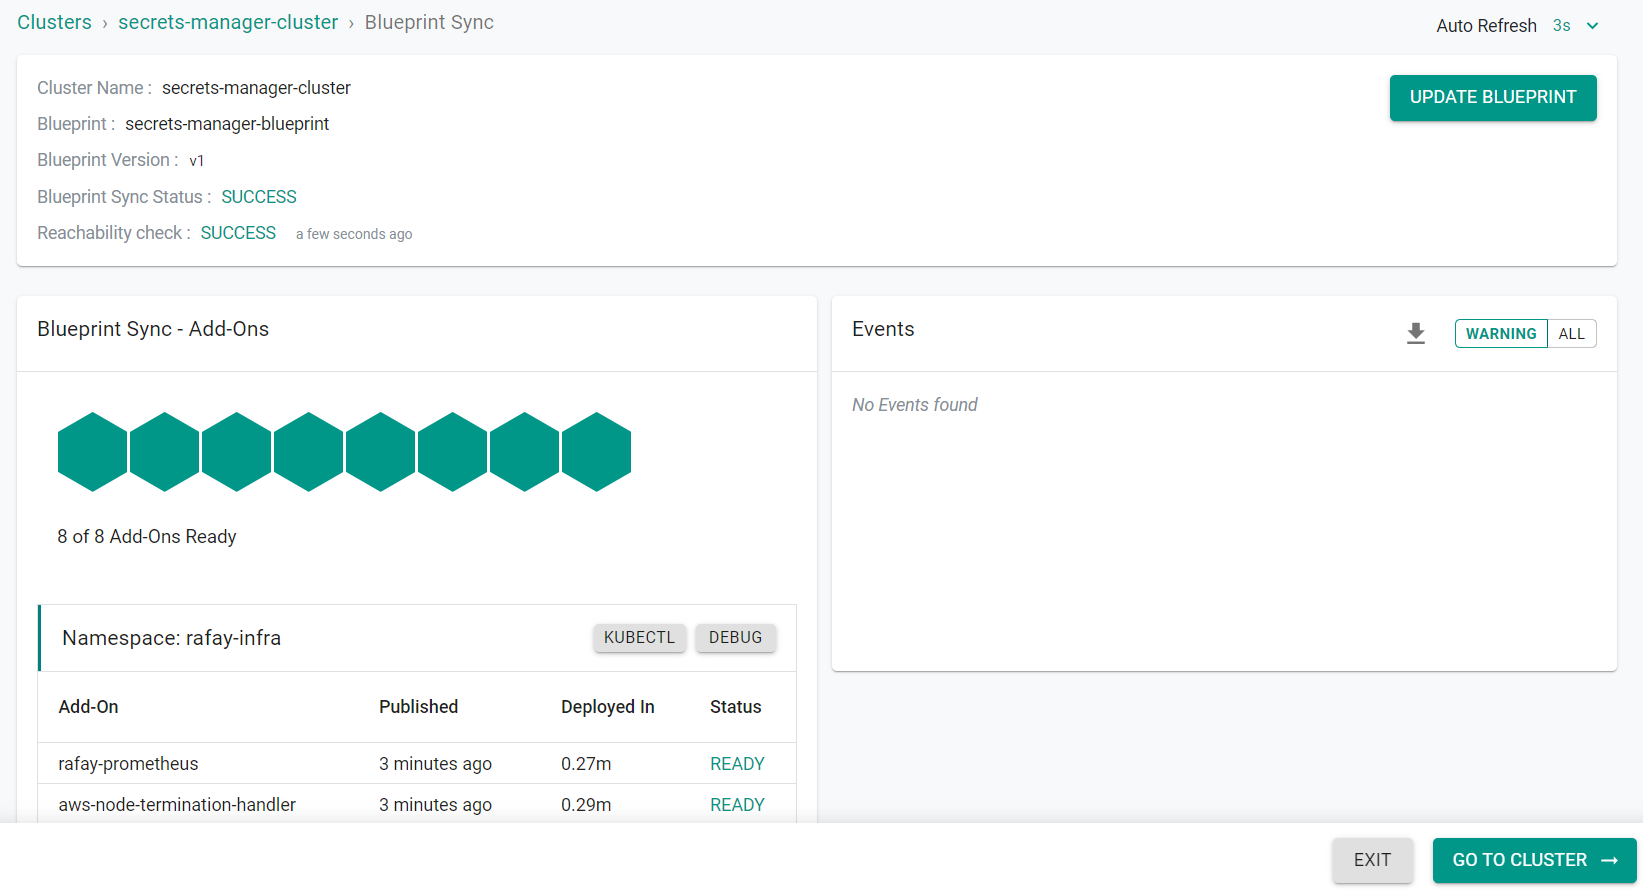
You will see the new blueprint being applied to the cluster
Step 3: Create AWS Secrets Manager Store
In this step, you will create secrets in AWS Secrets Manager that will be used by our sample workload in a later step.
- Login to the AWS console
- Select the same region your cluster is in.
- Navigate to "AWS Secrets Manager"
- Select "Store a new secret"
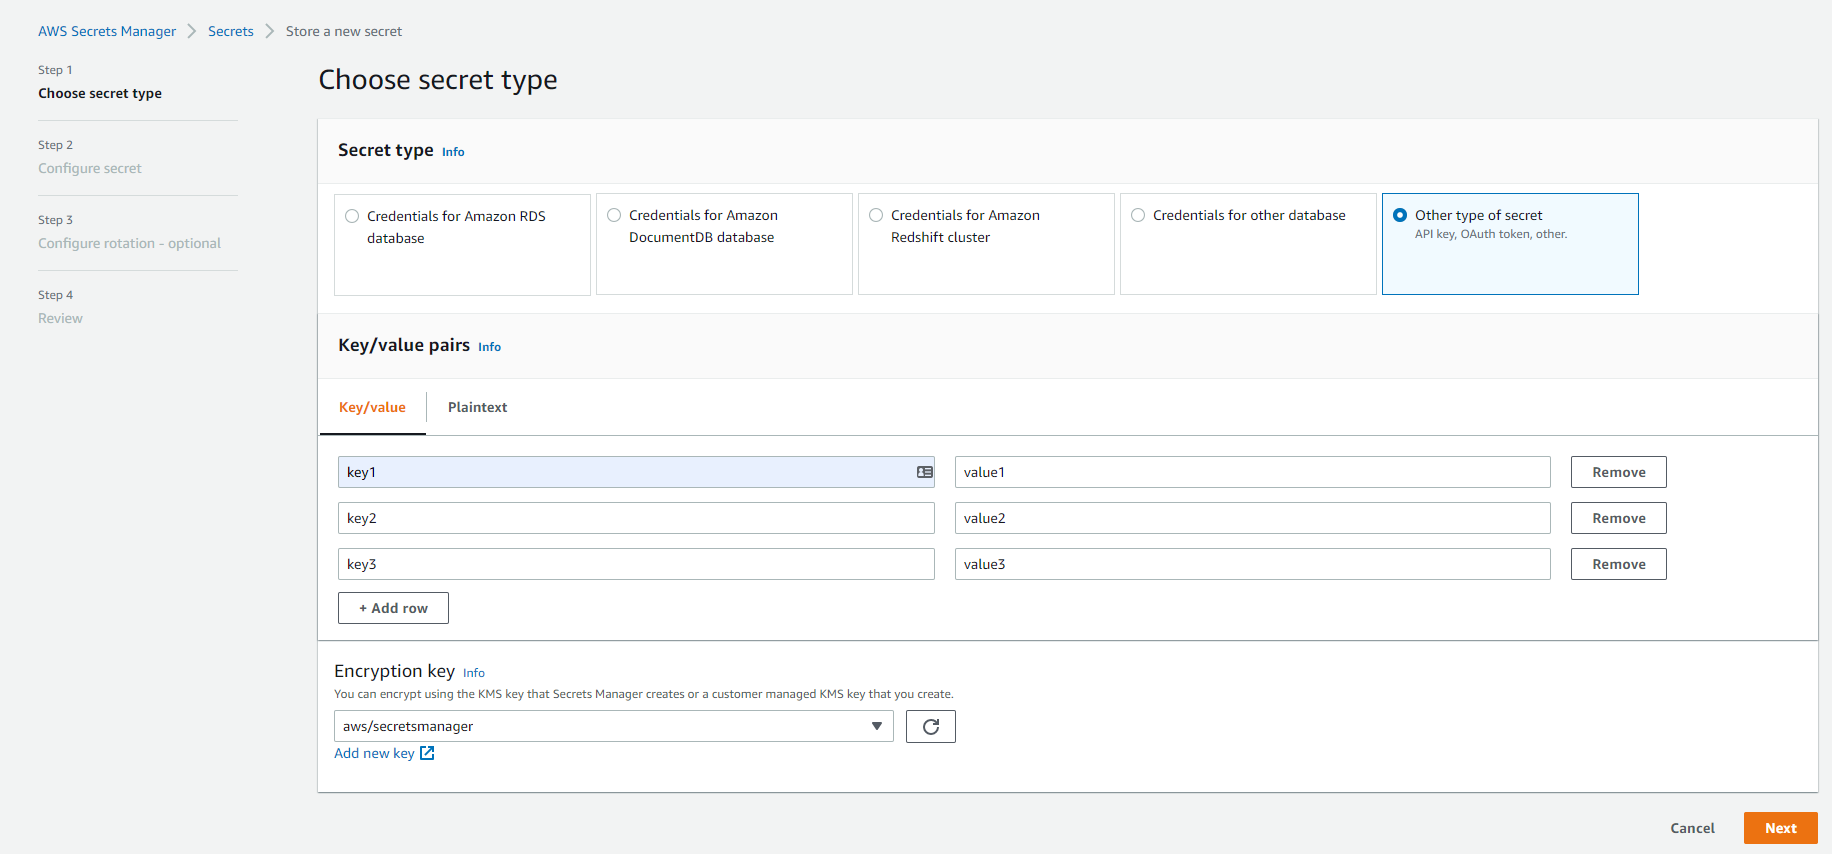
- Select "Other type of secret"
- Enter in three (3) key/value pairs. Avoid using any hyphens or other symbols.
- Click "Next"
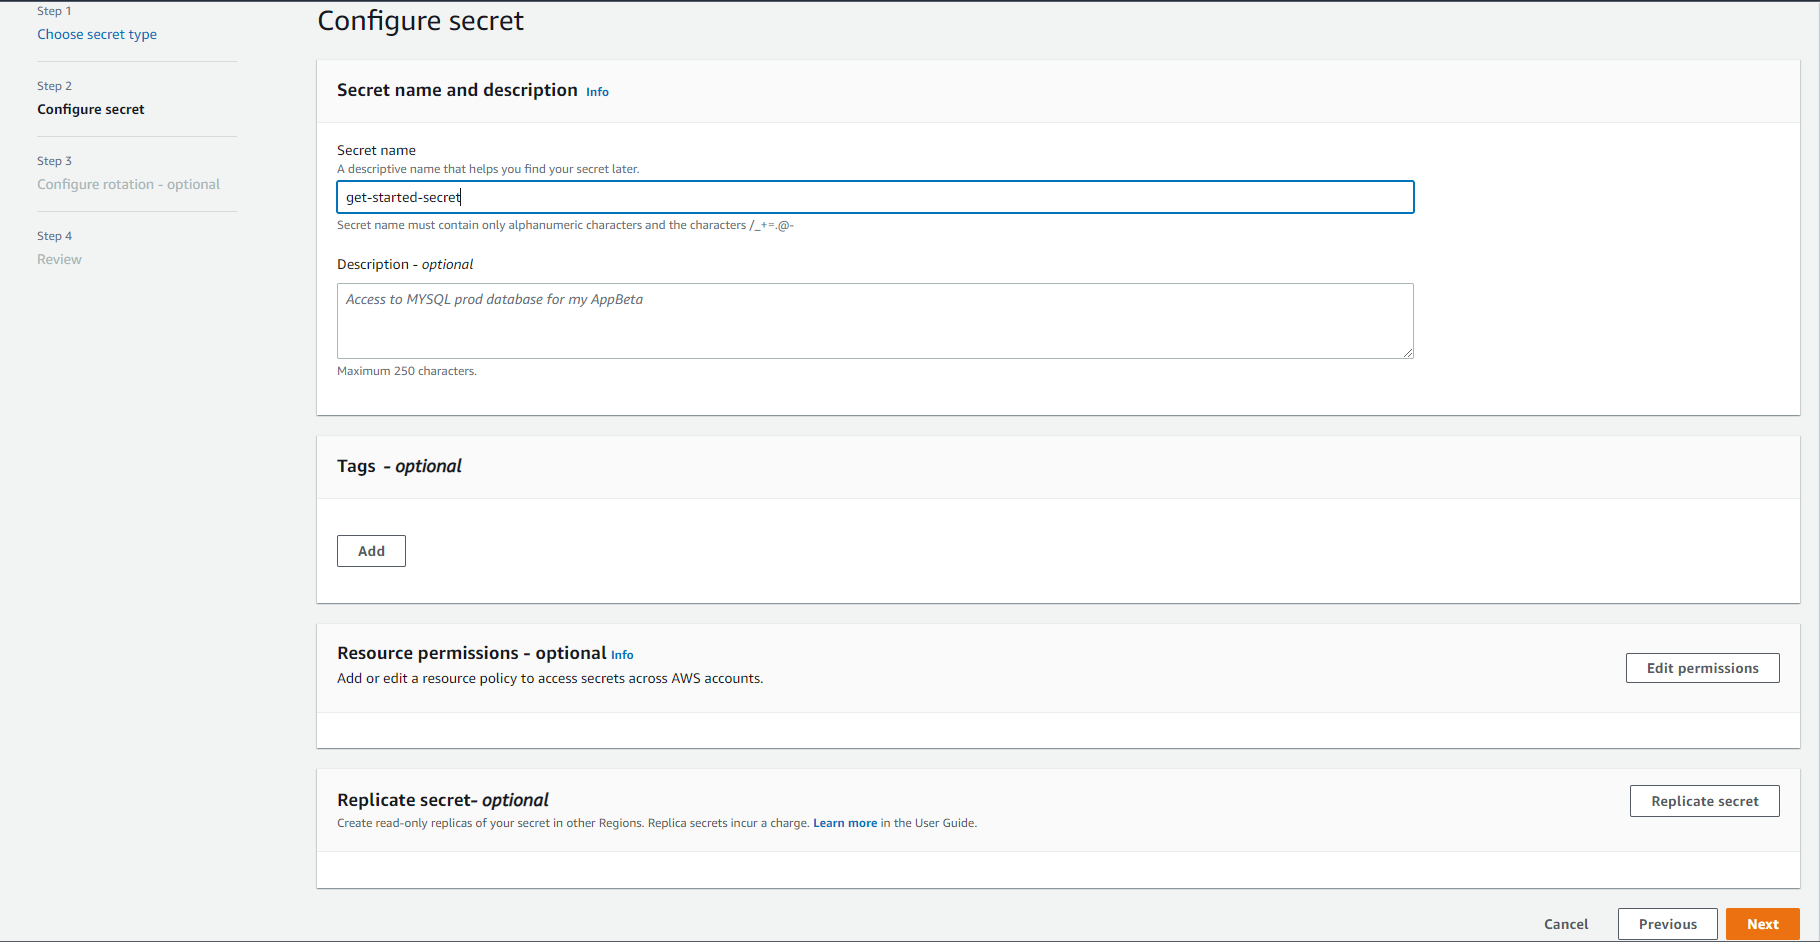
- Enter a "Secret Name"
- Click "Next"
- Click "Next" on the optional "Step 3" page
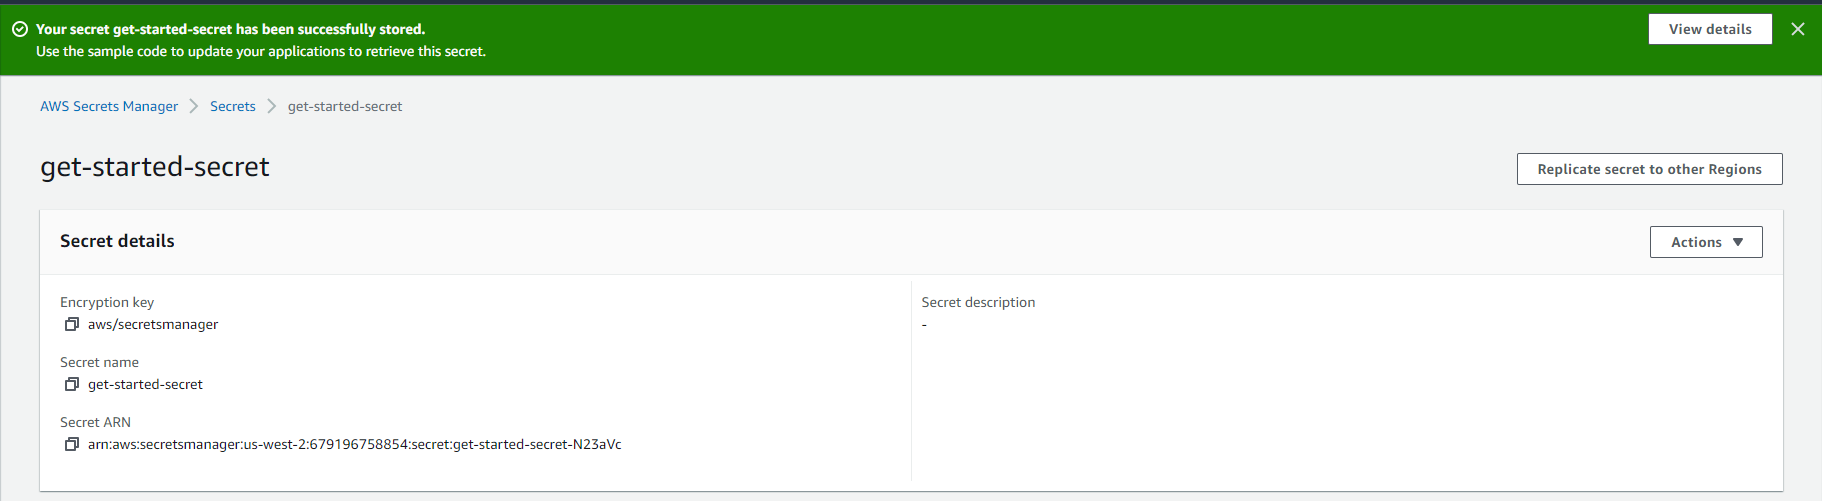
- Review the configuration and click "Store"
- Once the secrets are created, open the secret
- Copy the "Secret ARN" for later use. Validate that the region in the arn matches the region your EKS cluster is in.
Step 4: Create Namespace
In this step, you will create a namespace for the workload and the IRSA. The AWS Secrets Manager secrets are only accesscible to the specific namespace where the IRSA is created.
- Navigate to the "defaultproject" project in your Org
- Select Infrastructure -> Namespaces
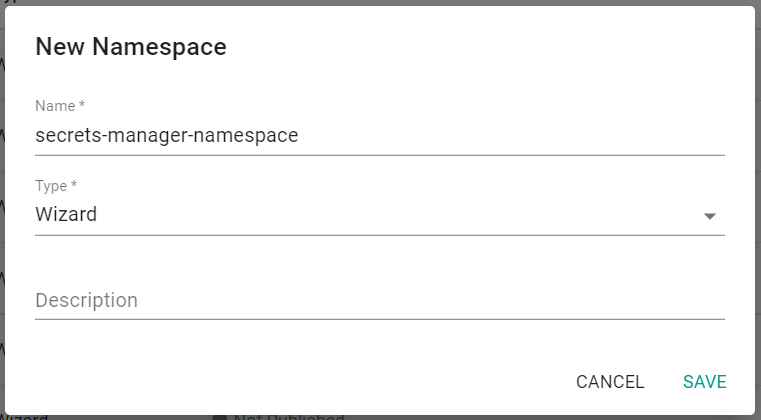
- Click "New Namespace"
- Enter a name for the namespace
- Select "Wizard" for the type
- Click "Save"
- Click "Save & Go to Placement"
- Select the EKS cluster
- Click "Save & Go to Publish"
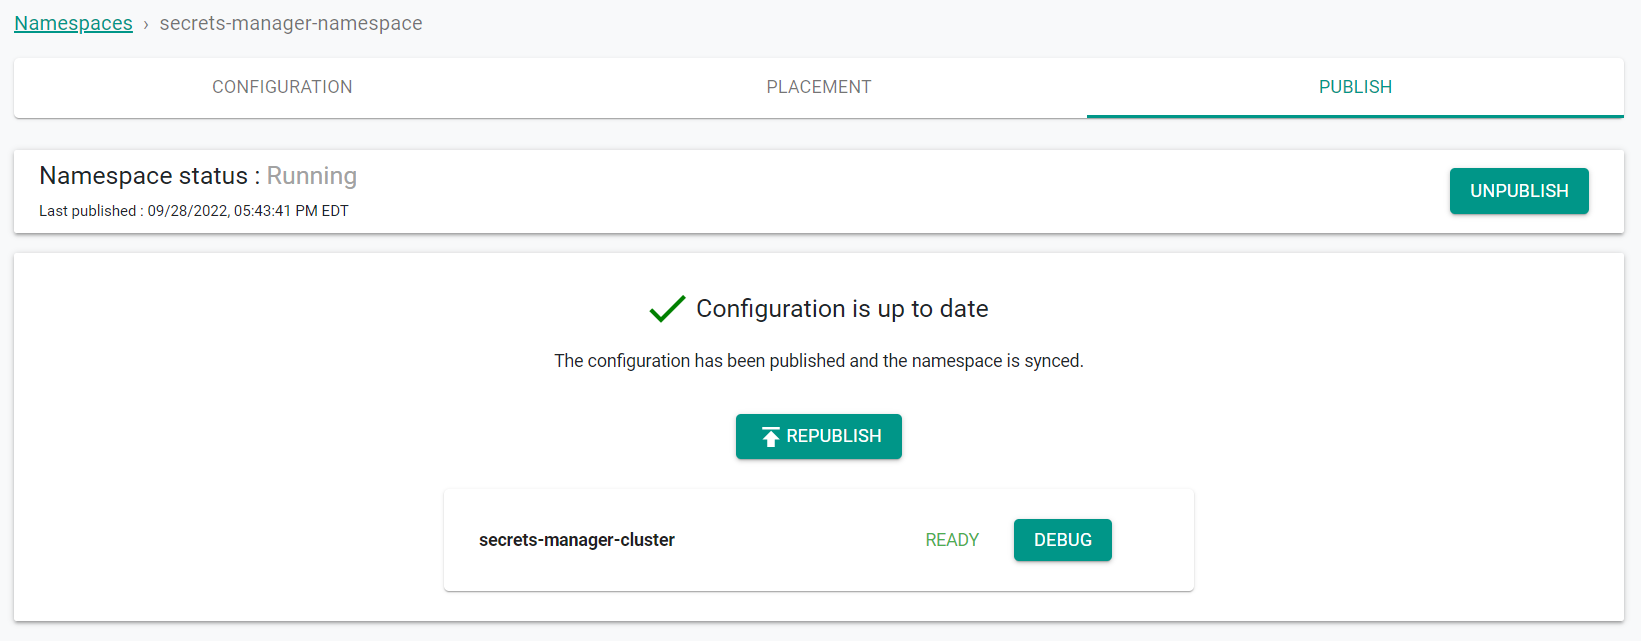
- Click "Publish"
Step 5: Create IRSA
In this step, you will create an IRSA so that the workload pods on the EKS cluster will have the necessary permissions to access AWS Secrets Manager. In AWS, it is a recommended best practice to use IAM roles for service accounts (IRSA) to access AWS services outside the EKS cluster because of the following benefits:
| Benefit | Description |
|---|---|
| Least Privilege | No longer need to provide extended permissions to the node IAM role so that pods on that node can call AWS APIs. You can scope IAM permissions to a service account, and only pods that use that service account have access to those permissions. This feature also eliminates the need for third-party solutions such as kiam or kube2iam. |
| Credential Isolation | A container can only retrieve credentials for the IAM role that is associated with the service account to which it belongs. A container never has access to credentials that are intended for another container that belongs to another pod. |
| Auditability | Access and event logging is available through CloudTrail to help ensure retrospective auditing. |
You will now create the IRSA on the EKS cluster.
- Navigate to the "defaultproject" project in your Org
- Select Infrastructure -> Clusters
- Click the EKS cluster name
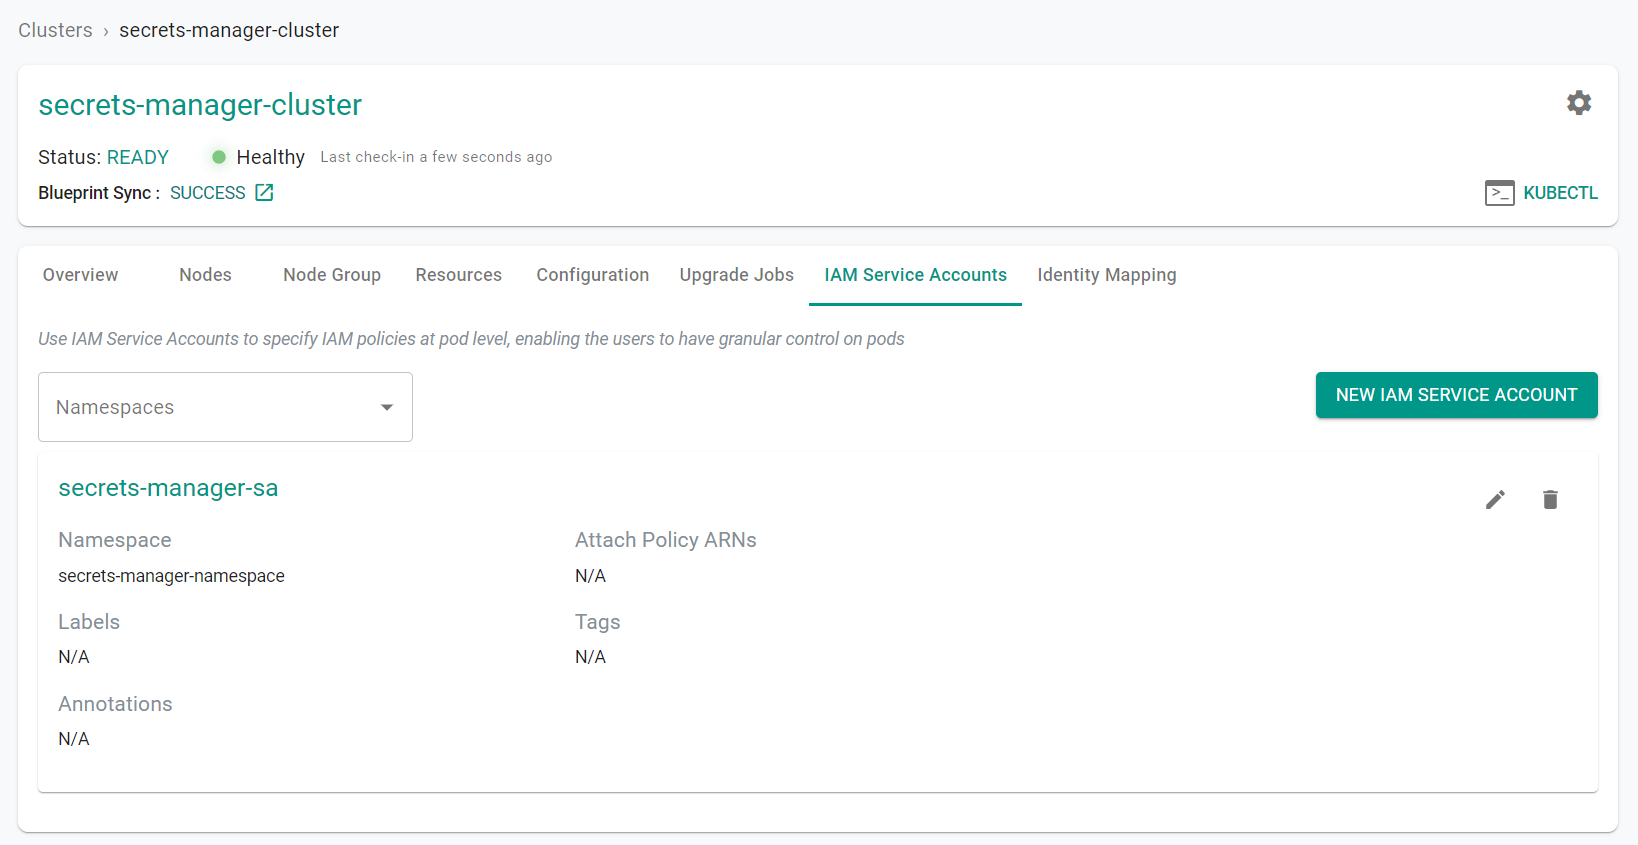
- Click "IAM Service Accounts" tab
- Select "New IAM Service Account"
- Enter a name for the service account
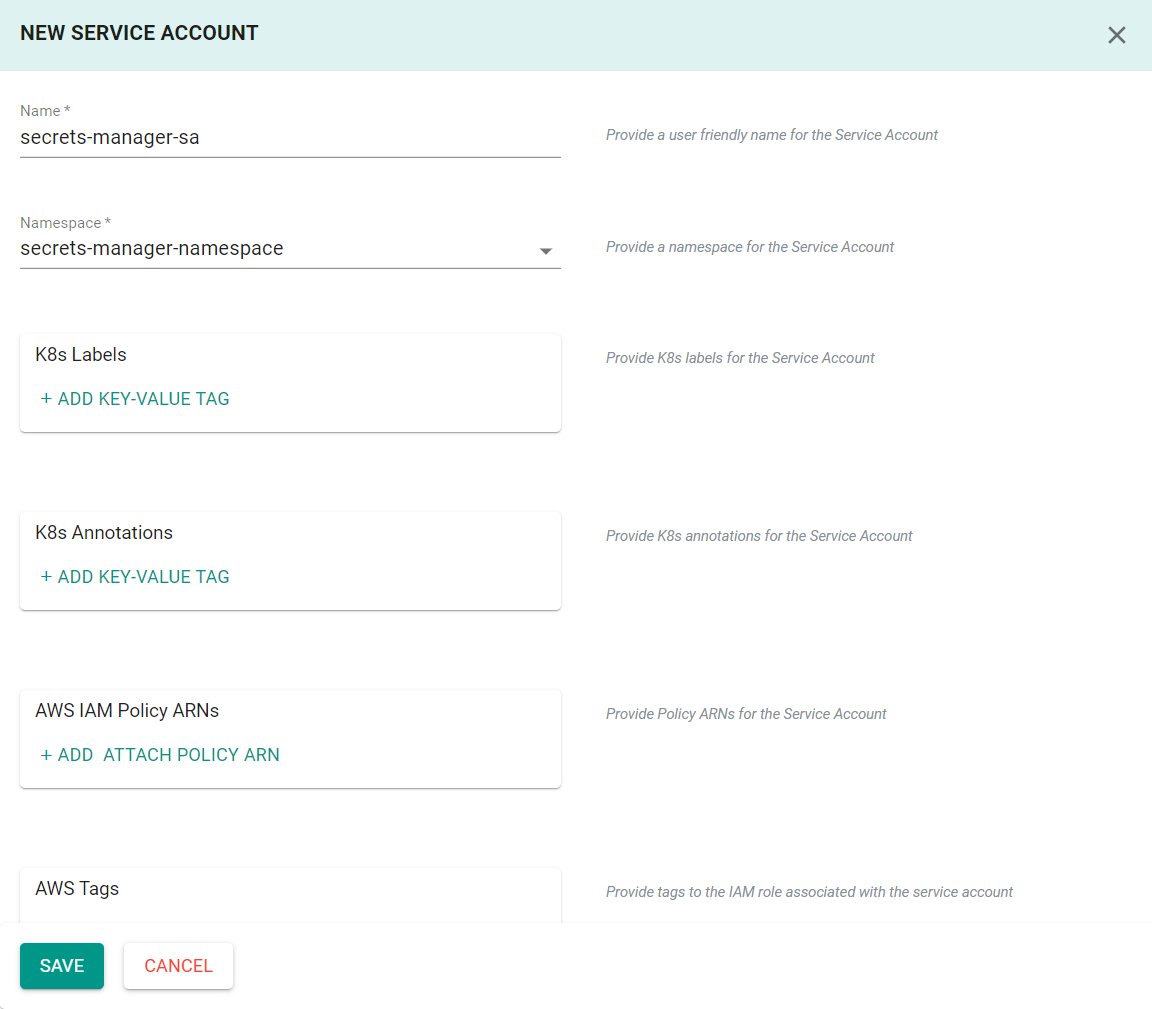
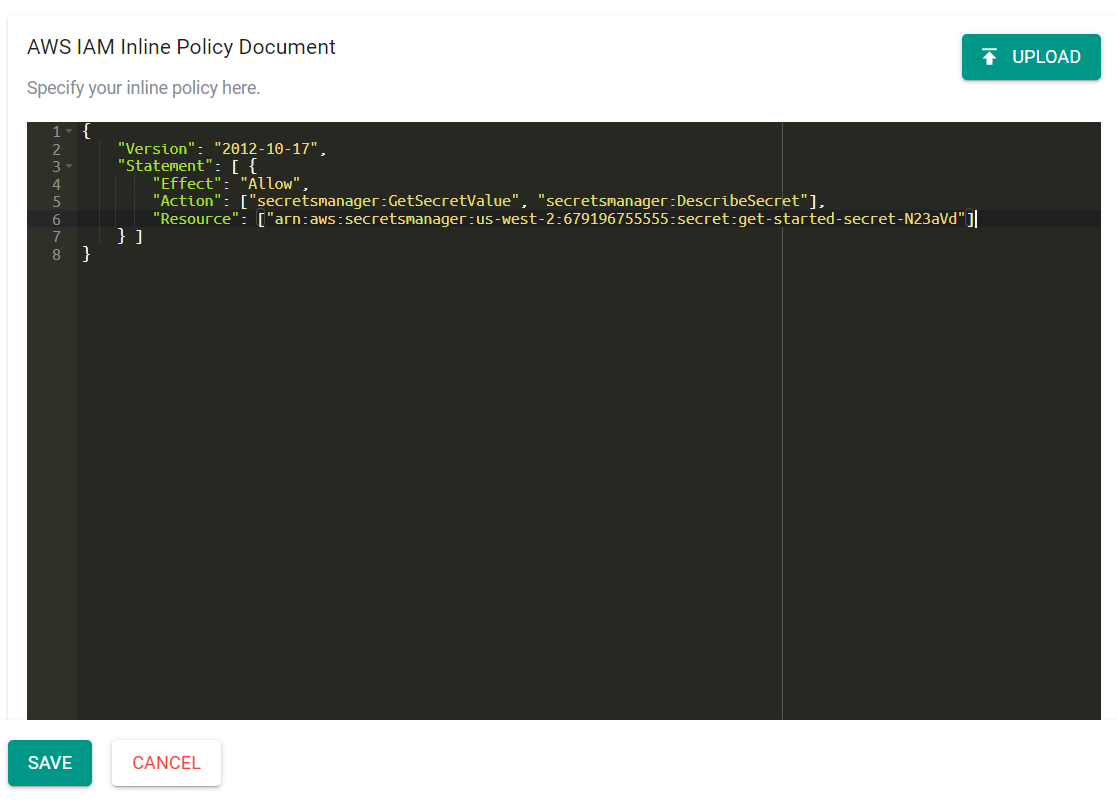
- Enter the following IAM policy into the "AWS IAM Inline Policy Document" section. Be sure to update the resource ARN with the ARN of the previously created Secrets Manager store.
{
    "Version": "2012-10-17",
    "Statement": [ {
        "Effect": "Allow",
        "Action": ["secretsmanager:GetSecretValue", "secretsmanager:DescribeSecret"],
        "Resource": ["arn:aws:secretsmanager:us-west-2:679196755555:secret:get-started-secret-N23aVd"]
    } ]
}
- Click "Save"
It may take a few minutes for the service account to be created and display in the UI.
Step 6: Create Secret Provider Class
In this step, you will create a secret provider class. The class is used to specify which secrets can be accessed by the application workload.
In order to use the Secrets Store CSI driver, you have to create a SecretProviderClass custom resource. The SecretProviderClass is a namespaced resource in Secrets Store CSI Driver that is used to provide driver configurations and provider-specific parameters to the CSI driver. It must be in the same namespace as the pod referencing it.
- Navigate to the "defaultproject" project in your Org
- Select Integrations -> Secret Provider Classes
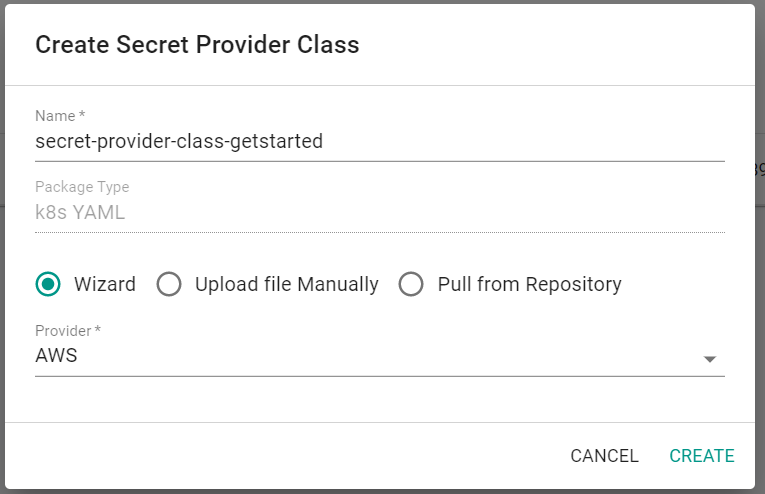
- Click "New Secret Provider Class"
- Enter a name for the secret provider class
- Select "Wizard"
- Select "AWS" for the provider
- Click Create
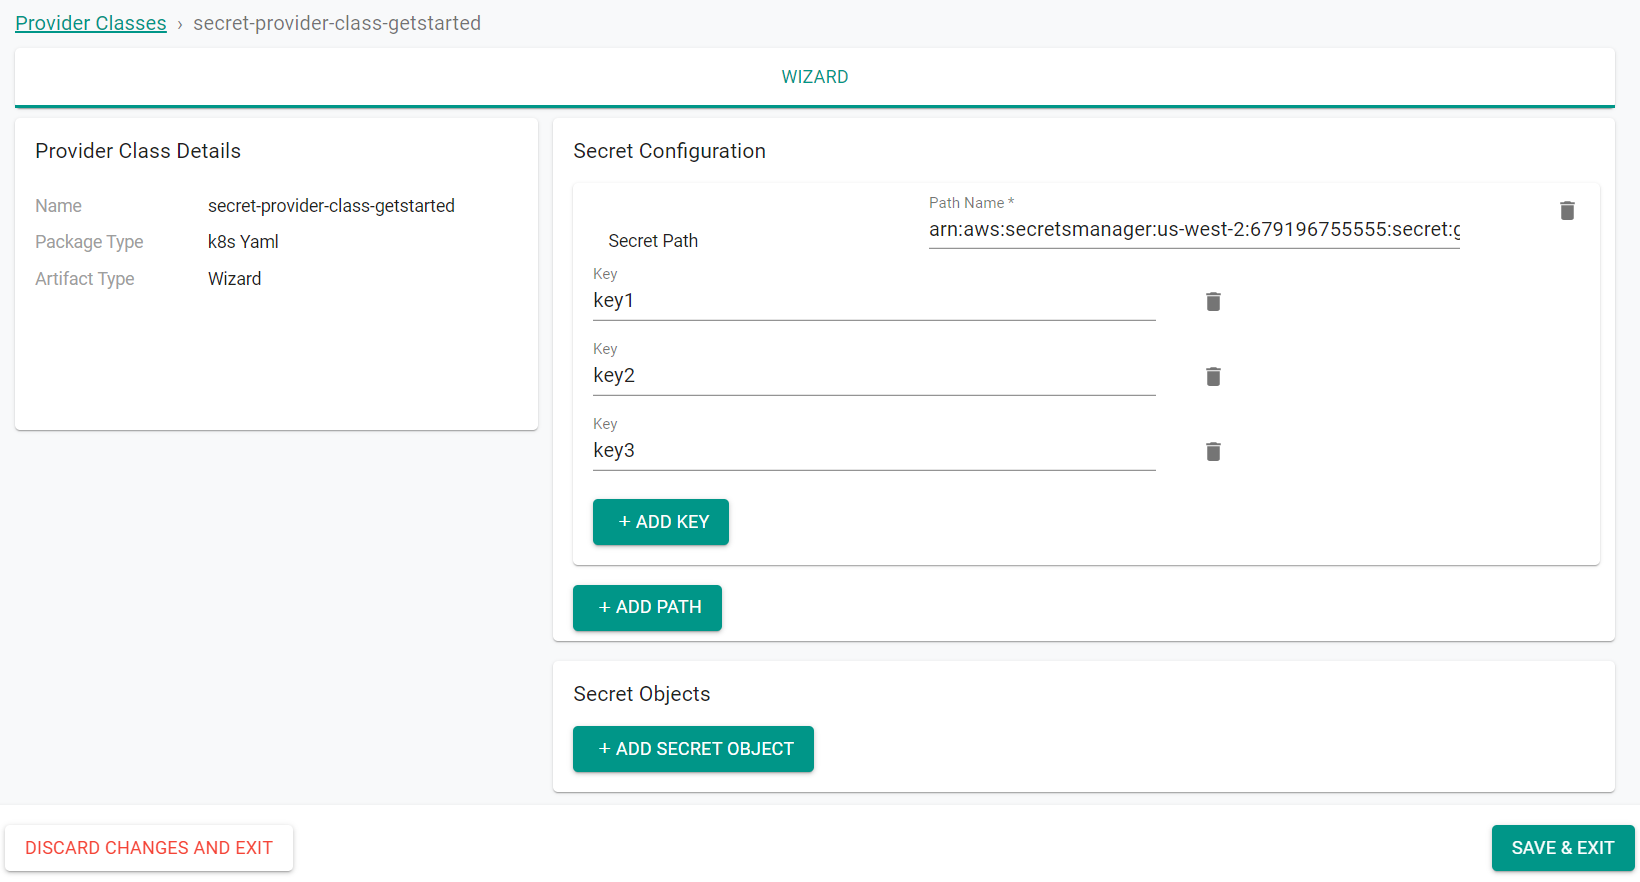
- Once the class is created, click the edit button to edit the class
- Click "Add Path" in the "Secret Configuration" section
- Enter the Secret Manager store ARN from the previous steps into the "Secret Path"
- Click "Add Key"
- Enter the name of the key as stored in the AWS Secrets Manager store
- Repeat to add all keys desired
- Click "Save & Exit"
Note: All keys in the Secrets Manager store are available in a single file. Adding each key individualy creates a seperate file for that key/value pair on the pod.
Recap
Congratulations! At this point, you have successfully created a custom blueprint, IRSA and AWS Secrets Manager store.
Next, you will create a workload within the previously created namespace that will access the secrets using the IRSA and secret provider class.