Part 1: Setup Environment
This is Part 1 of a multi-part, self-paced quick start exercise.
What Will You Do
In part 1, you will setup the environment for use within this excercise. You will:
- Setup RCTL (Optional)
- Create a Namespace
- Create a WordPress workload
Once this part is complete, you will setup the resources needed to perform backup/restore operations.
Step 1: Download RCTL (Optional)
The RCTL CLI allows you to programmatically interact with the controller enabling users to construct sophisticated automation workflows.
- Login into your Org
- Navigate to My Tools to download both the RCTL CLI and the CLI Config file
- Initialize RCTL using the step-by-step instructions
- Ensure you update your OS's Path environment variable for RCTL
Step 2: Create Namesapce
The test workload you will install will need a namespace. Create a namespace for the workload.
- Ensure you are logged into the console
- In your project, navigate to Infrastructure -> Namespaces
- Click on New Namespace
- Provide a name for the namespace
- Select Wizard for Type
- Click Save

- Click Save & Go To Placement
- Select one of your clusters for placement
- Click Save & Go To Publish
- Click Publish
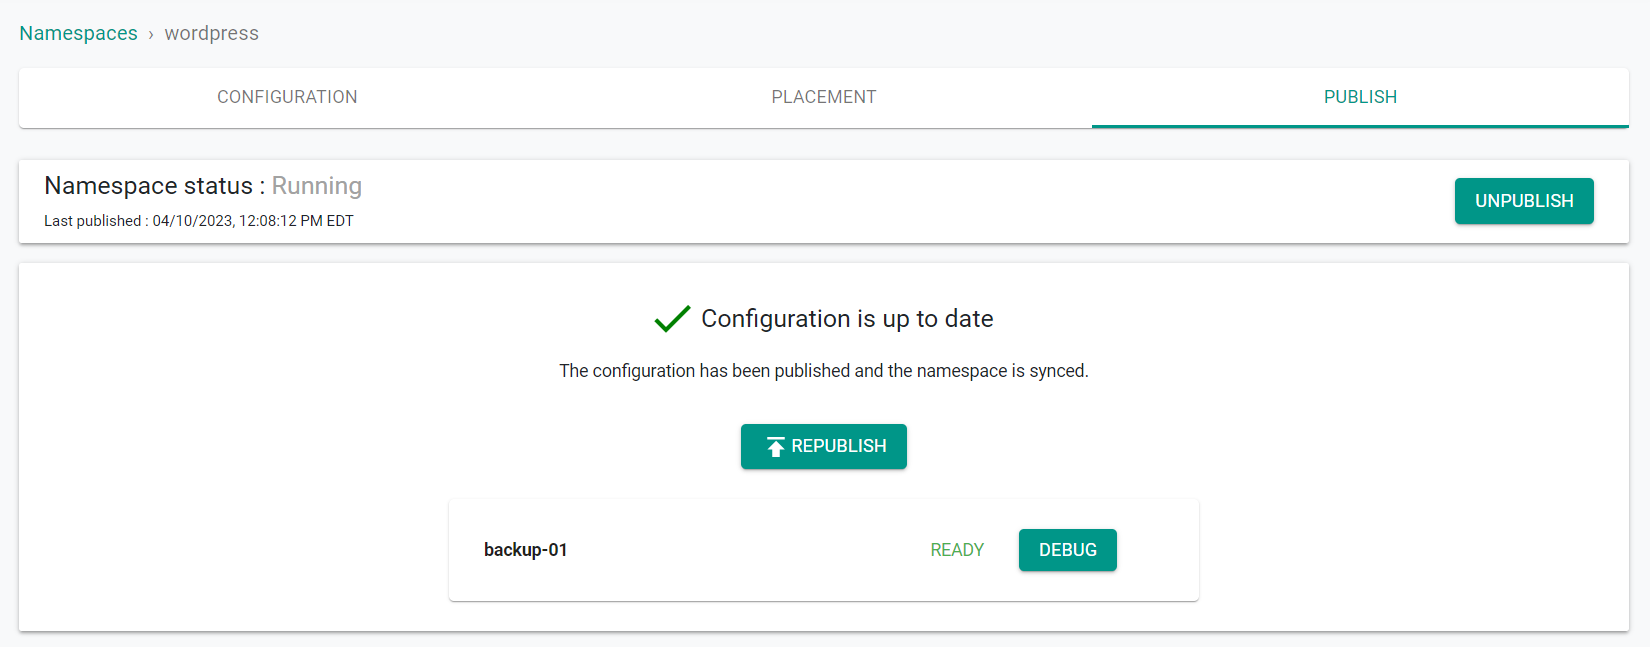
- Click Exit
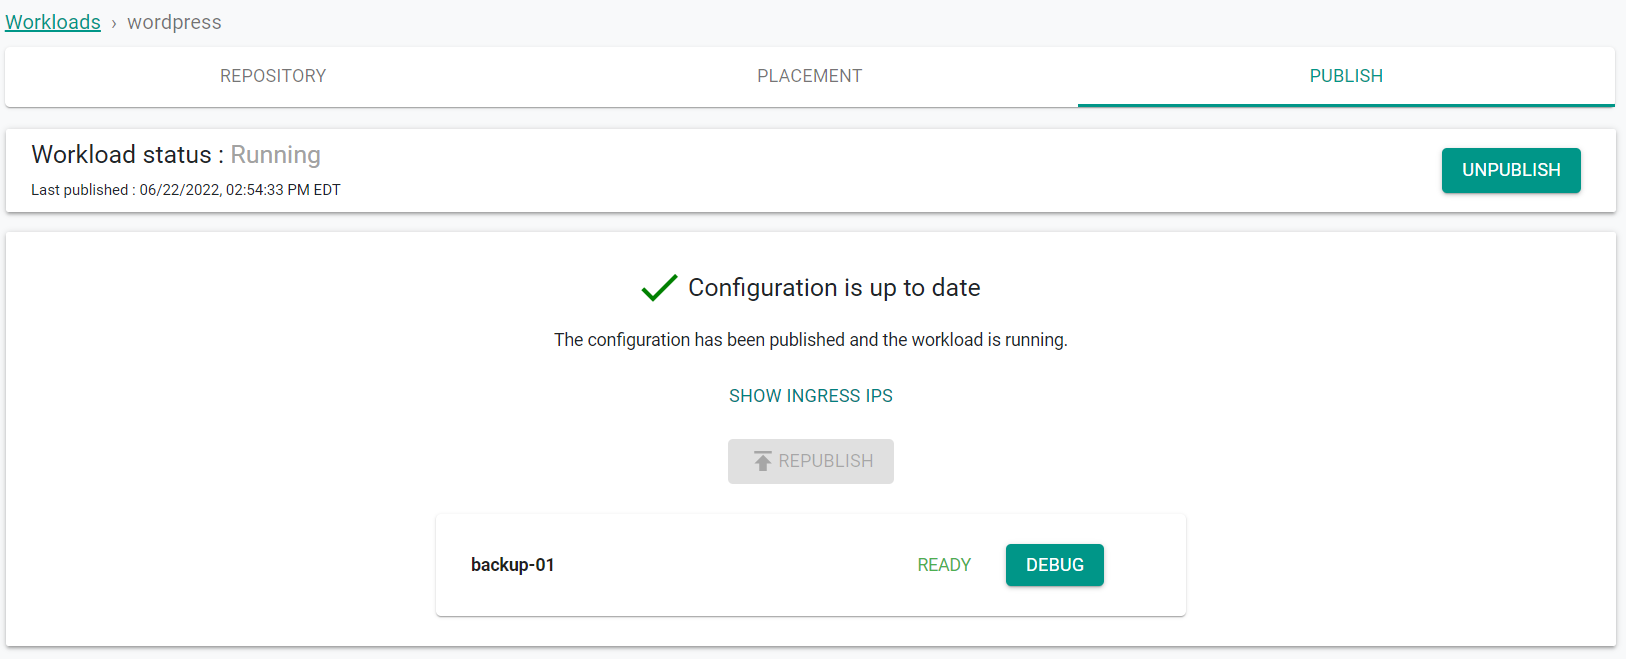
Step 3: Create Workload
You will now create a Wordpress workload using the Catalog. The workload will be used to demonstrate the ability to recover/move the workload with the backup/restore capabilities.
- In your project, navigate to Catalog
- Locate Wordpress in the catalog and click on it
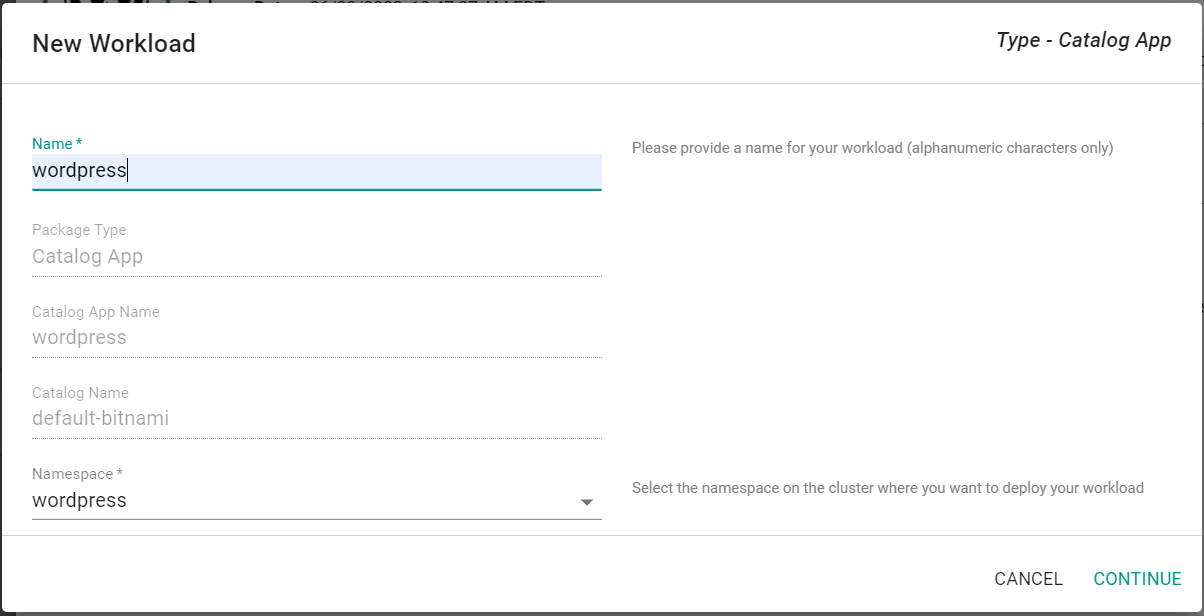
- Click Create Workload
- Provide a name for the Workload
- Select the previously created Namespace for the workload
- Click Continue
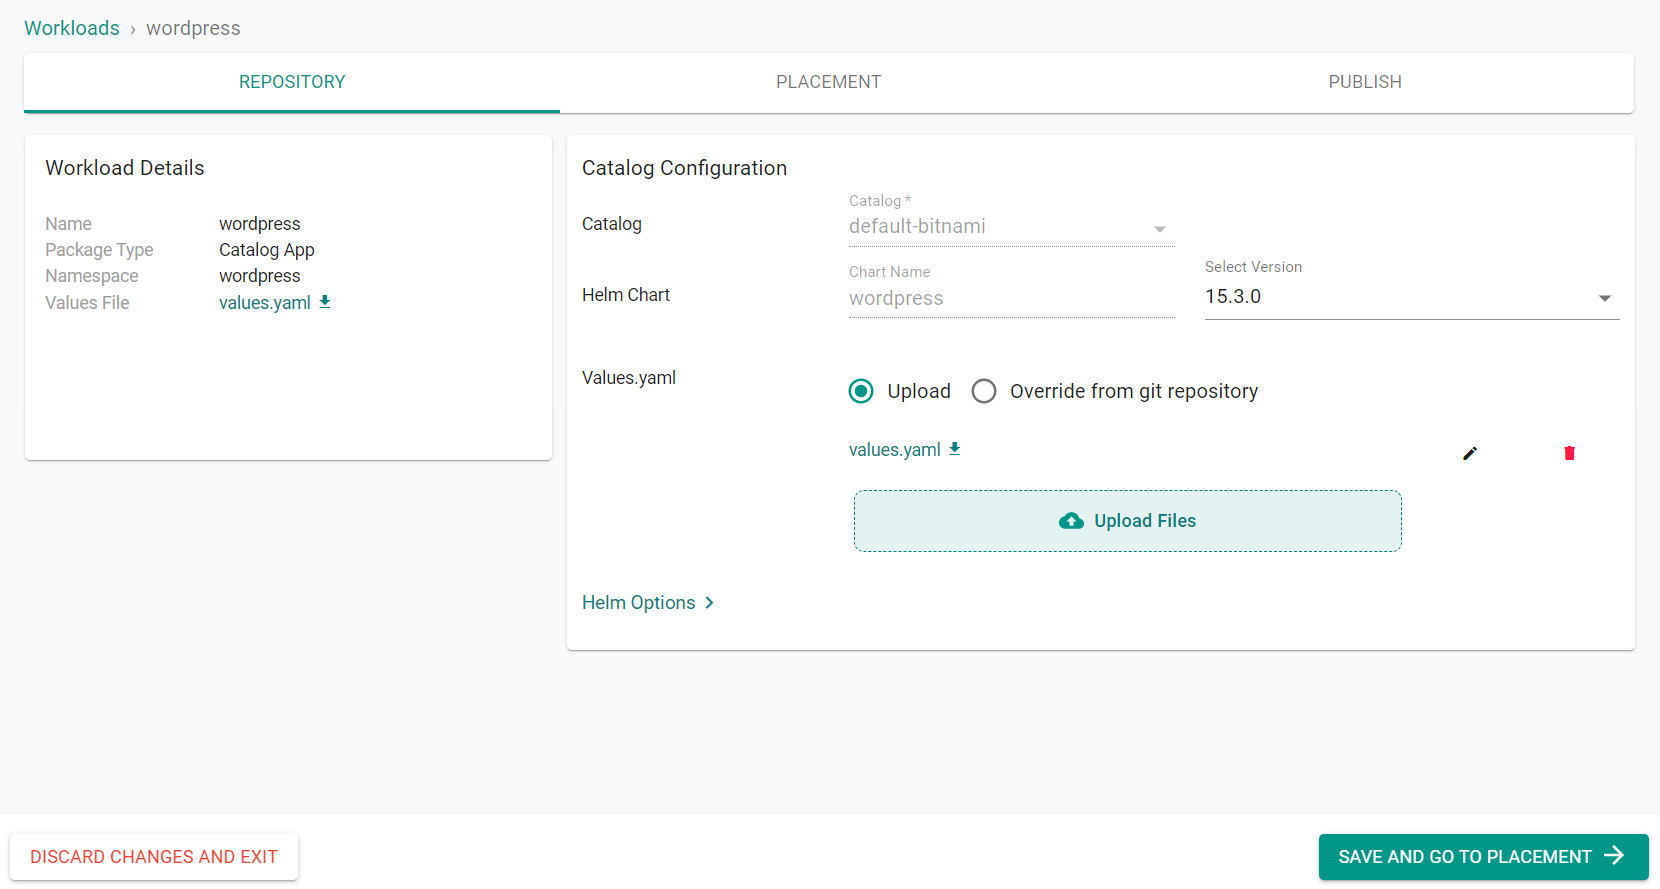
- Save the following YAML to a file named "values.yaml"
service:
  type: NodePort
  nodePorts:
    http: "31234"
    https: "31235"
- Click Upload Files and select the previously saved YAML file
- Click Save & Go To Placement
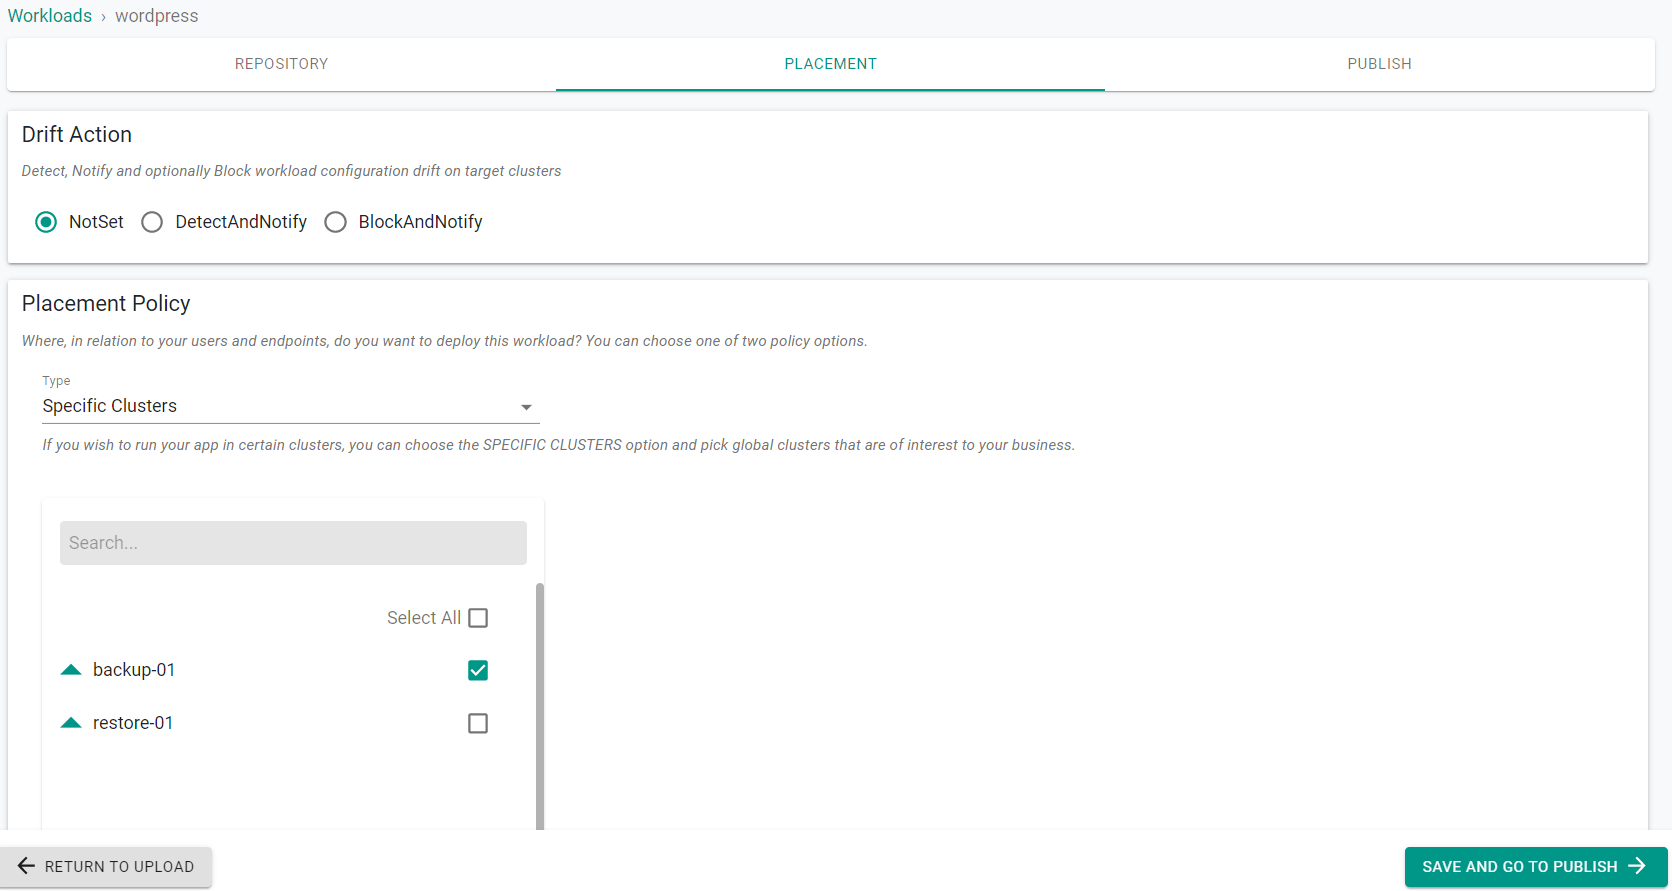
- Select the cluster where the namespace was previously applied
- Click Save & Go To Publish
- Click Publish
This will deploy the workload on the cluster specified.
- Click Exit
Step 4: Verify Workload
Now that the workload has been created, you can validate the workload is running.
- Open a kubectl prompt
- Enter the following command
kubectl get pod -n wordpress
You should see something like the following:
NAME                        READY   STATUS    RESTARTS   AGE
wordpress-b99c6cbb5-9q66r   1/1     Running   0          3m11s
wordpress-mariadb-0         1/1     Running   0          3m11s
You can also validate the persistant volume claims are bound to the workload.
- Enter the following command
kubectl get pvc -n wordpress
You should see something like the following:
NAMESPACE   NAME                       STATUS   VOLUME                                     CAPACITY   ACCESS MODES   STORAGECLASS   AGE
wordpress   data-wordpress-mariadb-0   Bound    pvc-dbddd868-ffa5-41a6-a944-13c2ba41f902   8Gi        RWO            gp2            102s
wordpress   wordpress                  Bound    pvc-5a3a71c4-760e-4296-b2b1-33b37fc0943f   10Gi       RWO            gp2            103s
Recap
In this part, you successfully setup RCTL and deployed a Wordpress workload to a cluster using the catalog.