Part 4: Cluster Blueprints
What Will You Do
In this section you will
- Create an add-on
- Create a custom cluster blueprint with the addon
- Apply the blueprint to your cluster
Step 1: Create Add-on
In this step, you will create a custom cluster add-on from the Catalog. The add-on will then be used in a custom cluster blueprint.
- In your project, navigate to Catalog in the left side tree
- Search for "cert-manager"
- Click on cert-manager from "default-helm"
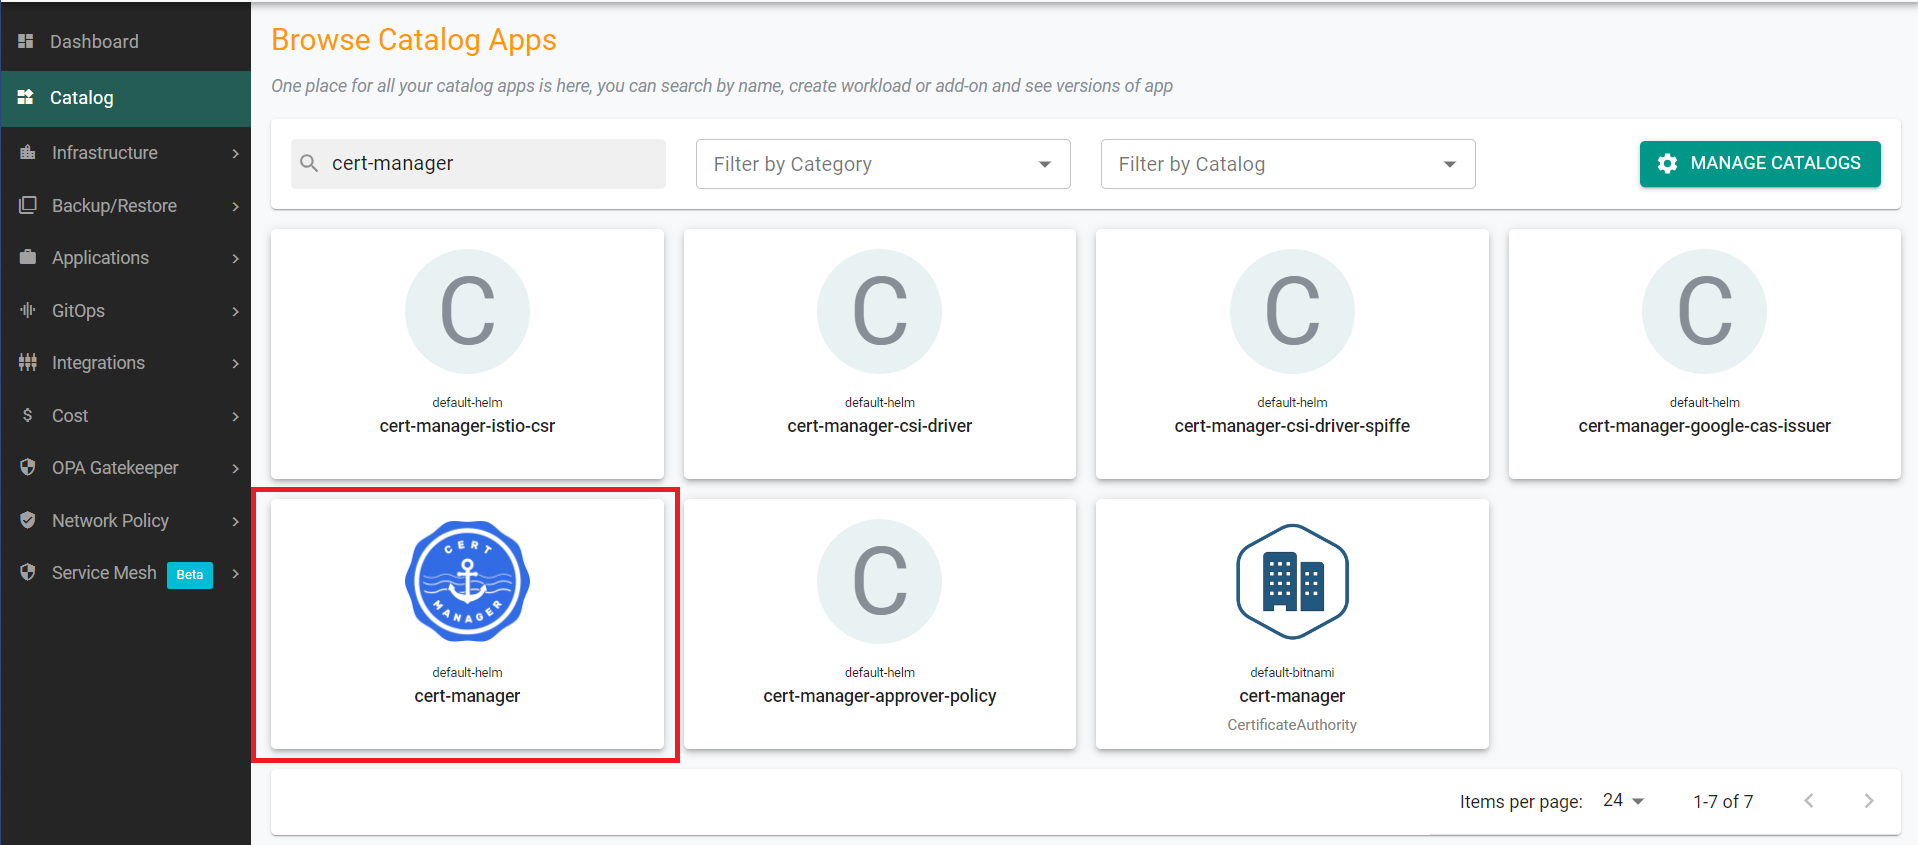
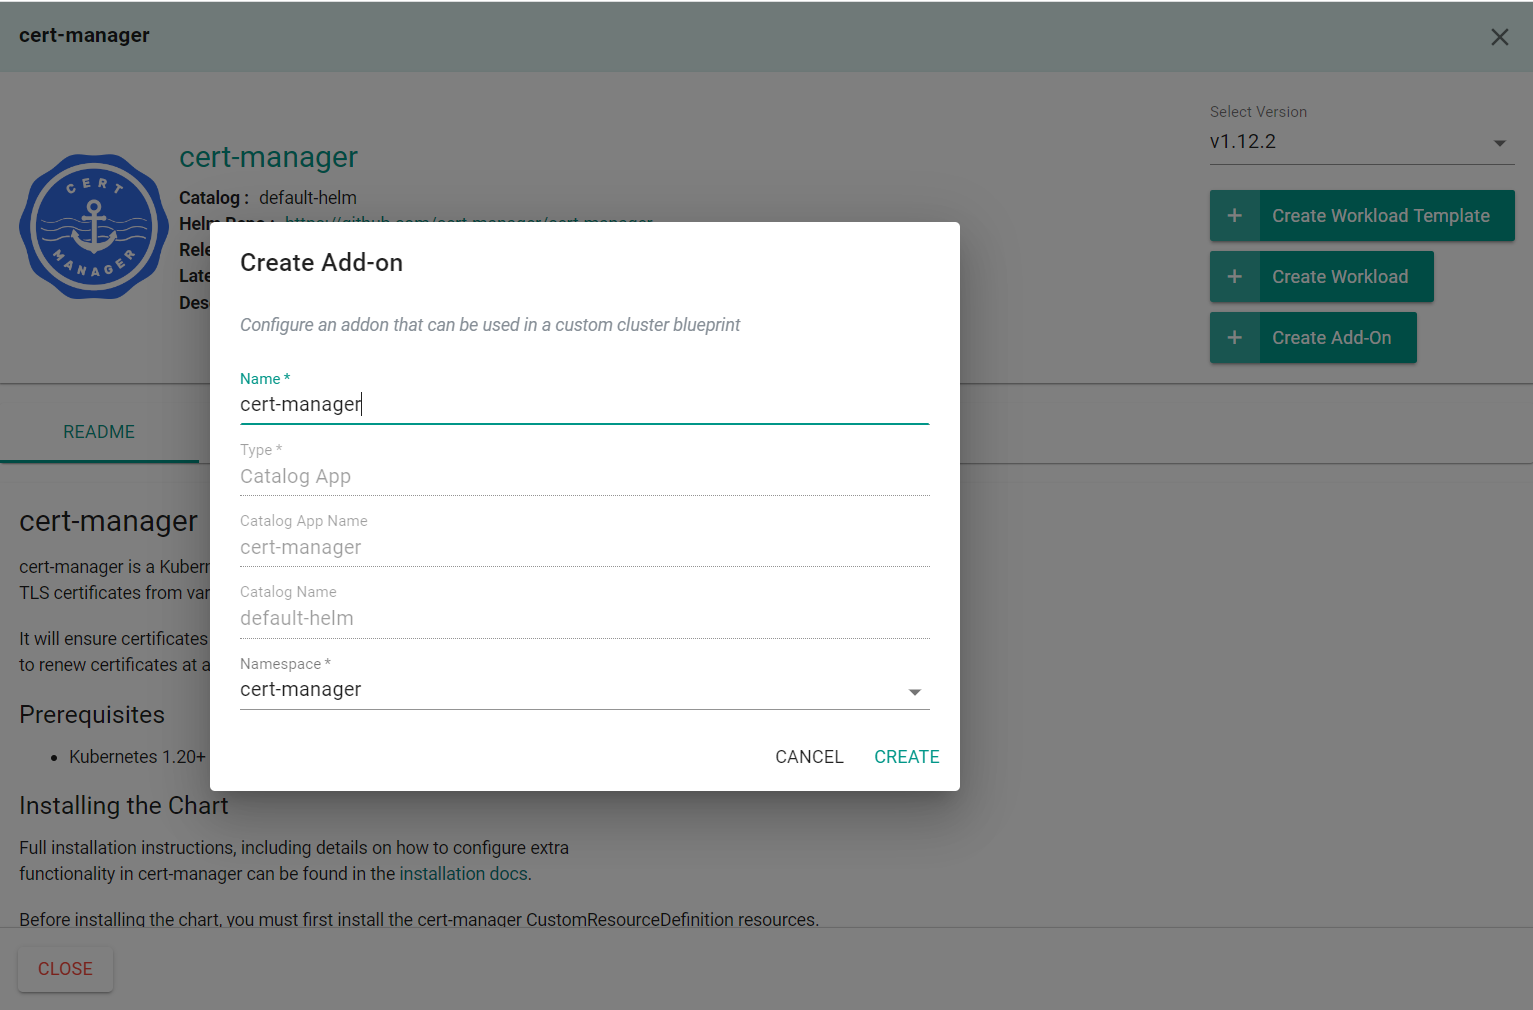
- Click Create Add-On
- Enter cert-manager for the name of the add-on
- Select the previously created namespace
- Click Create
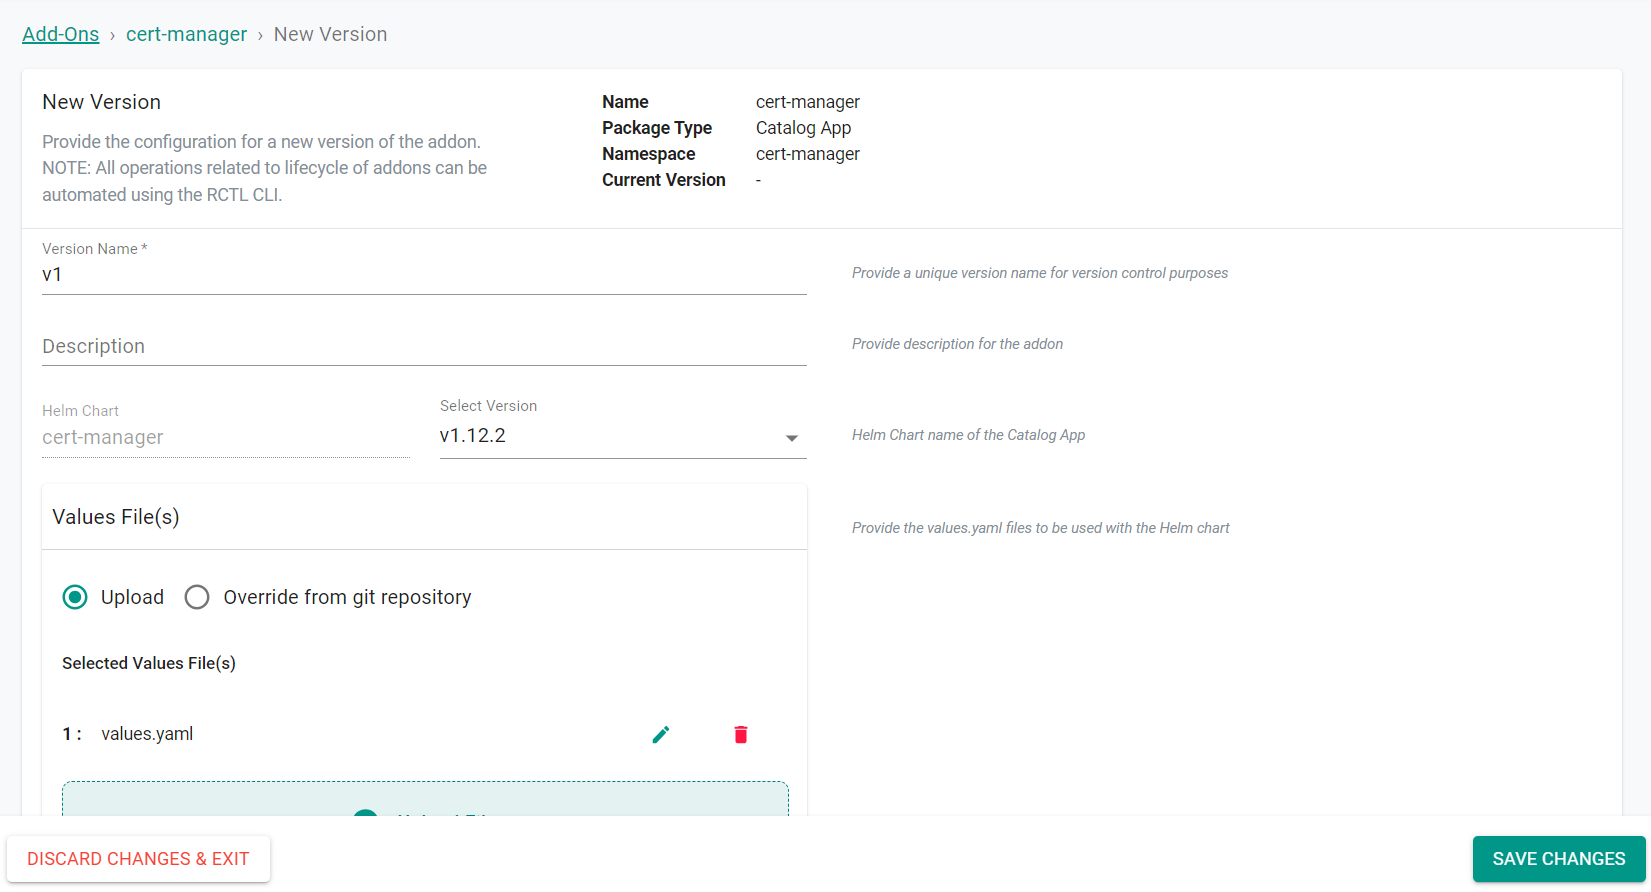
- Enter v1 for the version name
- Save the following to a file named values.yaml
installCRDs: true
- Click Upload Files
- Select the values.yaml file
- Click Save Changes
Step 2: Create Blueprint
In this step, you will create a custom cluster blueprint which contains the previously created addon.
- In your project, navigate to Infrastructure -> Blueprints
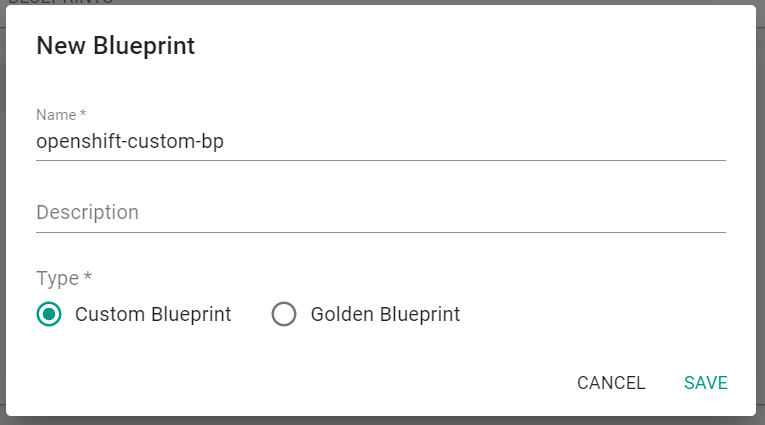
- Click New Blueprint
- Enter openshift-custom-bp for the name of the blueprint
- Click Save
- Enter v1 for the version name
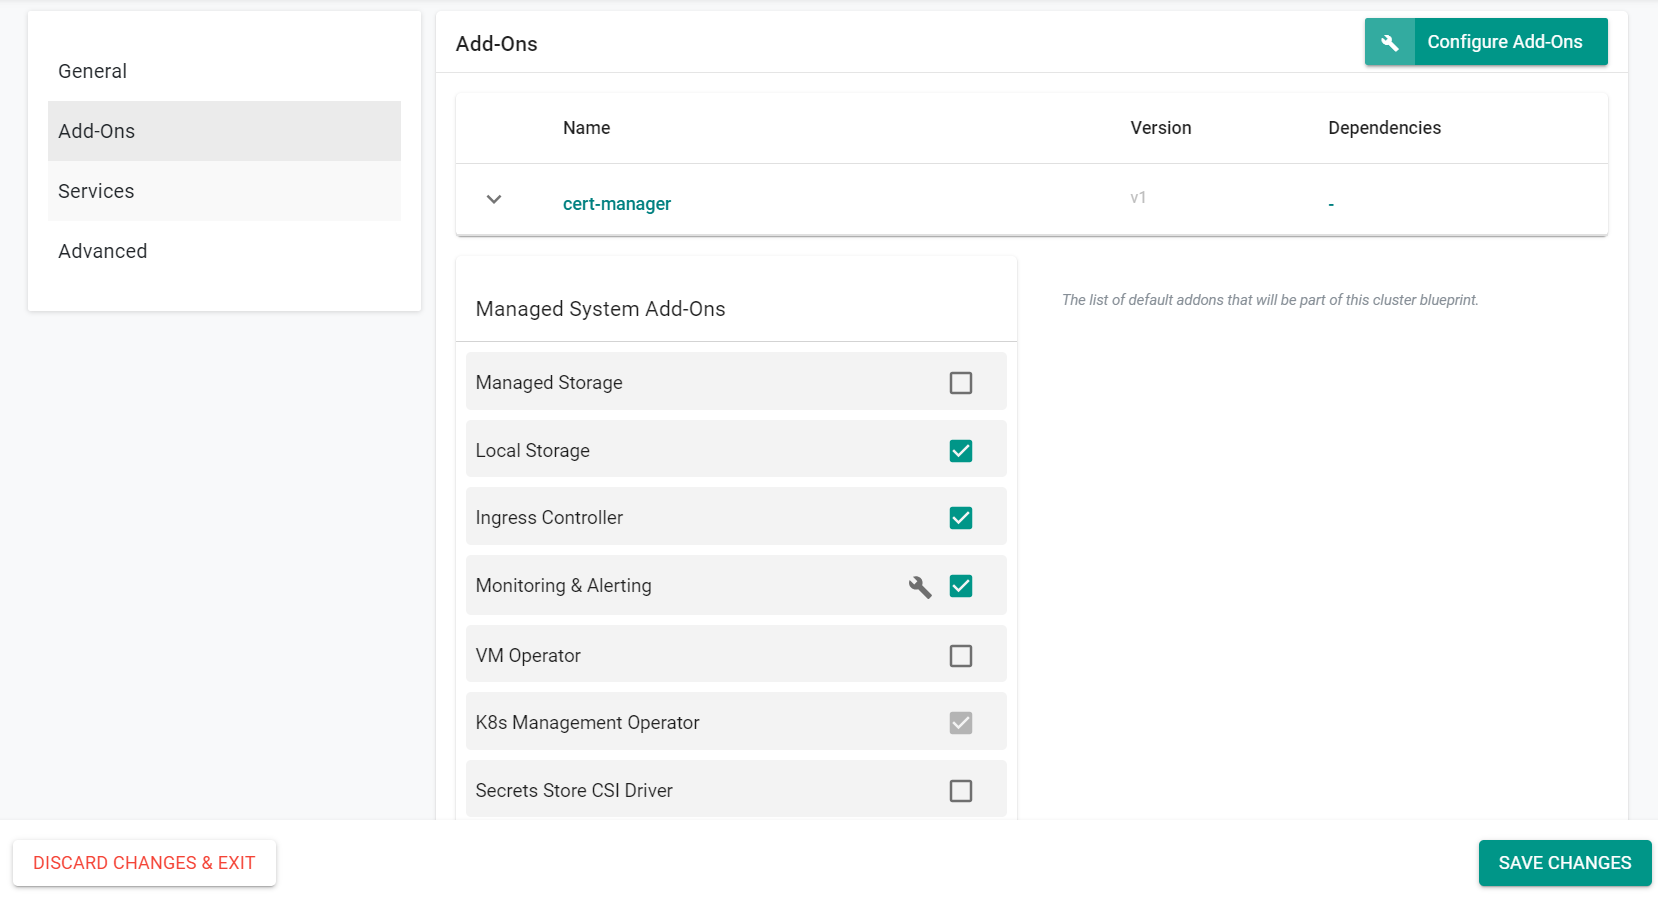
- Select default-openshift for the base blueprint

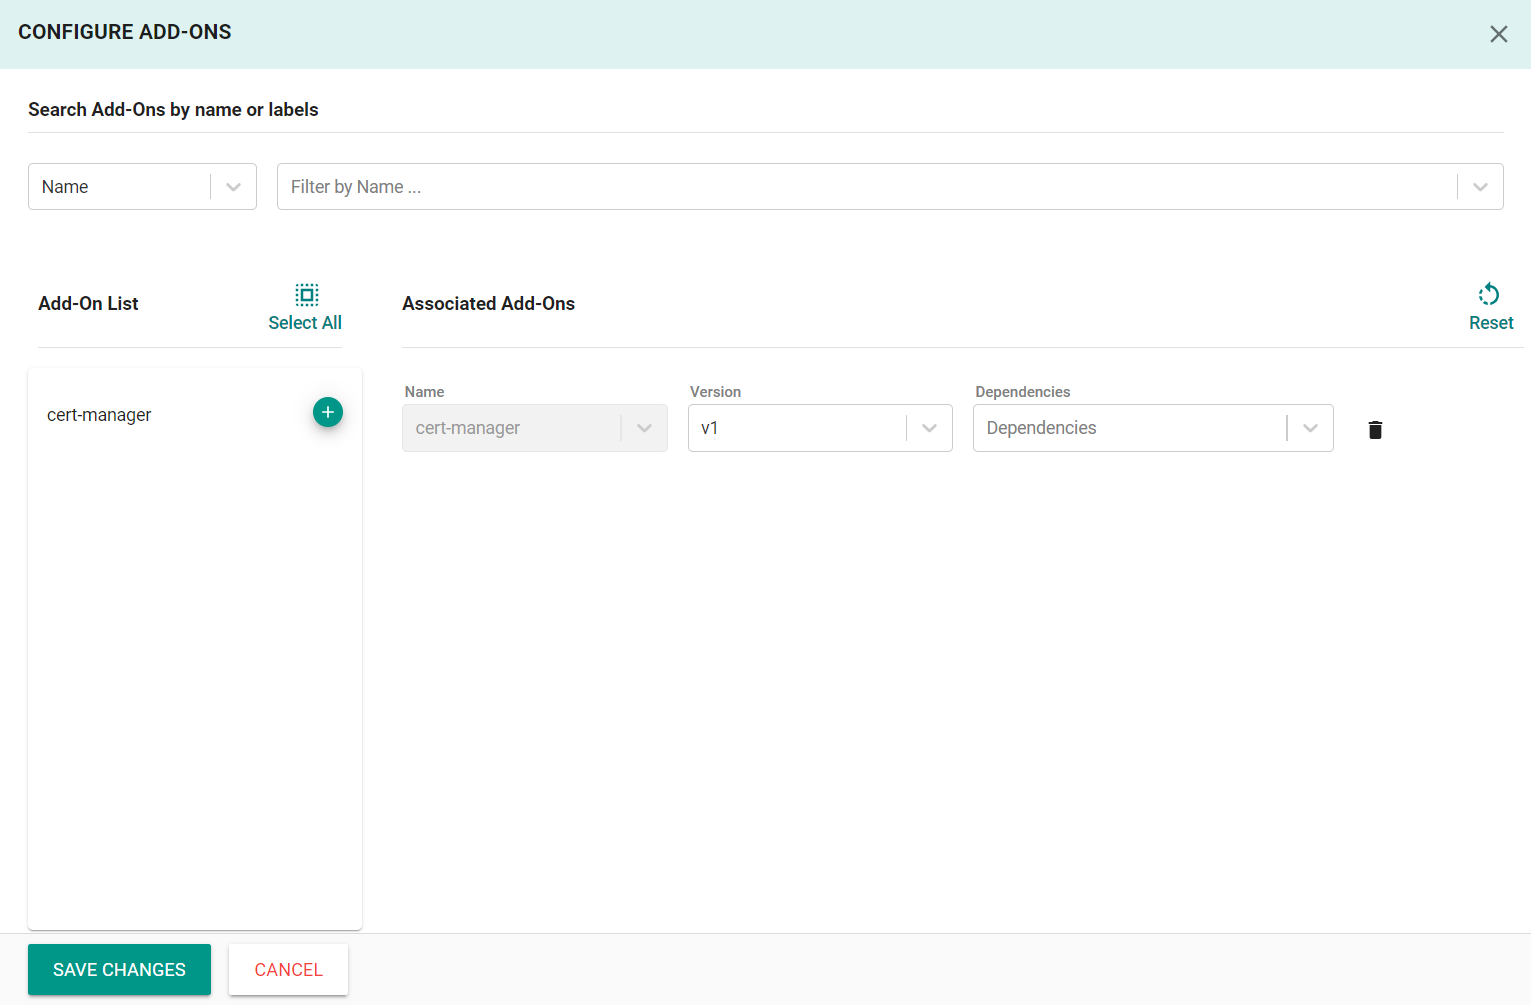
- Click Configure Add-Ons in the Add-ons section
- Click the + symbol to add the cert-manager add-on to the blueprint
- Click Save Changes
- Click Save Changes
Step 3: Apply Blueprint
In this step, you will apply the previously created blueprint to the cluster. Applying the blueprint will install the cert-manager add-on.
- In your project, navigate to Infrastructure -> Clusters in the left side tree
- Click the gear icon on your cluster
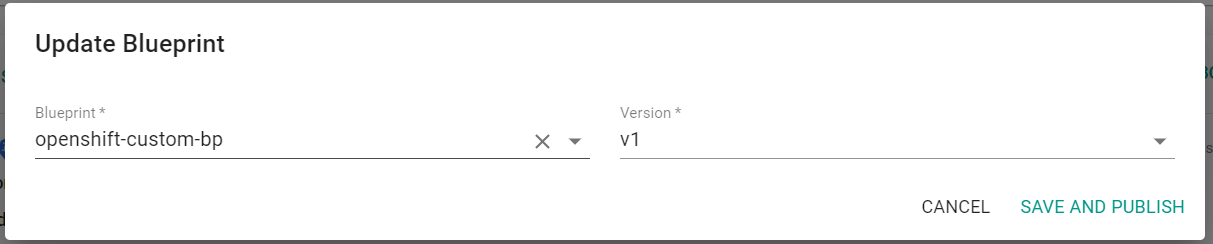
- Select Update Blueprint
- Select openshift-custom-bp for the blueprint and v1 for the version
- Click Save and Publish
This will force the reconciliation of the custom cluster spec with your cluster. This can take a few minutes to complete especially if images have to be downloaded for the new add-ons.
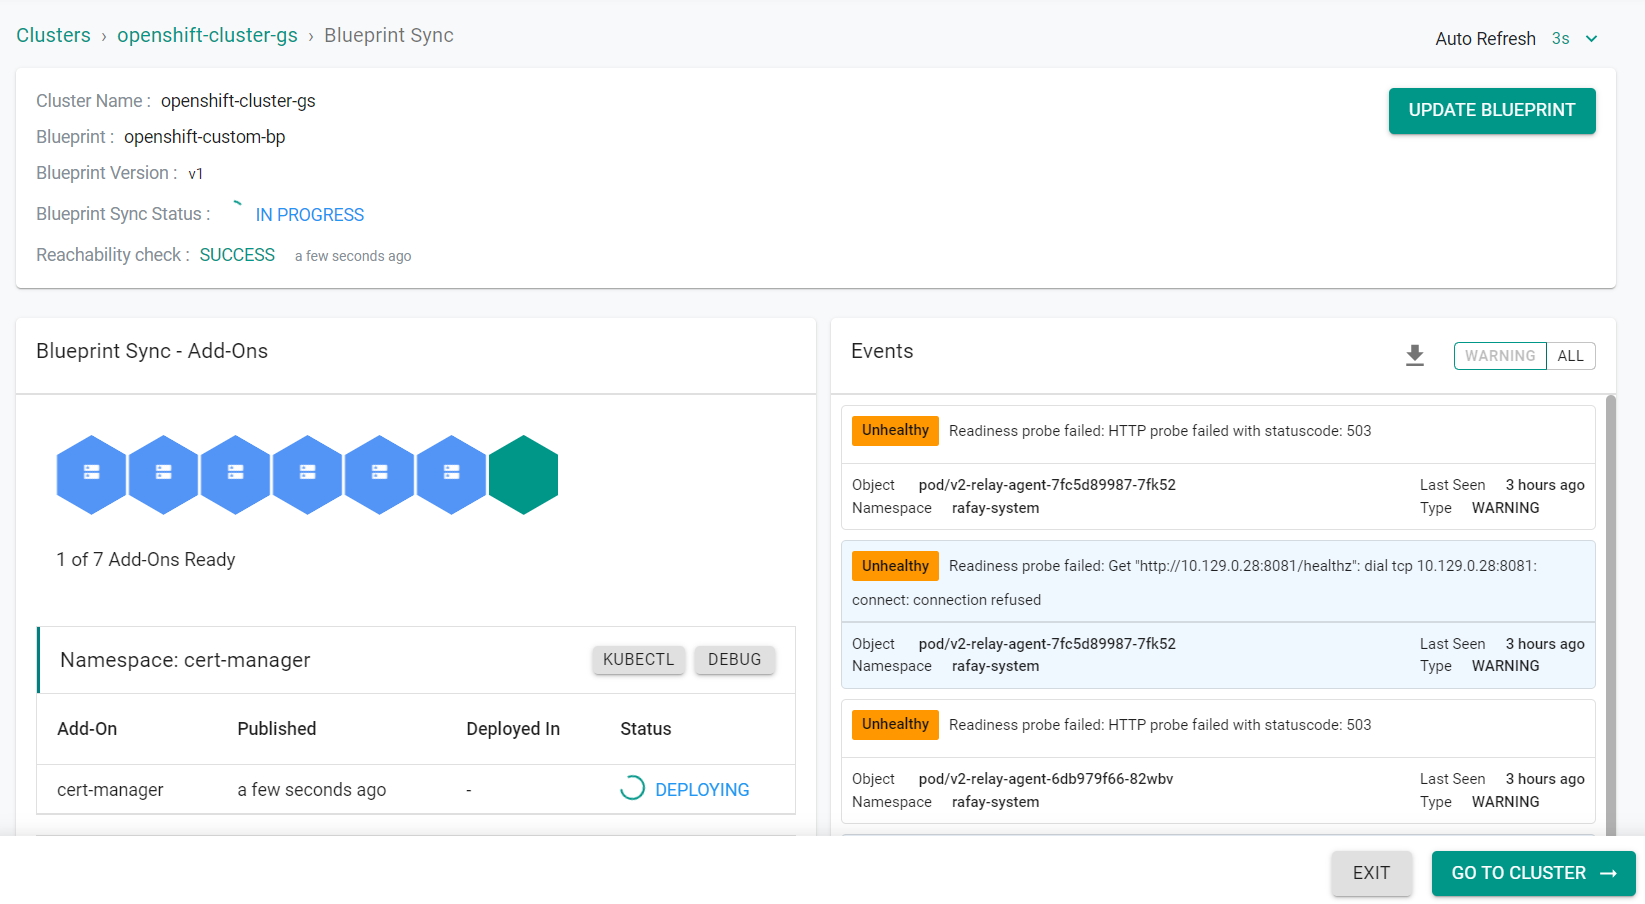
Afer a short period of time, the blueprint will be applied to the cluster.
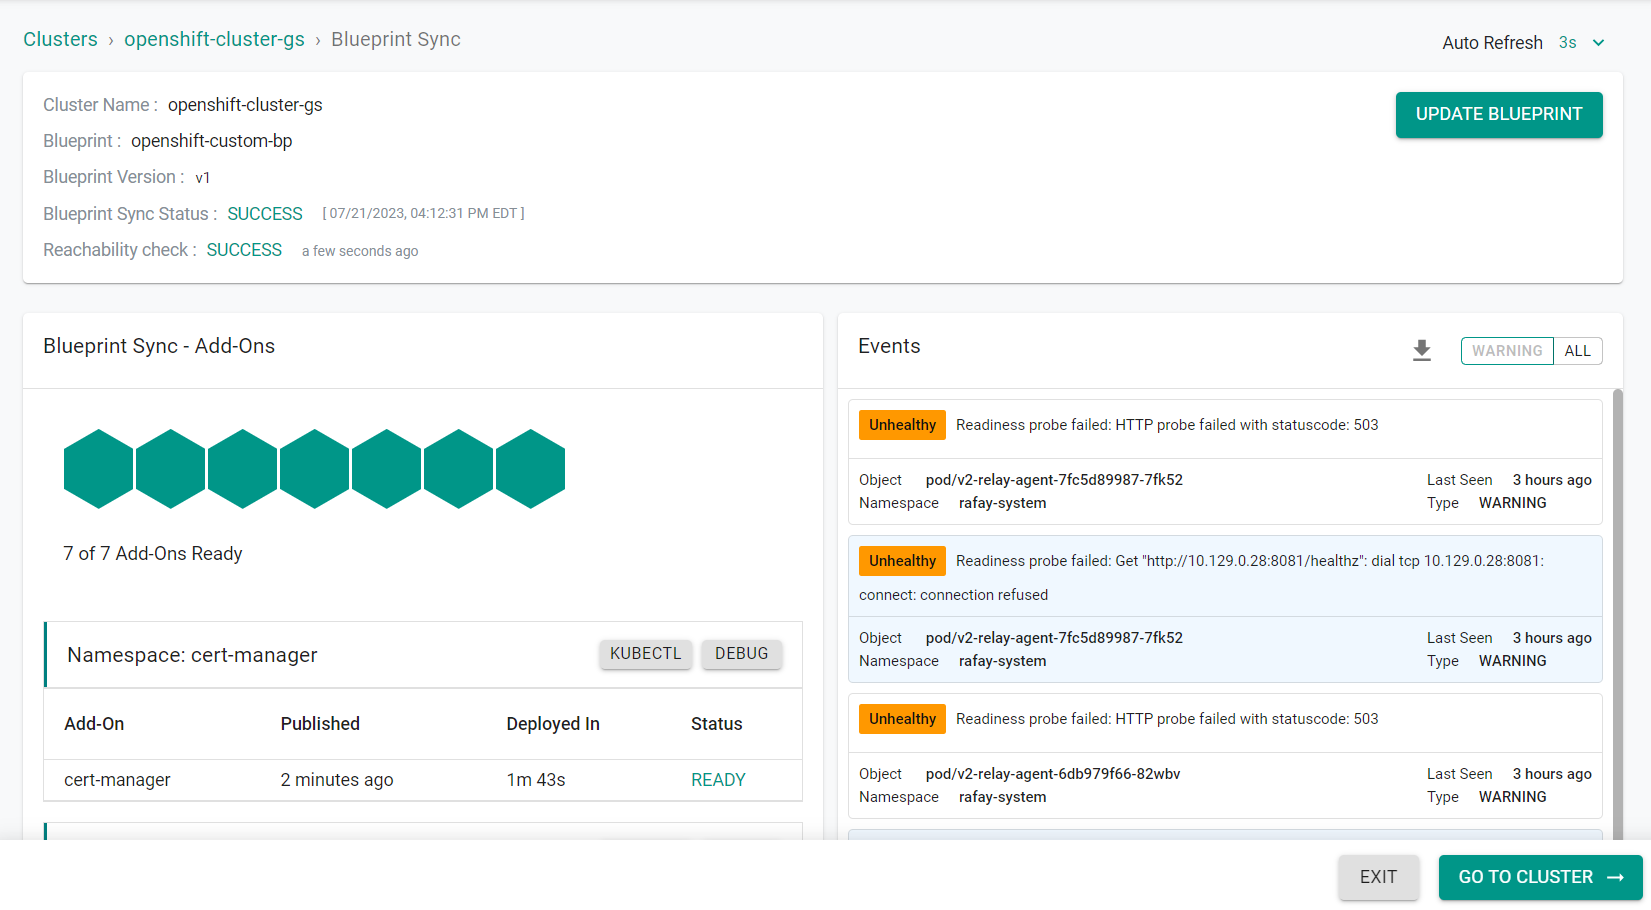
- Click Exit
Step 4: Verify
Optionally, you can verify that the pods for cert-manager are active and operational on your cluster using kubectl.
- Enter the following command
kubectl get pods -n cert-manager
You should see something like the following
NAME                                       READY   STATUS    RESTARTS   AGE
cert-manager-96649f687-56xkg               1/1     Running   0          49m
cert-manager-cainjector-7d68995cff-njqrx   1/1     Running   0          49m
cert-manager-webhook-84bbbbf7d9-6kh2v      1/1     Running   0          49m
Recap
Congratulations! At this point, you have successfully created a custom cluster blueprint and published it to your cluster.