Install MicroK8s
As a prerequisite to these Kubernetes exercises, you will install MicroK8s on your laptop or desktop. MicroK8s is a lightweight Kubernetes distribution that includes a cluster.
What Will You Do
For the prerequisites, you will:
- Install MicroK8s.
- Deploy your first application.
Estimated Time
Estimated time for this exercise is 20 minutes.
Install MicroK8s
- Open the Terminal.
- Use the following command to install Homebrew. Installing MicroK8s requires the
brewcommand./bin/bash -c "$(curl -fsSL https://raw.githubusercontent.com/Homebrew/install/HEAD/install.sh)"- You may be prompted to enter your password to install.
- When prompted, press Return to install the XCode Command Line Tools.
- This may take several minutes.
- Download and install MicroK8s and its dependencies.
brew install ubuntu/microk8s/microk8s - Run the following to start with MicroK8s.
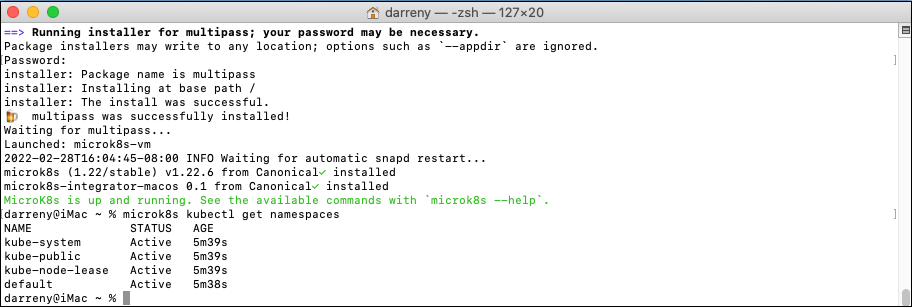
microk8s install- When prompted, type Y and press Return to include Multipass.
- You may be prompted to enter your password to install Multipass.
- Get a list of the namespaces in your cluster.
microk8s kubectl get namespaces
- Download MicroK8s
- Run the MicroK8s installer by double-clicking the microk8s installer EXE file in your Downloads folder.
- Use the installation wizard and accept the default settings.
- Multipass is included with the Windows installation.
- For the Hypervisor, make sure Microsoft Hyper-V is selected.
- Make sure Add Multipass to the PATH is selected.
- A system reboot is required to finish configuring the virtual machine.
- After the system reboots, run the microk8s installer EXE file to complete configuration.
- When prompted to configure and launch the MicroK8s virtual machine, click Yes.
- Accept the default settings, then click Next. This may take a few minutes.
- When installation is complete, click Finish.
- Open the command prompt.
- Use the following command to get a list of namespaces in your cluster.
microk8s kubectl get namespaces

- Open the Terminal.
- Use the following command to install MicroK8s.
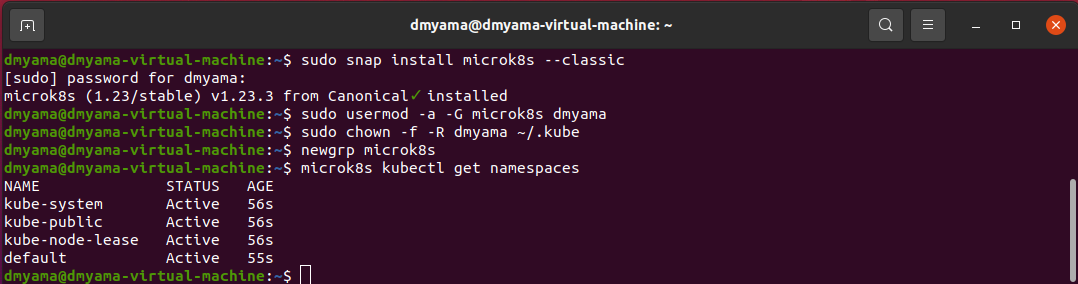
sudo snap install microk8s --classic - Type your password, then press Enter.
- Add yourself as a user to the MicroK8s group. This will make using MicroK8s commands easier.
- Replace username with your username.
sudo usermod -a -G microk8s username - Replace username with your username.
sudo chown -f -R username ~/.kube
- Replace username with your username.
- Reload the user groups to apply your changes.
newgrp microk8s - Get a list of namespaces in your cluster.
microk8s kubectl get namespaces
Use an alias
MicroK8s uses a namespaced kubectl command to prevent conflicts with any existing installs of kubectl. If you don't have an existing install of kubectl, you can add an alias to make entering commands easier.
Note: alias is not recognized on Windows operating systems.
Run the following command:
alias kubectl='microk8s kubectl'
You can now enter kubectl instead of microk8s kubectl.
Use short names
You can use some short names with the kubectl command. The short name allows you to use a few letters instead of typing out the entire command name.
- Open the Terminal or the command prompt.
- Use the following command to see a list of kubectl commands and any shortnames.
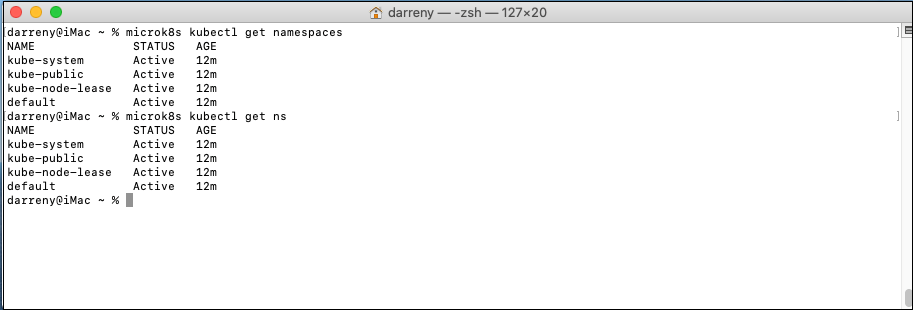
microk8s kubectl api-resources - To see the list of namespaces using the shortname.
microk8s kubectl get ns
Troubleshooting
Cannot connect to server
Issue
Some users might experience an issue with MicroK8s running on Windows. When using the microk8s kubectl command, an error message "Unable to connect to the server".
Workaround
- Open the
configfile in the following location: C:\Users\username\AppData\Local\MicroK8s. - Change the IP address to the one in the message. Leave the port number as-is.
- Save the file and try the
microk8s kubectlcommand again.