Break Glass
What Will You Do
In this part of the self-paced exercise, you will learn to enable kubectl access temporarily for a cluster to implement a break glass process.
Step 1: Disabling Kubectl Access
The default for many organizations would be to disable kubectl access. To do this:
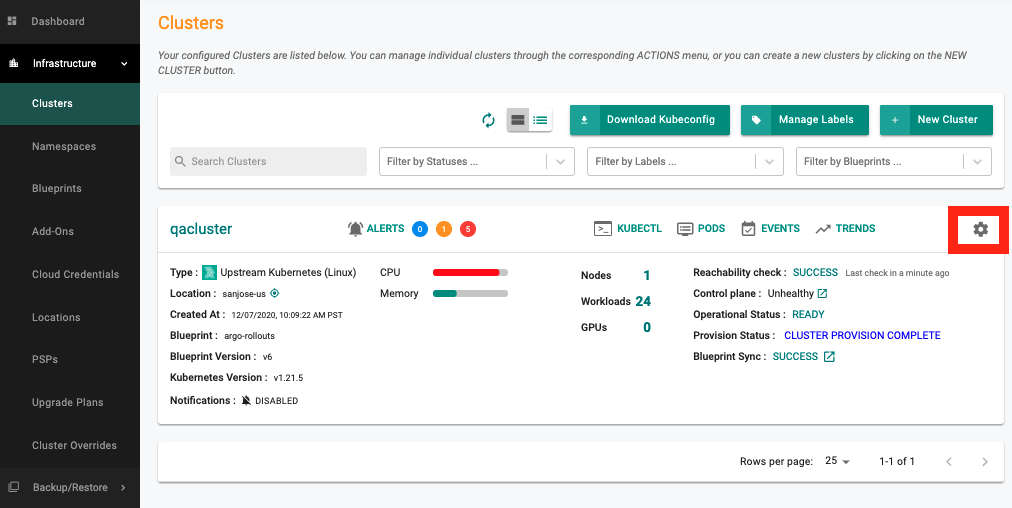
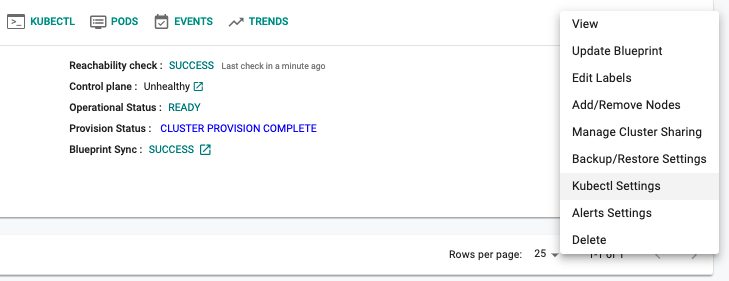
- Navigate to the Clusters page, click on the gear icon and select Kubectl Settings
- Disable both Kubectl CLI Access (Terminal) and Browser Kubectl Access
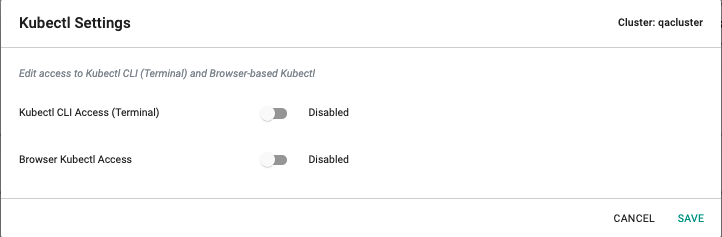
- Any kubectl access attempt is now prevented
Step 2: Enabling kubectl access temporarily
There may be a requirement to enable kubectl access for a user temporarily (to debug an issue for instance). To enable Browser based access, follow the instructions outlined below:
- Navigate to the specific cluster where the issue is being seen. Click on the gear icon and select Kubectl Settings
- Enable Kubectl Browser access, Click Save
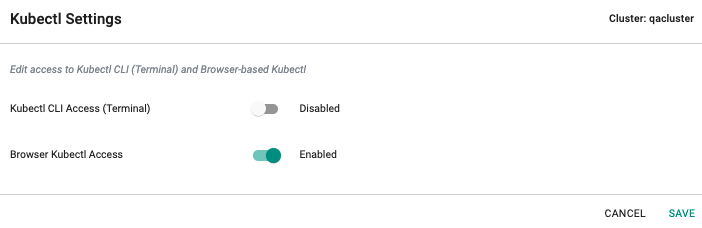
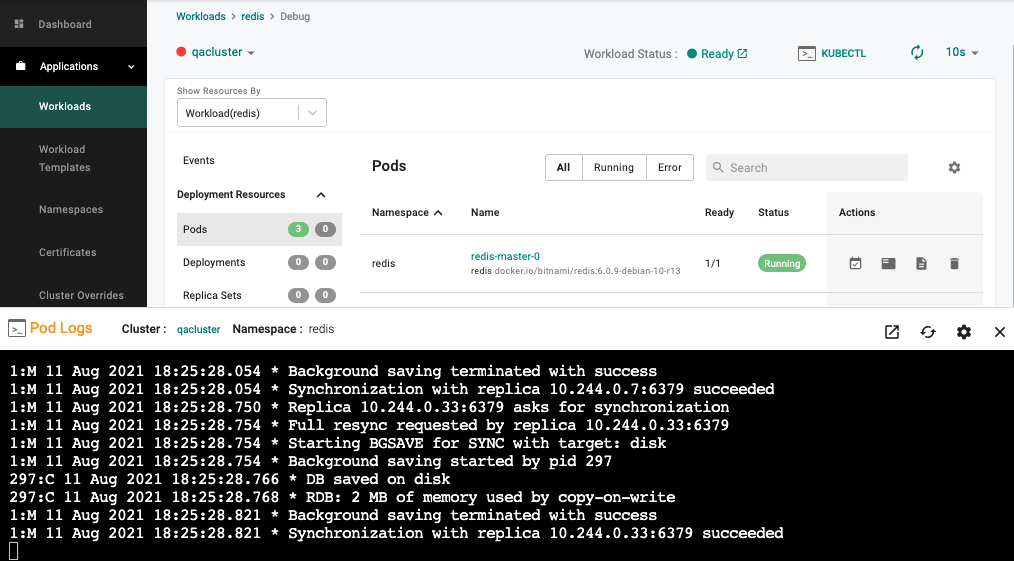
- The Namespace Admin previously configured in Part 1 of the exercise would now be able to initiate a kubectl session from within the browser and run commands/inspect logs as required
- Kubectl access can be disabled either for the cluster or org wide as required after the root cause determination exercise is complete
- The JIT (Just in time) service account created for the Namespace Admin is automatically removed from the target cluster once the configured lifetime expires