Provision
This approach is well suited for users that need to quickly provision a RedHat OpenShift cluster on AWS.
Create RedHat Account
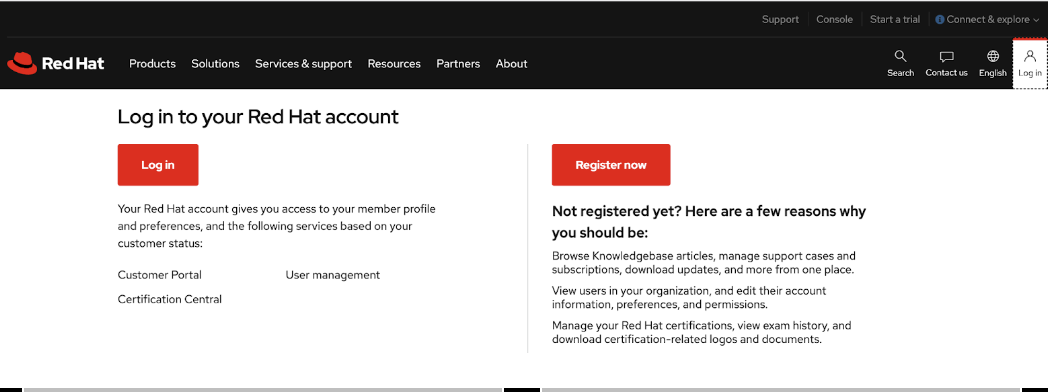
Register for an account on RedHat. Click on login and click on “Register Now”. Fill in all the details and click on “Create my Account” at the bottom of the page.
Download Openshift Binary & Pull Secret
-
Login to the Redhat Console with your newly created login credentials.
-
Scroll Down and click on AWS (x86_64) as shown in screenshot below:

- Click on Automated ( CLI-based )
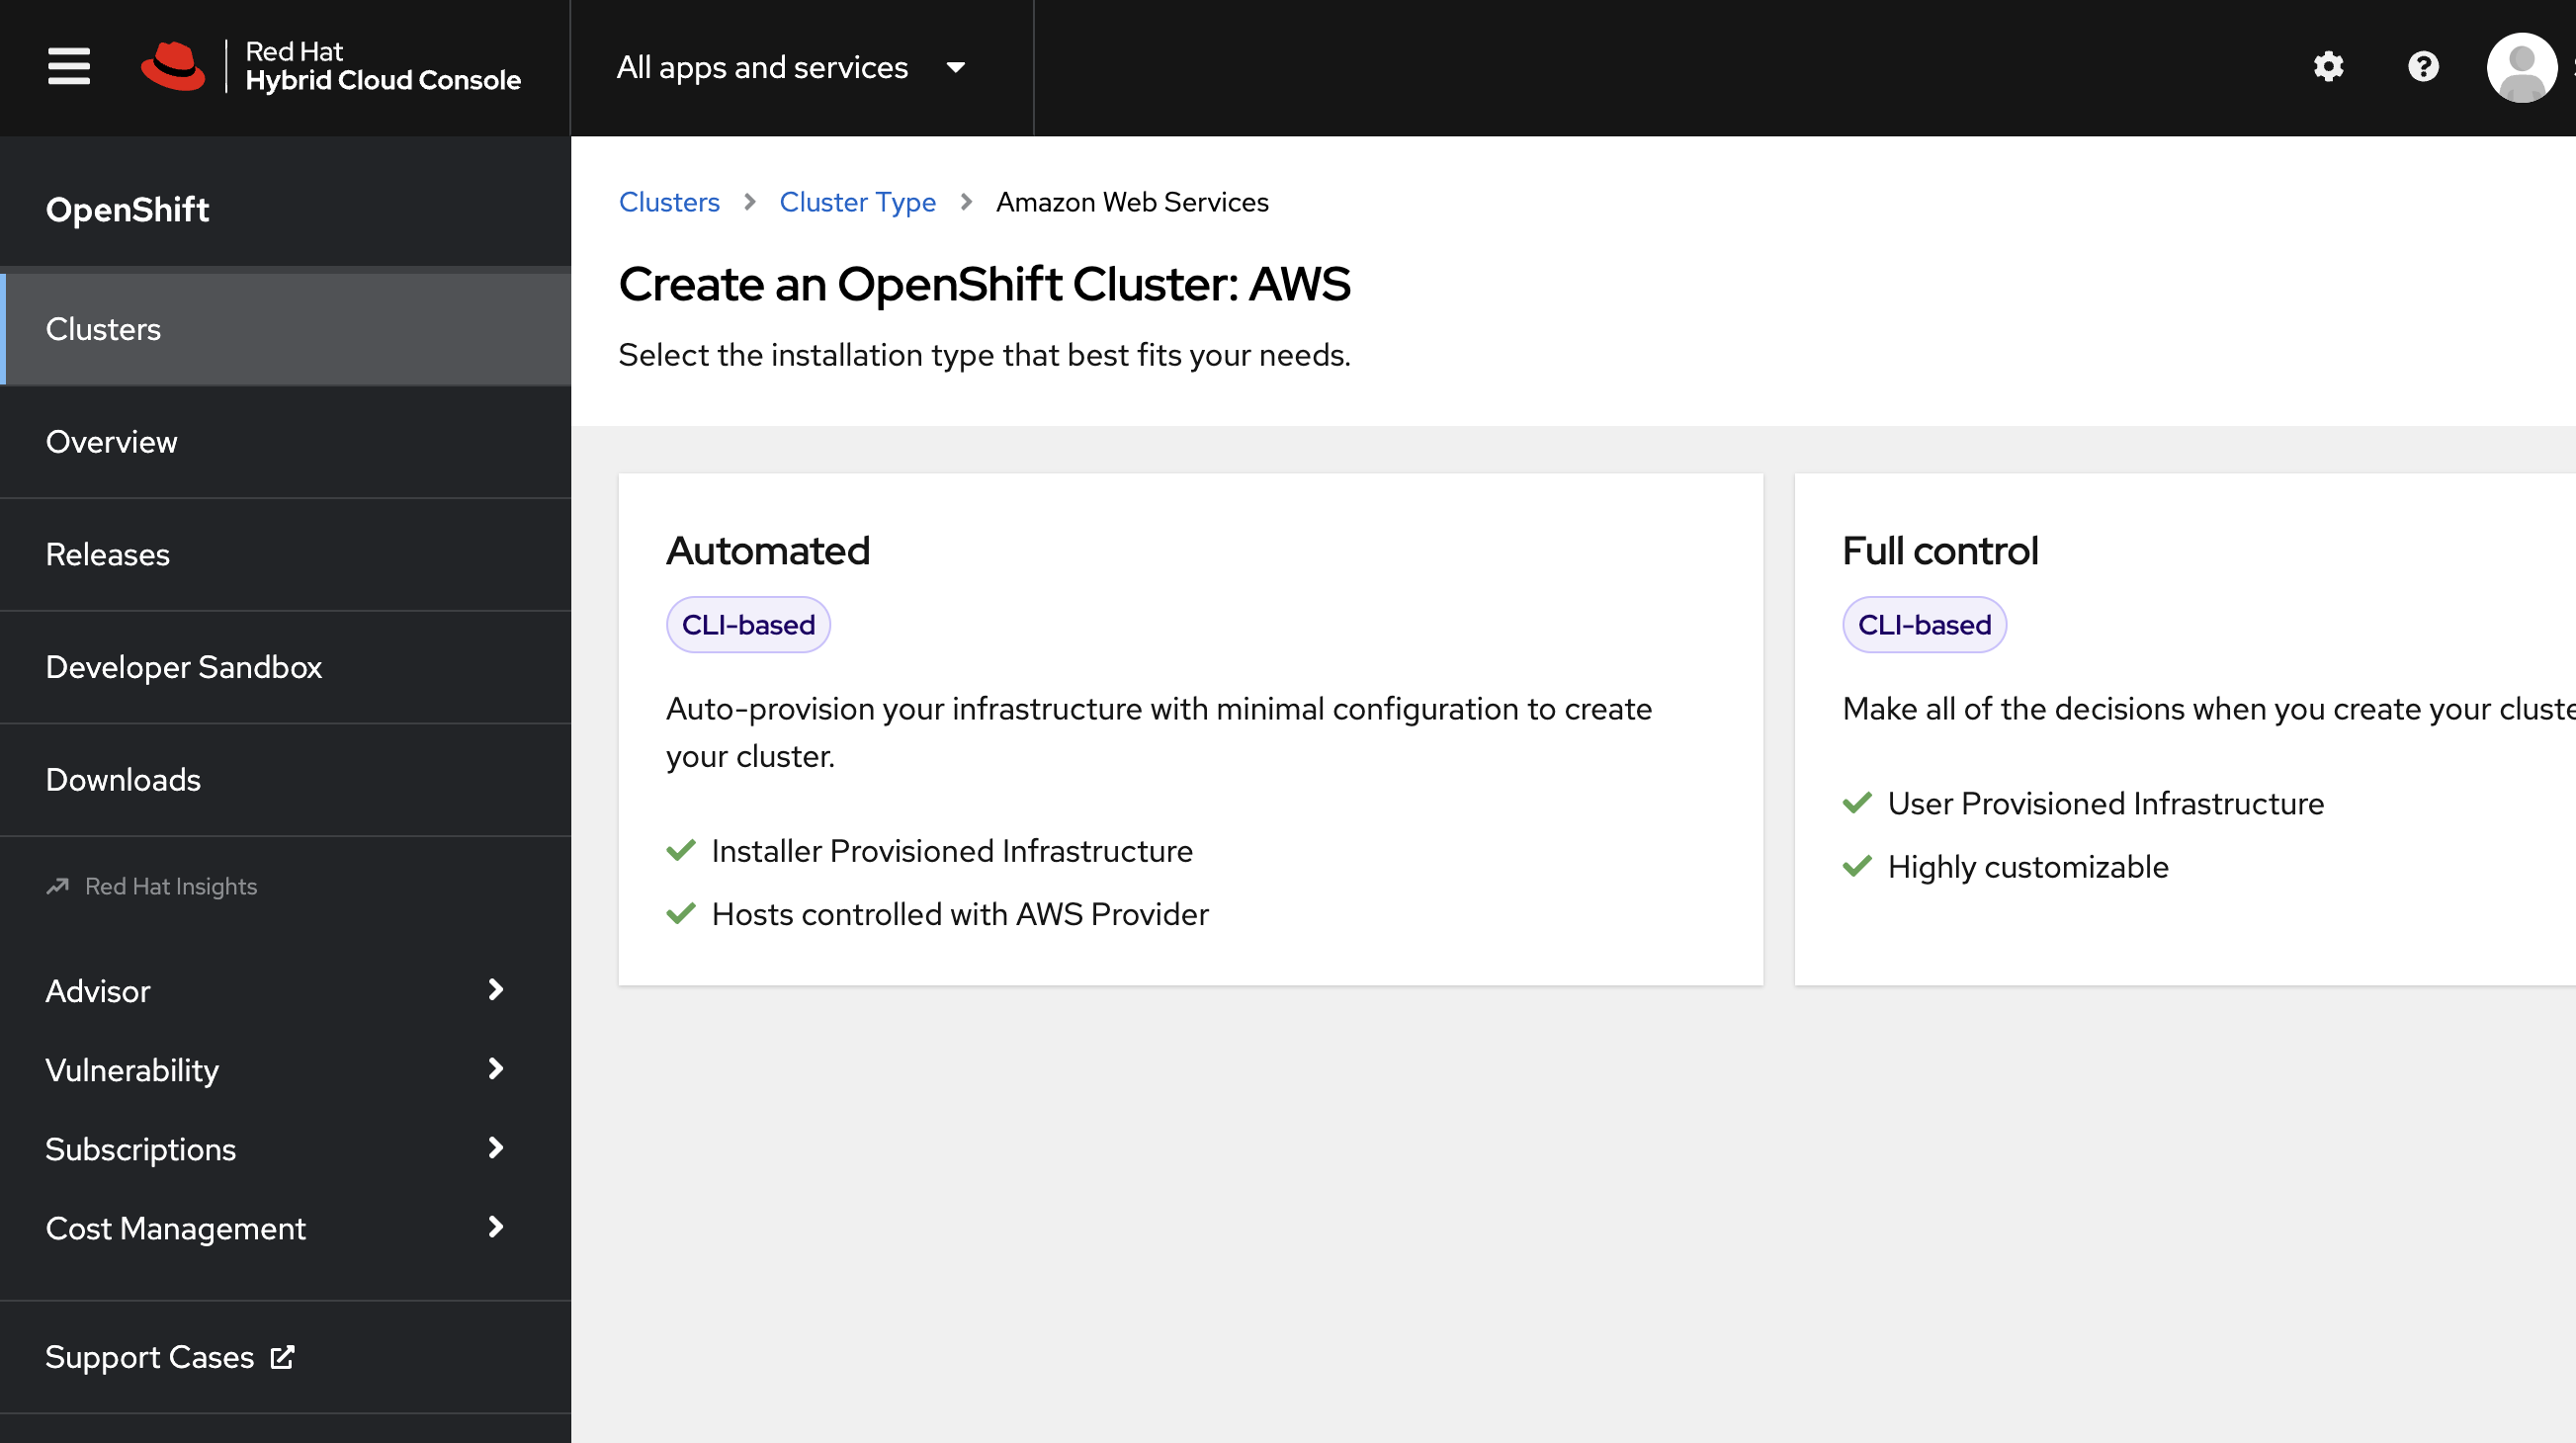
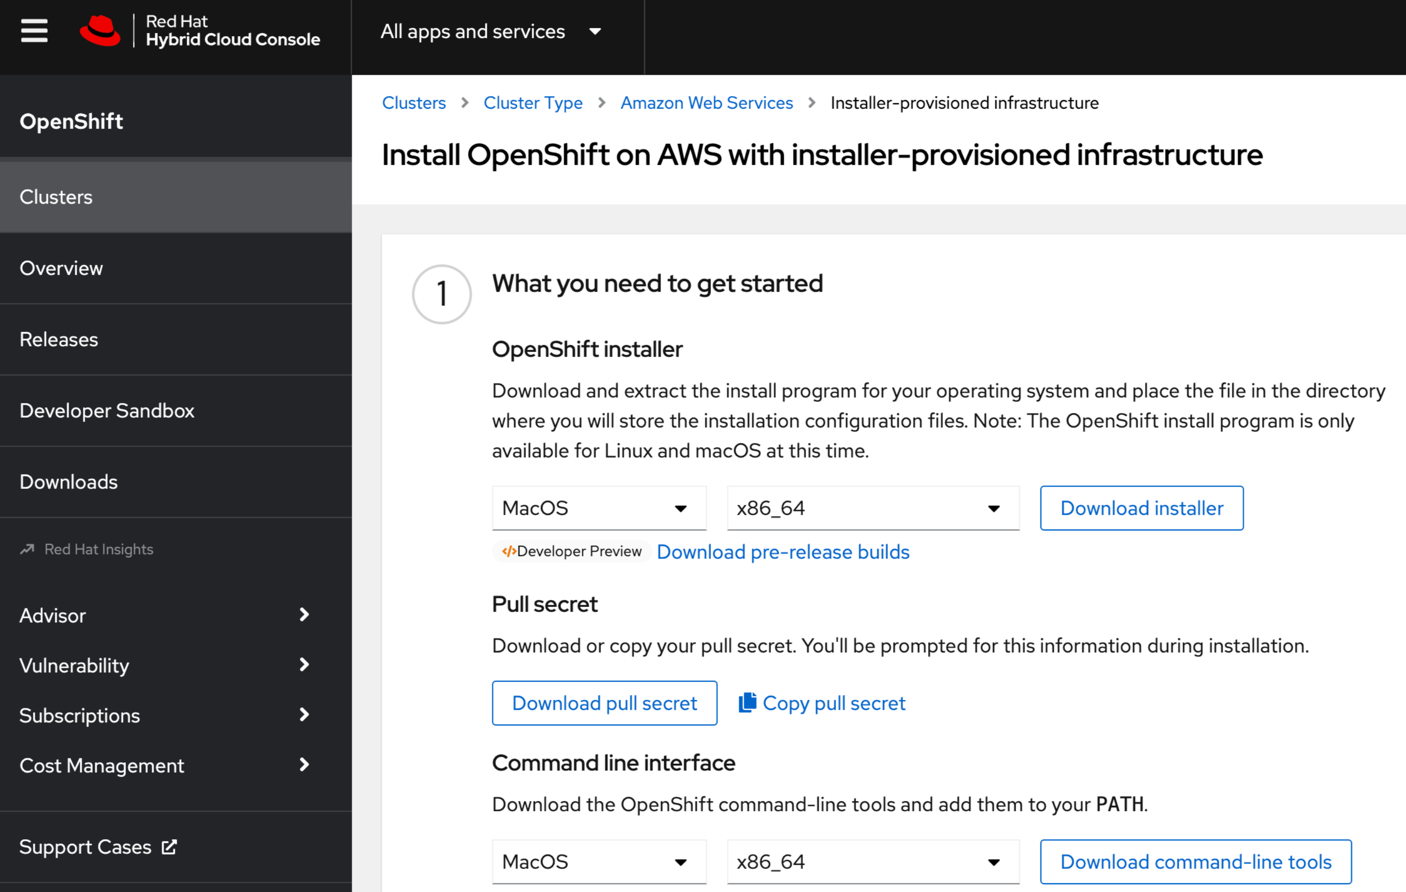
- Click on Download installer and Download pull secret
Configure AWS secret
Important
Ignore this step if you already have the AWS CLI installed on your laptop.
Open a Console/Terminal on your laptop (e.g. macOS) and follow the steps below.
$ aws configure
$ AWS Access Key ID [None]: <Input your Access Key ID>
$ AWS Secret Access Key [None]: <Input your Secret Access Key>
$ Default region name [None]: us-west-2 < AWS Region of your choice >
$ Default output format [None]: <json> or <text>
Save OpenShift Binary
Download the OpenShift binary and pull secret to a separate folder
$ mkdir <folder1 name> ( e.g mkdir ocp )
$ cp /Users/<Macbook name>/Downloads/openshift-install-mac.tar.gz /Users/<Macbook name>/ocp/
$ cd ocp
$ tar -xvf openshift-install-mac.tar.gz
Create SSH key pair
In this step, you will create a SSH key pair on your local machine so that you can authenticate and securely access the nodes.
$ ssh-keygen -t ed25519 -f <path>/<file_name>
- View the public SSH key:
$ cat <path>/<file_name>
- If the ssh-agent process is not already running for your local user, start it as a background task:
eval "$(ssh-agent -s)"
Example output
Agent pid <process id>
Install Config File
Create another folder with the folder created in step 4, this will be our installation directory
$ mkdir <folder2 name> ( mkdir aws)
$ ./openshift-install create install-config --dir <folder2 name>
Example:
$./openshift-install create install-config --dir aws
Configure YAML
Modify the sections of YAML file with your own data, choose appropriate options for installation like DNS, cluster name, location etc. Navigate to the folder and run the install command
$ cd <folder2 name>
$ vi install-config.yaml
Below is an illustrative example of yaml spec
apiVersion: v1
baseDomain: < AWS domain >
compute:
- architecture: amd64
  hyperthreading: Enabled
  name: worker
  platform:
    aws:
      type: <instance type>
  replicas: <number of replicas>
controlPlane:
  architecture: amd64
  hyperthreading: Enabled
  name: master
  platform:
    aws:
      type: <instance type>
  replicas: <number of replicas>
metadata:
  creationTimestamp: null
  name: <ClusterName>
networking:
  clusterNetwork:
  - cidr: 10.128.0.0/14
    hostPrefix: 23
  machineNetwork:
  - cidr: 10.0.0.0/16
  networkType: OpenShiftSDN
  serviceNetwork:
  - 172.30.0.0/16
platform:
  aws:
    region: <region>
publish: External
sshKey: <ssh public key>
pullSecret: < pullSecret downloaded from OpenShift>
Cluster Config
Run the cluster create command and choose the appropriate options.
$ ./openshift-install create cluster --dir <installation_directory> --log-level=info
- Select "AWS" as provider
$ ./openshift-install create cluster --dir <folder1 location> --log-level=info
? Platform  [Use arrows to move, type to filter, ? for more help]
  alibabacloud
> aws        → Select AWS
  azure
  gcp
  ibmcloud
- Select AWS region
  $ ./openshift-install create cluster --dir <folder1 location> --log-level=info
  ? Platform aws
  INFO Credentials loaded from the "default" profile in file ".aws/credentials"
  ? Region  [Use arrows to move, type to filter, ? for more help]
    eu-west-3 (Europe (Paris))
    me-south-1 (Middle East (Bahrain))
    sa-east-1 (South America (Sao Paulo))
    us-east-1 (US East (N. Virginia))
    us-east-2 (US East (Ohio))
    us-west-1 (US West (N. California))
  > us-west-2 (US West (Oregon))  → Select Region
- Provide Domain and Cluster Name
 $ ./openshift-install create cluster --dir <folder1 location> --log-level=info
 ? Platform aws
 INFO Credentials loaded from the "default" profile in file ".aws/credentials"
 ? Region us-west-2
 ? Base Domain demo.dev.rafay-edge.net
 ? Cluster Name xyy
 ? Pull Secret [? for help] ********************************* → Copy paste the pull secret
You will see a message similar to the one below on successful provisioning of the clusters. This step can take ~30-40 minutes to complete.
INFO Creating infrastructure resources...
INFO Waiting up to 20m0s (until 3:43PM) for the Kubernetes API at https://api.<ClusterName.AWS Domain>:6443...
INFO API v1.24.6+5658434 up
INFO Waiting up to 30m0s (until 3:55PM) for bootstrapping to complete...
INFO Waiting up to 10m0s (until 3:55PM) for the openshift-console route to be created...
INFO Install complete!
INFO To access the cluster as the system:admin user when using 'oc', run
INFO     export KUBECONFIG=<kubeconfig location>/kubeconfig
INFO Access the OpenShift web-console here: https://console-openshift-console.apps.<ClusterName.AWS Domain>
INFO Login to the console with user: "kubeadmin", and password: "****************"
INFO Time elapsed: 32m0s
Next Steps
Once the master and worker nodes are ready, you can import your OpenShift cluster into a Project in your Org.