Part 1: Import Cluster
What Will You Do
In this section you will
- Setup RCTL to programatically interact with the controller
- Import a Kubernetes cluster into the controller using RCTL
- Remotely access this cluster using the integrated browser based Zero Trust Kubectl
Step 1: Download RCTL
The RCTL CLI allows you to programmatically interact with the controller enabling users to construct sophisticated automation workflows.
- Login into your Org
- Navigate to "My Tools" to download both the RCTL CLI and the "CLI Config" file
- Initialize RCTL using the step-by-step instructions
- Ensure you update your OS's Path environment variable for RCTL
Step 2: Import Cluster
In this step, you will import your OpenShift cluster into the controller. We will use the "default-openshift" blueprint which is the baseline for any Openshift cluster on AWS or Azure.
- Save the following YAML to a file called clusterspec.yaml
kind: Cluster
metadata:
  # set the name of the cluster
  name: openshift-cluster-gs
  # specific the project name to create the cluster
  project: defaultproject
spec:
  # type can be "imported"
  type: imported
  # blueprint below is optional, if not specified, default value is "default"
  blueprint: default-openshift
  # location, can be custom or predefined
  location: aws/us-west-2
- Run the following command to create the cluster in the controller
rctl create cluster -f clusterspec.yaml
The command will return cryptographically unique "bootstrap" YAML. This YAML can then be applied on the cluster to register the cluster with the controller.
- Save the returned YAML to a file named cluster_bootstrap.yaml
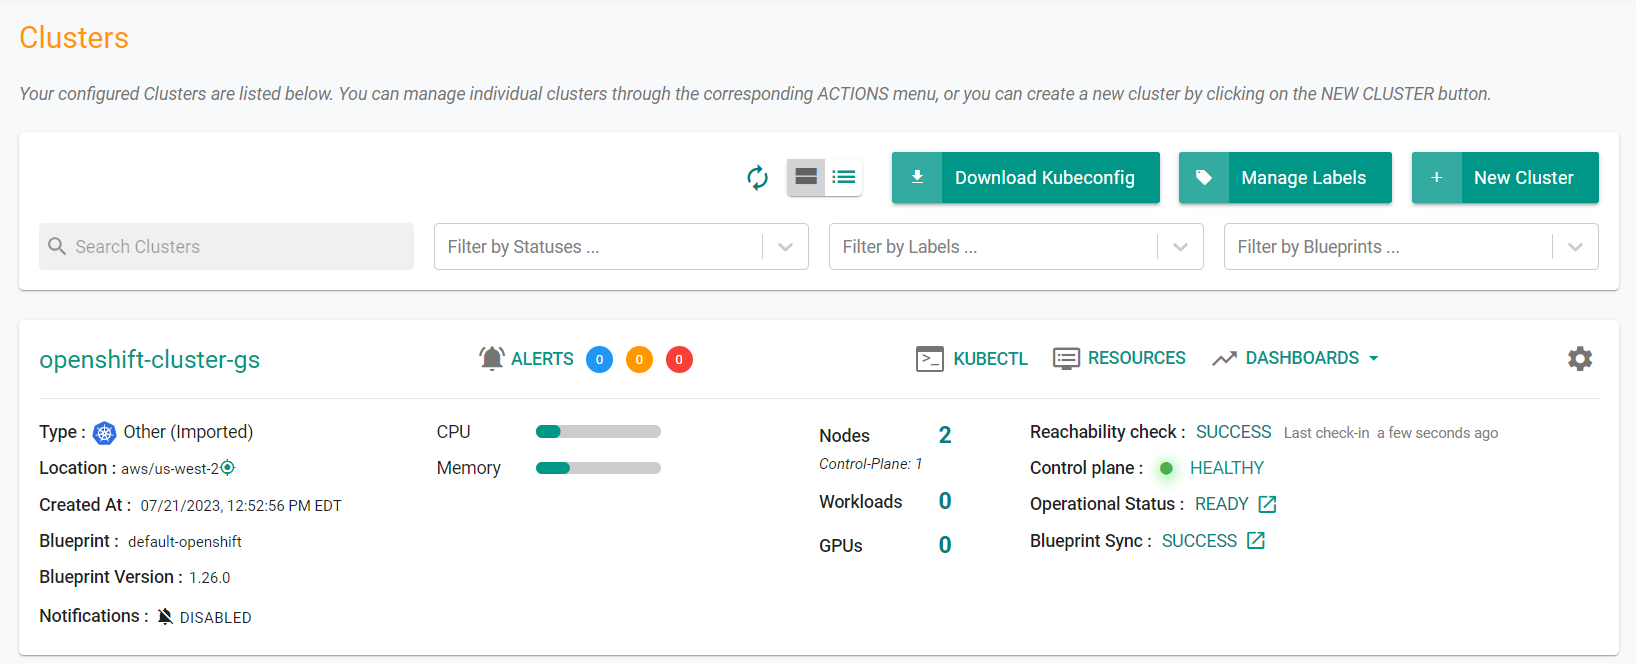
In the web-console, you will see something similar to the following showing the new cluster.
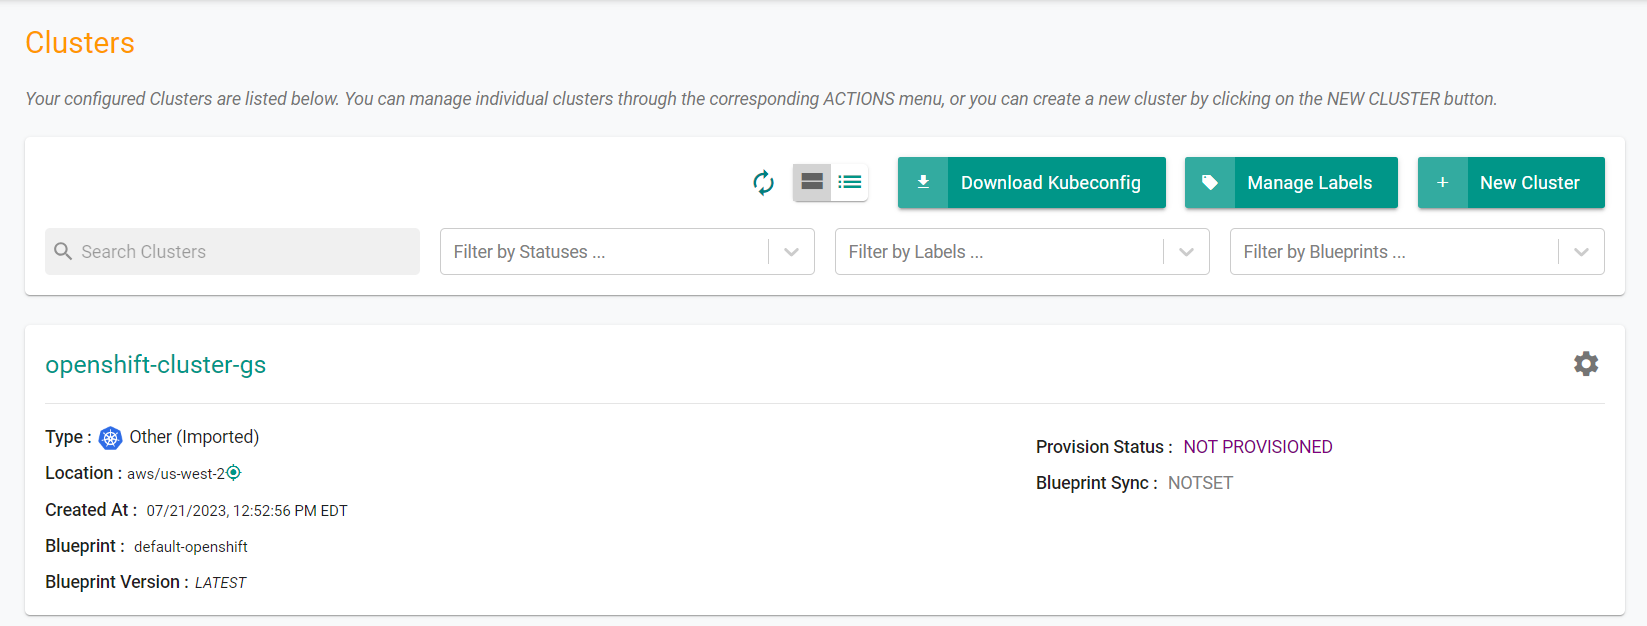
If you click on the cluster card, you will see an image similar to the following.
Next, the cluster must be registered to the controller. This will create a namespace for the k8s mgmt operator and download the container images. This one time import process can take ~2 minutes and depends on the speed of your Internet connection to download the required images.
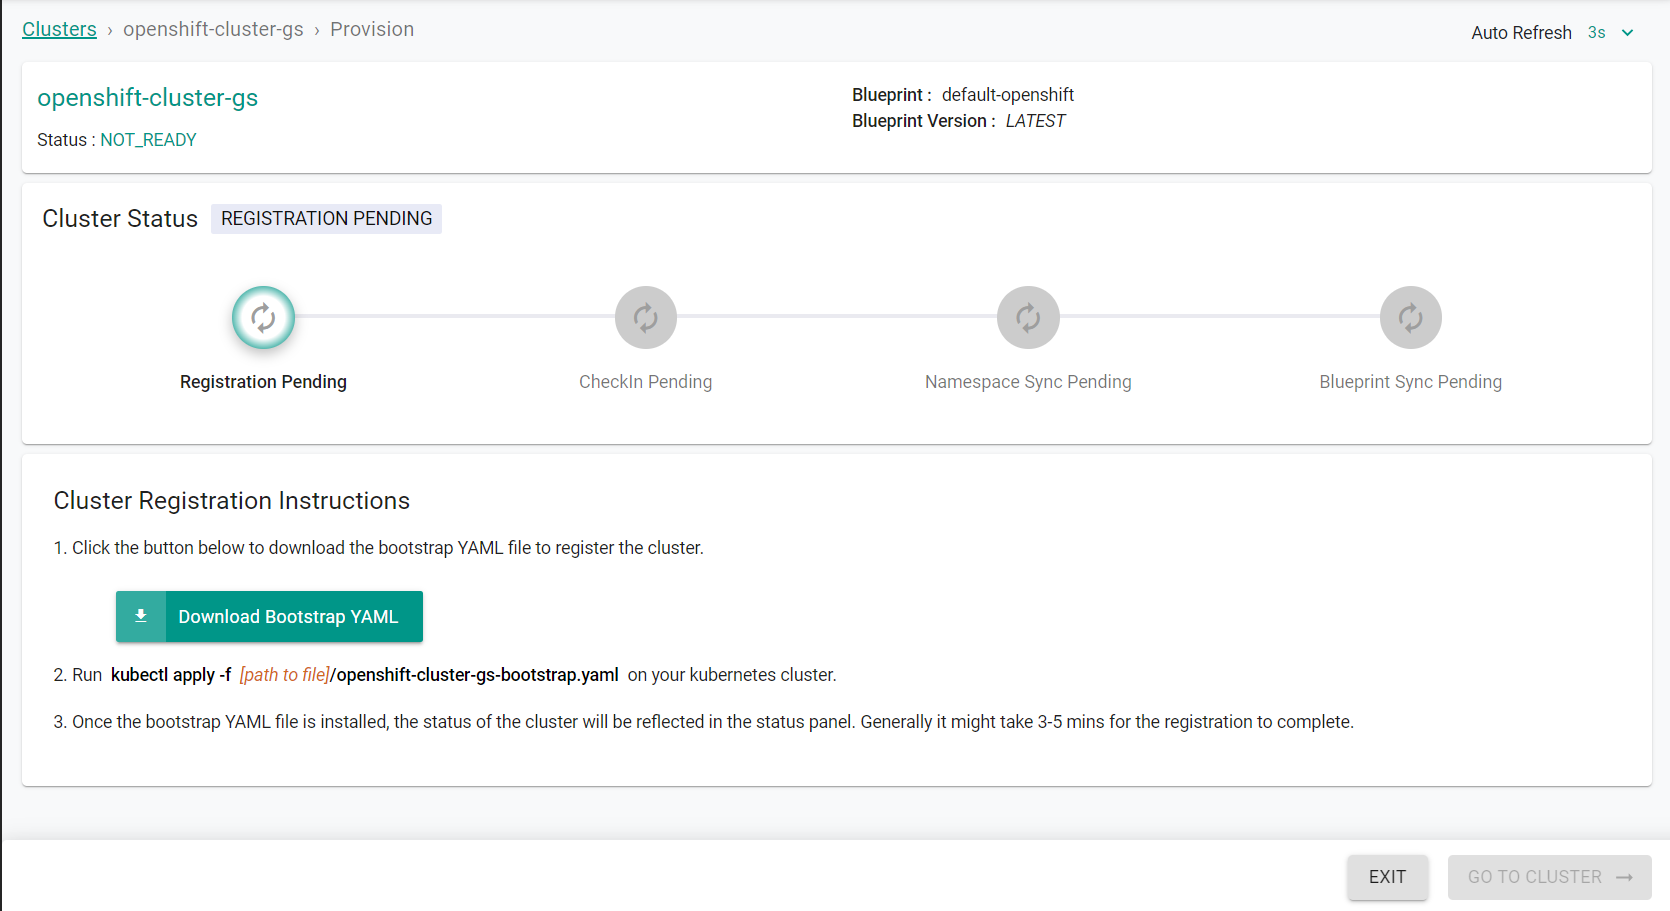
- Run the following command on the OpenShift cluster to register it to the controller
kubectl apply -f cluster_bootstrap.yaml
After you run the command, you will see something similar to the following:
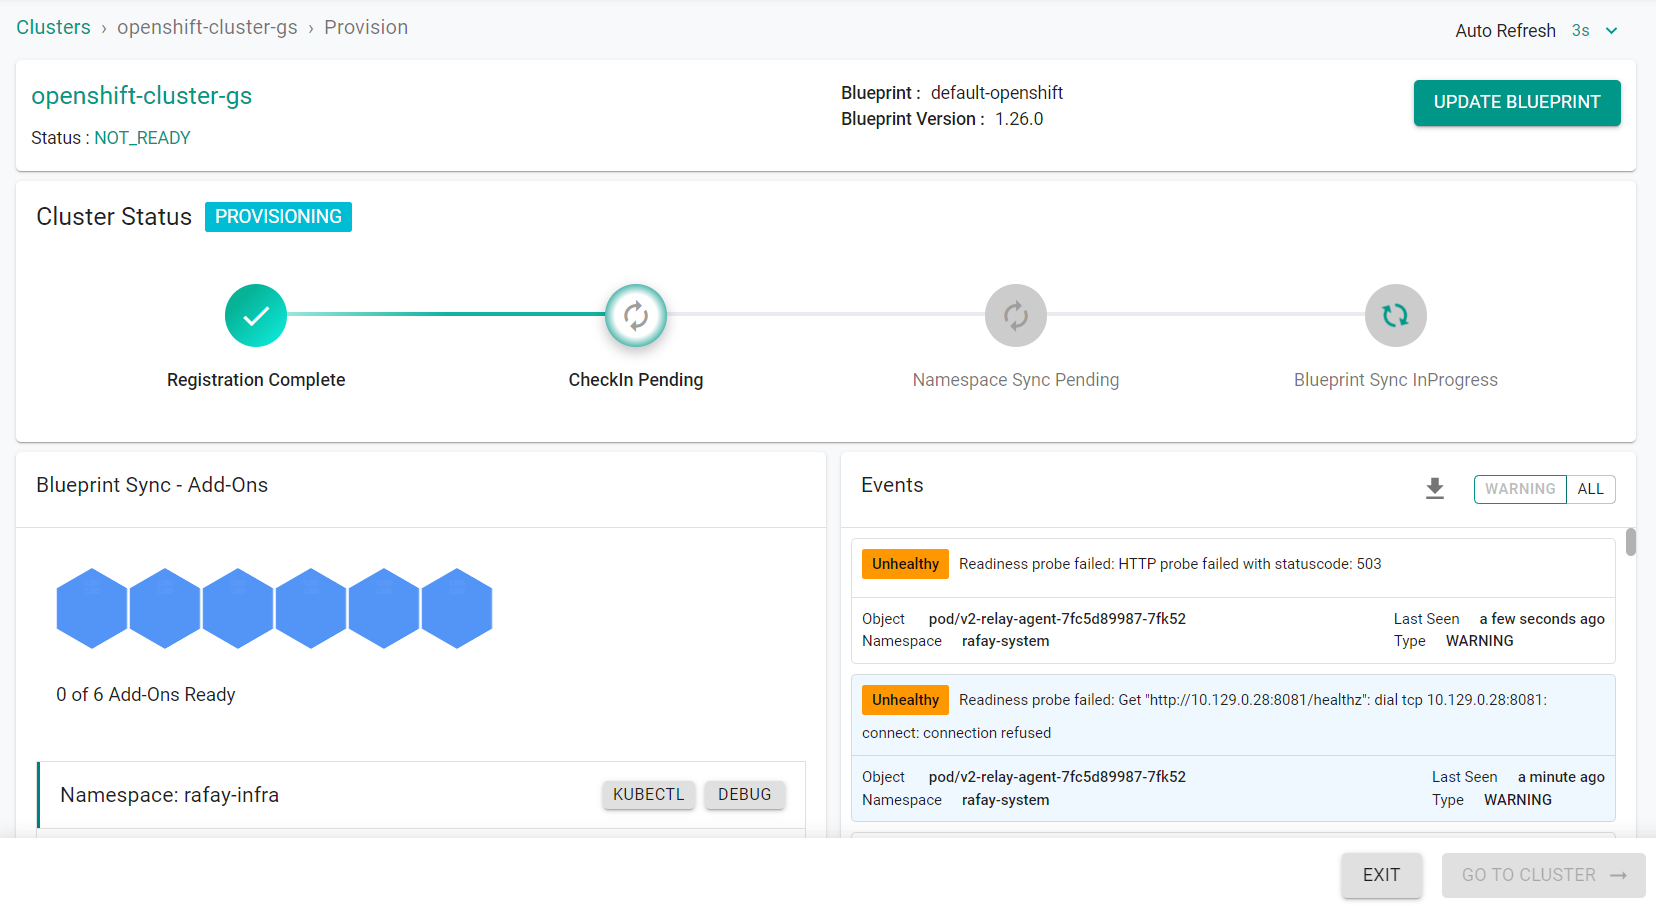
After a few minutes, you will see the completed import process.
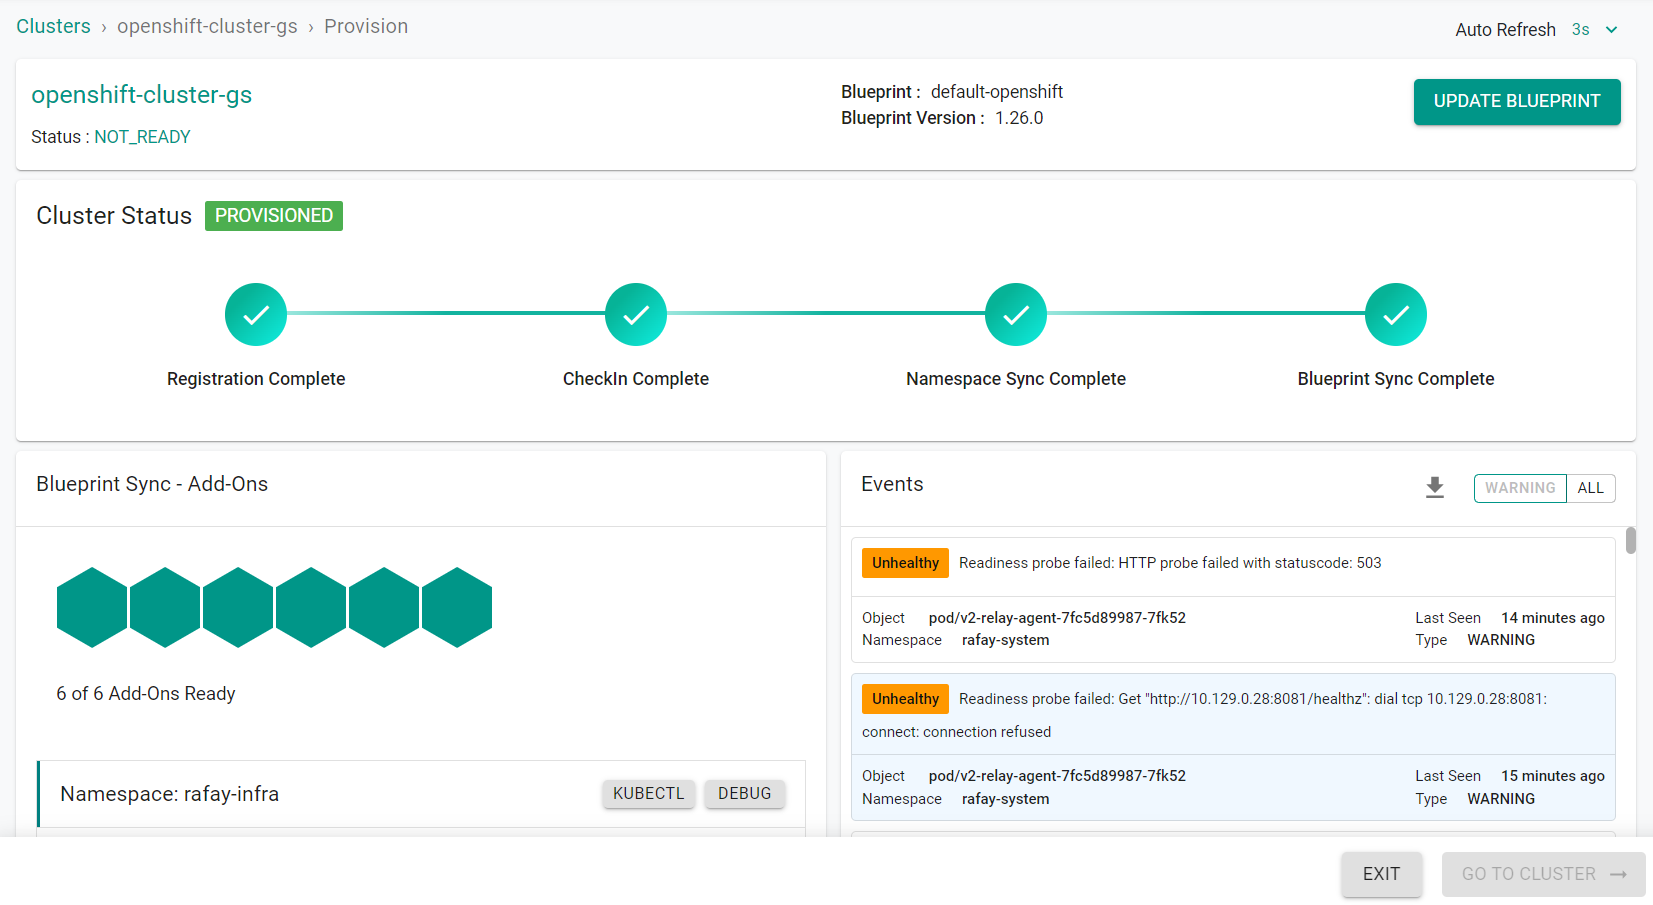
- Click Exit
Step 3: Check Cluster Status
In the console, you will notice that the imported cluster would have registered itself and will start receiving instructions from the controller. You can also check the status of the management operator pods on your cluster using kubectl.
- Run the following command on the cluster
kubectl get po -n rafay-system
You should see something like the following
NAME                                     READY   STATUS    RESTARTS   AGE
controller-manager-v3-6c8dbff877-kb6jr   1/1     Running   0          14m
edge-client-6b7f89dc74-dc98m             1/1     Running   0          13m
ingress-controller-v1-controller-rl7zm   1/1     Running   0          9m23s
ingress-controller-v1-controller-zx8gd   1/1     Running   0          9m23s
rafay-connector-v3-7c656fbbbf-28zdb      1/1     Running   0          14m
v2-relay-agent-6db979f66-82wbv           1/1     Running   0          14m
Once the k8s operator is operational, it will "establish and maintain a heartbeat" with the controller.
You will now see the cluster card is fully populated with cluster details.
Troubleshooting
Here are some common conditions that can cause issues with the import process.
Blocking Firewall
The k8s operator pods installed in your cluster need to connect out on port 443 and establish a long running mTLS based control channel to the SaaS Controller. If you see the following pods in a Pending state for several minutes, you most likely have a network firewall blocking outbound connections. Installation will not proceed.
kubectl get po -n rafay-system

NAME                                READY  STATUS  RESTARTS  AGE
controller-manager-54db66978c-kp856  0/1   Pending  0        6m48s
rafay-connector-75649c86f-l876q      0/1   Pending  0        6m48s
To confirm this, you can use "kubectl logs"
kubectl logs rafay-connector<pod id> -n rafay-system
If you do not see a "connected to core" message, it is most likely a firewall or a DNS issue.
{"level":"info","ts":"2021-10-05T14:37:11.807Z","caller":"connector/connector.go:116","msg":"registering connector"}
{"level":"info","ts":"2021-10-05T14:37:11.818Z","caller":"connector/connector.go:123","msg":"registered connector"}
{"level":"info","ts":"2021-10-05T14:37:11.818Z","caller":"connector/connector.go:124","msg":"connecting to core"}
{"level":"info","ts":"2021-10-05T14:37:11.828Z","caller":"connector/connect.go:48","msg":"connecting","to":"control.rafay.dev:443"}
{"level":"info","ts":"2021-10-05T14:37:11.954Z","caller":"connector/connector.go:131","msg":"connected to core"}
Solution White list the Controller's IPs and import again.
No DNS
Ensure your cluster has DNS configured and enabled. This is required for the pods to resolve the SaaS Controller on the Internet in order to connect to it.
Resources
Ensure your cluster has sufficient resources available for pods to become operational.
Network Bandwidth
Ensure you have a resonable and stable connection to the Internet.
Recap
Congratulations! At this point, you have successfully imported an existing OpenShift cluster into your project. You are ready to progress to the next section.