Access
In this part, you will
- Create a K8s YAML workload that will deploy sample application which will pull the secret created in AWS Secret Manager.
- Verify the secrets are availale to the pods.
Step 1: Create Namespace
Let us create a namespace where we will deploy our YAML workload.
- Click on Infrastructure -> Namespaces
- Click New Namespace
- Enter "game-2048" in the "Name" section
- For "Type" Select "Wizard" from the dropdown
- In the Pod Security Policy section, enter "rafay-privileged-psp"
- Click "SAVE"
- Click "SAVE & GO TO PLACEMENT"
- Select the specific cluster
- Click "SAVE & GO TO PUBLISH"
- Select "PUBLISH"
- Select "EXIT" once namespace has published
Step 2: Create Workload YAML
We are using a game-2048 deployment in this example to create an Ingress resource which will provision an ALB.
- Copy the K8s YAML manifest below to a file called "game-2048.yaml".
- Edit lines 44 to match the ARN of your hosted AWS Certificate Manager certificate. (Optional)
- Edit line 50 to match the host you will define an A record for in your Route 53 hosted zone.
---
apiVersion: apps/v1
kind: Deployment
metadata:
  name: deployment-2048
spec:
  selector:
    matchLabels:
      app.kubernetes.io/name: app-2048
  replicas: 1
  template:
    metadata:
      labels:
        app.kubernetes.io/name: app-2048
    spec:
      containers:
      - image: alexwhen/docker-2048
        imagePullPolicy: Always
        name: app-2048
        ports:
        - containerPort: 80
---
apiVersion: v1
kind: Service
metadata:
  name: service-2048
spec:
  ports:
    - port: 80
      targetPort: 80
      protocol: TCP
  type: NodePort
  selector:
    app.kubernetes.io/name: app-2048
---
apiVersion: networking.k8s.io/v1beta1
kind: Ingress
metadata:
  name: ingress-2048
  annotations:
    kubernetes.io/ingress.class: alb
    alb.ingress.kubernetes.io/scheme: internet-facing
    alb.ingress.kubernetes.io/target-type: ip
    alb.ingress.kubernetes.io/certificate-arn: arn:aws:acm:us-west-2:####:certificate/####
    alb.ingress.kubernetes.io/listen-ports: '[{"HTTP": 80}, {"HTTPS":443}]'
    alb.ingress.kubernetes.io/healthcheck-path: /
    alb.ingress.kubernetes.io/actions.ssl-redirect: '{"Type": "redirect", "RedirectConfig": { "Protocol": "HTTPS", "Port": "443", "StatusCode": "HTTP_301"}}'
spec:
  rules:
    - host: alb.example.com
      http:
        paths:
          - path: /*
            backend:
             serviceName: ssl-redirect
             servicePort: use-annotation
          - path: /*
            backend:
              serviceName: service-2048
              servicePort: 80
Step 3: Create Workload
In this step, we will create a workload based on the YAML from the previous step and publish it to our cluster.
-
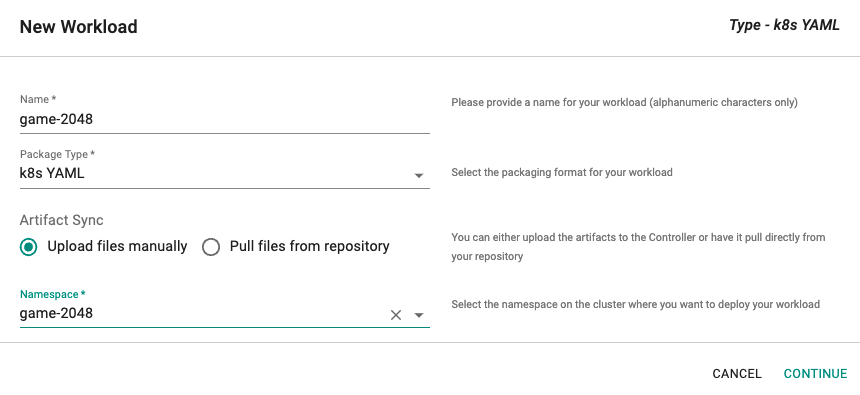
Click on Application -> Workloads.
-
Click on Create New Workload with the name "game-2048".
-
Select "K8s YAML" for the Package Type.
-
Select "Upload files manually" for Artifact Sync.
-
Select the "game-2048" namespace from the dropdown.
-
Click on "CONTINUE"
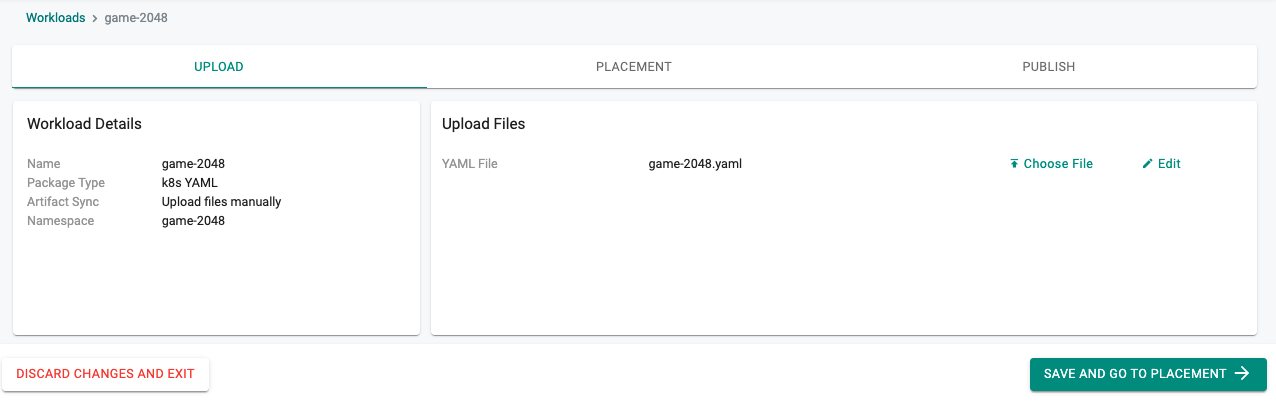
- Select the file created in the previous step.
-
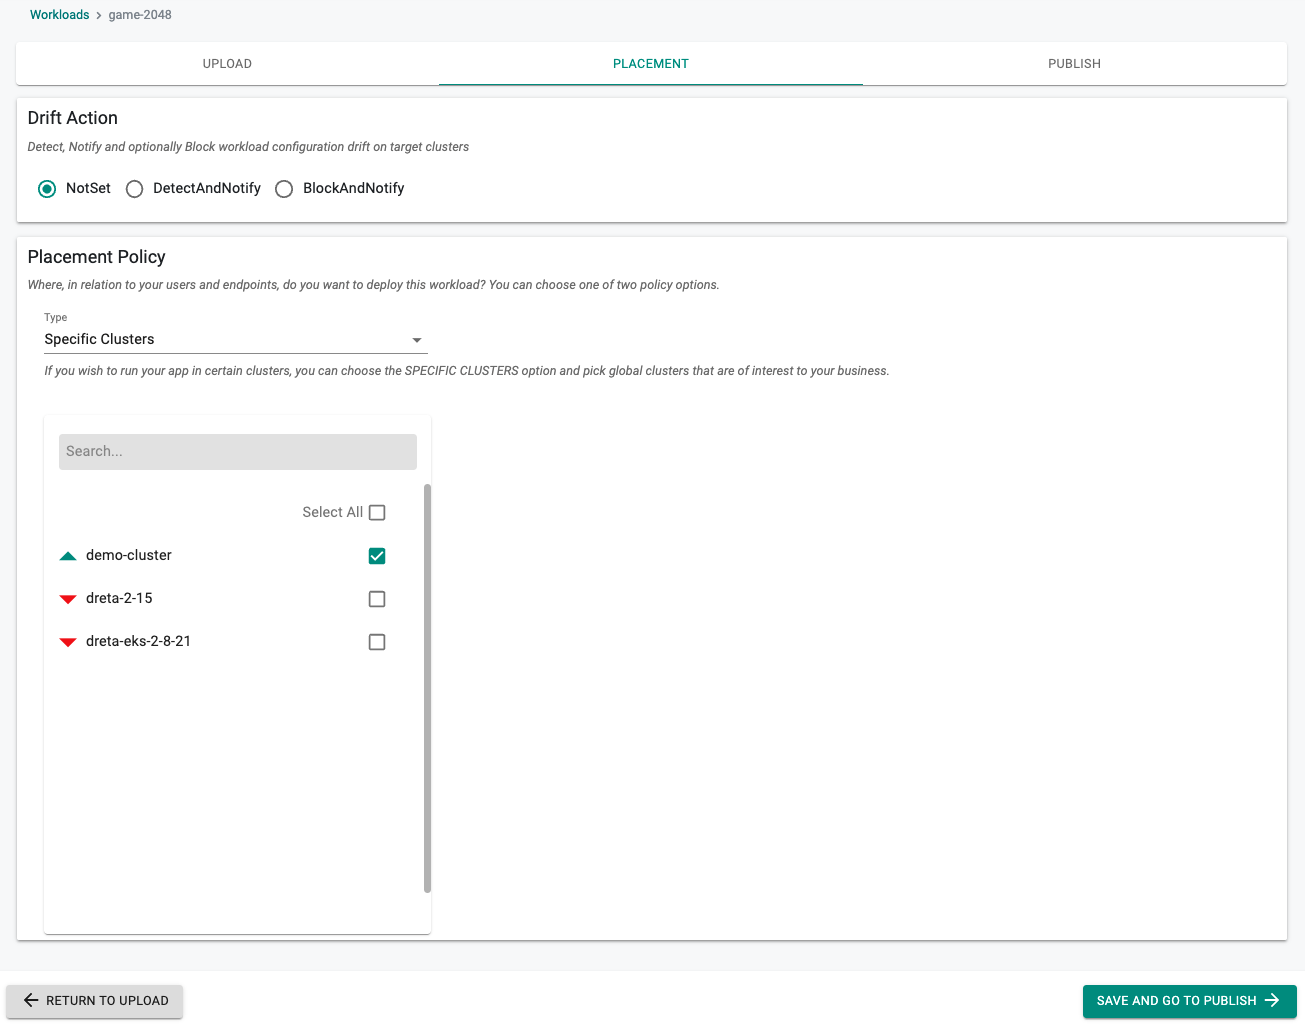
Set the Drift Action to "NotSet"
-
Select a cluster for the placement policy
-
Click on "SAVE AND GO TO PUBLISH"
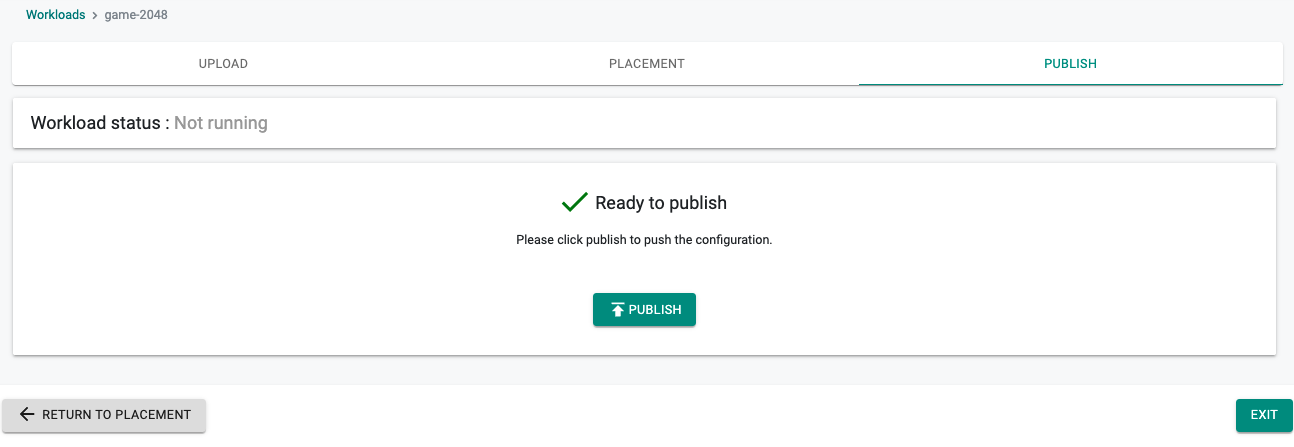
- Publish the workload
Step 4: Verify Workload
- Create an A record in your Route53 hosted zone for your host defined in your ingresss resource
- If you do not have access to Route53, you can create an entry in your local /etc/hosts file
- Click on the Kubectl button on the cluster to open a virtual terminal and run the following kubectl command
kubectl get ingresses -n game-2048

NAME           CLASS    HOSTS                        ADDRESS                                                                  PORTS   AGE
ingress-2048   <none>   alb.yog.dev.rafay-edge.net   k8s-game2048-ingress2-bcac0b5b37-768944746.us-west-2.elb.amazonaws.com   80      47s
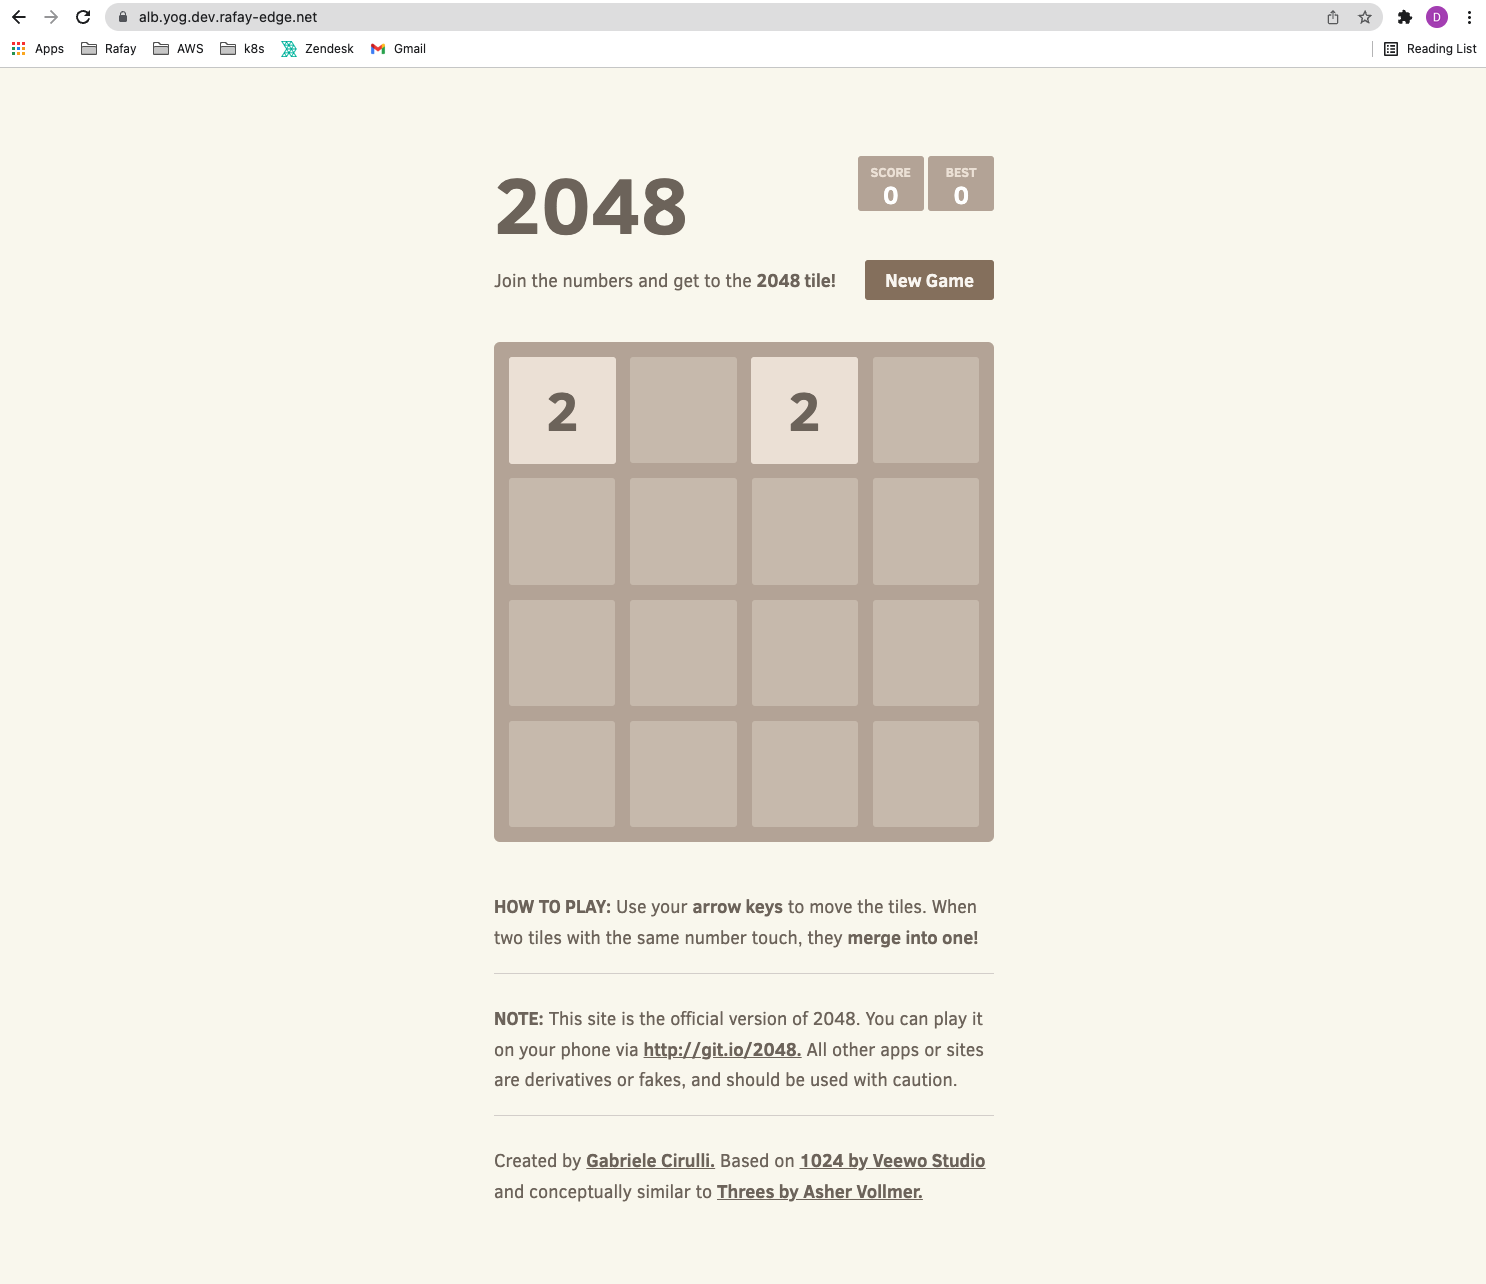
- Verify you can securely access the game app using your web browser
Recap
Congratulations!
You have successfully created a custom cluster blueprint with the "aws-load-balancer-controller" addon and applied it to a cluster. You can now use this blueprint on as many clusters as you require.