Configure
In this part, you will
- Create an add-on which defines the IP Address Pool and mode the metallb controller will operate in
- Create a blueprint containing the metallb controller and configuration add-ons
- Apply the newly created blueprint to the MKS cluster
Create Add-On
Metallb uses a number of custom resources to define the configuration. Since we are operating in ARP mode we will define an IPAddressPool and L2Advertisement resource. In the following manifest we have allocated the IPs 192.168.15.200-205 to our LoadBalancer. When a LoadBalancer is created it will pull one of the IPs from the IPAddressPool. Save the following configuration in a file named "metallb-config.yaml".
# The address-pools lists the IP addresses that MetalLB is
# allowed to allocate. You can have as many
# address pools as you want.
apiVersion: metallb.io/v1beta1
kind: IPAddressPool
metadata:
  # A name for the address pool. Services can request allocation
  # from a specific address pool using this name.
  name: first-pool
  namespace: metallb-system
spec:
  # A list of IP address ranges over which MetalLB has
  # authority. You can list multiple ranges in a single pool, they
  # will all share the same settings. Each range can be either a
  # CIDR prefix, or an explicit start-end range of IPs.
  addresses:
  - 192.168.15.200-192.168.15.205
---
apiVersion: metallb.io/v1beta1
kind: L2Advertisement
metadata:
  name: example
  namespace: metallb-system
spec:
  ipAddressPools:
  - first-pool
Create Add-On
- Click on Infrastructure -> Add-Ons
- Click on "Create New Add-on"
- Enter "metallb-config" for the Name
- Select "K8s YAML" for the Type
- Enter "metallb-system" for the Namespace

- Click on "CREATE"
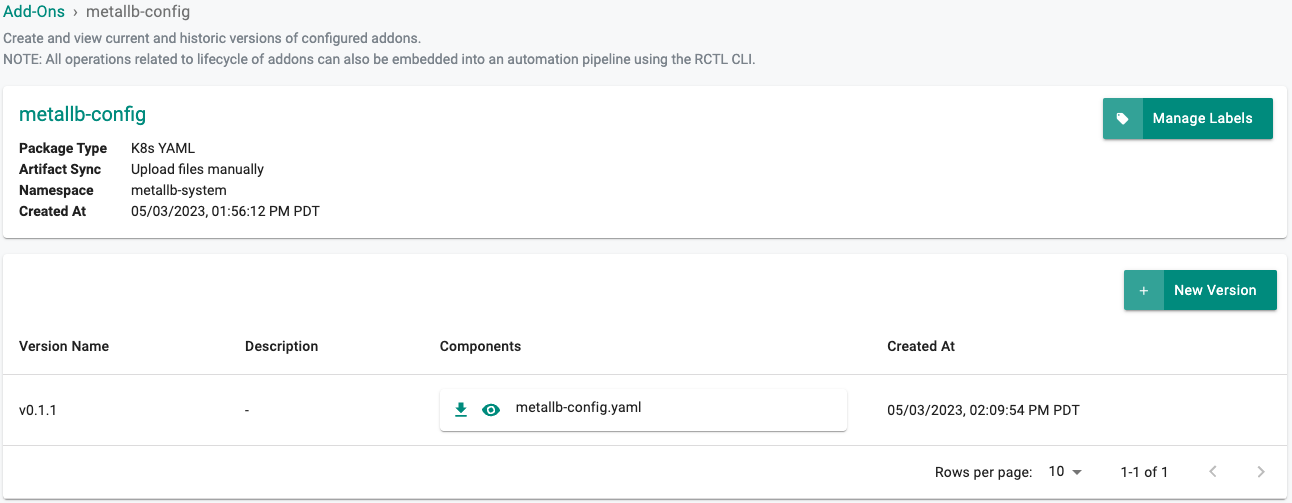
New Version
- Click on "New Version"
- Enter a version name, for this addon we will user "v0.1.1"
- Enter a description
- Upload the file "metallb-config.yaml" we created earlier
- Click on "Save Changes"
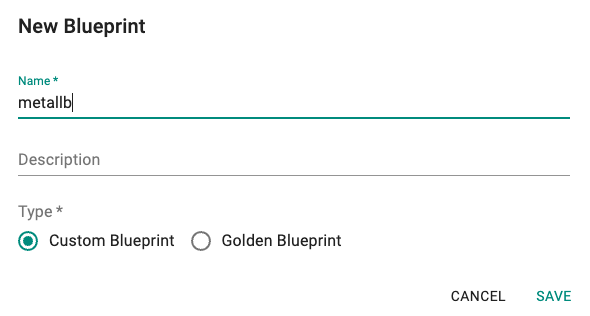
Create Blueprint
- Click on Infrastructure -> Blueprints
- Select "New Blueprint" (e.g. metallb)
- Enter a description
- Select "Custom Blueprint" for the Type
- Click on "SAVE"
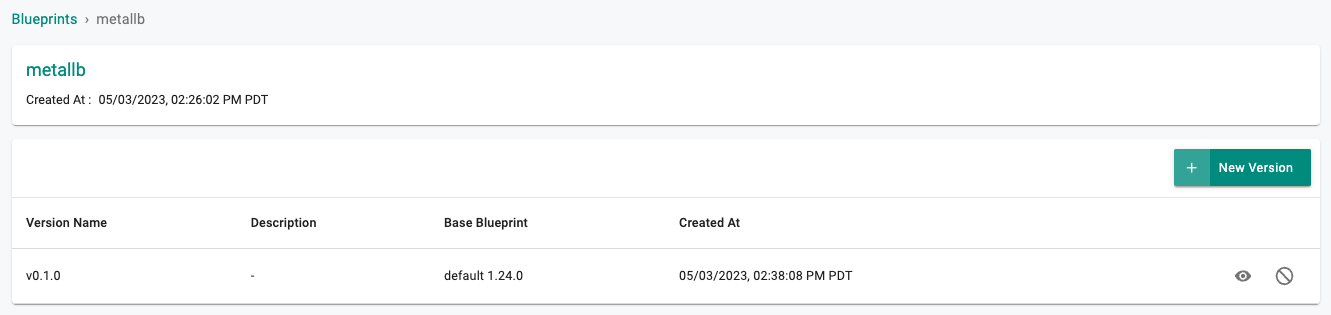
- Enter a Version Name such as "v0.1.0"
- Set the "Base Blueprint" to the latest Version
- Set "Drift Action" to "BlockAndNotify"
- Click on "Configure Add-ons"
- Add the two add-ons and created in the previous step, notice metallb-config depends on metallb
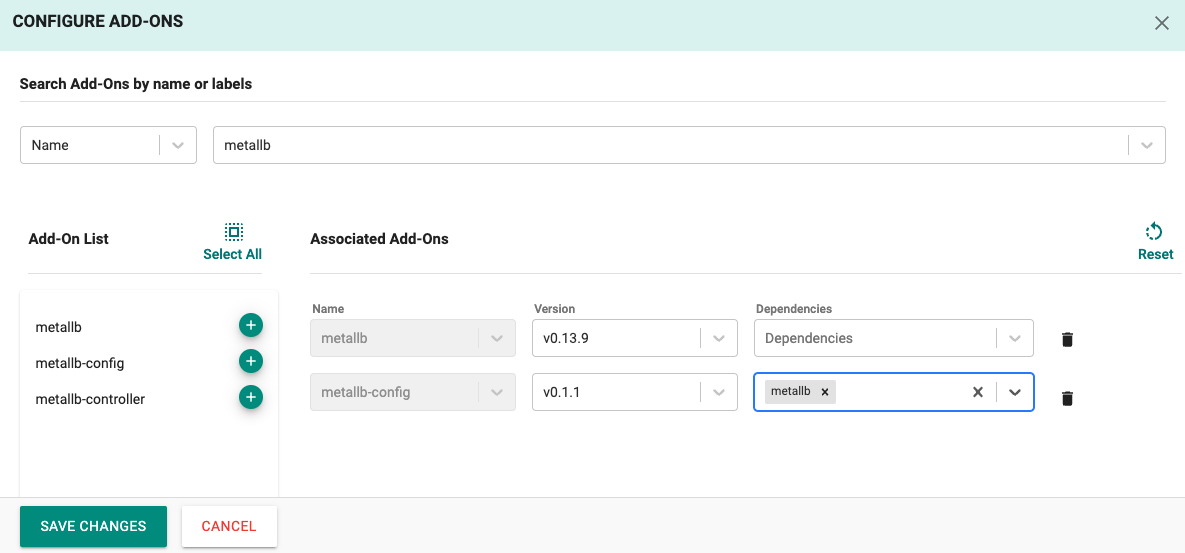
- Click on "SAVE CHANGES"

- Click on "SAVE CHANGES"
Apply Blueprint
Now, we are ready to apply the newly created custom blueprint to our MKS cluster.
- Select Infrastructure -> Clusters
- Click on the gear icon on the far right of the MKS cluster
- Update blueprint and select the new blueprint and version

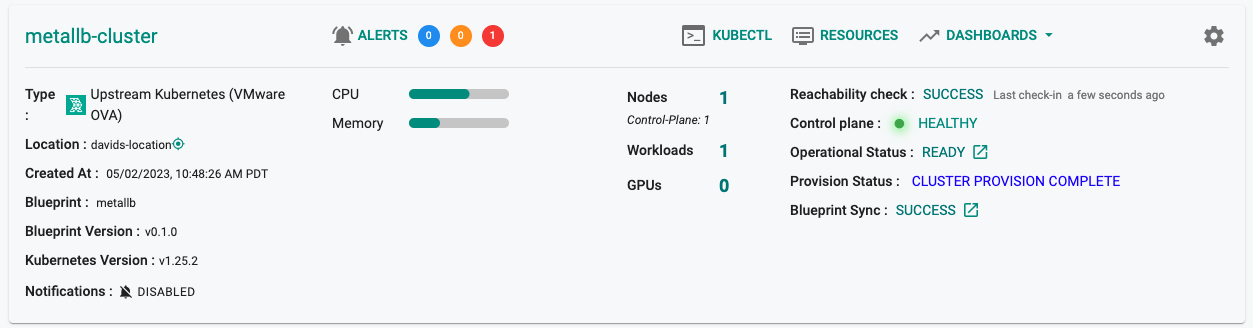
In a few minutes, all the k8s resources matching the custom cluster blueprint will become operational on the cluster.
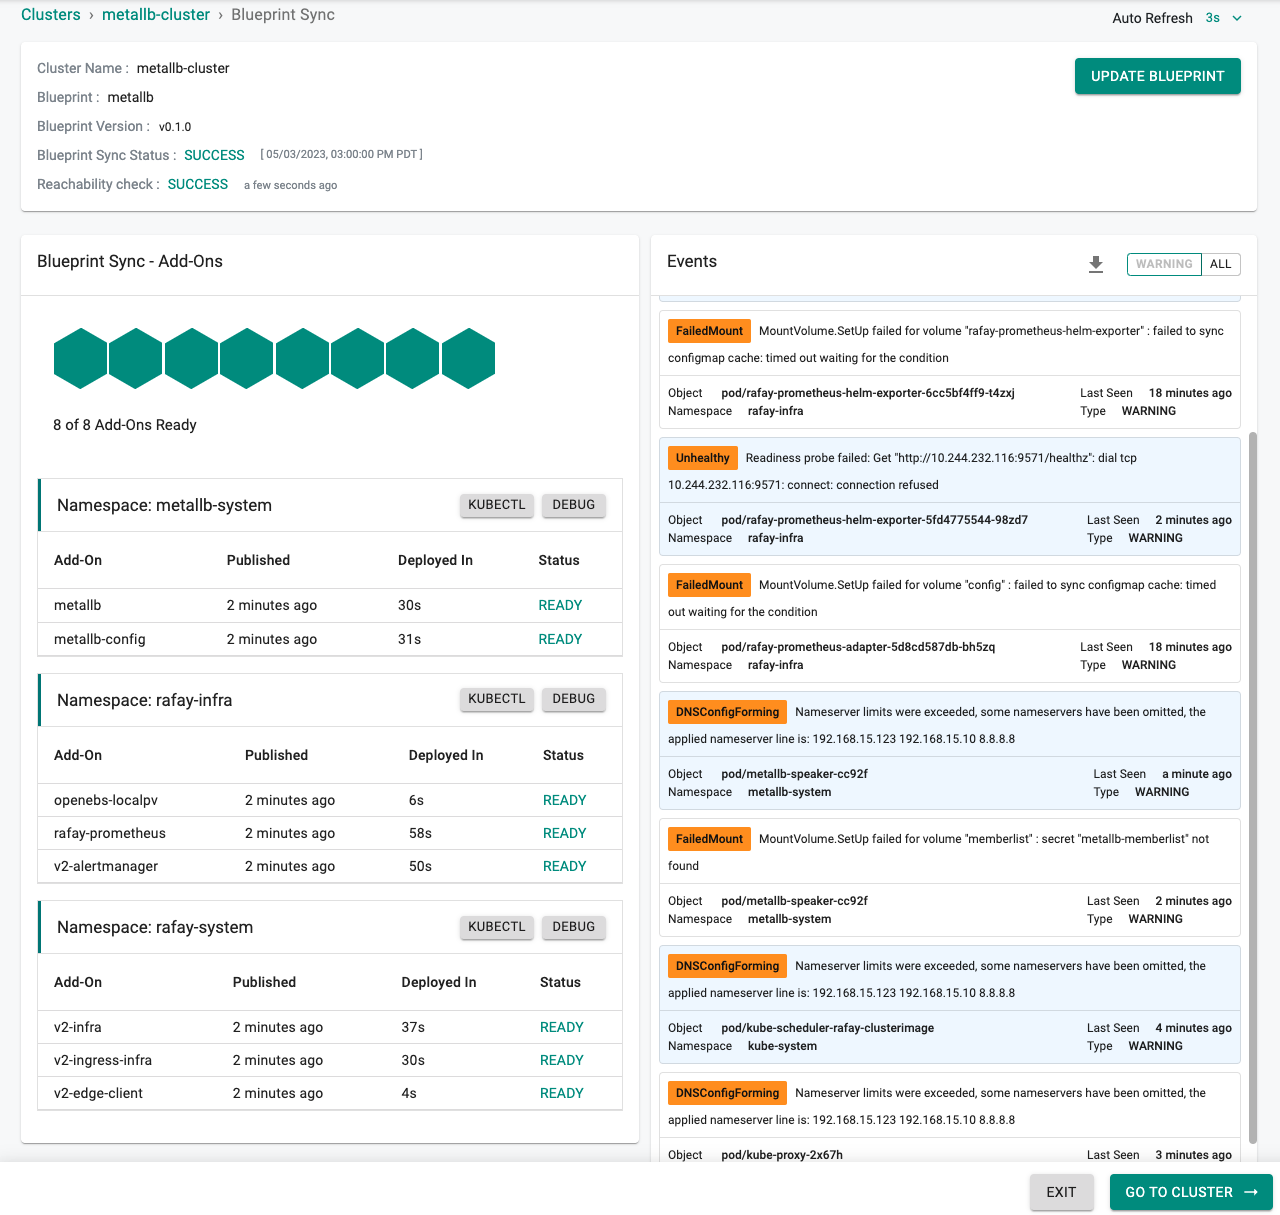
Notice that the cluster's blueprint name and version match what you created in the prior step.
Next Steps
You are now ready to move on to the next part of the recipe where you will create a workload and provision a Load Balancer.