Overview
Overview
Linkerd is a service mesh for Kubernetes with the following functionalities:
-
Latency-aware load balancing for HTTP, gRPC, WebSocket, and TCP traffic.
-
Zero configuration mTLS
-
Automatic metrics, logs and traces for all traffic within a cluster
What Will You Do
In this exercise,
- You will create a cluster blueprint with "Linkerd" addon
- You will then apply this cluster blueprint to a managed cluster
Important
This tutorial describes the steps to create and use a Linkerd based blueprint using the Web Console. The workflow can also be fully automated and embedded into an automation pipeline.
Assumptions
- You have already provisioned or imported a Kubernetes cluster using the controller
- You have step installed
Step 1: Generate identity certificates
You'll need 2 certificates 1. Trust Anchor certificate 2. Issuer certificate
You can generate them easily using a tool like step. You can use other tools like openssl as long as the certificate uses ECDSA P-256 algorithm which is a default in step.
Trust anchor certificate
Generate the root certificate with its private key using step.
step certificate create root.linkerd.cluster.local ca.crt ca.key --profile root-ca --no-password --insecure
This will generate 2 file viz. ca.crt and ca.key.
Issuer Certificate and key
Generate the intermediate certificate and key pair that will be used to sign the Linkerd proxies’ CSR.
step certificate create identity.linkerd.cluster.local issuer.crt issuer.key --profile intermediate-ca --not-after 8760h --no-password --insecure --ca ca.crt --ca-key ca.key
Step 2: Create Linkerd add-on from catalog
Linkerd is available in the Rafay System catalog making its deployment straightforward.
- Login into the Web Console and navigate to your Project as an Org Admin or Infrastructure Admin
- Under Infrastructure, select "Namespaces" and create a new namespace called "linkerd"
- Next in the Wizard, in the general section, add the following label
config.linkerd.io/admission-webhooks: disabled. Click save and go to placement - In the placement section, make sure to select the cluster you are using for this exercise and then click save & go to publish. Then click publish
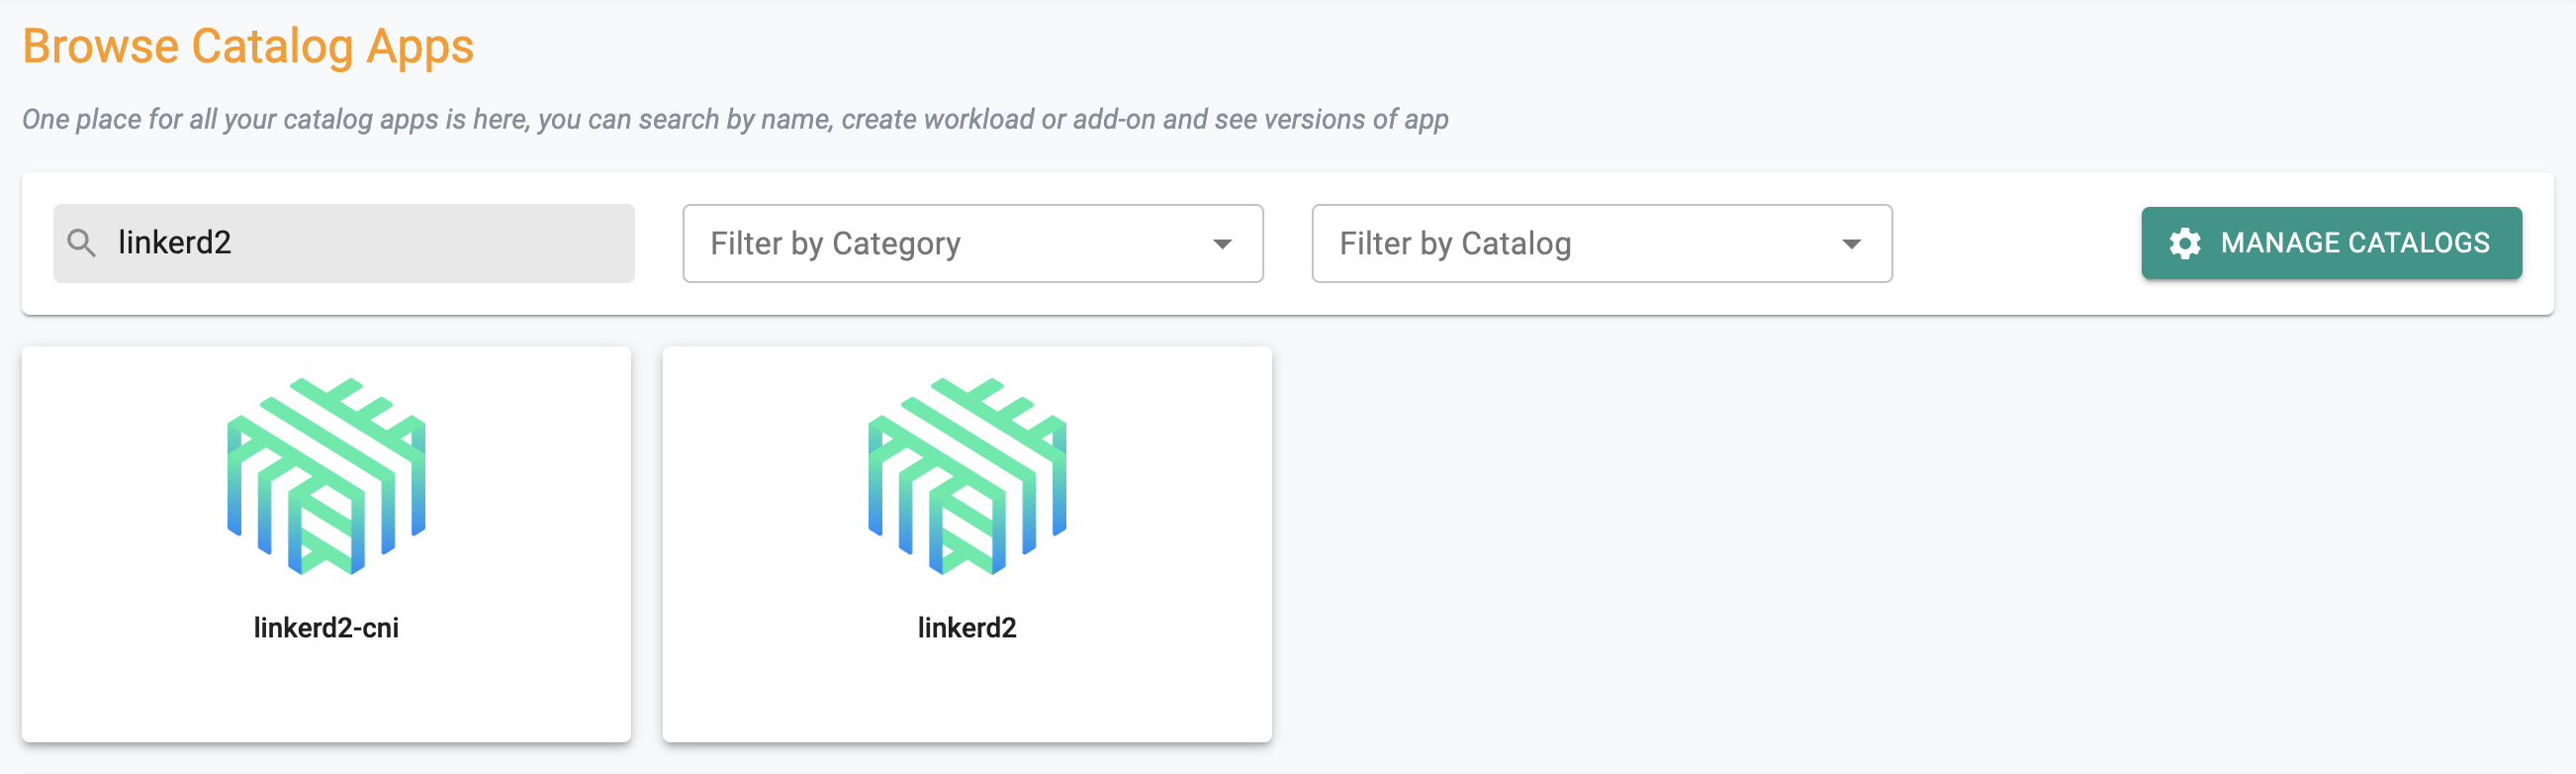
- Navigate to Catalog and search for "Linkerd2"
- Navigate to "VALUES YAML" tab and download the file. We will need to add the trust anchor and issuer certificates to this file.
- Open the values.yaml file in an editor and copy the contents of ca.cert, issuer.cert and issuer.key after
identityTrustAnchorsPEM: |,tls: crtPEM: |:andtls: keyPEM: |respectively. - On the console, select the latest stable version on the top-right and click on "Create Add-On"

- Give the name "linkerd-addon", select the namespace "linkerd" and click create.
- Give appropriate version name and stable linkerd version.
- Under "Values File(s)" select "Upload", click on "Upload Files" and upload the edited values.yaml file
- Click "SAVE CHANGES"
Step 3: Create Blueprint
Now, we are ready to assemble a custom cluster blueprint using this addon.
- Under Infrastructure, select "Blueprints"
- Create a new blueprint and give it a name such as "linkerd"
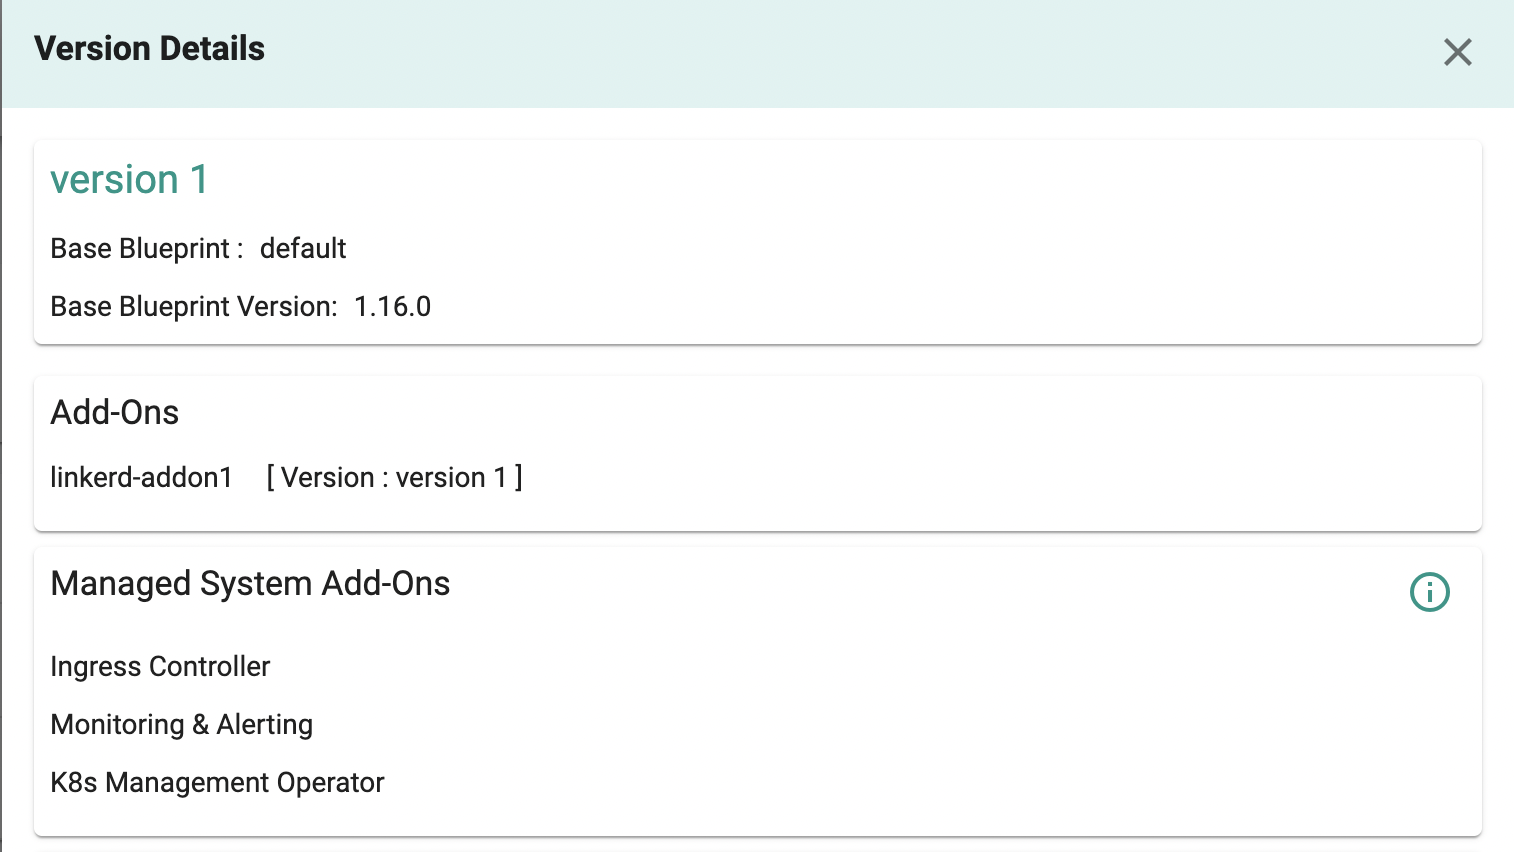
- Select "New Version" and give it a version name. Ex: version 1
- Under Add-Ons, select "ADD MORE" and chose the "linkerd" addon created in Step 3.
Step 4: Apply Blueprint
Now, we are ready to apply this blueprint to a cluster.
- Click on Options for the target Cluster in the Web Console
- Select "Update Blueprint" and select the "linkerd" blueprint from the dropdown and for the version select "version 1" from the dropdown.
- Click on "Save and Publish".
This will start the deployment of the addons configured in the "linkerd" blueprint to the targeted cluster. The blueprint sync process can take a few minutes. Once complete, the cluster will display the current cluster blueprint details and whether the sync was successful or not.
Step 5: Verify Deployment
Users can optionally verify whether the correct resources have been created on the cluster.
- Click on the Kubectl button on the cluster to open a virtual terminal
First, we will verify if the linkerd namespace has been created
kubectl get ns linkerd
Next, we will verify if the pods are healthy in the "linkerd" namespace
kubectl get po -n linkerd
NAME                                      READY   STATUS    RESTARTS   AGE
linkerd-destination-7f5d97db44-mgnn8      4/4     Running   0          3m28s
linkerd-identity-7485fb7d8f-497lc         2/2     Running   0          3m28s
linkerd-proxy-injector-68dd5776f6-4prs8   2/2     Running   0          3m28s
Recap
Congratulations! You have successfully created a custom cluster blueprint with the linkerd addon and applied to a cluster.