Kube-bench
Overview
kube-bench is an application that runs several checks to make sure Kubernetes is deployed securely. These checks are documented in CIS Kubernetes Benchmark
What Will You Do
In this exercise,
- You will create a cluster blueprint with "kube-bench" addon
- You will then apply this cluster blueprint to a managed cluster
Important
This tutorial describes the steps to create and use a kube-bench based blueprint using the Web Console. The entire workflow can also be fully automated and embedded into an automation pipeline.
Assumptions
- You have already provisioned or imported a Kubernetes cluster using the controller
Step 1: Download kube-bench manifest
curl o kube-bench.yaml https://raw.githubusercontent.com/aquasecurity/kube-bench/master/job.yaml
This will download the kube-bench manifest which can be run against kubernetes clusters deployed onprem. Since it's not possible to inspect master nodes of managed clusters, ex: AKS, EKS and GKE, you will have to use a different manifest to run against these clusters. Please refer here
Step 2: Create Addon
- Login into the Web Console and navigate to your Project as an Org Admin or Infrastructure Admin
- Under Infrastructure, select "Namespaces" and create a new namespace called "kube-system"
- Select "Addons" and "Create" a new Addon called "kube-bench"
- Ensure that you select "k8s YAML" for type and select the namespace as "kube-system"
- Click CREATE to next step
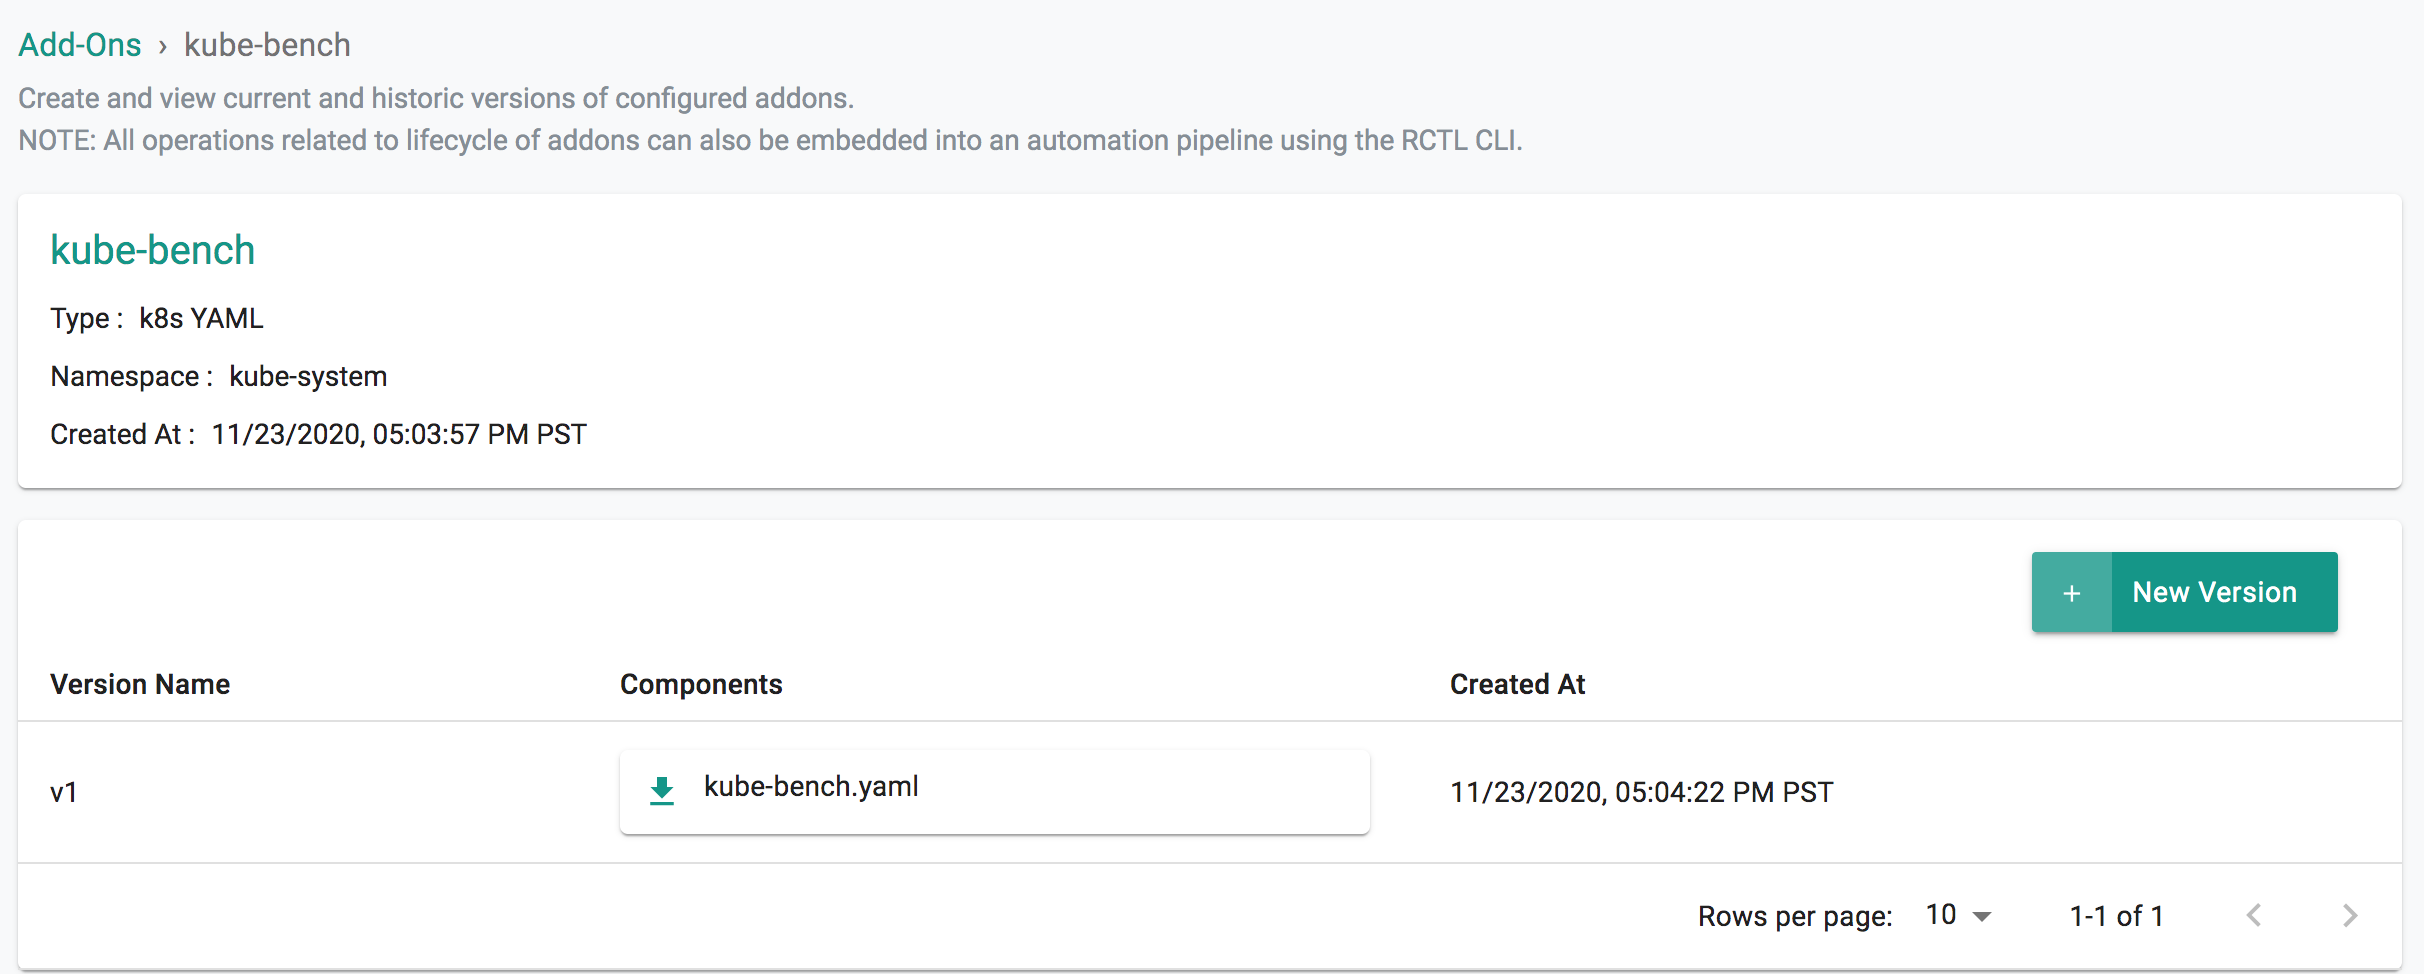
- Select "New Version" and give it a name called "v1"
- Select Upload and chose the downloaded manifest file from previous step.
- Click "SAVE CHANGES"
Step 3: Create Blueprint
Now, we are ready to assemble a custom cluster blueprint using this addon.
- Under Infrastructure, select "Blueprints"
- Create a new blueprint and give it a name such as "kube-bench"
- Select "New Version" and give it a version name. Ex: v1
- Under Add-Ons, select "ADD MORE" and chose the "kube-bench" addon created in previous step.
Step 4: Apply Blueprint
Now, we are ready to apply this blueprint to a cluster.
- Click on Options for the target Cluster in the Web Console
- Select "Update Blueprint" and select the "kube-bench" blueprint from the dropdown and for the version select "v1" from the dropdown.
- Click on "Save and Publish".
This will start the deployment of the addons configured in the "kube-bench" blueprint to the targeted cluster. The blueprint sync process can take a few minutes. Once complete, the cluster will display the current cluster blueprint details and whether the sync was successful or not.
Step 5: Verify Deployment
Users can optionally verify whether the correct resources have been created on the cluster.
- Click on the Kubectl button on the cluster to open a virtual terminal
kubectl get po -n kube-system
NAME                                      READY   STATUS      RESTARTS   AGE
kube-bench-h5kb6                          0/1     Completed   0          3h39m
To check the status of the benchmark results, check the logs of the pod.
kubectl logs -f kube-bench-h5kb6 -n kube-system
Recap
Congratulations! You have successfully created a custom cluster blueprint with the "kube-bench" addon and applied to a cluster.