Redis
Redis is an open source in-memory remote database that is commonly used as a distributed cache or as a message broker for building scalable and highly available applications. More information on Redis Sentinel.
What Will You Do
In this exercise,
- You will deploy Redis on a managed Kubernetes cluster with Sentinel enabled for monitoring nodes and handling failover.
- You will use Bitnami's Helm chart for Redis-Sentinel
Assumptions
You have already provisioned or imported one or more Kubernetes clusters using the Controller
Step 1: Download and Prepare Helm Chart
We will be using the latest, stable Redis Helm chart maintained by Bitnami. This Helm chart will allow you to deploy Redis for a production configuration i.e. a cluster with four (4) nodes ensuring that data is persisted in all the nodes using replication.
- We will tweak the parameters in the "values-production.yaml" file and provide this as an override for the Helm chart based workload.
- We will set the "number of slave nodes" and "enable Sentinel" to ensure high-availability. If the master node fails, Sentinel will start a fail over process, promote a slave to master and reconfigure the rest of the nodes to read from the new master.
Download the "values-production.yaml"
curl -Lo values-production.yaml https://raw.githubusercontent.com/helm/charts/master/stable/redis/values-production.yaml
Edit the downloaded "values-production.yaml" file and ensure that the following parameters are configured.
## Cluster settings
cluster:
  enabled: true
  slaveCount: 3
sentinel:
  enabled: true
Download the Redis Helm chart from Bitnami's Helm repo. If you have the helm client, you can use it to download the chart. In our example, we are using the helm chart "redis-10.2.1.tgz".
Add the bitnami as a repo to your Helm client
helm repo add bitnami https://charts.bitnami.com/bitnami
To fetch the redis chart from the bitnami repo
helm fetch bitnami/redis
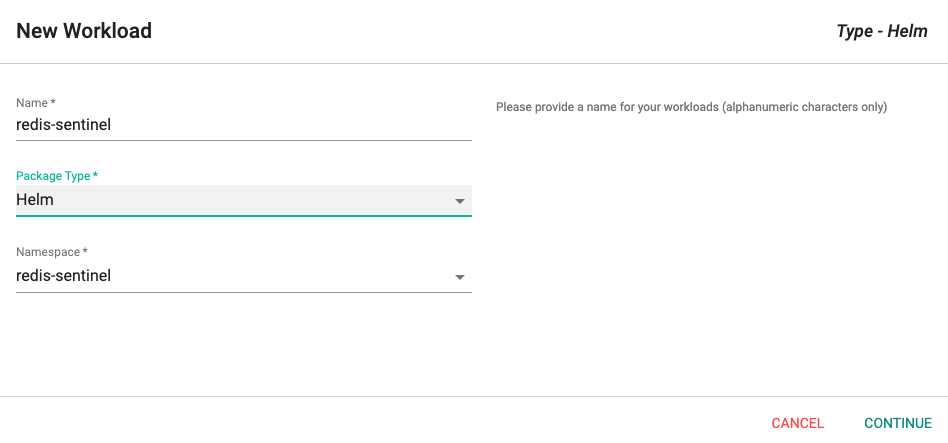
Step 2: Create Workload
Create a new Helm based workload in the controller and select the namespace you would like to deploy this to.
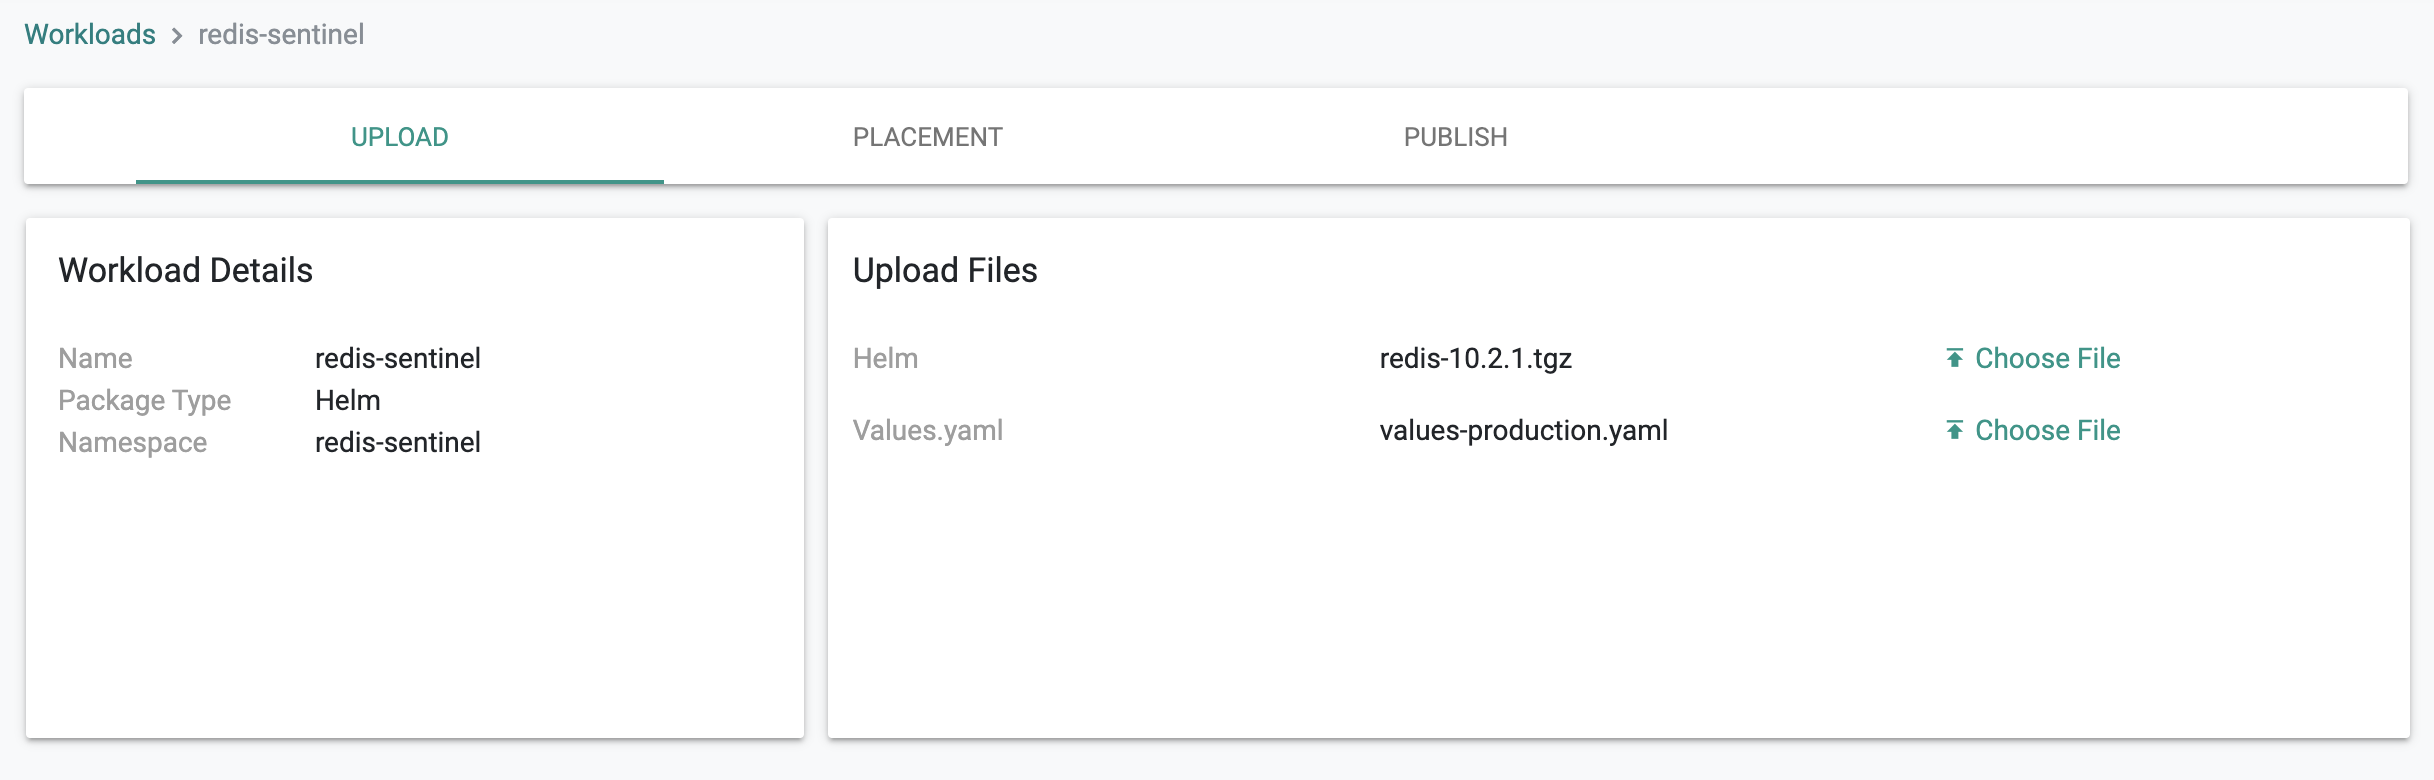
Step 3: Configure Workload
Upload the Helm chart and the production-values.yaml file you created in Step 1.
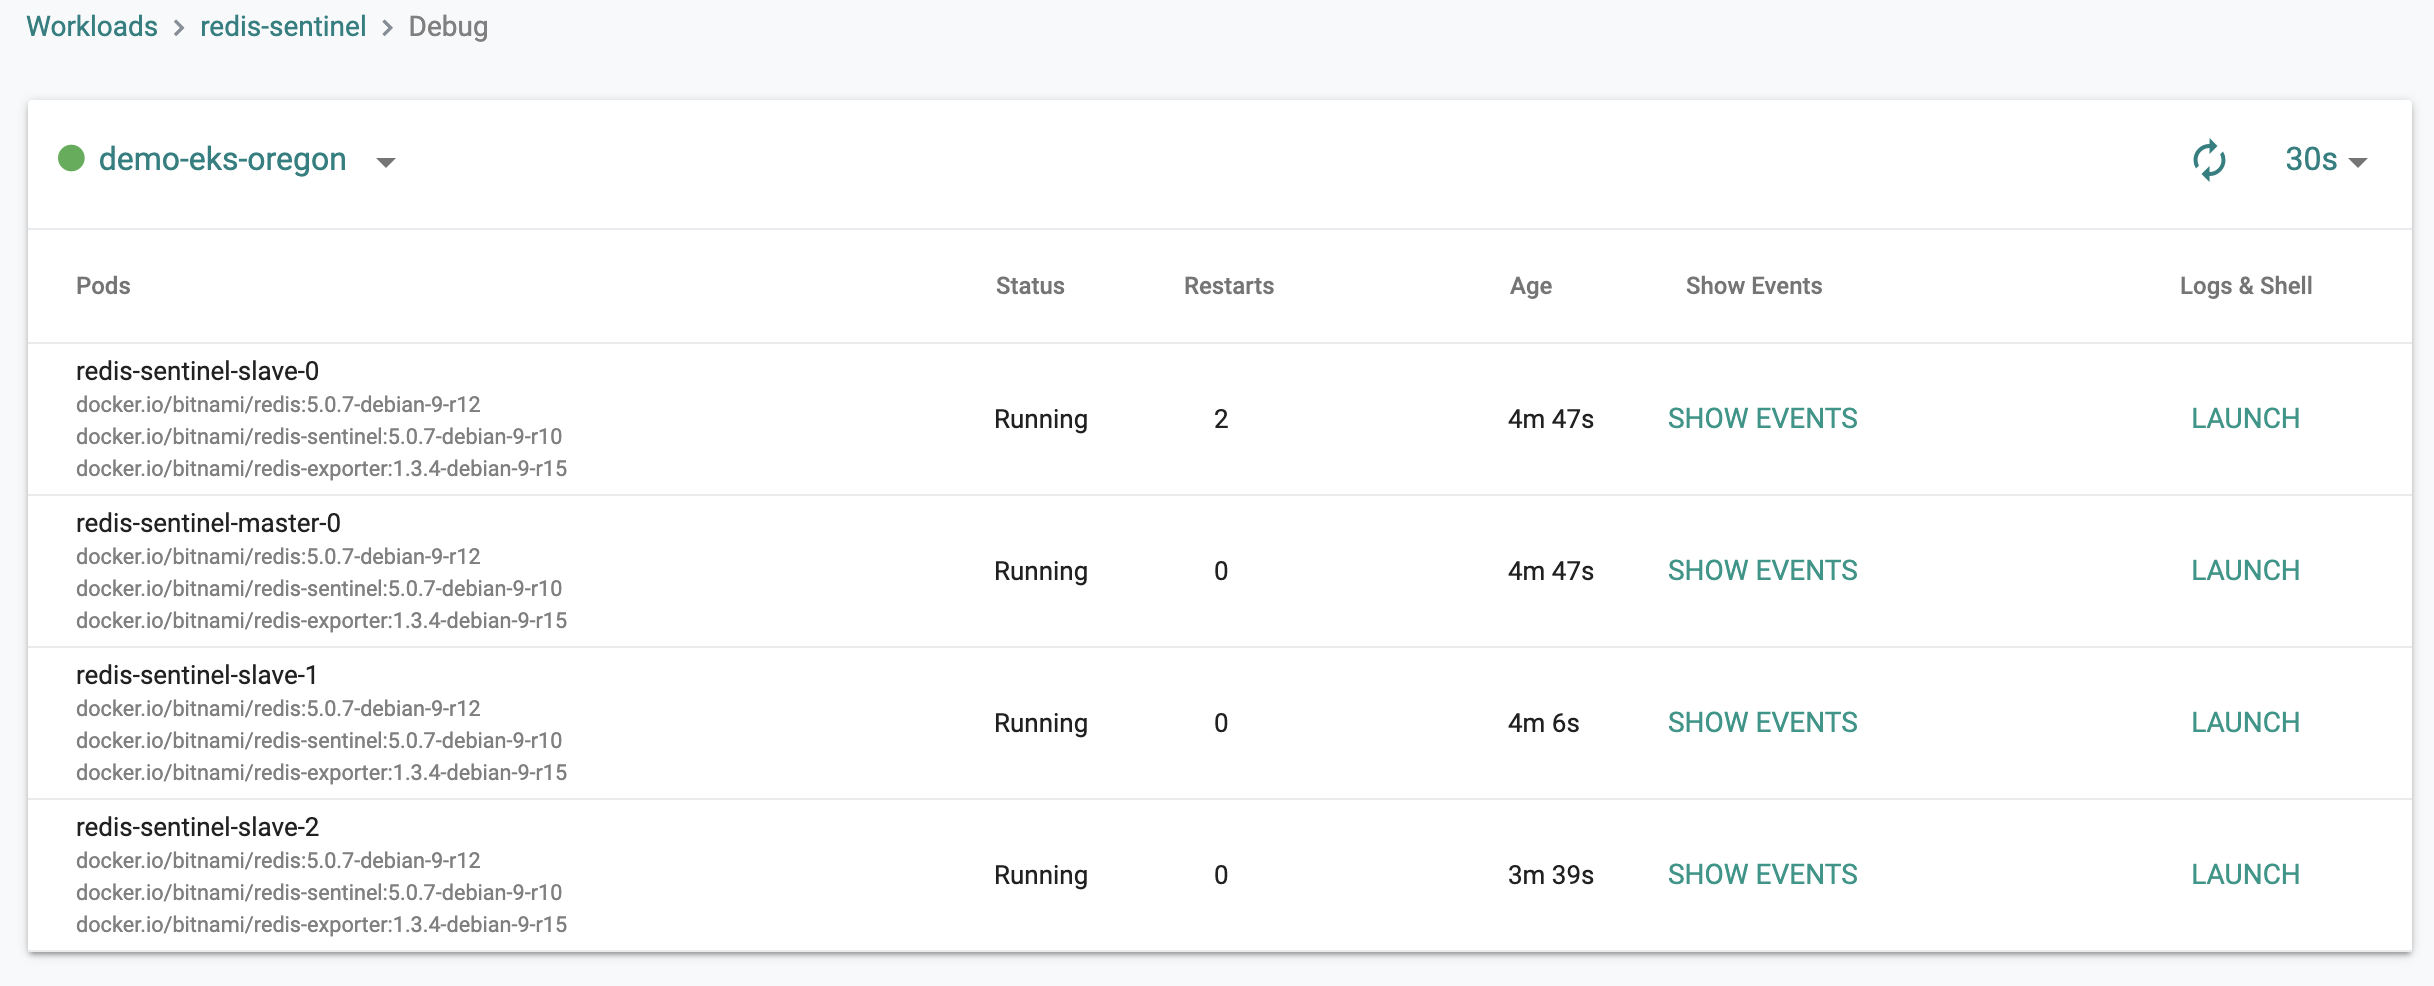
Step 4: Deploy Workload
Select the clusters where you would like to deploy the workload and publish it. It should take a few minutes for workload to become operational.

Click on Debug to view the Redis Sentinel pods. You should see something like the screenshot below. You should see four (4) pods: one master and three slaves.
Recap
Congratulations! You have successfully deployed Redis with Sentinel on your managed Kubernetes cluster.