What You Will Do
In this exercise, you will install Ondat with an Etcd cluster in order to enable replication, encryption and high availability for node storage.
Assumptions
- You have provisioned or imported an Ondat-supported Kubernetes cluster using the Kubernetes Operations Platform
- Your nodes are running an Ondat-supported operating system
- You have mounted your chosen storage under
/var/lib/storageos/data/dev[\d+]on each node (eg.dev1and/ordev2), pre-formatted with an Ondat-supported filesystem. - You have 3 or more compute nodes. With less than 5 nodes, you will need to reduce the amount of etcd replicas.
- You have a suitable, non-Ondat StorageClass for etcd to use for it's volumes. GP3 would be an example of a suitable StorageClass on AWS - if all else fails, there is a local-path StorageClass that can be installed & used.
- You have sufficient CPU/Memory capacity available to run the Ondat and etcd operator and software.
Step 1: Download Helm Chart
Use Helm to download the latest Ondat umbrella chart. The umbrella chart contains both the etcd operator and the Ondat operator.
- Add Ondat's repository to Helm
helm repo add ondat https://ondat.github.io/charts
helm repo update
- Fetch a local copy of the Helm chart
helm fetch ondat/ondat
Step 2: Configure the Helm Chart
- Configure
values.yaml- a full reference is available in our GitHub-hosted Helm chart.
Create a copy of the file and change the following parameters:
- The Ondat administrative username and password
- The number of replicas for Etcd. 5 will work for most environments or 3 for smaller environments with 3 or 4 nodes.
- The StorageClass for etcd - this cannot be Ondat as Ondat depends on etcd. On cloud platforms, vendor solutions such as GP3 can be used. If there are no other options, a good fallback is
local-path. For a link tolocal-path, refer to the prerequisite bullet points above. - To target specific nodes for storage management via Ondat, set
nodeSelectionTerm.keyandnodeSelectionTerm.valueto a corresponding label key and value on each node. - To target specific nodes for etcd, set
nodeSelectionTerm.keyandnodeSelectionTerm.valueto a corresponding label key and value on each node.
Any parameters left at their default value can be removed from your copy. See the example below:
ondat-operator:
  cluster:
    admin:
      username: alice
      password: 123bobandalice

    # We have labelled all of our storage nodes
    # with `storage-node=yes`
    nodeSelectorTerm:
      key: 'storage-node'
      value: 'yes'

etcd-cluster-operator:
  cluster:
    # We only have 3 nodes for etcd and are using
    # the local-path provisioner that we have installed
    # using the instructions from GitHub
    replicas: 3
    storageclass: local-path
    # Etcd nodes have been labelled as `etcd-node=yes`
    nodeSelectorTerm:
      key: 'etcd-node'
      value: 'yes'
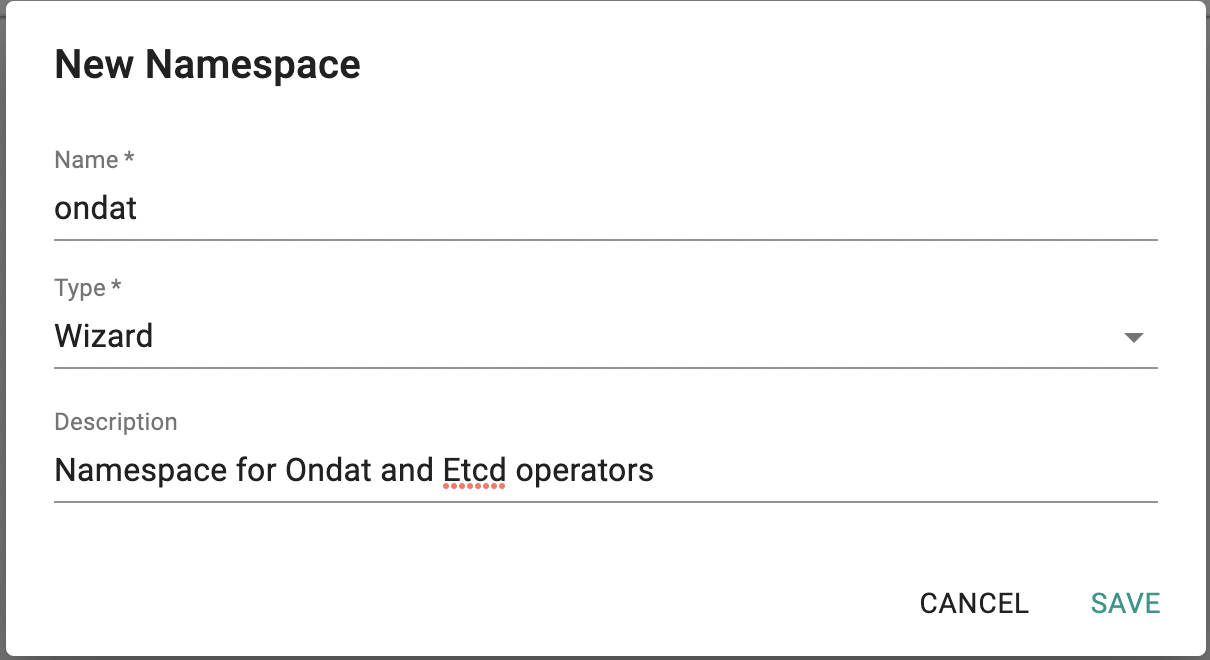
Step 3: Create a Namespace & Workload
First, create a namespace called ondat. Make sure to place and publish it to your target cluster.
Once the namespace has been published successfully, create a new workload with type Helm 3. Make sure to select the namespace that you have created for the workload.
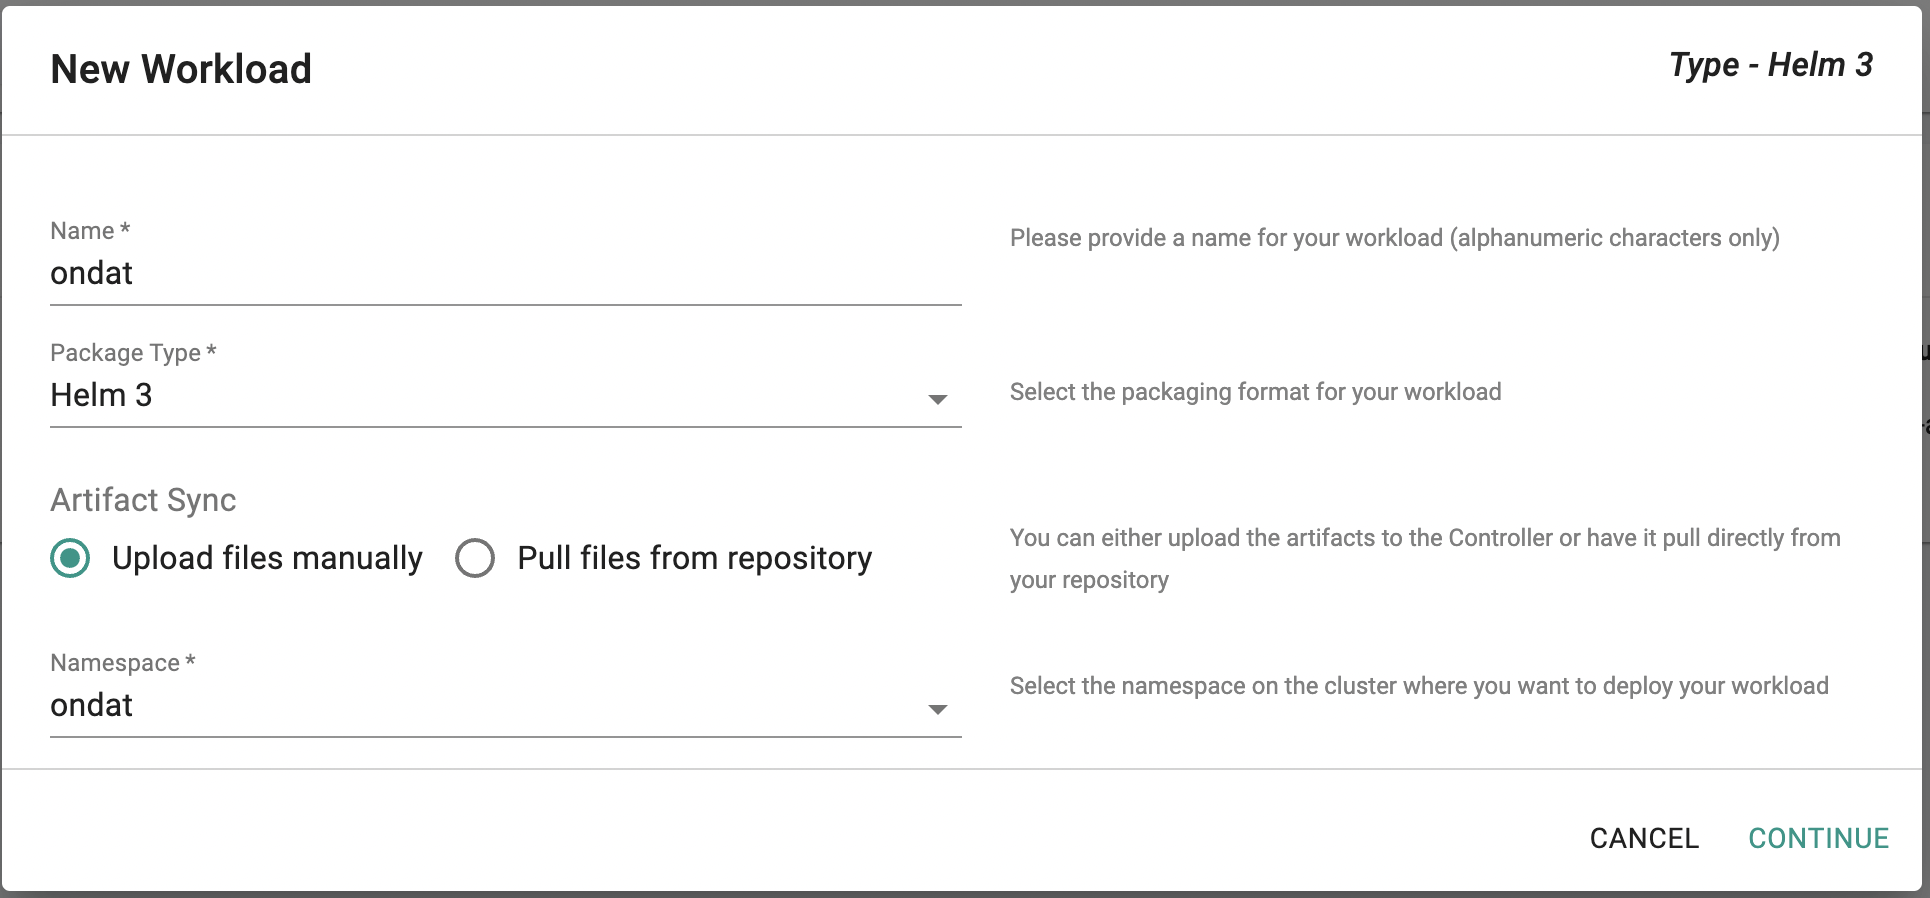
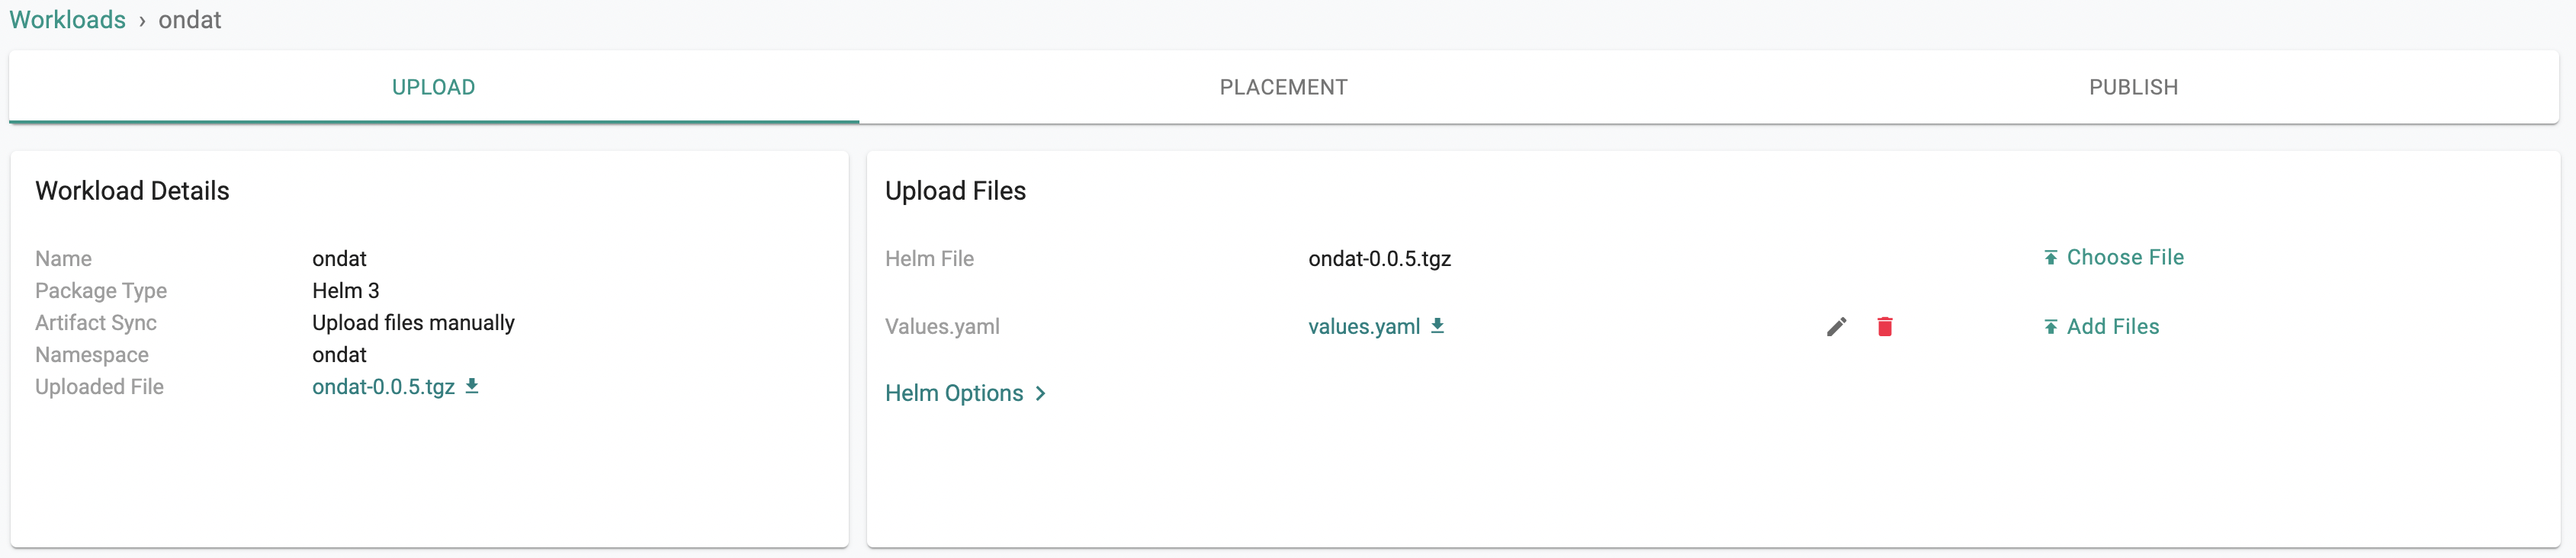
Select the downloaded chart tgz and values.yaml created in the previous step as the 'Helm file' and 'Values.yaml' with the 'Choose File' and 'Add Files' respectively.
Under the placement tab, select the target cluster.
Finally, publish the workload. Even after the success notification, while the cluster is starting some pods may go into an Error or CrashLoopBackOff state temporarily while state is reconciled. After a short amount of time (usually 2-3 minutes), the Ondat cluster will be ready and all pods in the storageos and storageos-etcd namespaces will be in a Ready state.
For more information about Ondat and example use cases, refer to the Ondat documentation.