Araali
Prerequisites
Register with Araali to create an account to
- Access the UI dashboard
- Install
araalictland authorize it - Help with generation of Helm
values.yaml
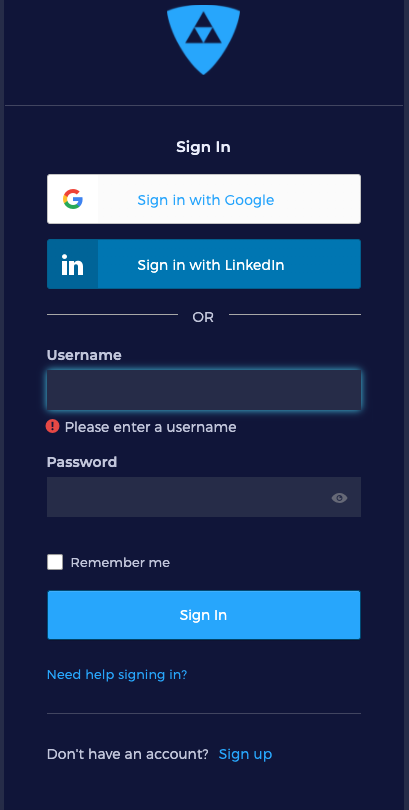
Araali UI Login
- Open a chrome browser and go to Araali Console
- Click
Sign Upto register - You are in!!
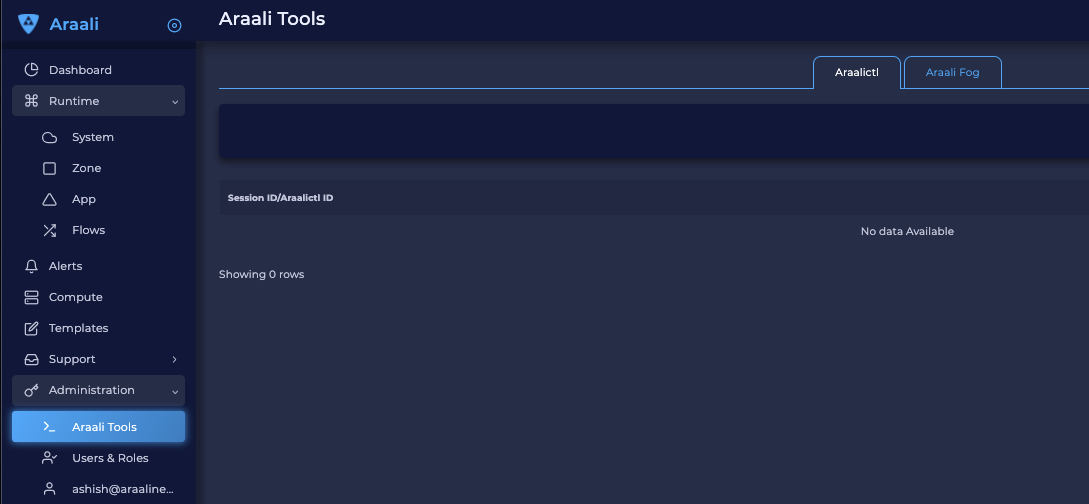
- Now, in the left-hand panel, go to Administration and then Araali Tools. You will use this page to authorize Araalictl
Generating Helm values.yaml
Follow the steps below to generate a values.yaml file to use with Araali Helm chart for your cluster.
Setup
- Download Araalictl
- On Linux
curl -O https://s3-us-west-2.amazonaws.com/araalinetworks.cf/araalictl.linux-amd64 -
On Mac
curl -O https://s3-us-west-2.amazonaws.com/araalinetworks.cf/araalictl.darwin-amd64 -
Make it executable
chmod +x araali* ln -sf araali* araalictl -
Authorize araalictl
sudo ./araalictl authorize <email-id> -
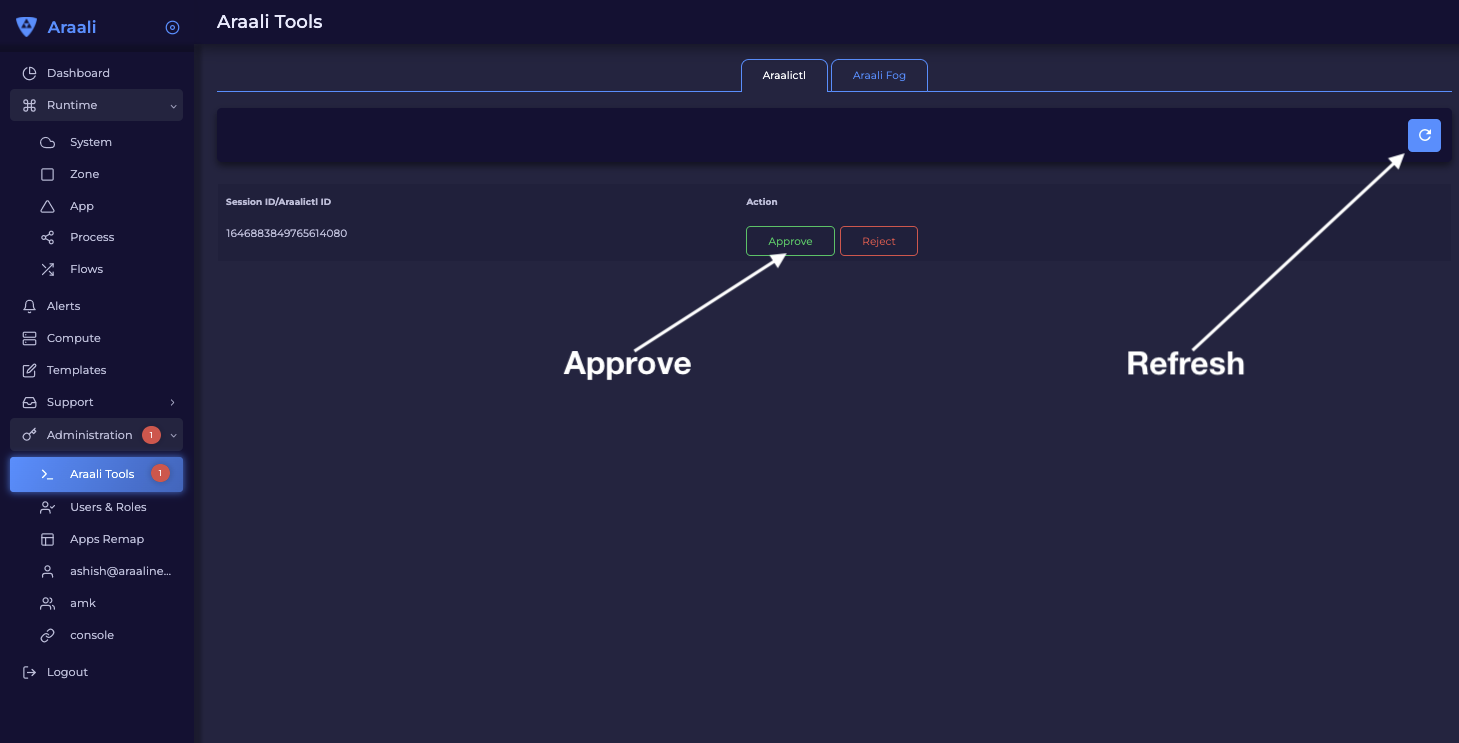
Now go to Araali UI >> Administration >> Araali Tools to approve the araalictl session.
Execution
-
Check if araalictl is installed
./araalictl version -v -
Generate helm values::
./araalictl fortify-k8s -out=helm > /tmp/values.yaml
Araali Repository
Add Araali Helm repository to your project
- Create Araali Helm Registry
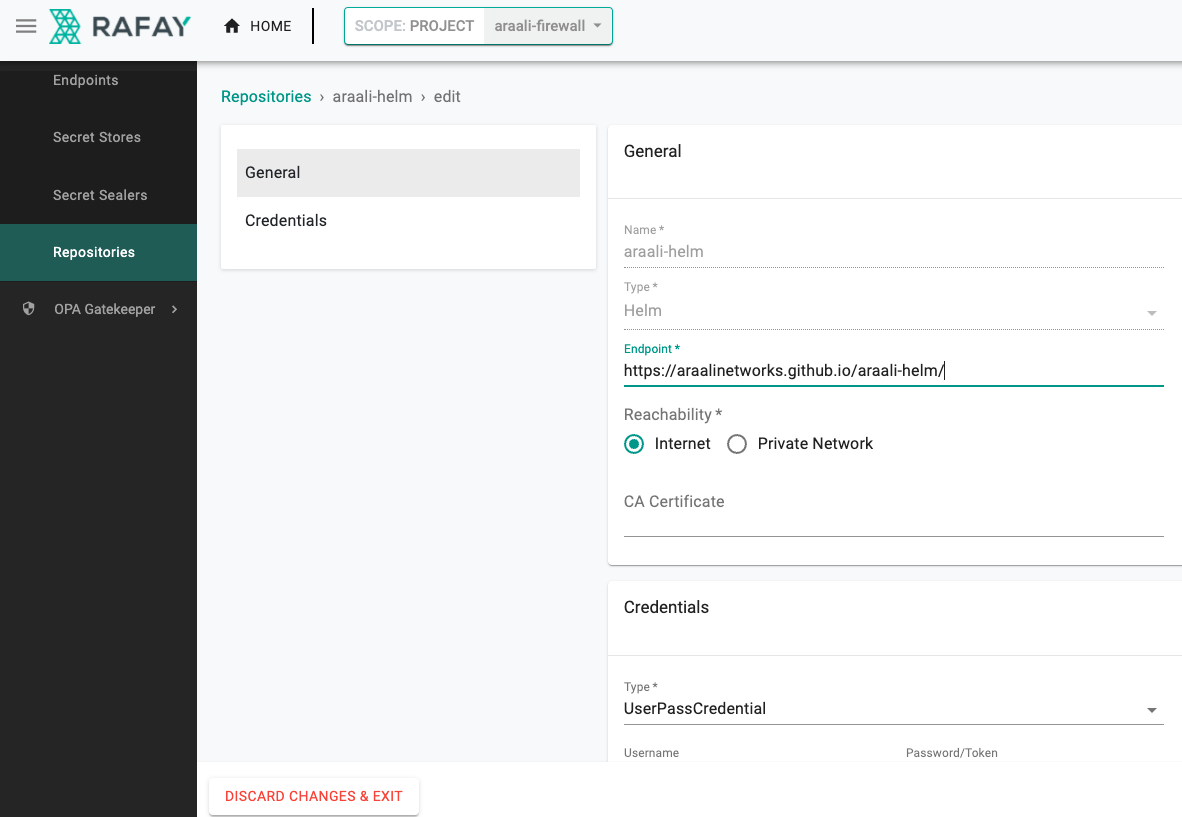
The repository will be used in the Araali addon below
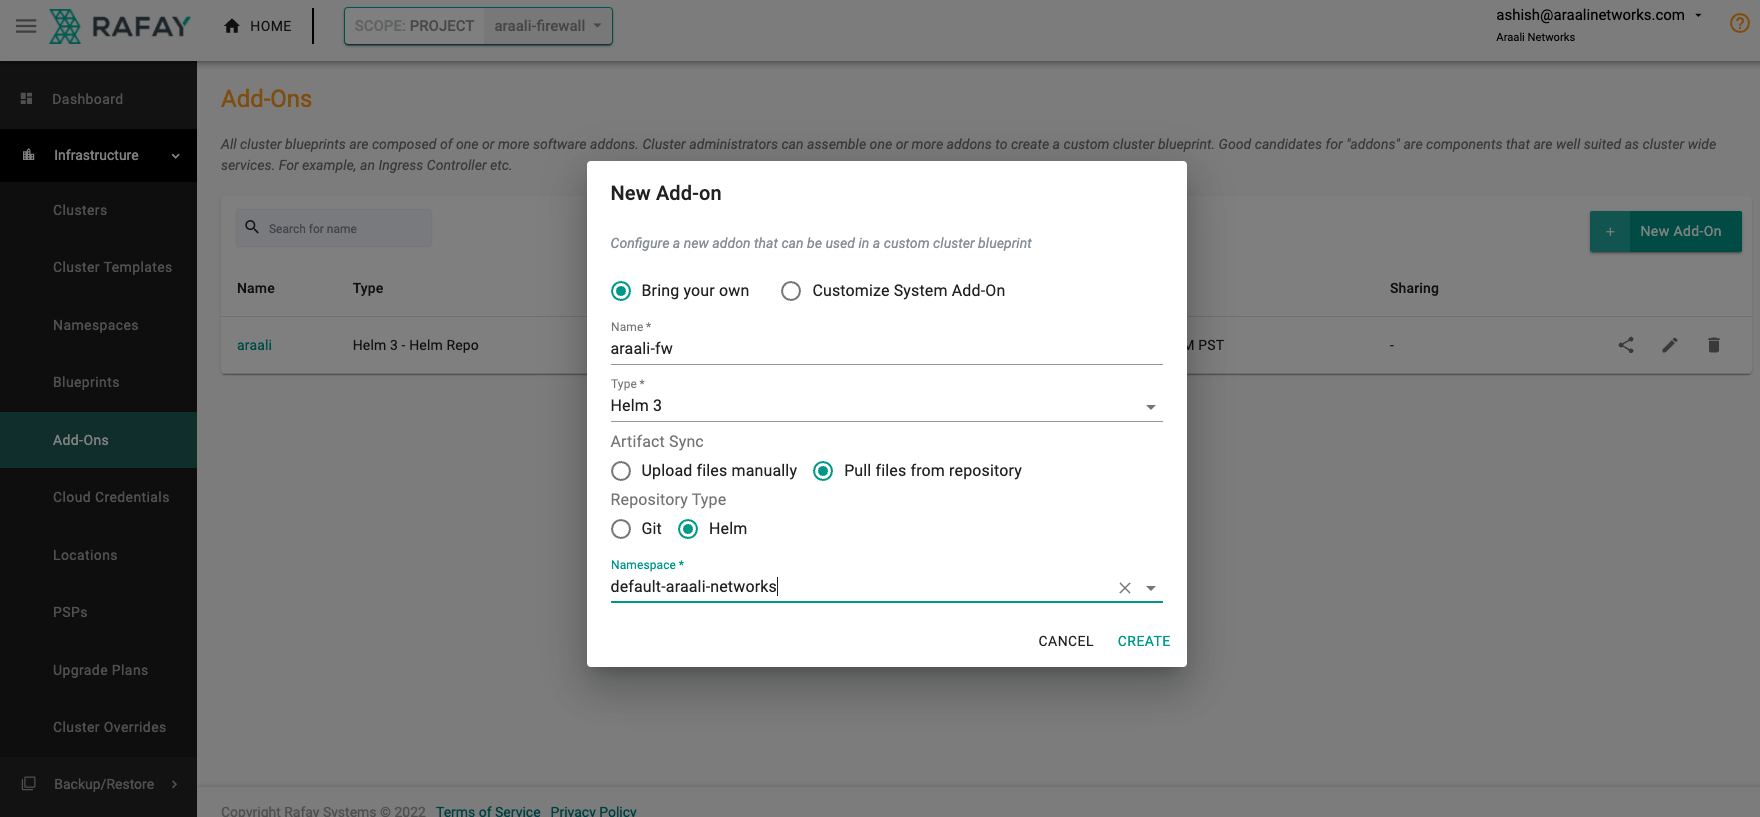
Create Araali Addon
Add Araali addon - Create Araali AddOn
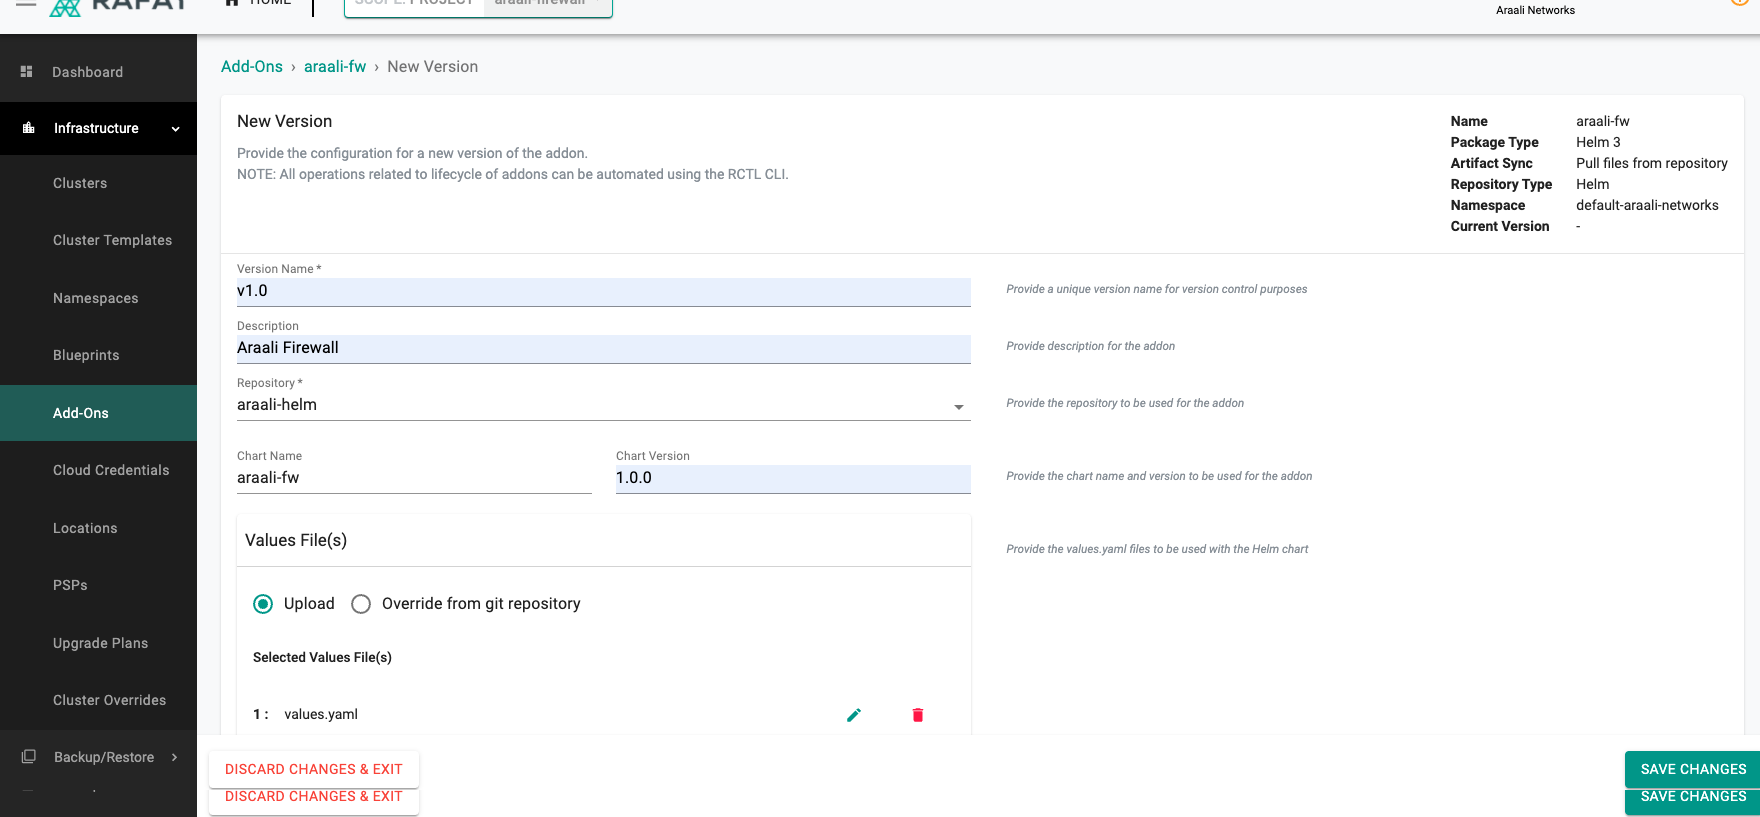
3.
Upload the previously created values.yaml file
Chart Name: araali-fw Chart Version: 1.0.0
values.yaml to get the runtime clustername.
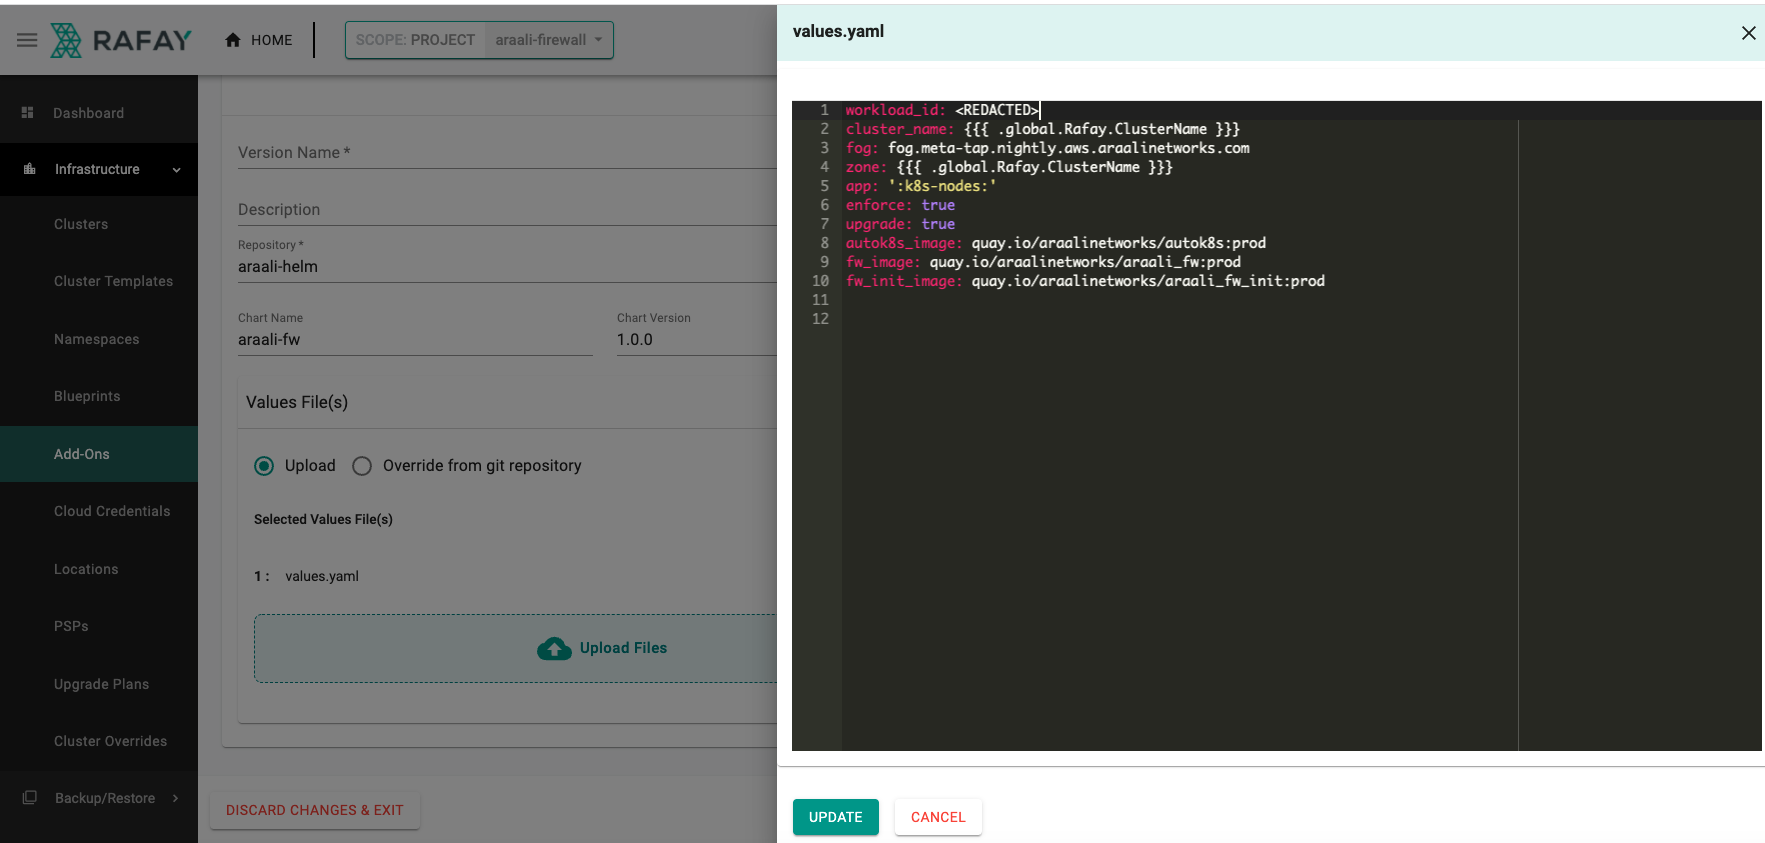
The addon will be used in the Araali Blueprint below
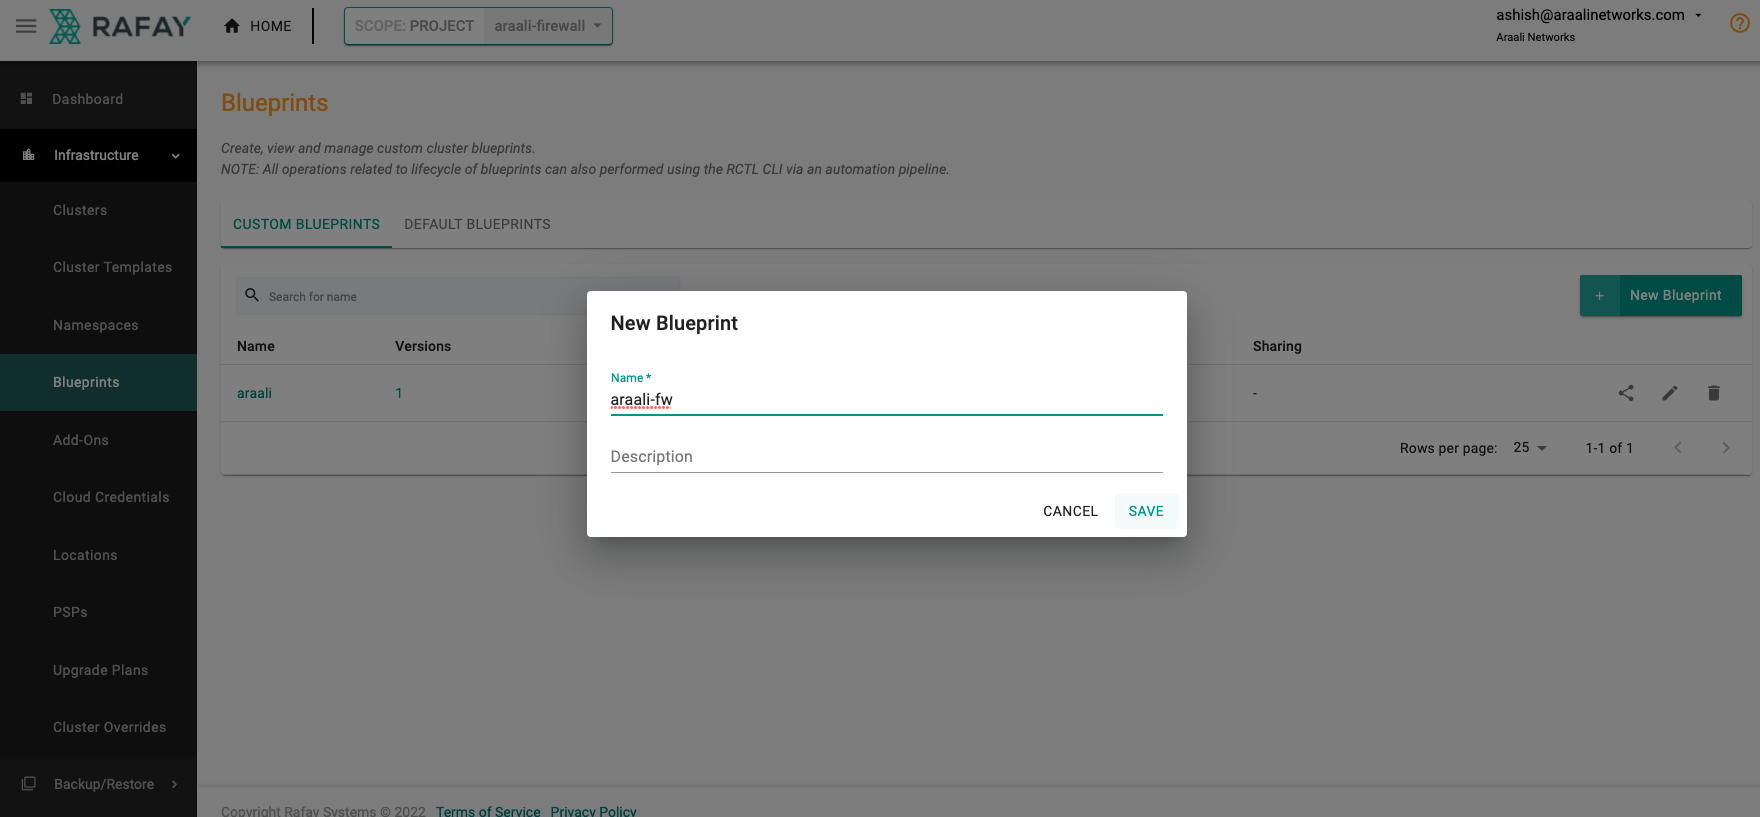
Create Blueprint
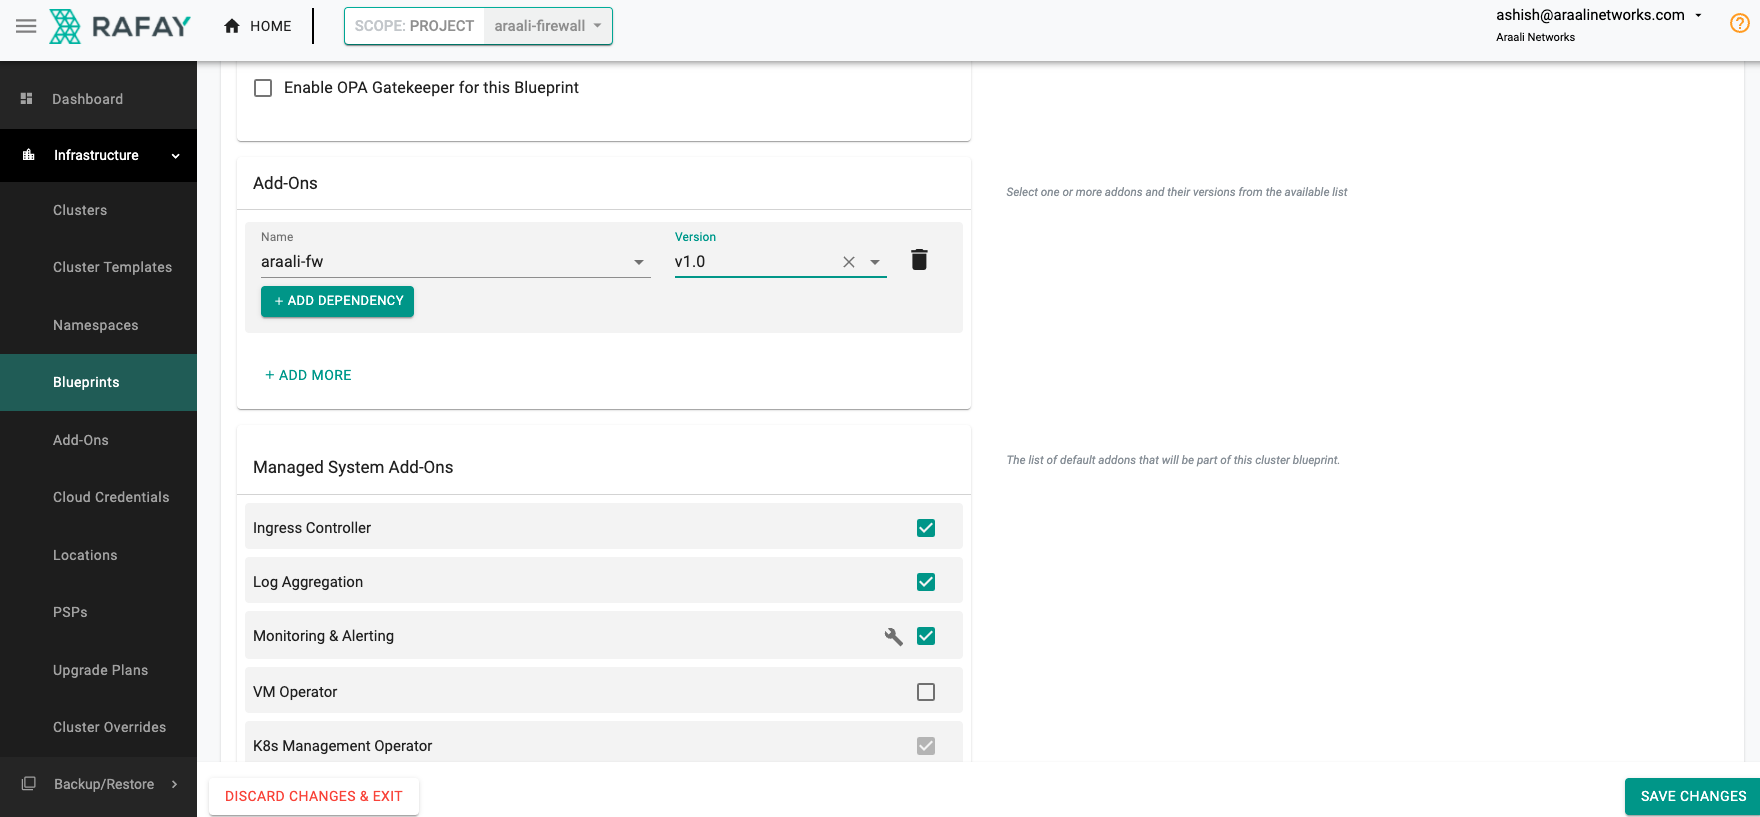
Add Araali blueprint - Create Araali Blueprint
This blueprint will be applied to the cluster
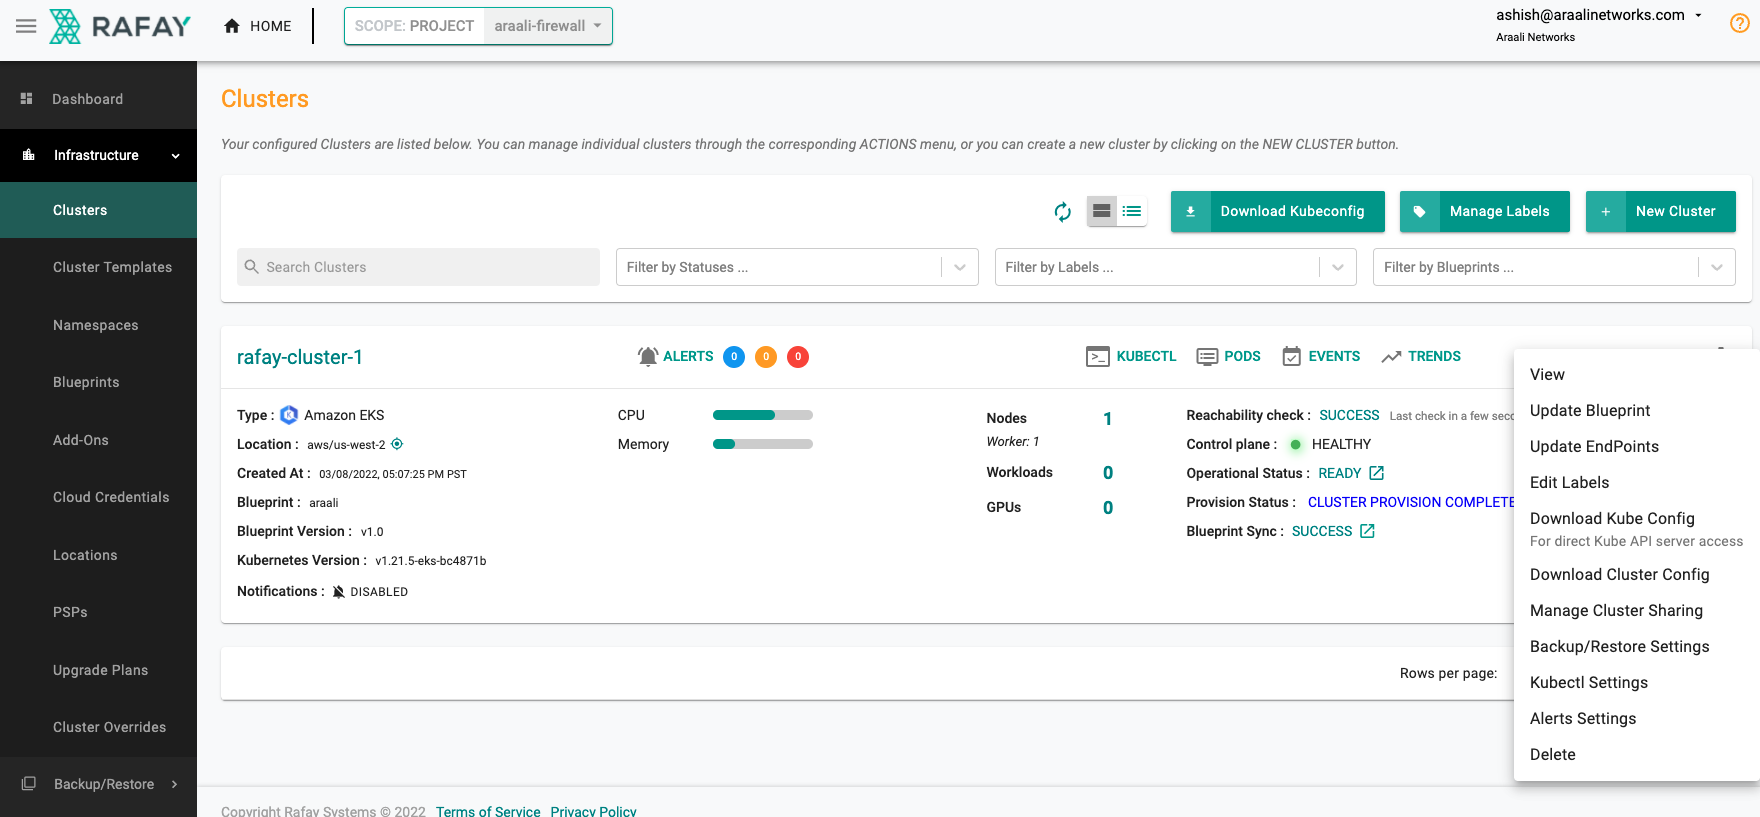
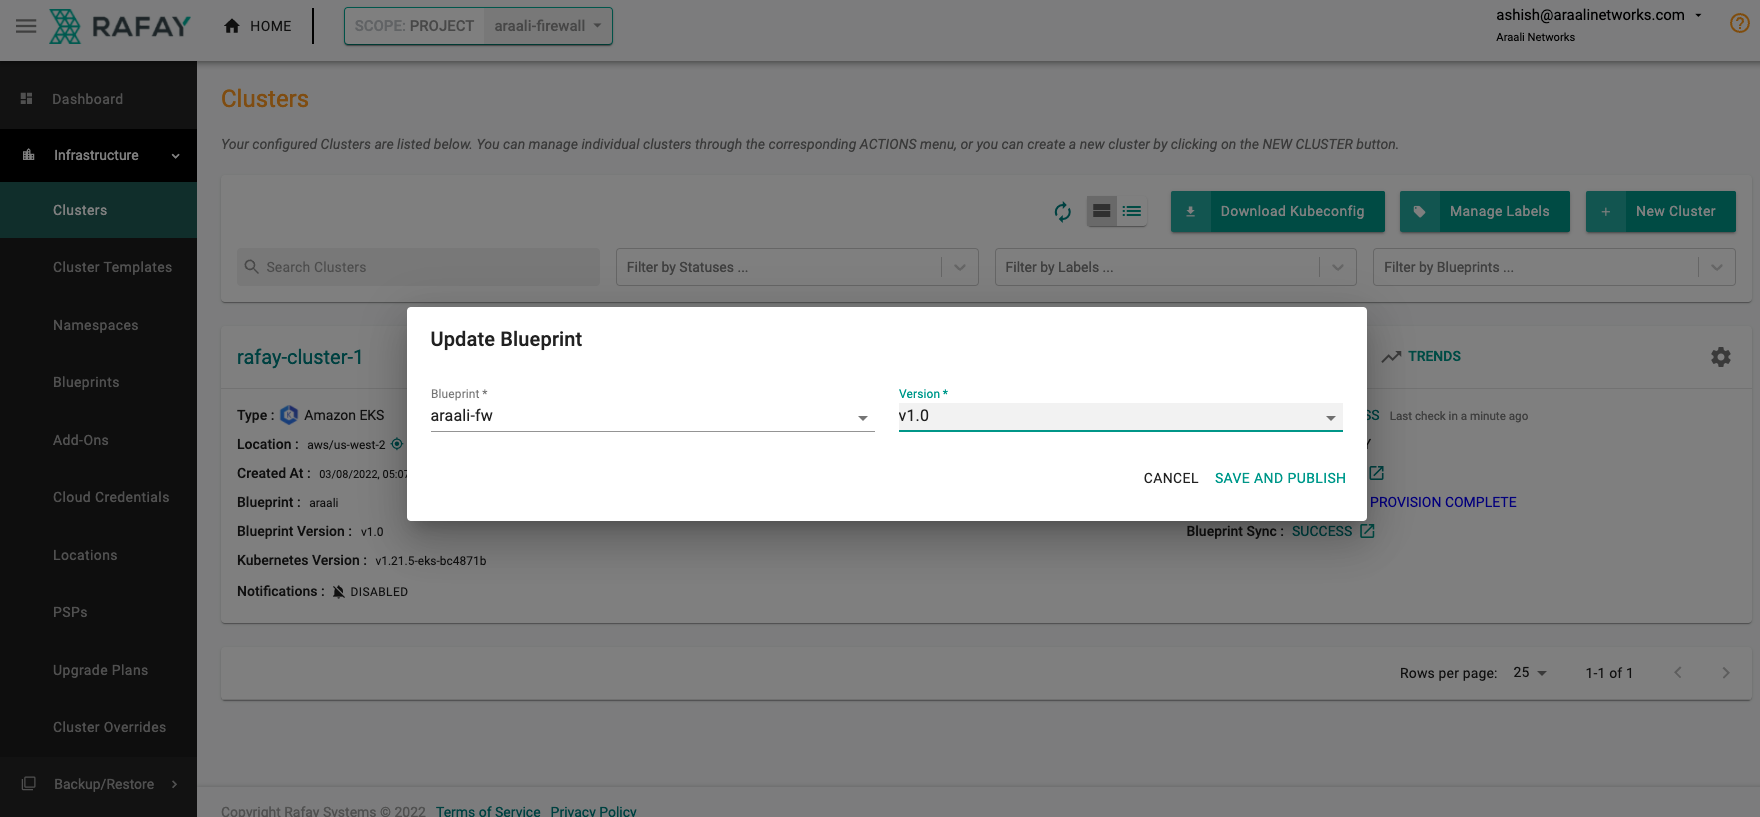
Apply Blueprint
Add Araali Blueprint to Rafay - Create Araali Blueprint
Once the changes are saved, the Araali add on is activated in the cluster. Check for the sync to finish and visit the Araali Dashboard for instant visibility into your cluster.
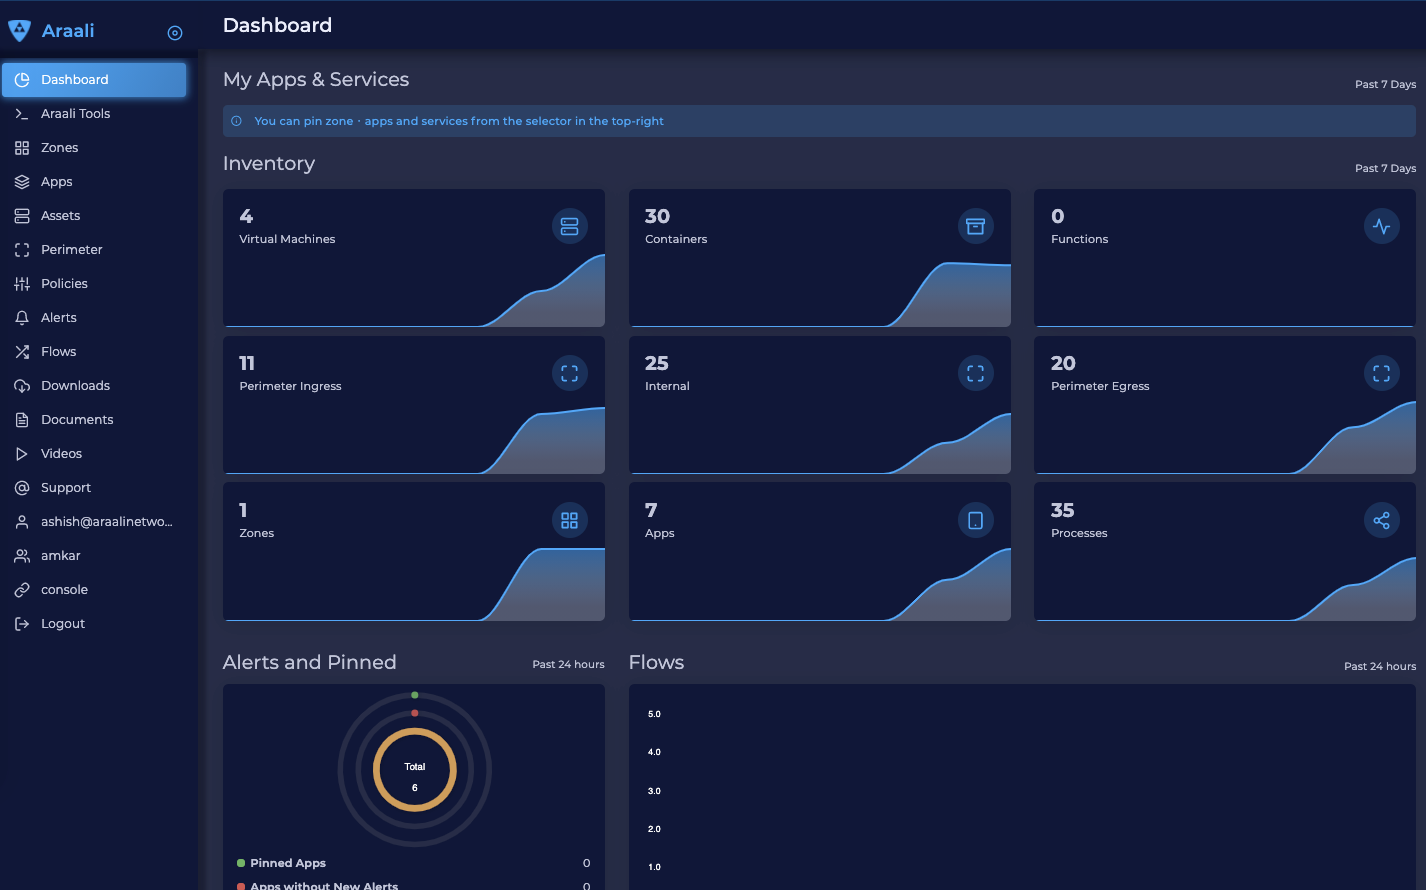
Araali Dashboard
Go back to the Araali UI and click dashboard. You can see an inventory of your assets covered as well as detailed audits of your communication.
Uninstall Araali
Select the default blueprint and apply it to the cluster
