Dynatrace
The controller provides integrated monitoring and visibility capabilities automatically deploying Prometheus and associated components on the managed Kubernetes clusters. In addition to the built in dashboards on the controller, some organizations may also wish to use a Dynatrace for their Kubernetes clusters' visibility.
This recipe describes how customers can standardize the configuration, deployment and lifecycle management of Dynatrace across their fleet of clusters. The Dynatrace Operator and Dynakube resources will be applied to each cluster that will be monitored. These resources will be added to a custom blueprint which will allow the resources to easily be applied to multiple clusters.
What Will You Do
In this exercise you will,
- Obtain cutomized Dynatrace manifests
- Create Dynatrace add-ons
- Use the add-ons in a custom cluster blueprint
- Apply this cluster blueprint to a managed cluster
Important
This recipe describes the steps to create and use a custom cluster blueprint using the Web Console. The entire workflow can also be fully automated and embedded into an automation pipeline.
Assumptions
- You have a Dynatrace account
- You have already provisioned or imported one or more Kubernetes clusters using the controller.
Step 1: Obtain Dynatrace Manifests
In this step you will obtain the manifest files for the Dynatrace resources. These manifests contain specific details for your resources and account.
- In your Dynatrace account, navigate to Kubernetes.
- Click Connect automatically via Dynatrace Operator
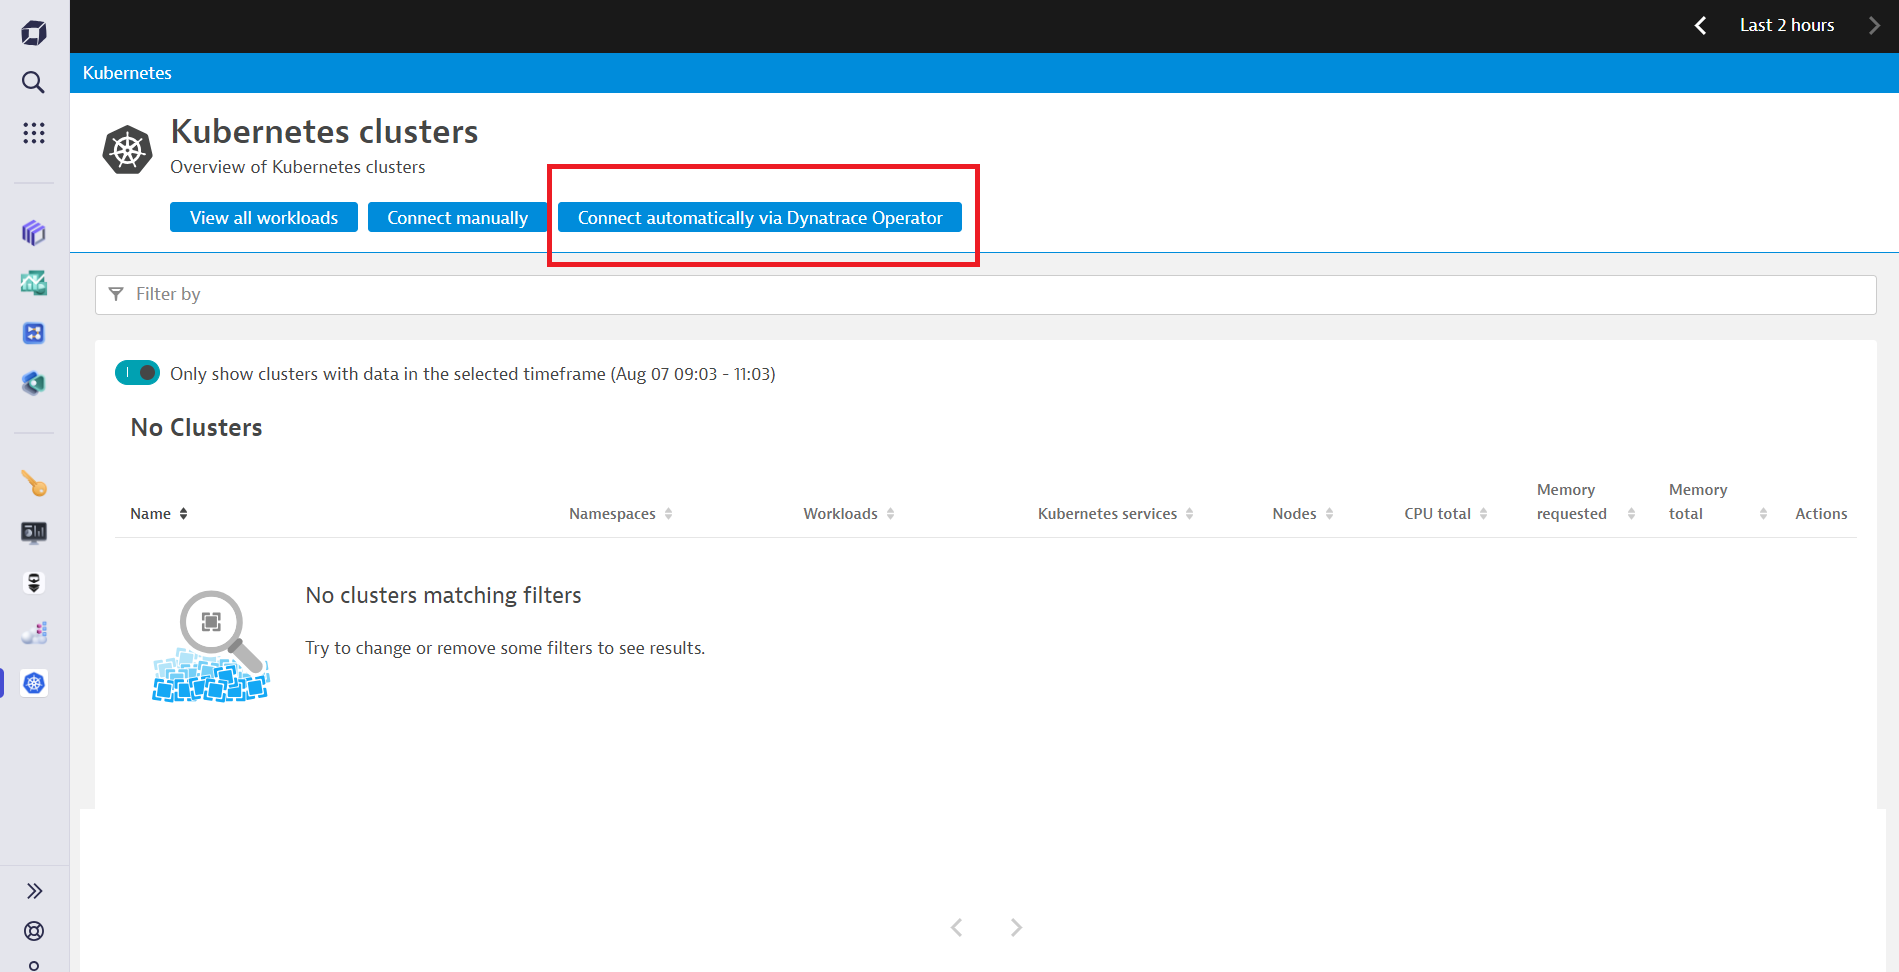
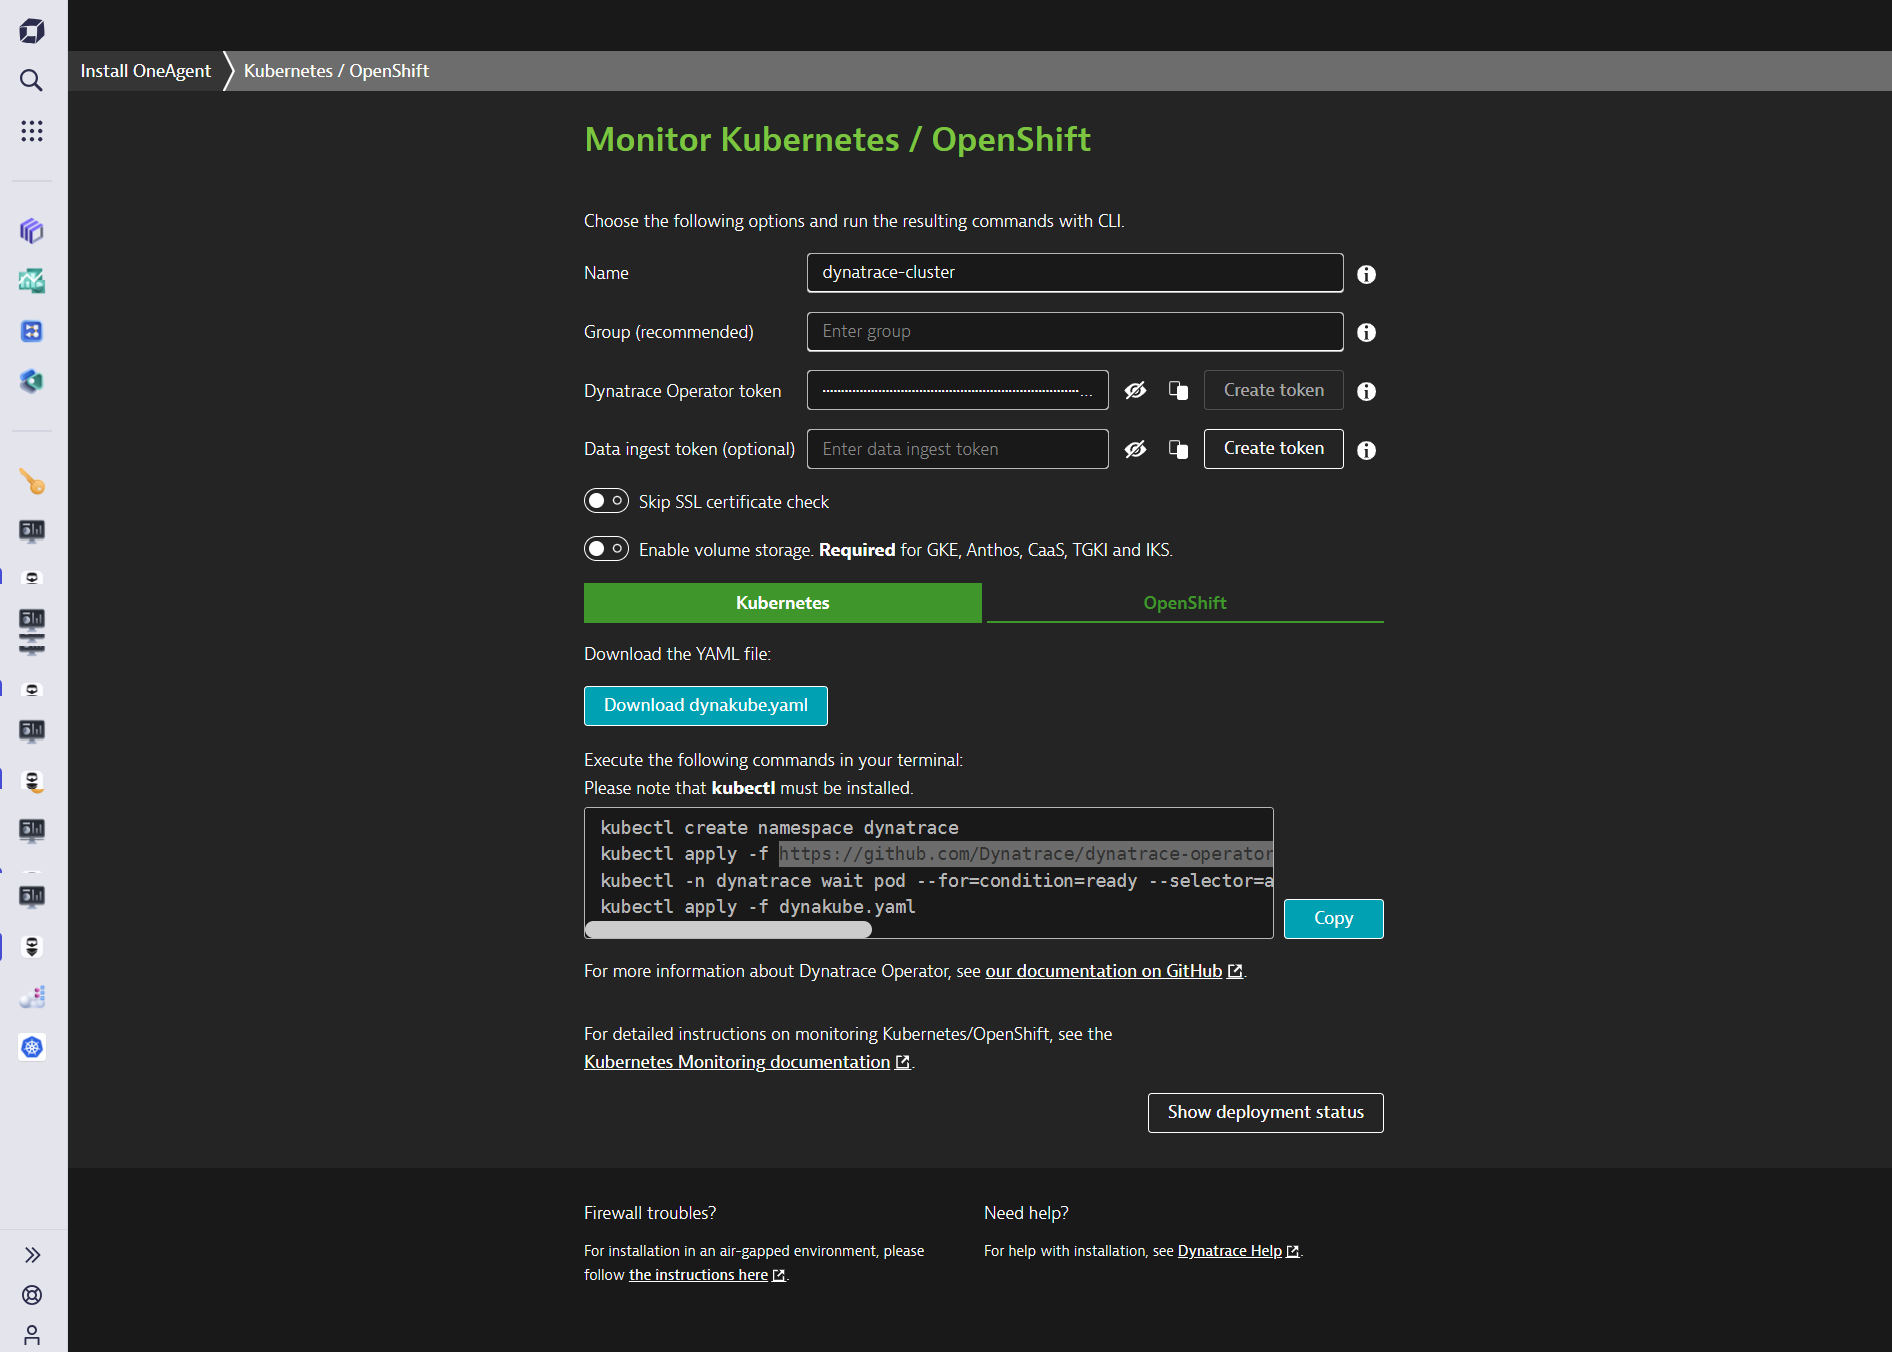
- Enter dynatrace-cluster for the name
- Click Create token for the Dynatrace Operator token
- Click Download dynakube.yaml
- In the kubectl commands on screen, copy the operator URL. The URL will look similar to "https://github.com/Dynatrace/dynatrace-operator/releases/download/v0.12.1/kubernetes.yaml"
- Download the kubernetes.yaml file from the URL
Step 2: Create Namespace
- In your project, navigate to Infrastructure -> Namespaces
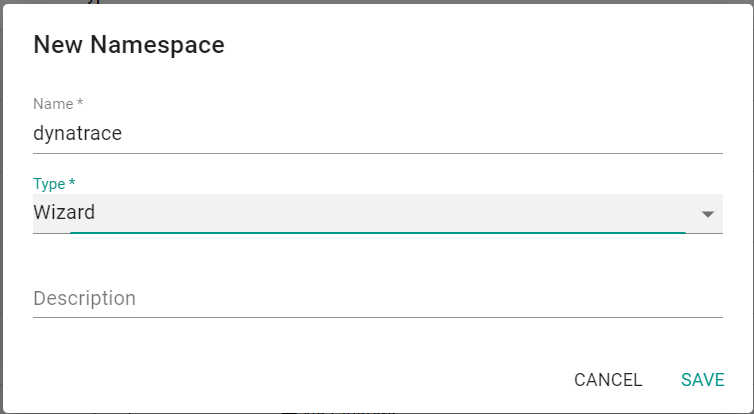
- Click on New Namespace
- Enter dynatrace for name
- Select Wizard for type
- Click Save
- Click Save & Go To Placement

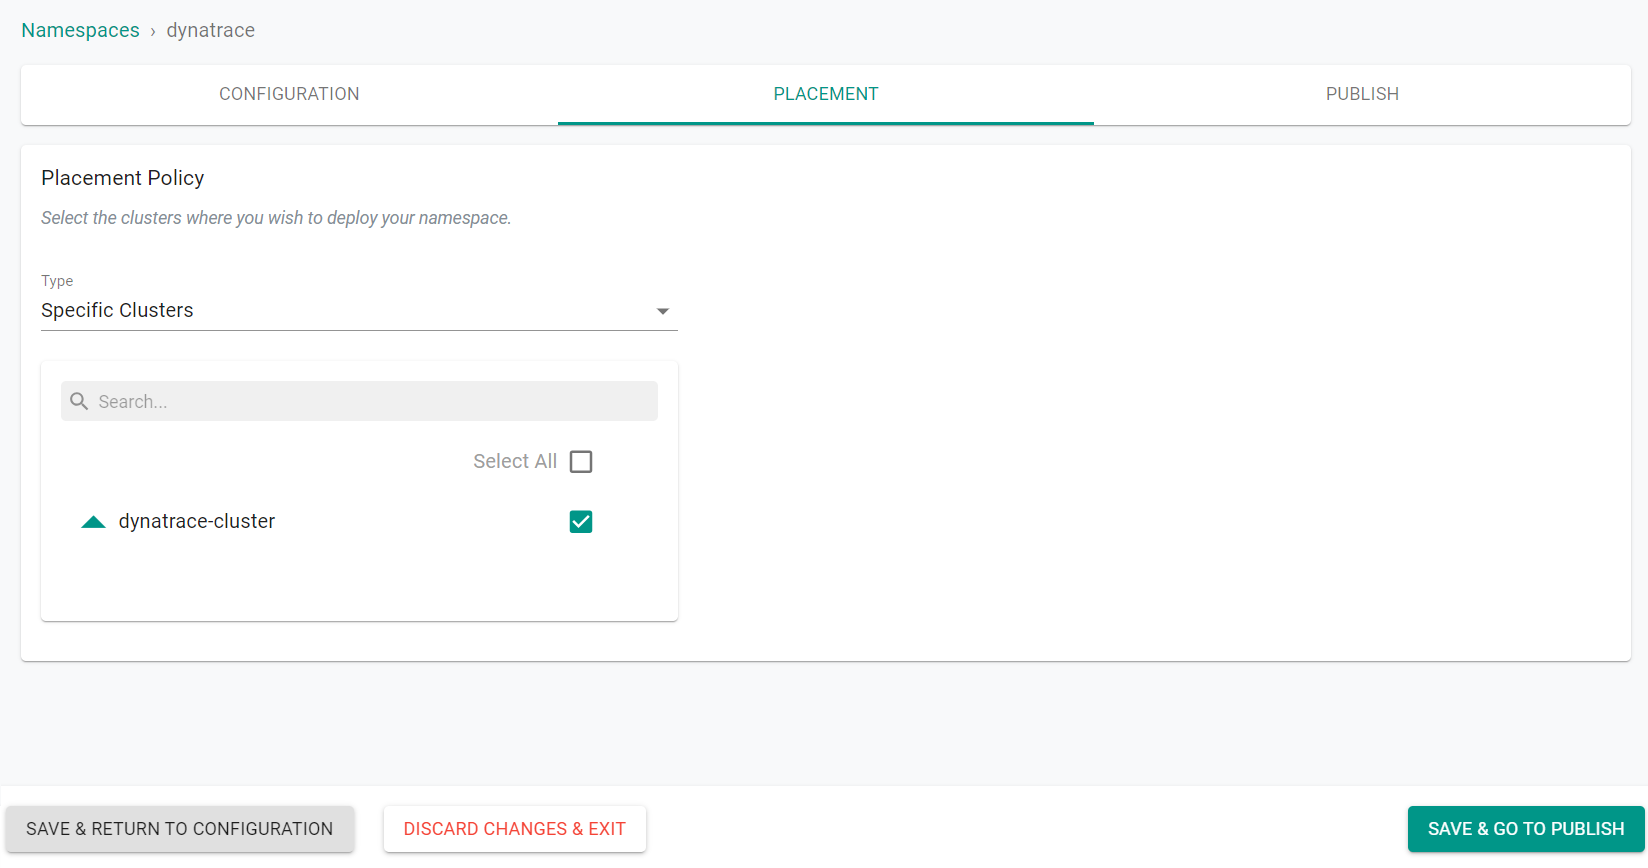
Next, select the cluster to deploy the namespace to.
- Select Specific Clusters for the placement policy type
- Select your cluster
- Click Save & Go To Publish
Next, you will publish the namesapace to the cluster.
- Click Publish
In a few seconds, the configured namespace will be deployed on the target cluster.
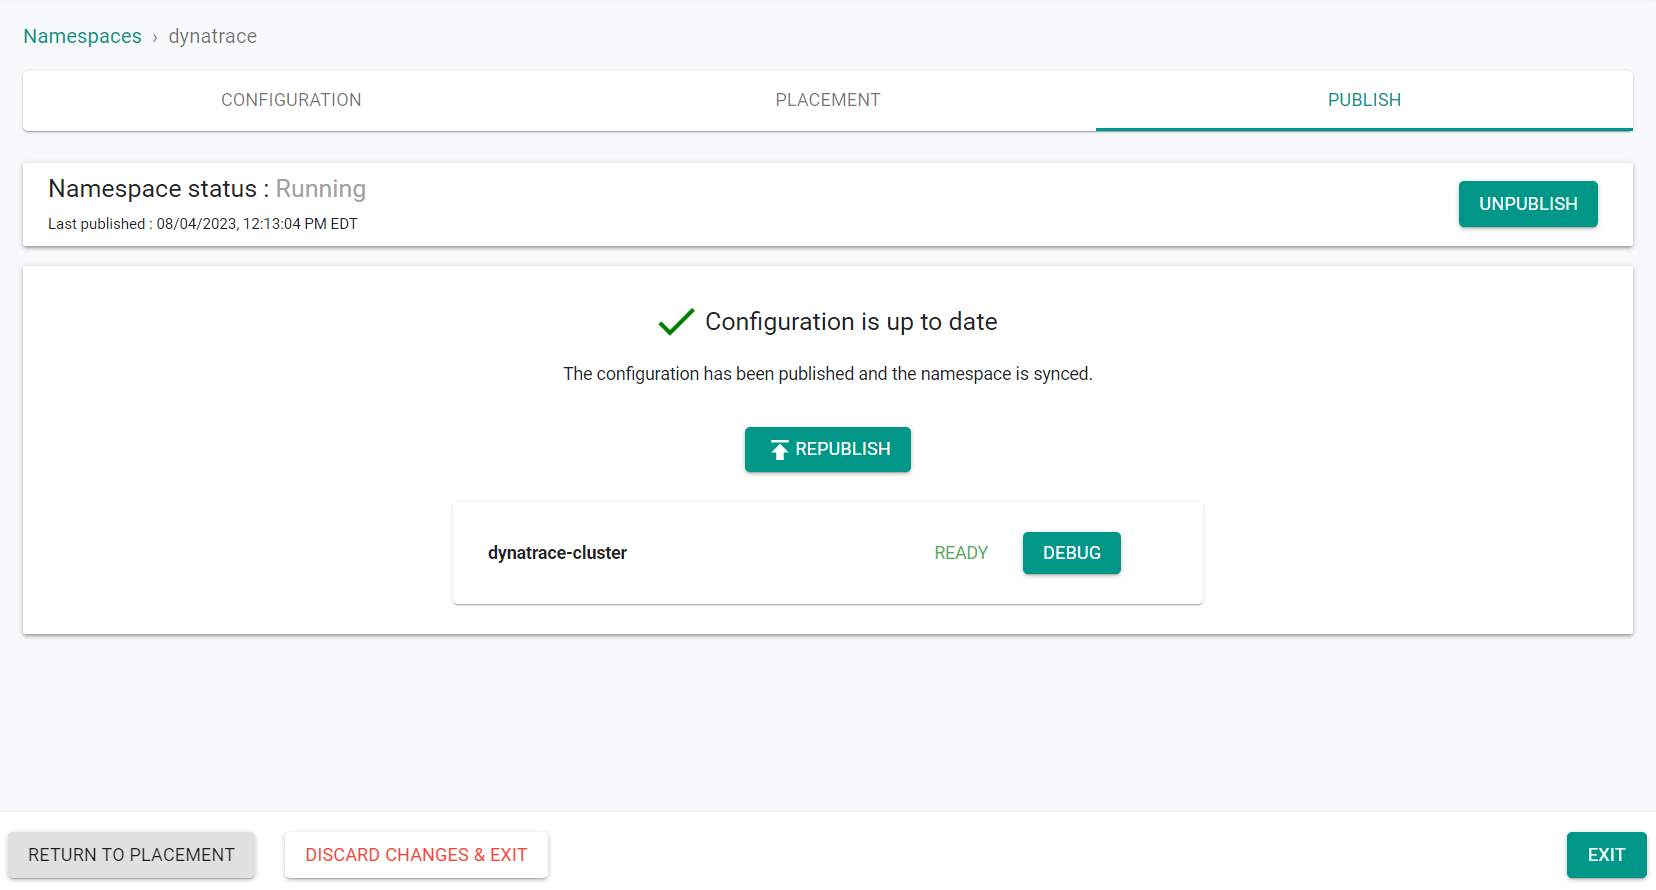
- Click Exit
Step 3: Create Dynatrace Operator Add-on
In this step, you will create a custom cluster add-on for the Dynatrace Operator. The add-on will then be used in a custom cluster blueprint.
- In your project, navigate to Infrastructure -> Add-Ons
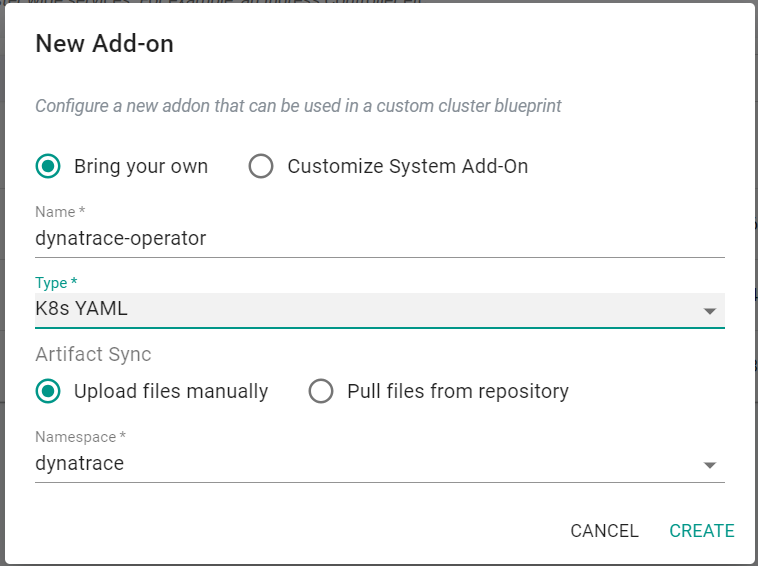
- Click New Add-On -> Create New Add-On
- Enter dynatrace-operator for the name
- Select K8s YAML for the type
- Select Upload files manually
- Select the dynatrace namespace
- Click Create
- Enter v1 for the version name
- Click Upload and select the previously saved kubernetes.yaml file

- Click Save Changes
Step 4: Create Dynatrace Dynakube Add-on
In this step, you will create a custom cluster add-on for the Dynatrace Dynakube resources. The add-on will then be used in a custom cluster blueprint.
- In your project, navigate to Infrastructure -> Add-Ons
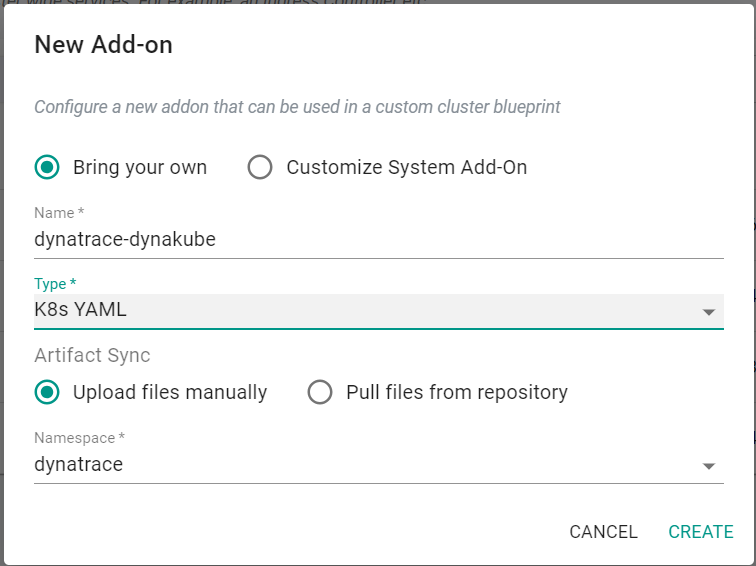
- Click New Add-On -> Create New Add-On
- Enter dynatrace-dynakube for the name
- Select K8s YAML for the type
- Select Upload files manually
- Select the dynatrace namespace
- Click Create
- Enter v1 for the version name
- Update the previously saved dynakube.yaml file metadata.name fields with {{{ .global.Rafay.ClusterName }}} for both the Secret and the DynaKube resources
The updates should look similar to the following
kind: Secret
metadata:
  name: {{{ .global.Rafay.ClusterName }}}
  namespace: dynatrace
type: Opaque
---
apiVersion: dynatrace.com/v1beta1
kind: DynaKube
metadata:
  name: {{{ .global.Rafay.ClusterName }}}
  namespace: dynatrace
- Click Upload and select the updated dynakube.yaml file
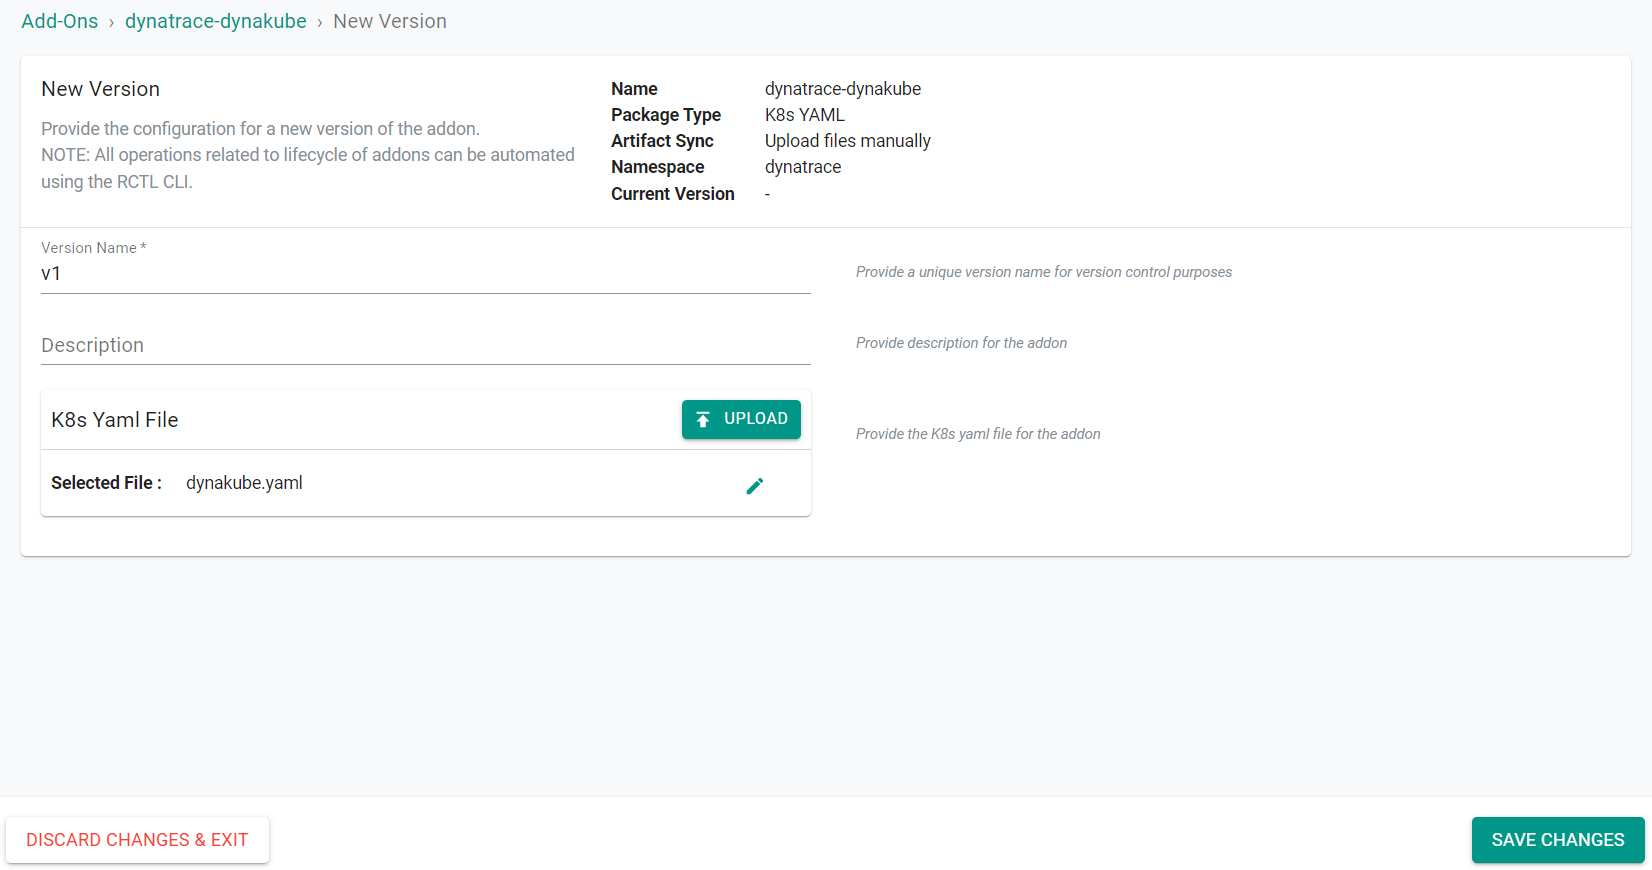
- Click Save Changes
Step 5: Create Blueprint
Now, we are ready to assemble a custom cluster blueprint using the newly created Dynatrace add-ons.
- In your project, navigate to Infrastructure -> Blueprints
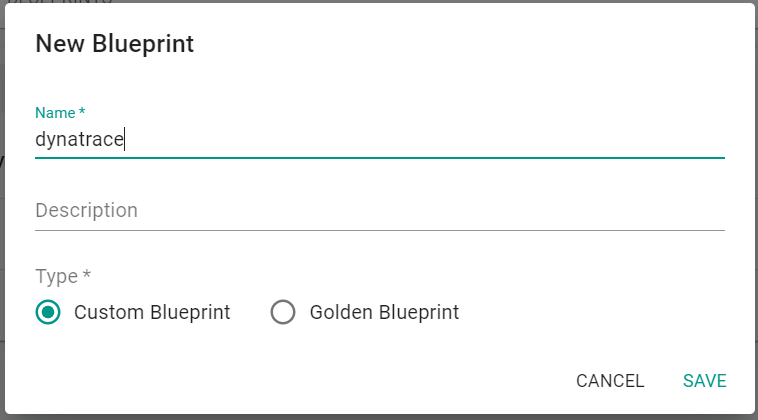
- Click New Blueprint
- Enter dynatrace for the name
- Click Save
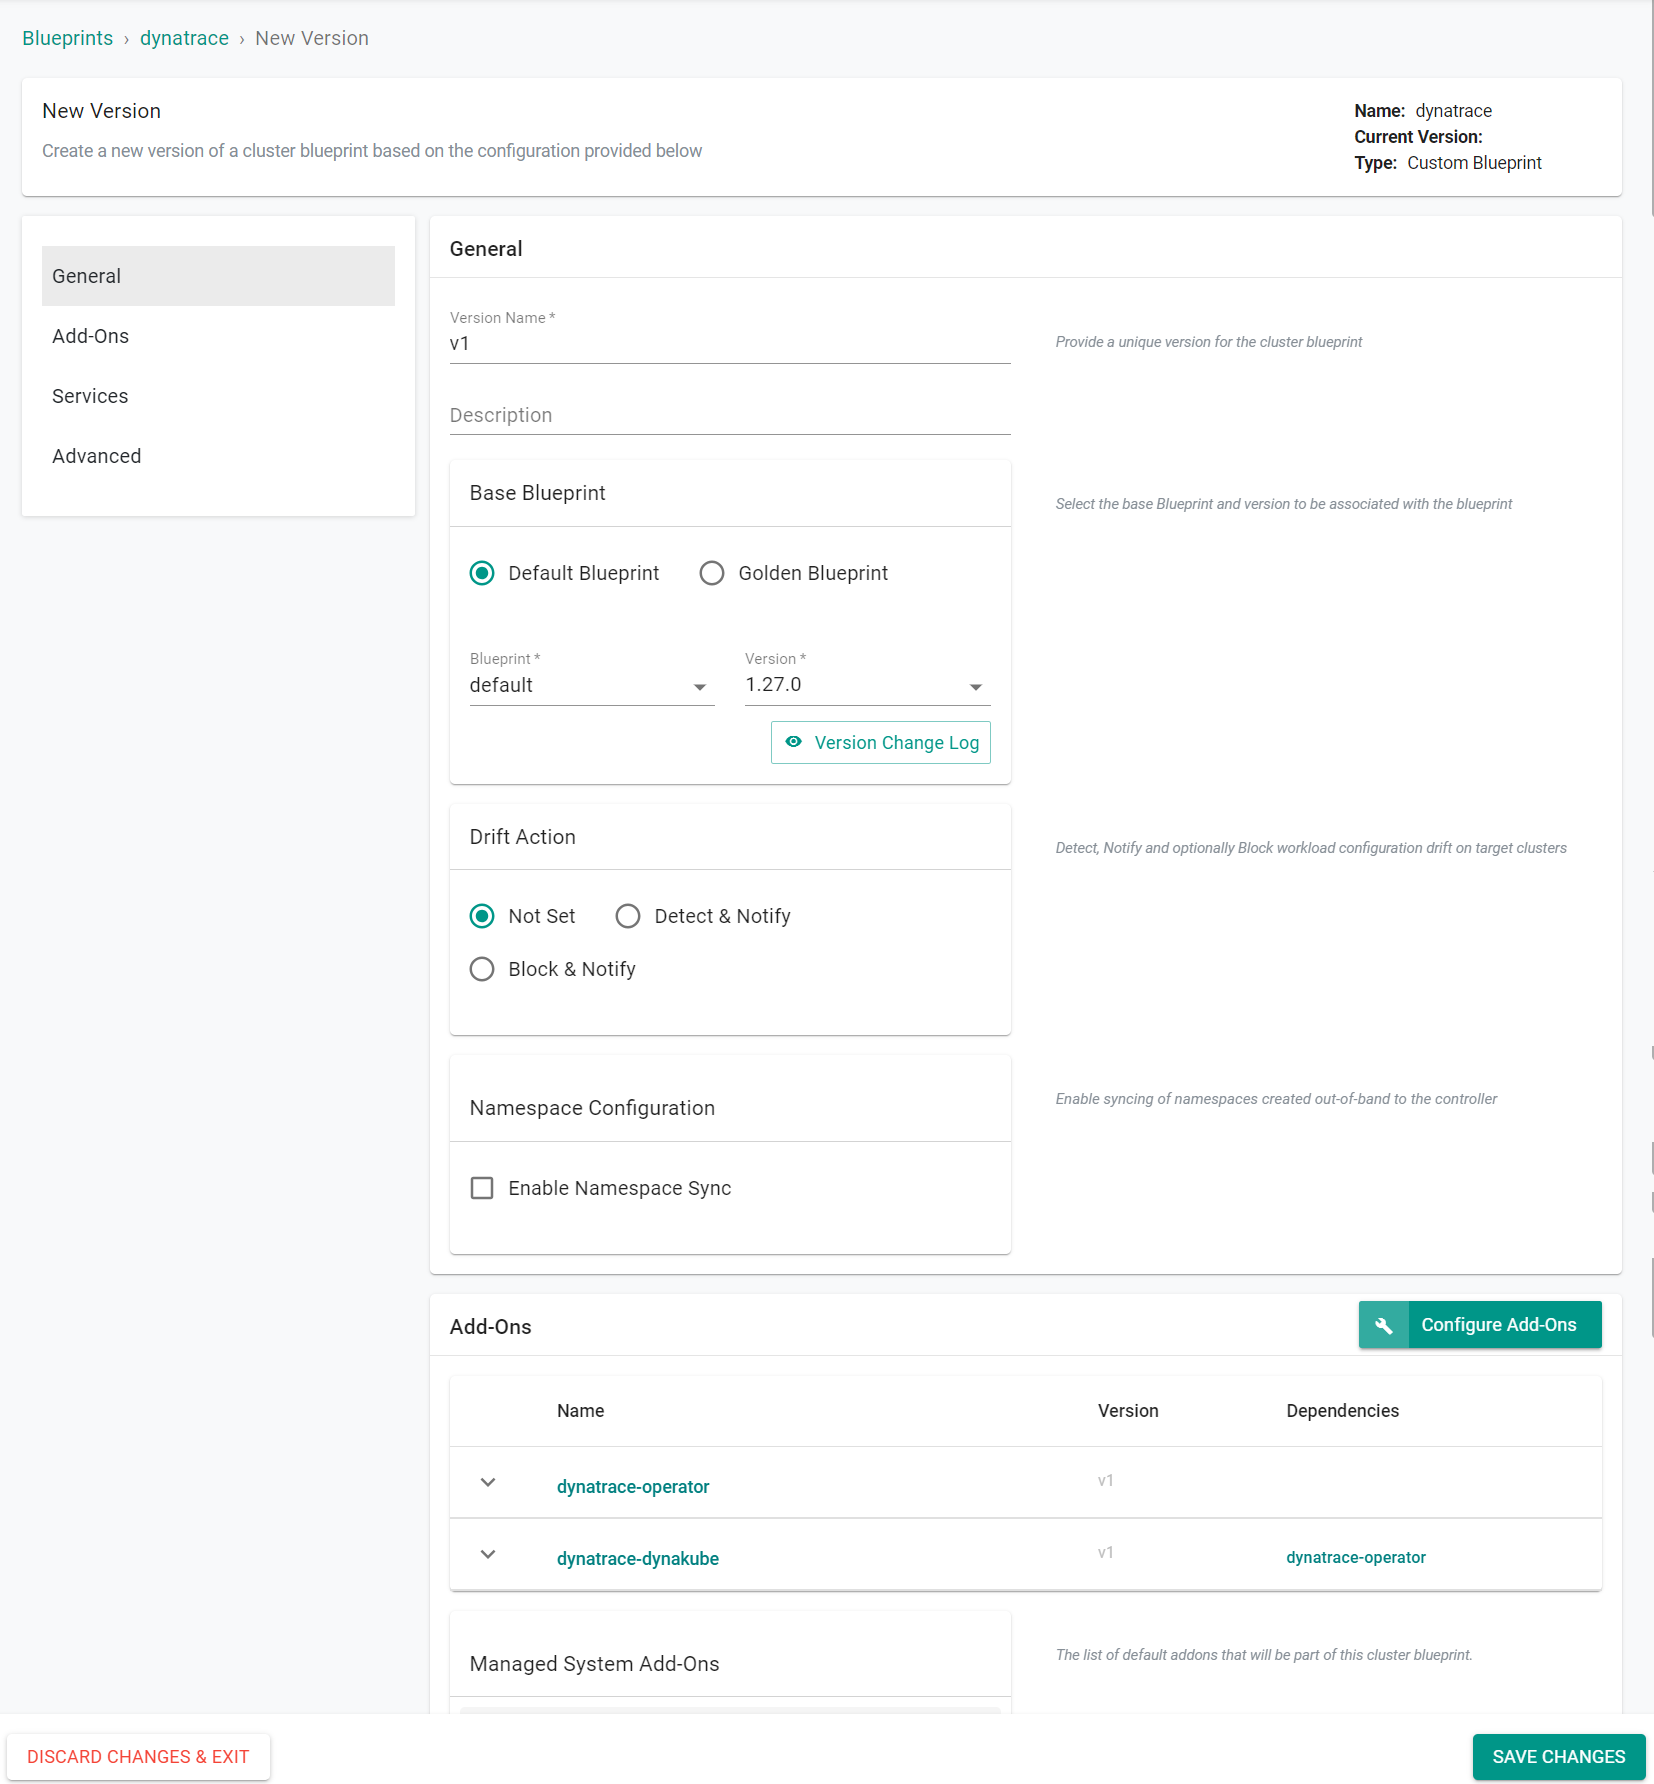
- Enter v1 for the version name
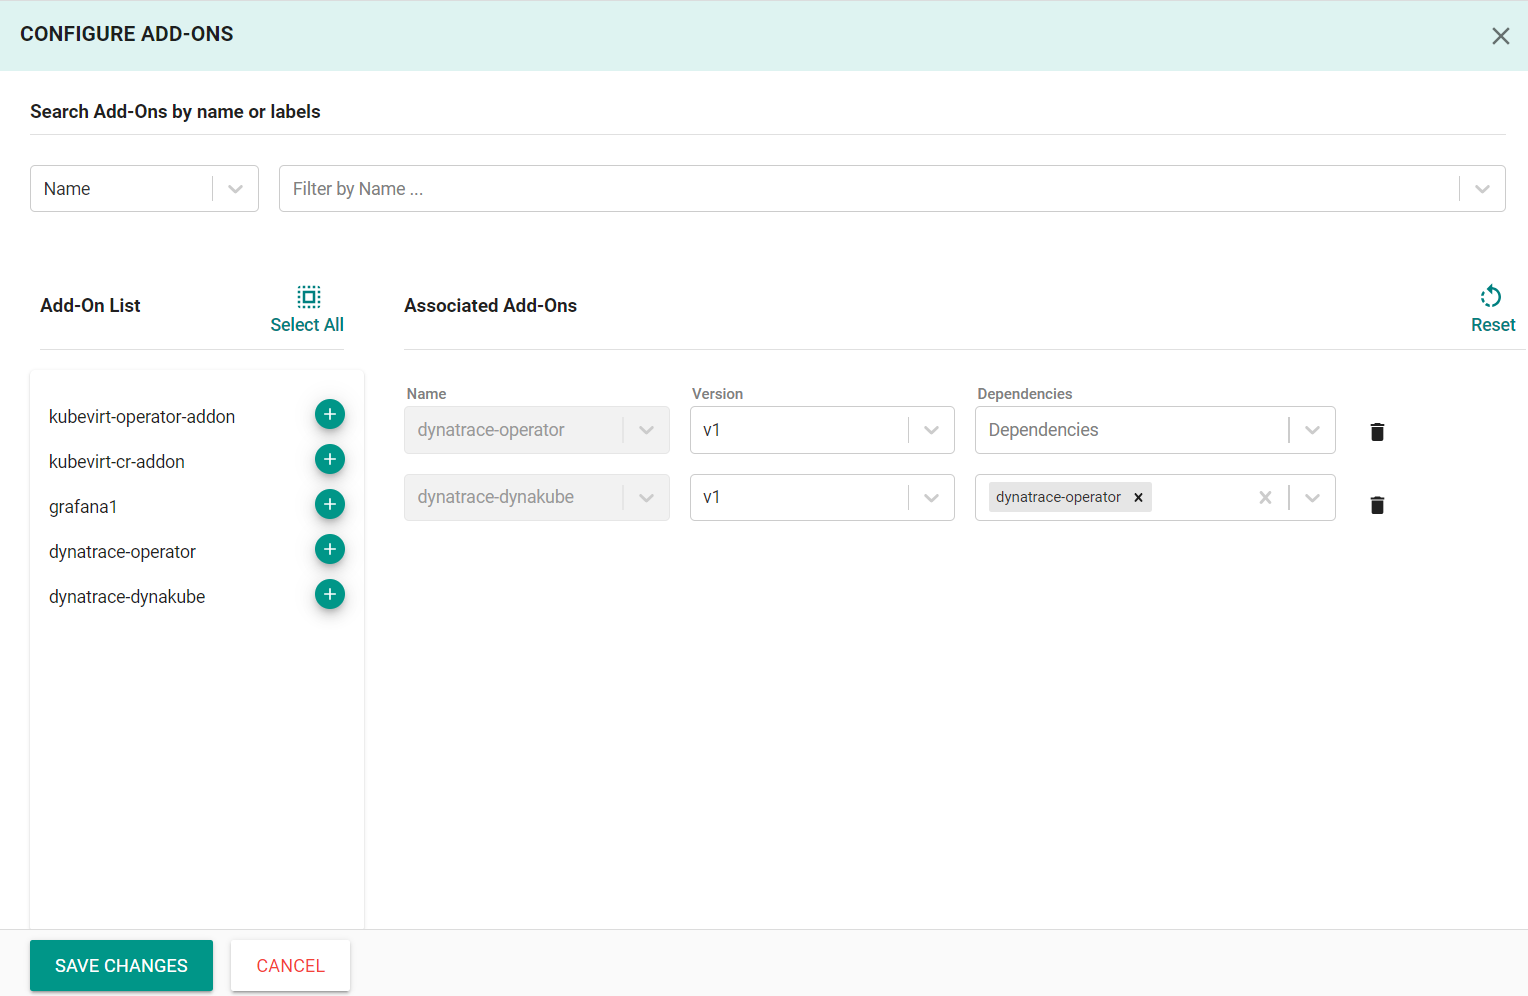
- Click Configure Add-ons
- Select the two previously created Dynatrace add-ons
- Add the dynatrace-operator as a dependency for the dynatrace-dynakube add-on
- Click Save Changes
- Click Save Changes
Step 6: Apply Blueprint
Now, we are ready to apply this custom blueprint to a cluster.
- In your project, navigate to Infrastructure -> Clusters
- Click the gear icon on the cluster card
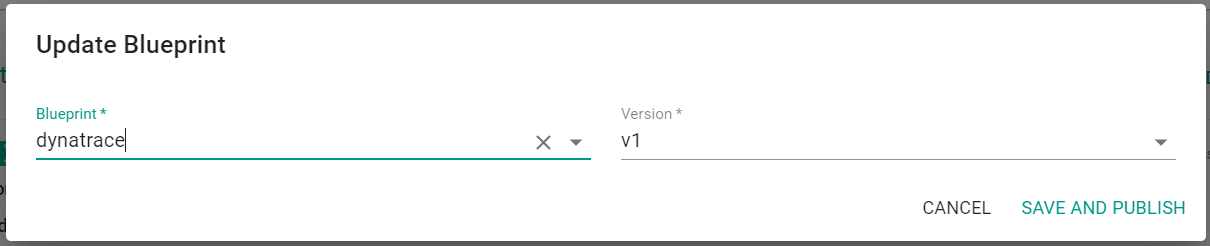
- Select Update Blueprint
- Select the dynatrace blueprint and version
- Click Save and Publish
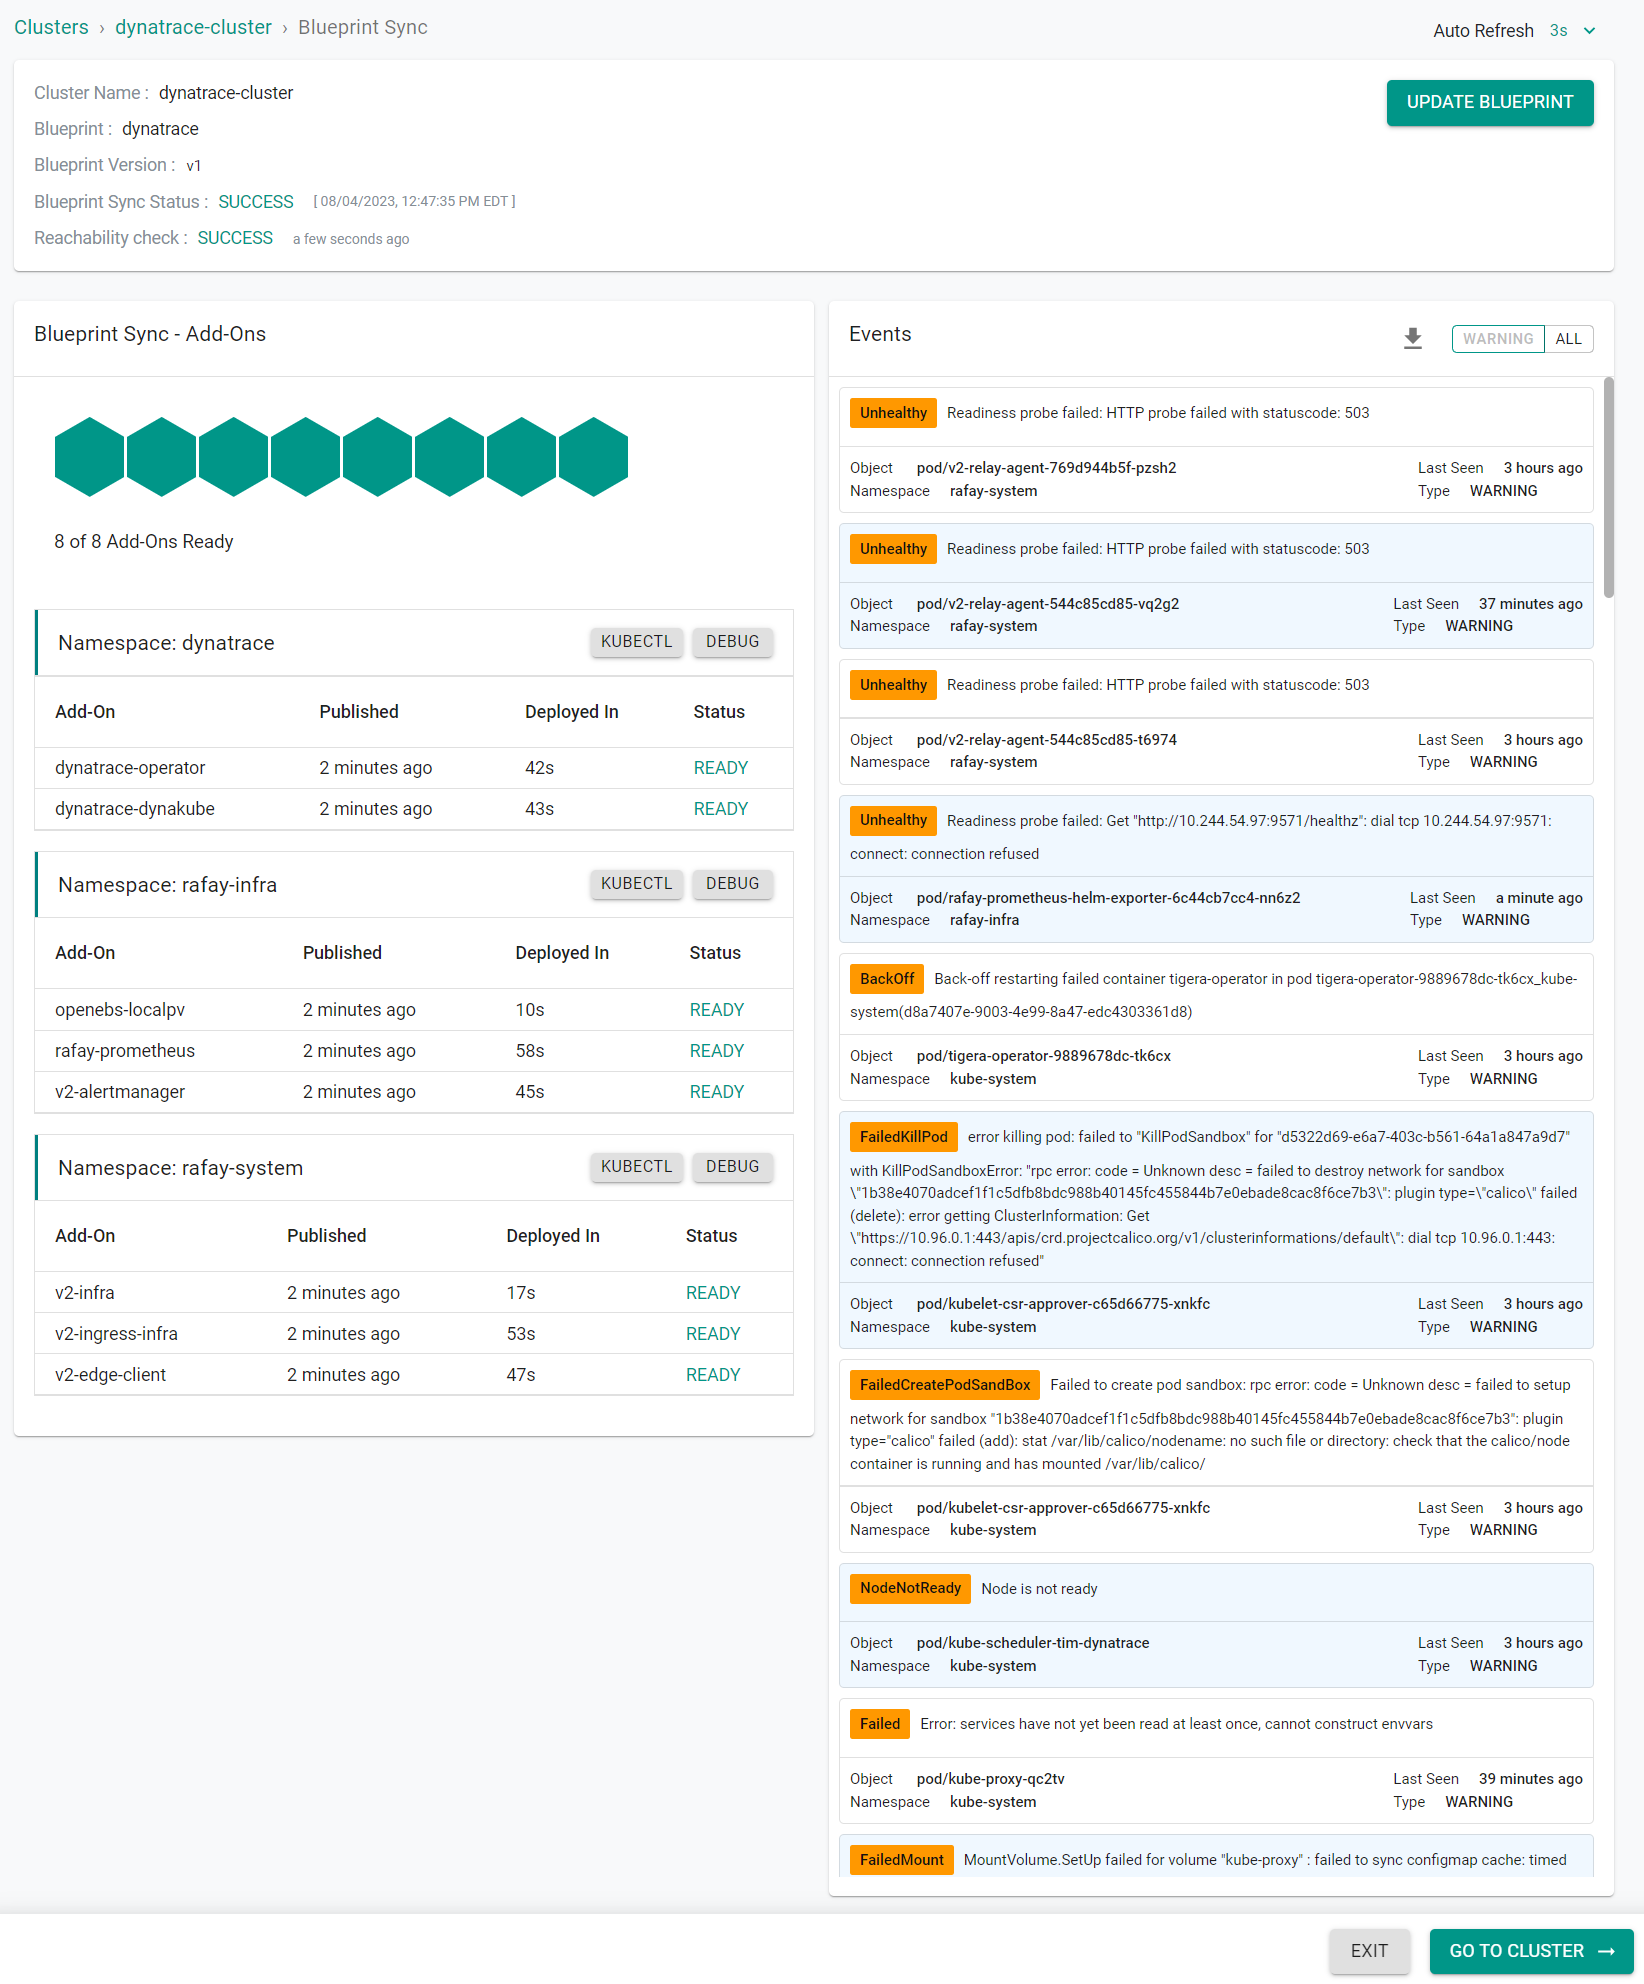
This will start the deployment of the add-ons configured in the blueprint. The blueprint sync process can take a few minutes. Once complete, the cluster will display the current cluster blueprint details and whether the sync was successful or not.
Step 7: Verify Deployment
Users can optionally verify whether the correct resources have been created on the cluster. Click on the Kubectl button on the cluster to open a virtual terminal
- First, we will verify if the "dynatrace" namespace has been created
kubectl get ns dynatrace
NAME         STATUS   AGE
dynatrace   Active   43m
- Next, we will verify the pods in the "dynatrace" namespace. You should see something like the example below showing the running pods. Note, it can take ~3 minutes for all pods to become running.
kubectl get pod -n dynatrace
NAME                                  READY   STATUS    RESTARTS   AGE
dynatrace-cluster1-activegate-0       0/1     Running   0          110s
dynatrace-cluster1-oneagent-trz4q     1/1     Running   0          110s
dynatrace-operator-68d8bdb798-x8sjj   1/1     Running   0          2m54s
dynatrace-webhook-b45bd7d5b-c2fz2     1/1     Running   0          2m54s
dynatrace-webhook-b45bd7d5b-vt6k2     1/1     Running   0          2m54s
Step 8: Verify Data Collected
Next, you will verify the data collected in your Dynatrace account.
- In your Dynatrace account, navigate to Kubernetes.
You should see your cluster.
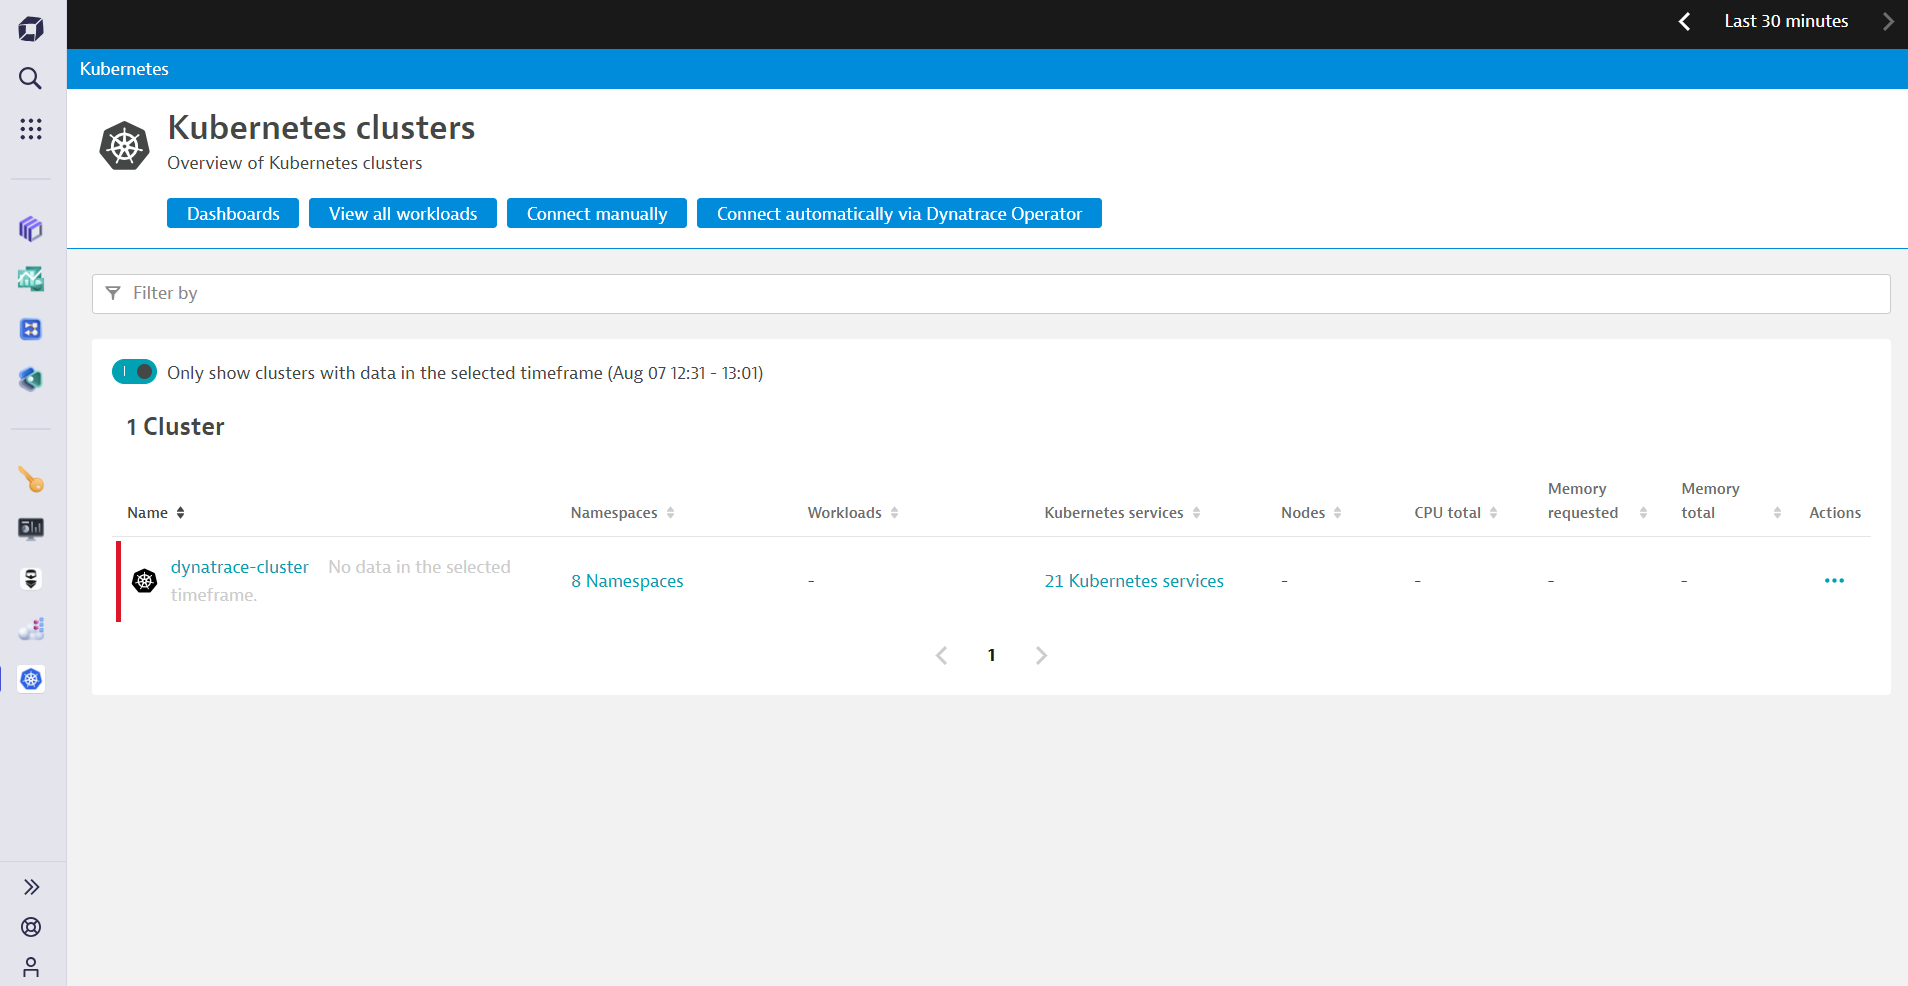
- Click on the cluster to see additional details
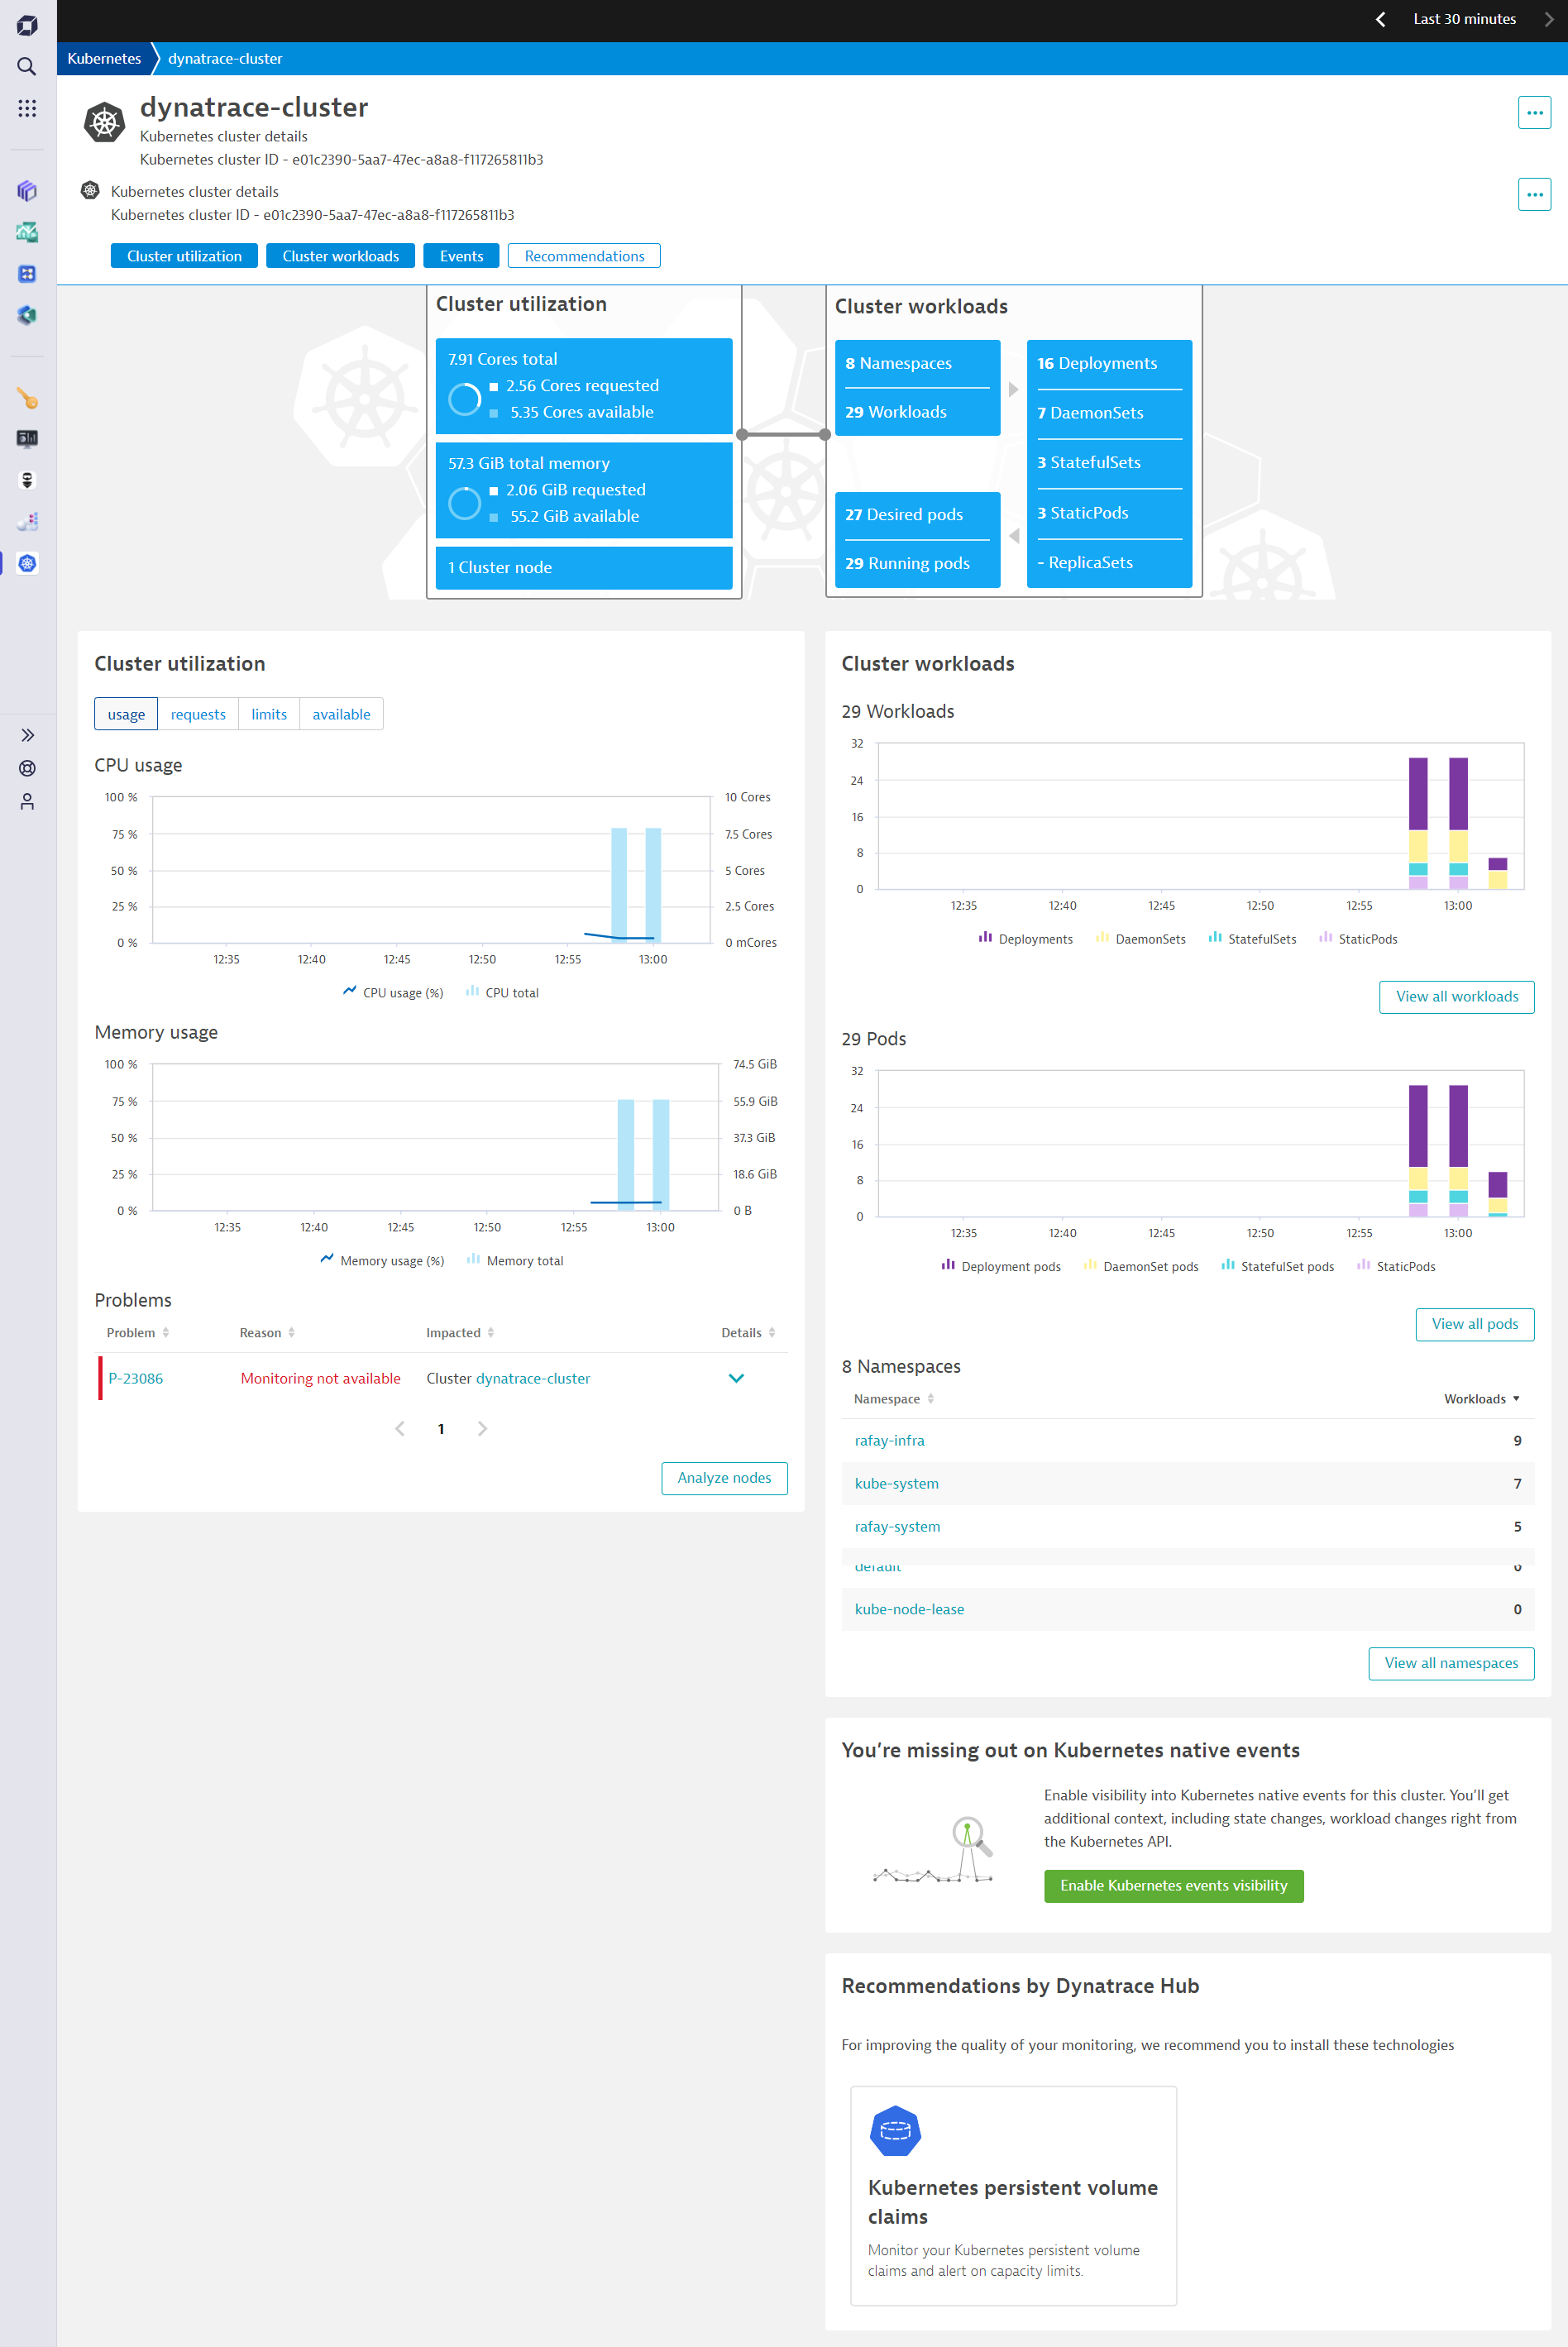
Recap
Congratulations! You have successfully created a custom cluster blueprint with Dynatrace as an add-on. You then applied the blueprint to a managed cluster and viewed the Dynatrace dashboard for your cluster. You can now use this blueprint on as many clusters as you require.