Create
In this part, you will:
- Create and configure a a repository to pull helm charts and associated versions from the eks-charts public repo
- Create a custom catalog which will populate with the helm charts from the newly created repository
- Create a namespace to deploy the addon
- Create an addon from the custom catalog
- Create a custom cluster blueprint with the fluent bit for AWS addon
Add EKS Charts Repo
Configure the repo endpoint so that the controller can automatically retrieve the required Helm charts directly from the public repository.
- Click on Integrations -> Repository
- Create New Repository -> Provide a name such as "eks-charts" and Select "Helm" for Type
- Enter "https://aws.github.io/eks-charts" for Endpoint and Select "Internet Facing" for Reachability
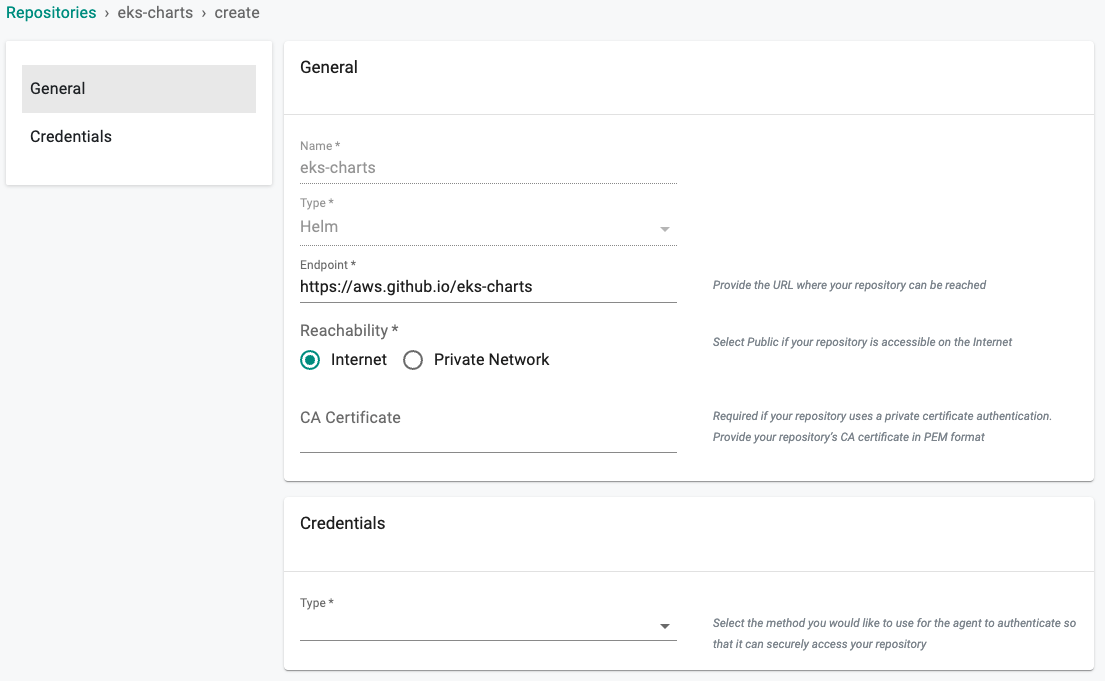
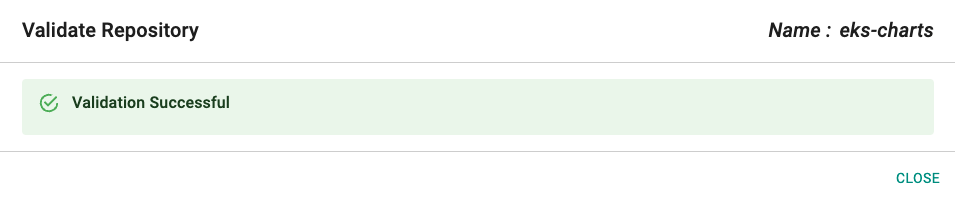
- Optionally, you can validate the correct configuration of the repository by clicking on the validate option
Create Catalog
We will now create a custom catalog using the previously created repository.
- Click on "Catalog"
- Click on "MANAGE CATALOGS"
- Click on the "CUSTOM CATALOGS" tab
- Click on ""+ New Catalog"
- In the Name section enter "eks-charts"
- Select "eks-charts" for the repository
- Enable "Auto Sync Catalog"
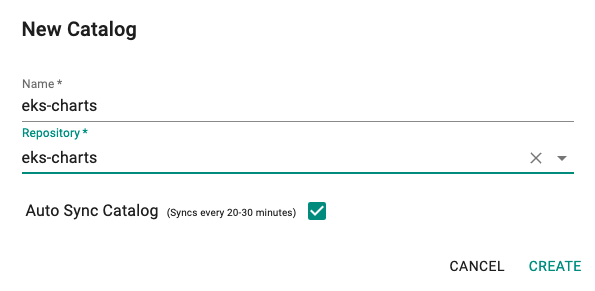
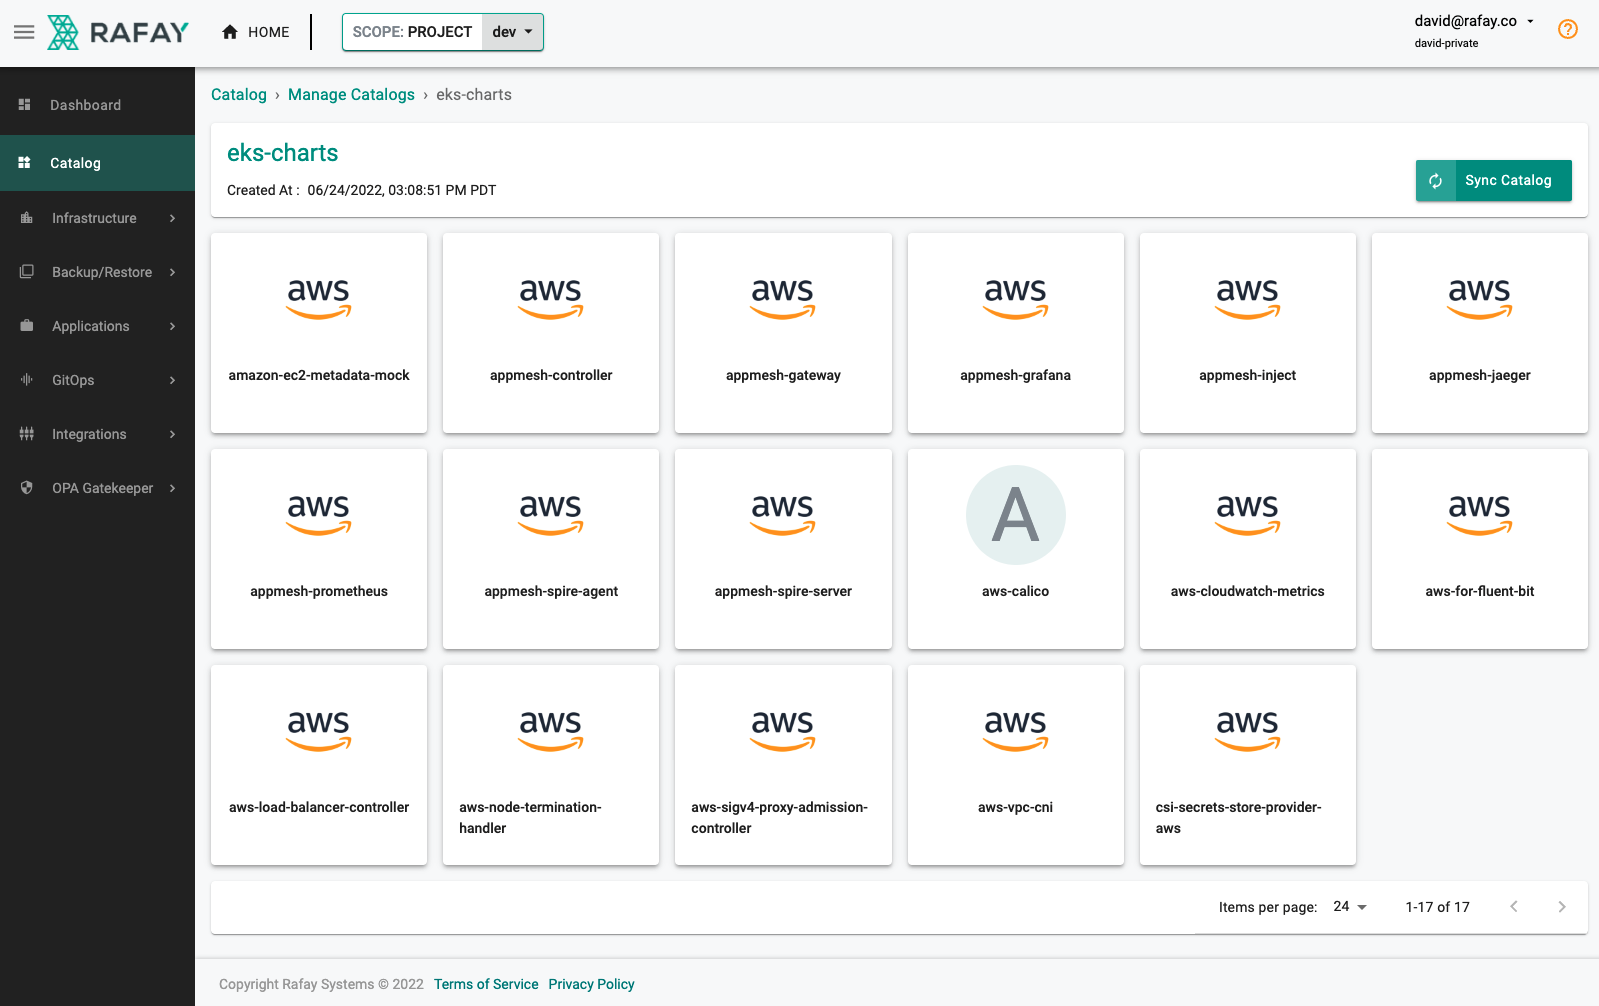
- Click on "Sync Catalog", all eks-charts and versions will populate
Create Namespace
We will deploy the fluent-bit operator to the logging namespace. We will create this in our project namespace on the EKS cluster.
- Click on Infrastructure -> Namespaces
- Click New Namespace
- Enter "logging" in the "Name" section
- For "Type" Select "Wizard" from the dropdown
- Click "SAVE"
- Click "SAVE & GO TO PLACEMENT"
- Select the specific cluster
- Click "SAVE & GO TO PUBLISH"
- Select "PUBLISH"
- Select "EXIT" once namespace has published

Create Addon
- Click on Infrastructure -> Addons
- Click on Create New Addon
- Select "Create New Add-On from Catalog"
- Filter by Catalog and select "eks-charts"
- Select the chart "aws-for-fluent-bit"
- Select the version
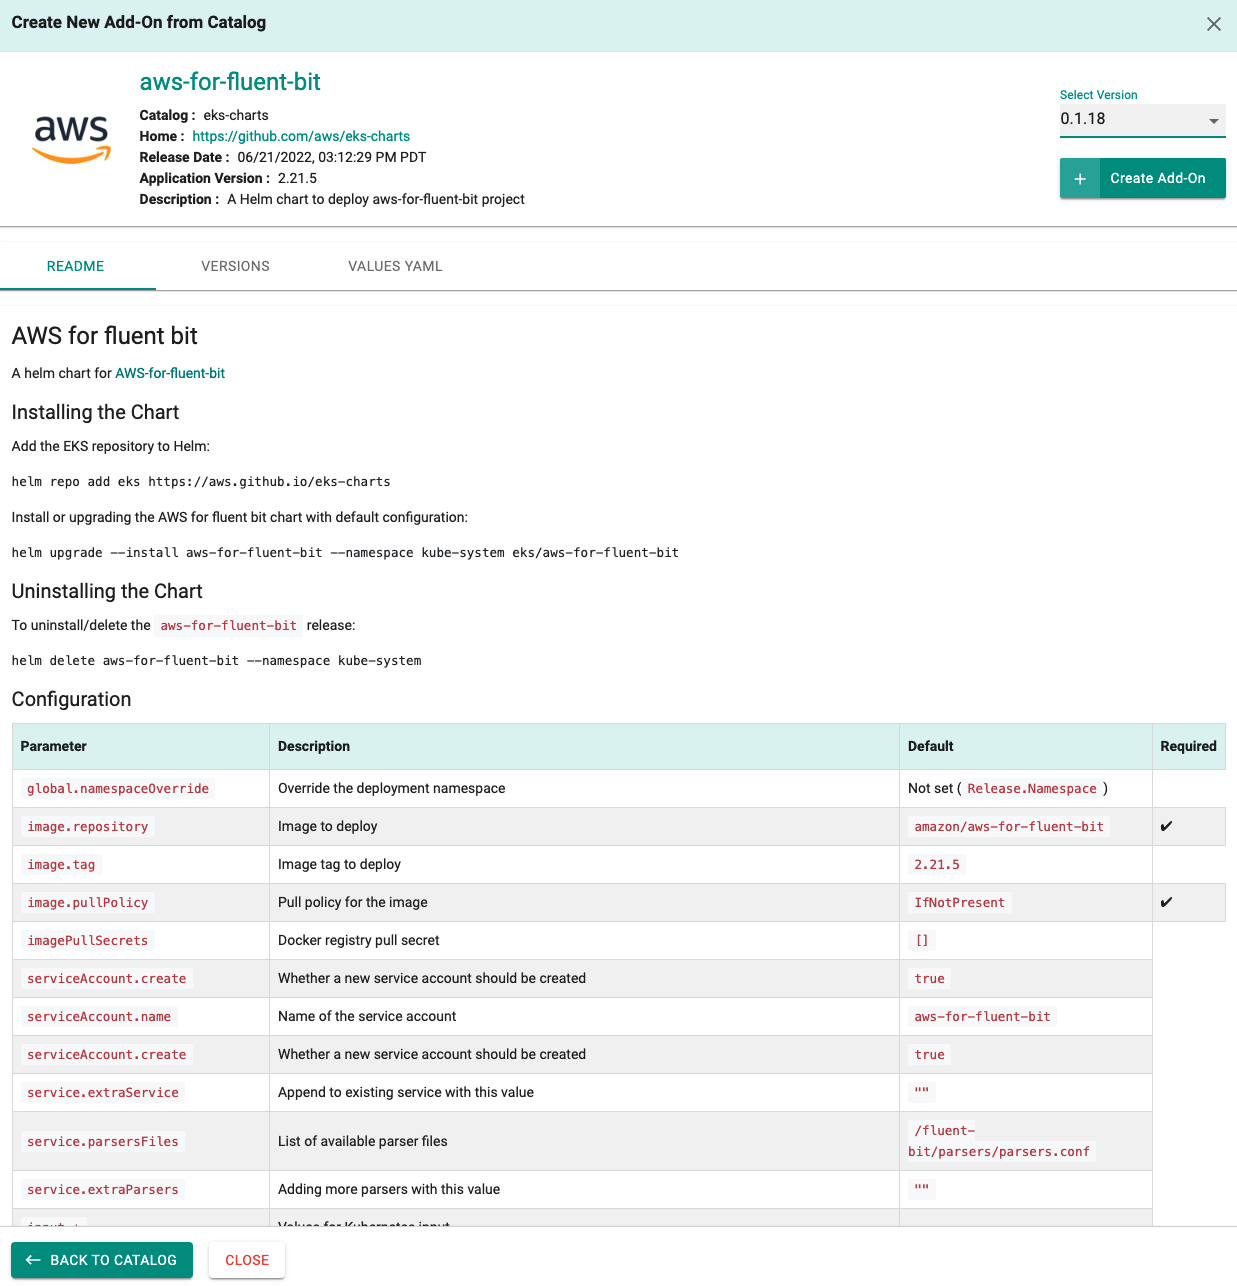
- Click on "Create Add-On"
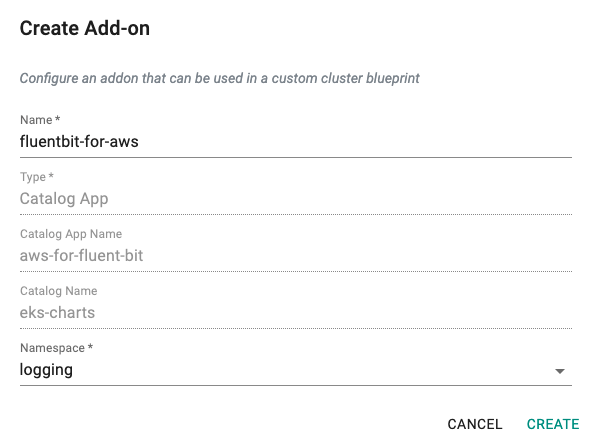
- Enter "fluentbit-for-aws"
- Enter "logging" for the Namespaces
- Click on "CREATE"
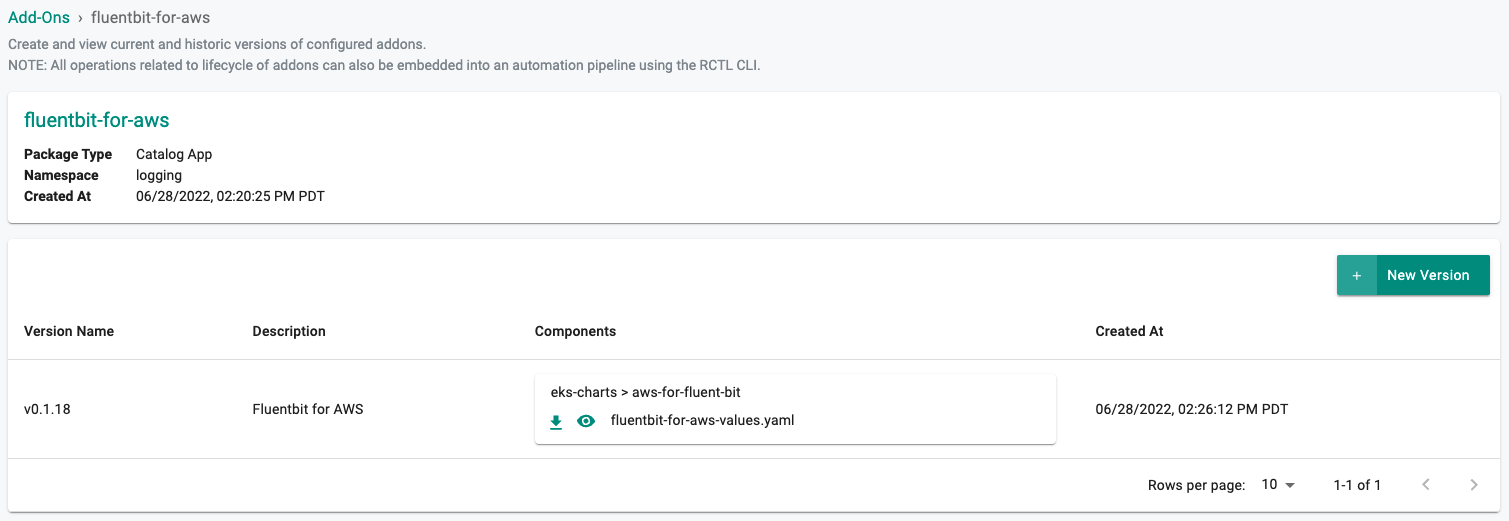
New Version
- Enter a version name, for this addon we will user "v0.1.18"
- Enter a description
Custom Values
- Edit the highlighted lines to match your deployment and save as "fluentbit-for-aws-values.yaml"
global:
## Override the deployment namespace
#   namespaceOverride:

image:
  repository: amazon/aws-for-fluent-bit
  tag: 2.7.0
  pullPolicy: IfNotPresent

imagePullSecrets: []
nameOverride: ""
fullnameOverride: ""

service:
  parsersFiles:
    - /fluent-bit/parsers/parsers.conf
  # extraParsers: |
  #   [PARSER]
  #       Name   logfmt
  #       Format logfmt

input:
  tag: "kube.*"
  path: "/var/log/containers/*.log"
  db: "/var/log/flb_kube.db"
  parser: docker
  dockerMode: "On"
  memBufLimit: 5MB
  skipLongLines: "On"
  refreshInterval: 10

# extraInputs: |
#   [INPUT]
#       Name         winlog
#       Channels     Setup,Windows PowerShell
#       Interval_Sec 1
#       DB           winlog.sqlite

filter:
  match: "kube.*"
  kubeURL: "https://kubernetes.default.svc.cluster.local:443"
  mergeLog: "On"
  mergeLogKey: "data"
  keepLog: "On"
  k8sLoggingParser: "On"
  k8sLoggingExclude: "On"

# extraFilters: |
#   [FILTER]
#       Name   grep
#       Match  *
#       Exclude log lvl=debug*

cloudWatch:
  enabled: false
  match: "*"
  region: "us-east-1"
  logGroupName: "/aws/eks/fluentbit-cloudwatch/logs"
  logStreamName:
  logStreamPrefix: "fluentbit-"
  logKey:
  logFormat:
  logRetentionDays:
  roleArn:
  autoCreateGroup: true
  endpoint:
  credentialsEndpoint: {}

firehose:
  enabled: false
  match: "*"
  region: "us-east-1"
  deliveryStream: "my-stream"
  dataKeys:
  roleArn:
  endpoint:
  timeKey:

kinesis:
  enabled: false
  match: "*"
  region: "us-east-1"
  stream: "my-kinesis-stream-name"
  partitionKey: "container_id"
  appendNewline:
  dataKeys:
  roleArn:
  endpoint:
  stsEndpoint:
  timeKey:
  timeKeyFormat:
  compression:
  aggregation:
  experimental:
    concurrency:
    concurrencyRetries:

elasticsearch:
  enabled: true
  match: "*"
  host: search-rafay-logging-yjialda7465o4egdgomrfv2wmq.us-west-2.es.amazonaws.com
  awsRegion: "us-west-2 "
  awsAuth: "On"
  tls: "On"
  port: "443"
  retryLimit: 6
  replaceDots: "On"
  extraOutputs: |
    Index  fluent-bit
    Logstash_DateFormat     %Y-%m-%d
    Logstash_Format     On
    Logstash_Prefix     fluent-bit

# extraOutputs: |
#   [OUTPUT]
#     Name file
#     Format template
#     Template {time} used={Mem.used} free={Mem.free} total={Mem.total}

serviceAccount:
  create: false
  annotations: {}
  name: opensearch-logging

resources:
  limits:
    memory: 250Mi
  requests:
    cpu: 50m
    memory: 50Mi

## Assign a PriorityClassName to pods if set
# priorityClassName: system-node-critical

updateStrategy:
  type: RollingUpdate

nodeSelector: {}

tolerations: []

affinity: {}

annotations: {}
  # iam.amazonaws.com/role: arn:aws:iam::123456789012:role/role-for-fluent-bit
- For "Values File(s)" select "Upload"
- Click on "Upload Files" and select the file "fluentbit-for-aws-values.yaml" we created in the previous step
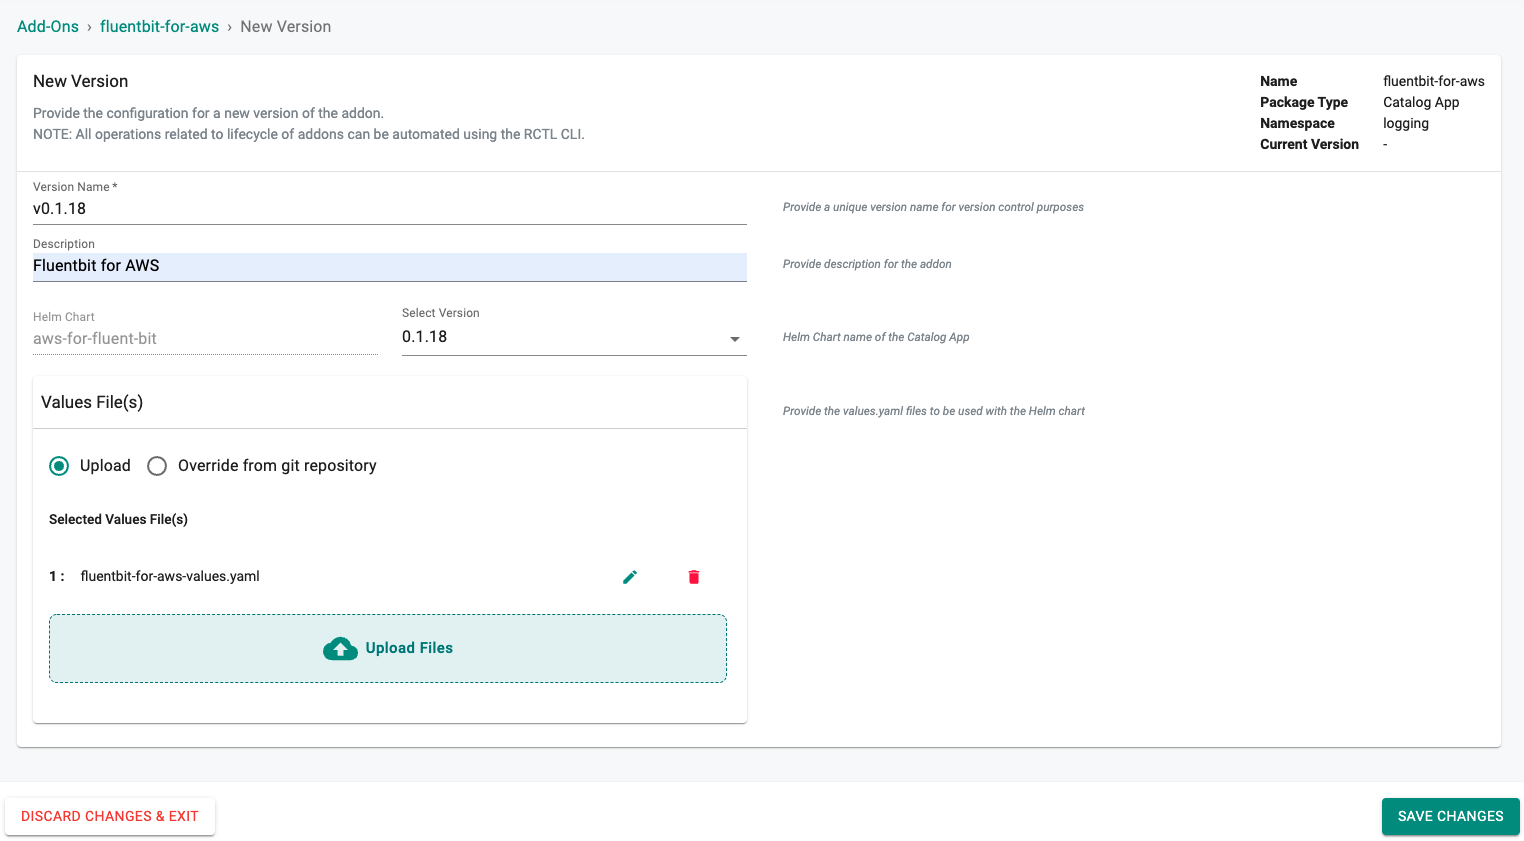
- Select "SAVE CHANGES"
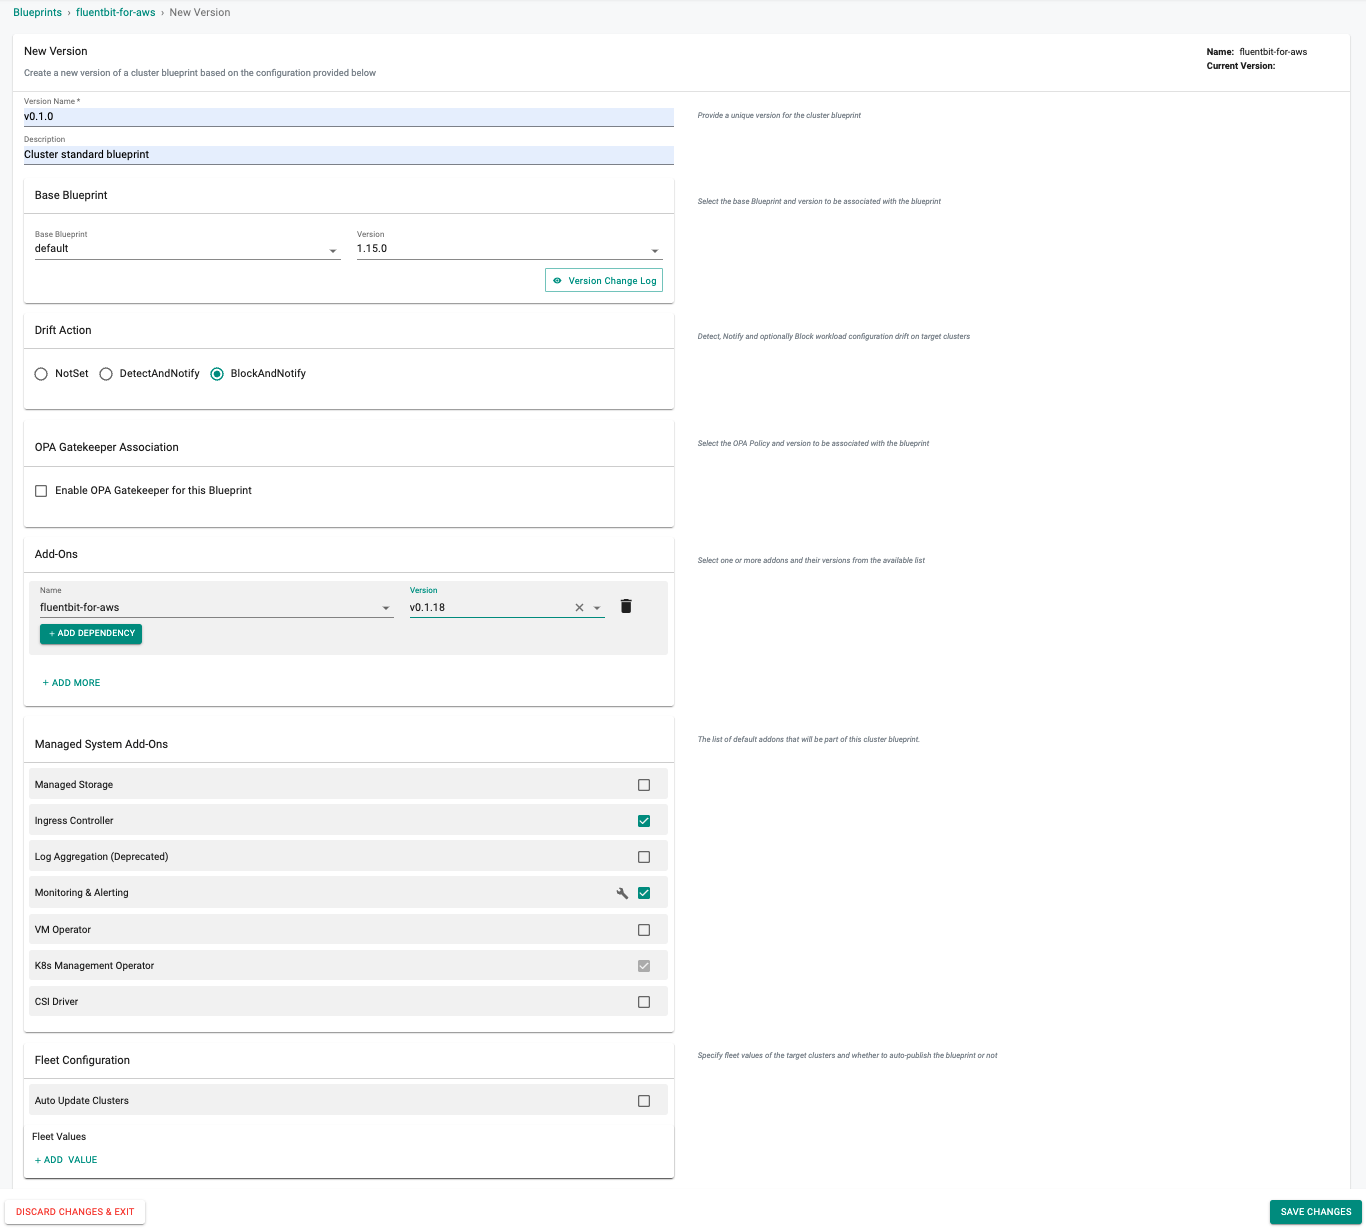
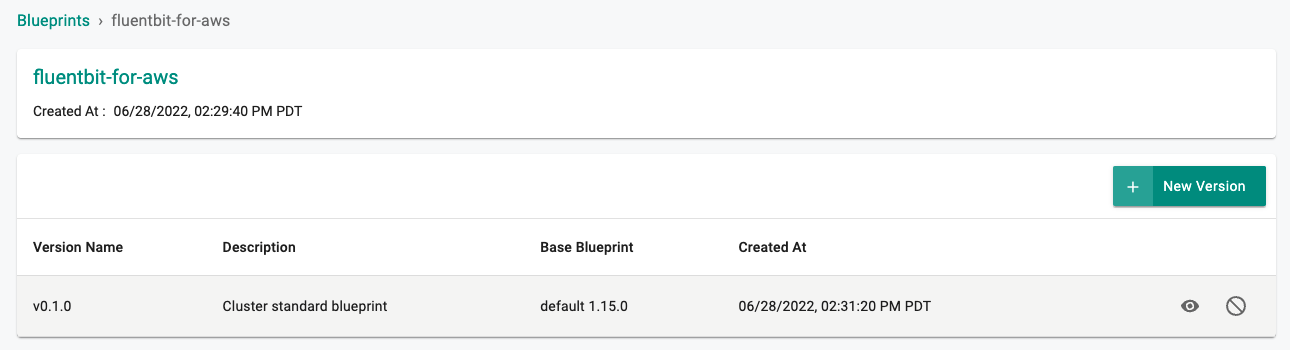
New Blueprint
- Select blueprints and create a new blueprint (e.g. fluentbit-for-aws)
- Enter a description
- Enter a Version Name such as "v0.1.0"
- Set the "Base Blueprint" to the latest Version
- Set "Drift Action" to "BlockAndNotify"
- Add the addon and version created in the previous step
- Click on "SAVE CHANGES" to save the blueprint
Next Steps
You are now ready to move on to the second part of the recipe.