Create
In this part, you will
- Create a Vault add-on (that includes deploying the Vault server in development mode to the cluster)
- Create a custom cluster blueprint with the Vault add-on and CSI driver
- Apply the custom cluster blueprint to your cluster
Step 1: Create a repository
- Click on Integrations -> Repository
- Create New Repository -> Provide a name such as "secrets-store-csi-driver" and Select "Helm" for Type
- Click Create
- Enter "https://kubernetes-sigs.github.io/secrets-store-csi-driver/charts" for Endpoint and Select "Internet Facing" for Reachability
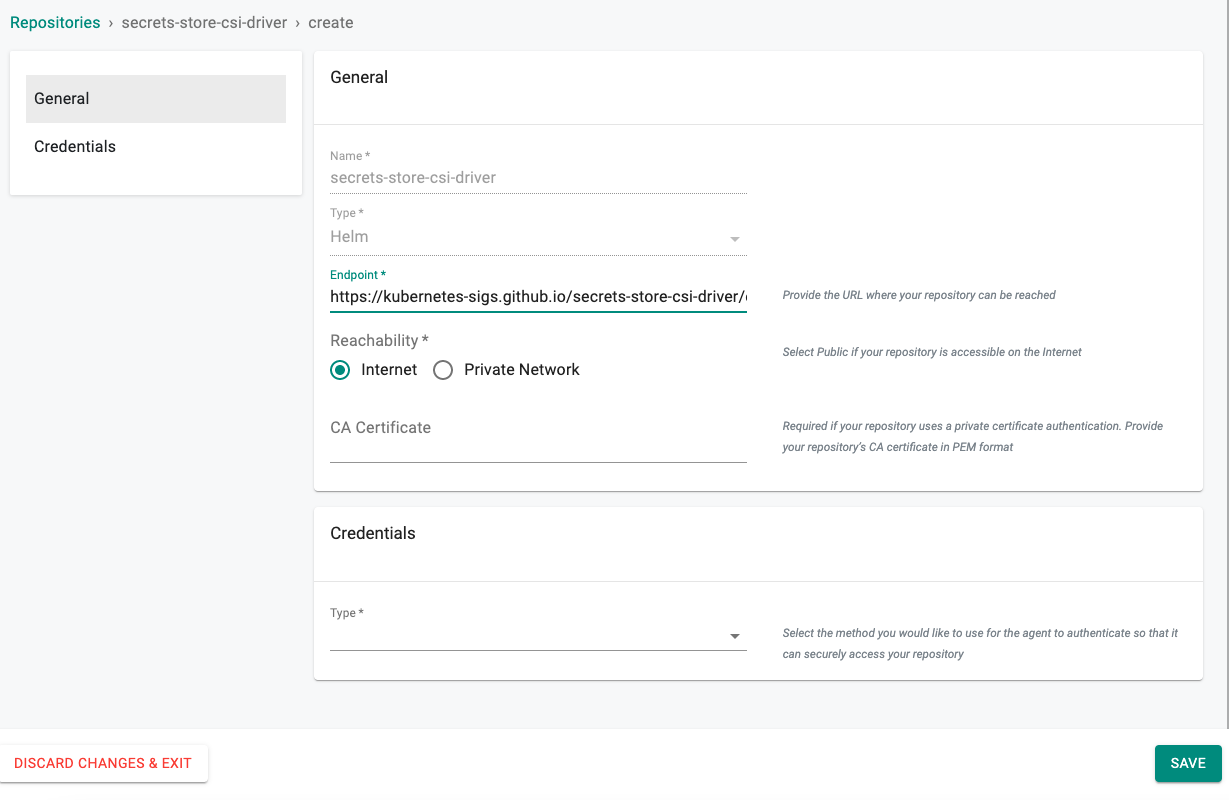
- Optionally, you can validate the correct configuration of the repository by clicking on the validate option
Step 2: Create a namespace
- Click on Infrastructure -> Namespaces
- Click New Namespace
- Enter "default" in the "Name" section
- For "Type", Select "Wizard" from the dropdown
- Click SAVE
- Select the cluster for placement, click Save & Go to Publish
- Publish the namespace
Step 3: Create Secrets Store CSI driver add-on
- Click on Infrastructure -> Add-Ons
- Click on Create New Add-on with the name "secrets-store-csi-driver"
- Select "Helm3" for add-on type
- Select "Pull files from repository" for Artifact Sync
- Select repository type as "Helm"
- Select the "default" namespace from the dropdown
- Click Save Changes
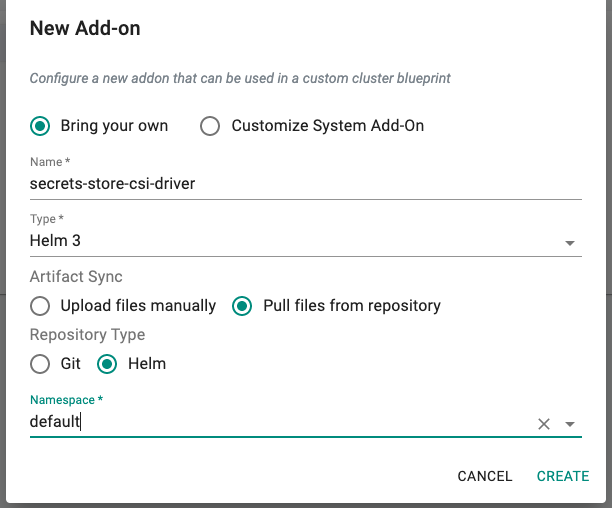
- Click Create
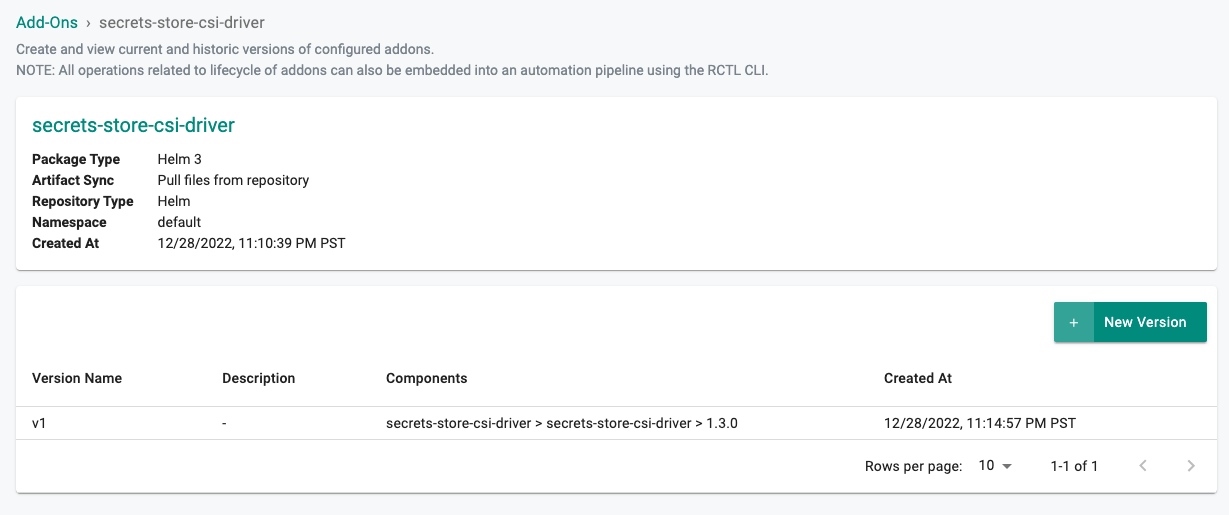
- Provide a verison name (e.g. v1)
- Select the "secrets-store-csi-driver" from the repository dropdown
- Click Save Changes
- Enter "secrets-store-csi-driver" for the Chart Name.
- Enter "1.3.0" for the version number.
Step 4: Create Vault Add-on
As part of the vault add-on, you will deploy Vault in development mode and install the Vault CSI plugin.
- Click on Infrastructure -> Add-Ons
- Click on New Add-on and select "Create New Add-on from Catalog" option
- Search for Vault
- Click Create Add-on
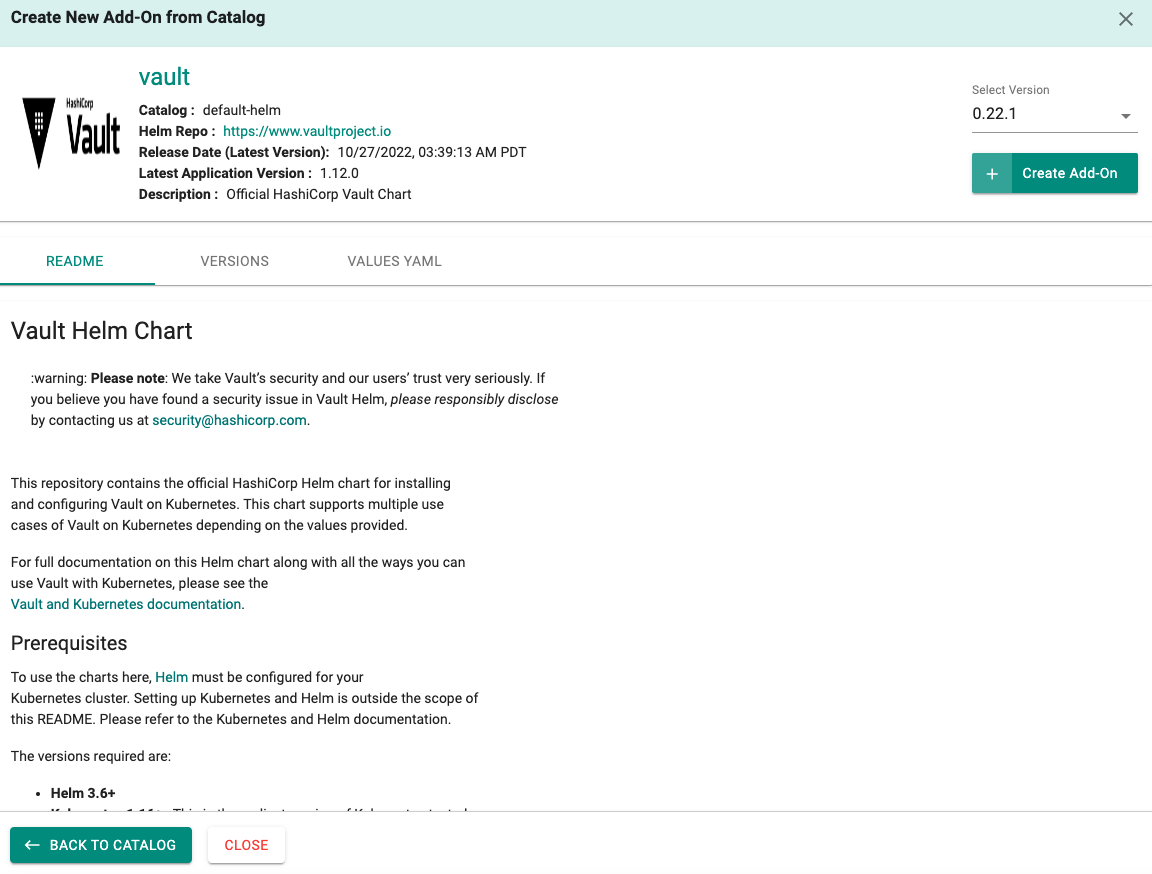
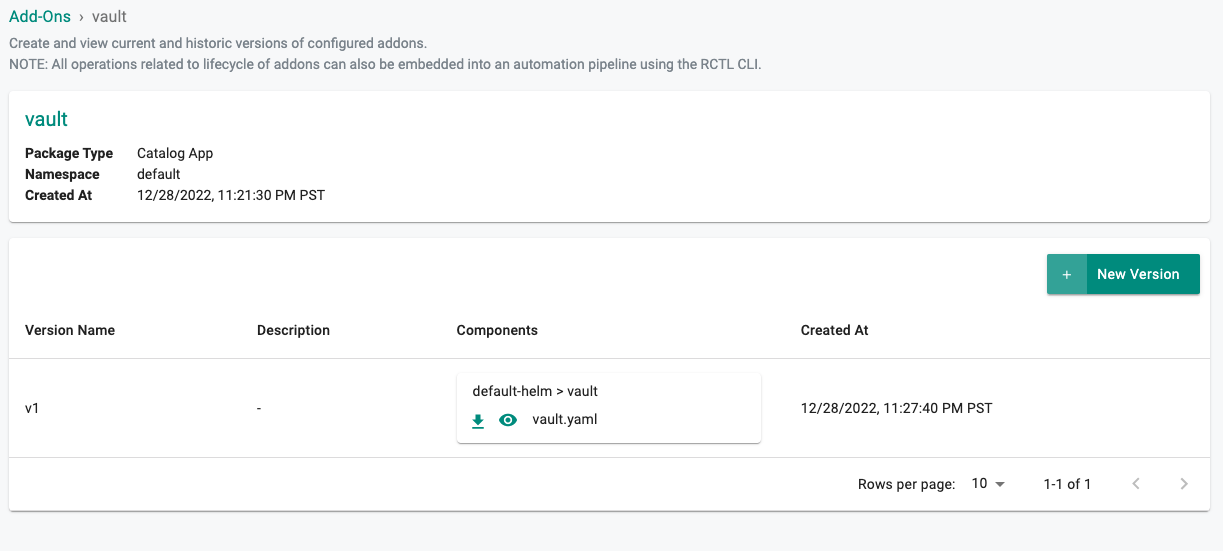
- Provide a name (e.g. vault)
- Select the namespace (default)
- Click Create
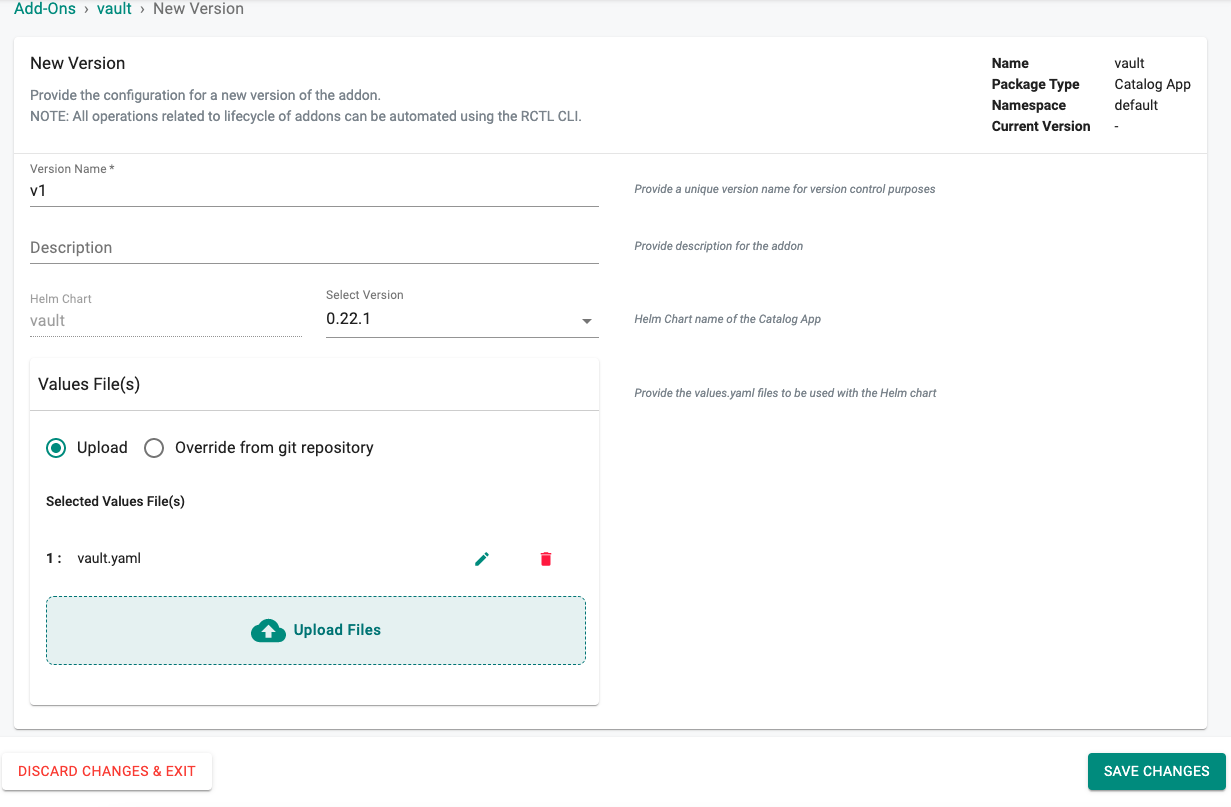
- Provide a version name
- Copy the YAML override config below and upload it
- Click Save Changes
injector:
  # True if you want to enable vault agent injection.
  # @default: global.enabled
  enabled: false

server:
  # If true, or "-" with global.enabled true, Vault server will be installed.
  # See vault.mode in _helpers.tpl for implementation details.
  enabled: true

  # Run Vault in "dev" mode. This requires no further setup, no state management,
  # and no initialization. This is useful for experimenting with Vault without
  # needing to unseal, store keys, et. al. All data is lost on restart - do not
  # use dev mode for anything other than experimenting.
  # See https://www.vaultproject.io/docs/concepts/dev-server.html to know more
  dev:
    enabled: true

# secrets-store-csi-driver-provider-vault
csi:
  # True if you want to install a secrets-store-csi-driver-provider-vault daemonset.
  #
  # Requires installing the secrets-store-csi-driver separately, see:
  # https://github.com/kubernetes-sigs/secrets-store-csi-driver#install-the-secrets-store-csi-driver
  #
  # With the driver and provider installed, you can mount Vault secrets into volumes
  # similar to the Vault Agent injector, and you can also sync those secrets into
  # Kubernetes secrets.
  enabled: true
Step 5: Cluster Blueprint
- Select blueprints and create a new blueprint (e.g. vault-secrets-manager)
- Click on "New version", provide a version name (e.g. v1)
- Select the "vault" and "secrets-store-csi-driver" add-ons and versions from the list of custom add-ons
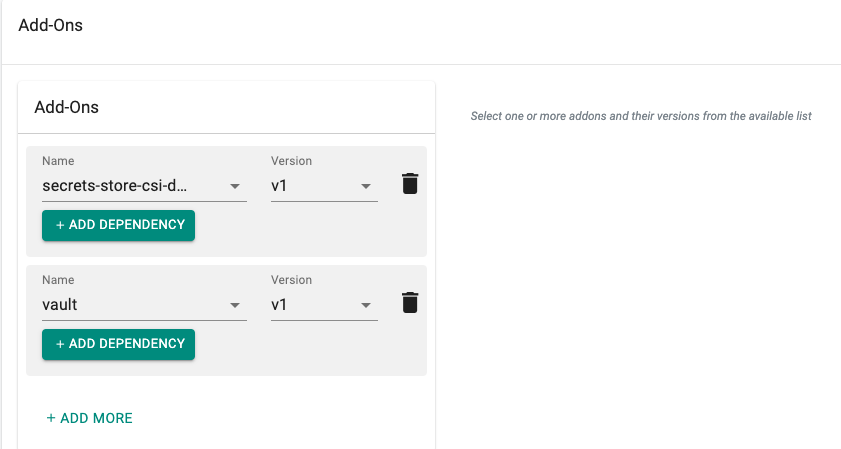
- Click Save Changes
Step 6: Apply Blueprint
We are now ready to apply the newly created, custom blueprint to our cluster.
- Select Infrastructure -> Clusters.
- Click on the gear icon on the far right of the cluster
- Update blueprint and select the new blueprint and version.
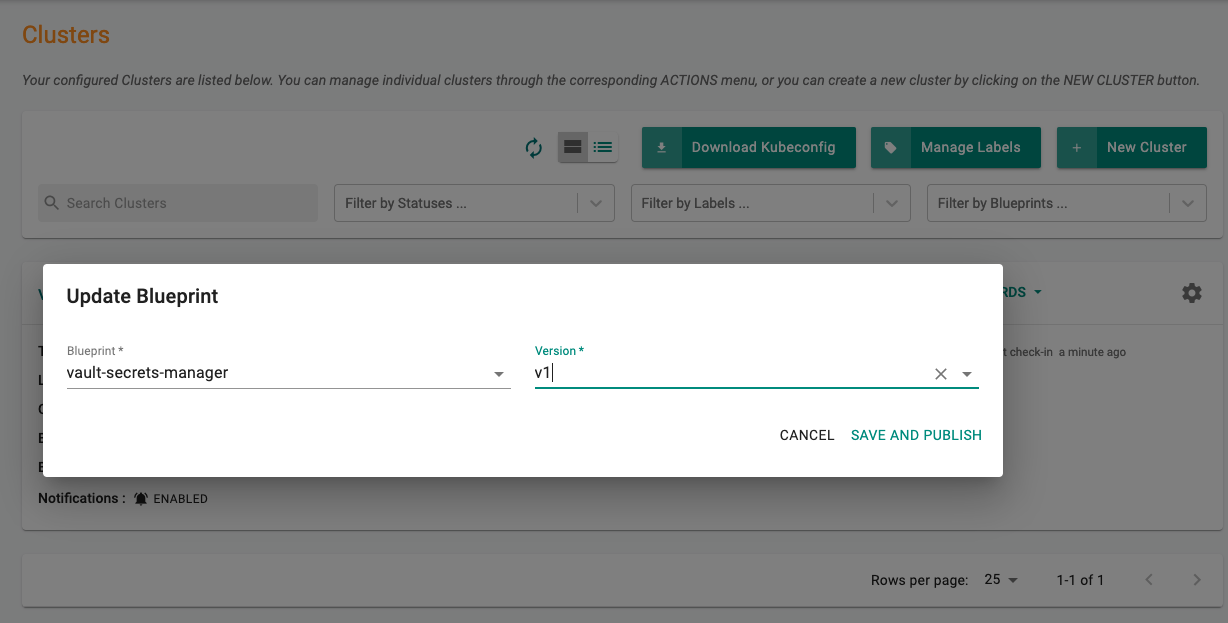
In a few minutes, all the k8s resources matching the custom cluster blueprint will become operational on the cluster.
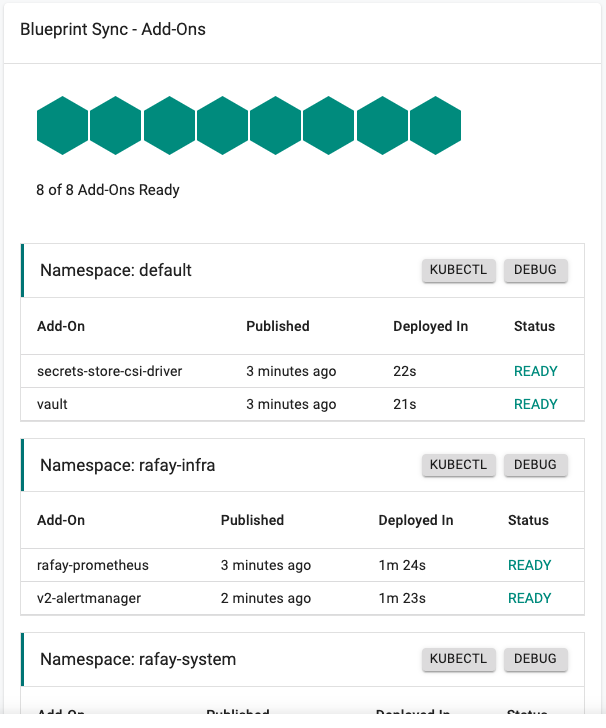
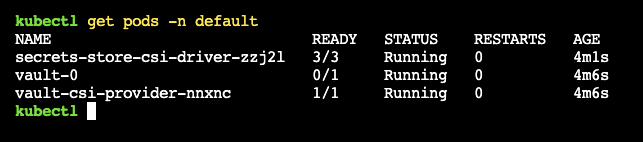
Step 7: Verify Setup
Optionally, to verify if the Secrets Store CSI Driver and the Vault add-on have been properly deployed, you can do the following:
Next Steps
You are now ready to move on to the second part of the recipe.