ngrok

The ngrok Ingress Controller for Kubernetes is an official open-source controller for adding public and secure ingress traffic to your k8s services. You can think of the ngrok Ingress Controller as ngrok packaged as an idiomatic k8s controller — deployed via a simple helm chart, configurable via standard k8s Ingress object (using the kind: Ingress construct), and compatible with k8s best practices.
This recipe describes how customers can standardize the configuration, deployment and lifecycle management of the ngrok Ingress Controller for Kubernetes as a custom system add-on across their fleet of clusters.
You can also watch a video of this in action.
What Will You Do
In this exercise,
- You will create a customized ngrok add-on using ngrok's official Helm chart
- You will use the add-on in a custom cluster blueprint
- You will then apply this cluster blueprint to a managed cluster
- You will then deploy a test workload to use the ngrok ingress controller
Assumptions
- You have already provisioned or imported one or more Kubernetes clusters using the controller.
Step 1: Create ngrok Keys
In this step, you will use the ngrok console to retrieve an Authtoken and an API key which will be used by the controller to communicate with the ngrok service.
- Access the ngrok Dashboard with your Pro account.
- Click Your Authtoken on the left side of the window. Copy the Authtoken to a text editor for later use.
- Click API and follow the instructions to create a new API key. Copy the API key to a text editor for later use.
Step 2: Create Custom Values File
In this step, you will create a custom values file for the ngrok Helm chart.
- Save the below YAML to a file named ngrok-values.yaml
- Update the API Key and Authtoken values with the values obtained from the previous step
credentials:
  apiKey: <API_KEY>
  authtoken: <AUTHTOKEN>
Step 3: Create Namesapce
You will now create a managed namespace from the controller for the ngrok resources.
- Ensure you are logged into the console
- In your project, navigate to Infrastructure -> Namespaces
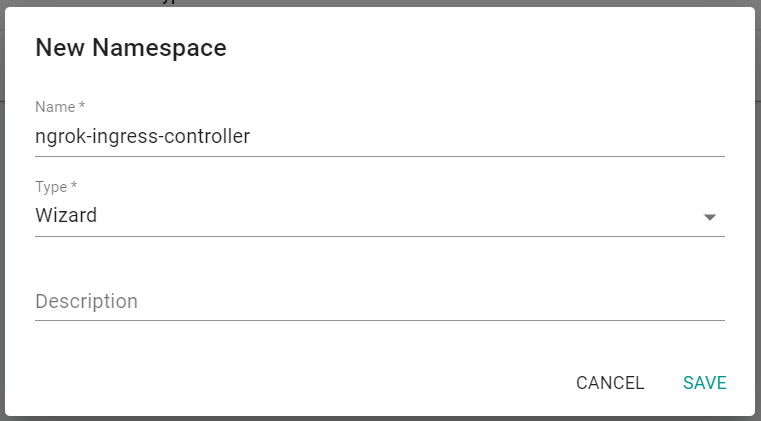
- Click on New Namespace
- Enter ngrok-ingress-controller for the name
- Select Wizard for Type
- Click Save
- Click "Save & Go To Placement"
- Select one of your clusters for placement
- Click "Save & Go To Publish"
- Click "Publish"
- Click "Exit"
Step 4: Create Addon
In this step, you will create a custom cluster add-on from the Catalog. The add-on will then be used in a custom cluster blueprint.
- In the Rafay console, navigate to Catalog in the left side tree
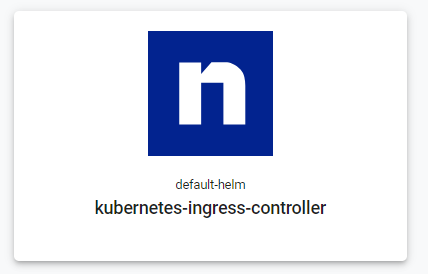
- Search for "kubernetes-ingress-controller"
- Click on kubernetes-ingress-controller
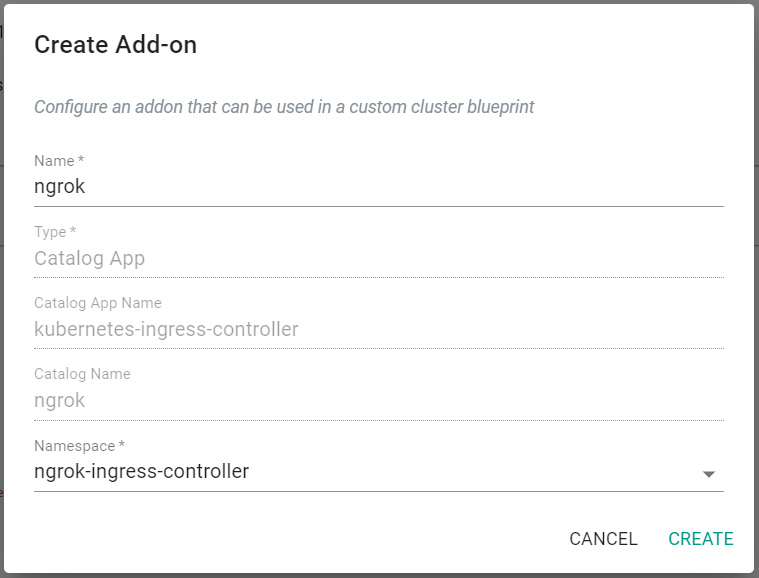
- Click Create Add-On
- Enter ngrok for the name of the add-on
- Select the previously created namespace
- Click Create
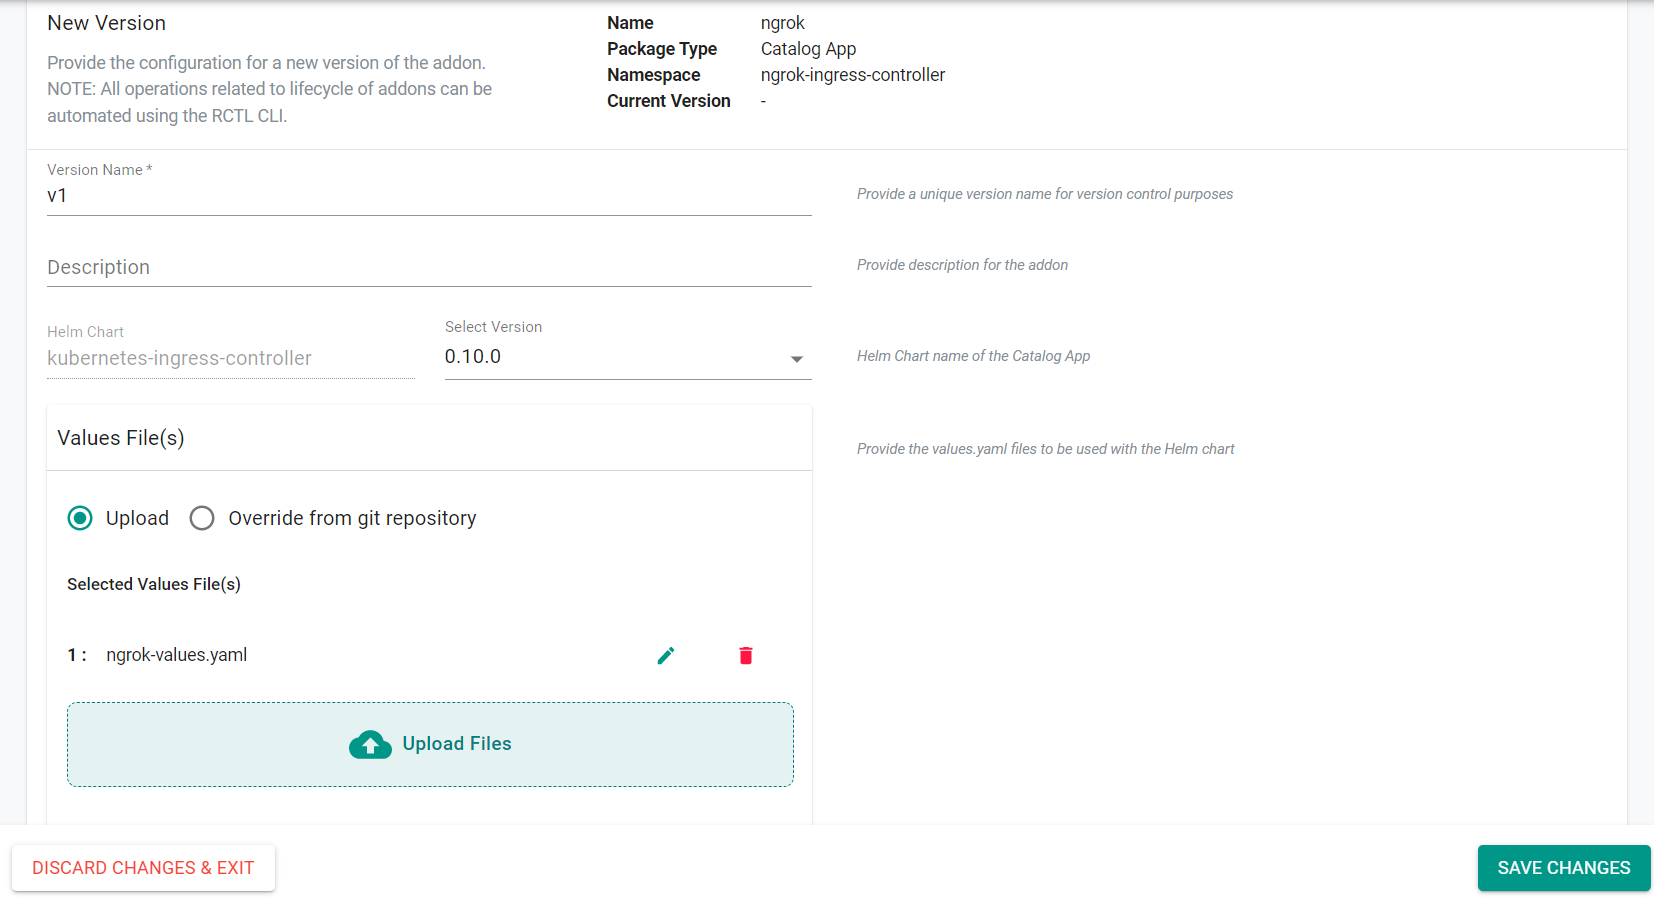
- Enter v1 for the version name
- Click Upload Files under the Values File(s) section
- Select the previously saved ngrok-values.yaml file
- Click Save Changes
Step 5: Create Blueprint
In this step, you will create a custom cluster blueprint which contains the previously created addon.
- In the Rafay console, navigate to Infrastructure -> Blueprints in the left side tree
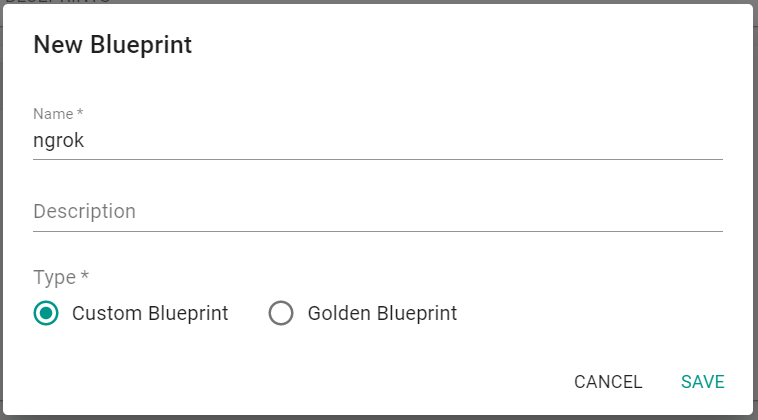
- Click New Blueprint
- Enter ngrok for the name of the blueprint
- Click Save
- Enter v1 for the version name
- Select minimal for the base blueprint
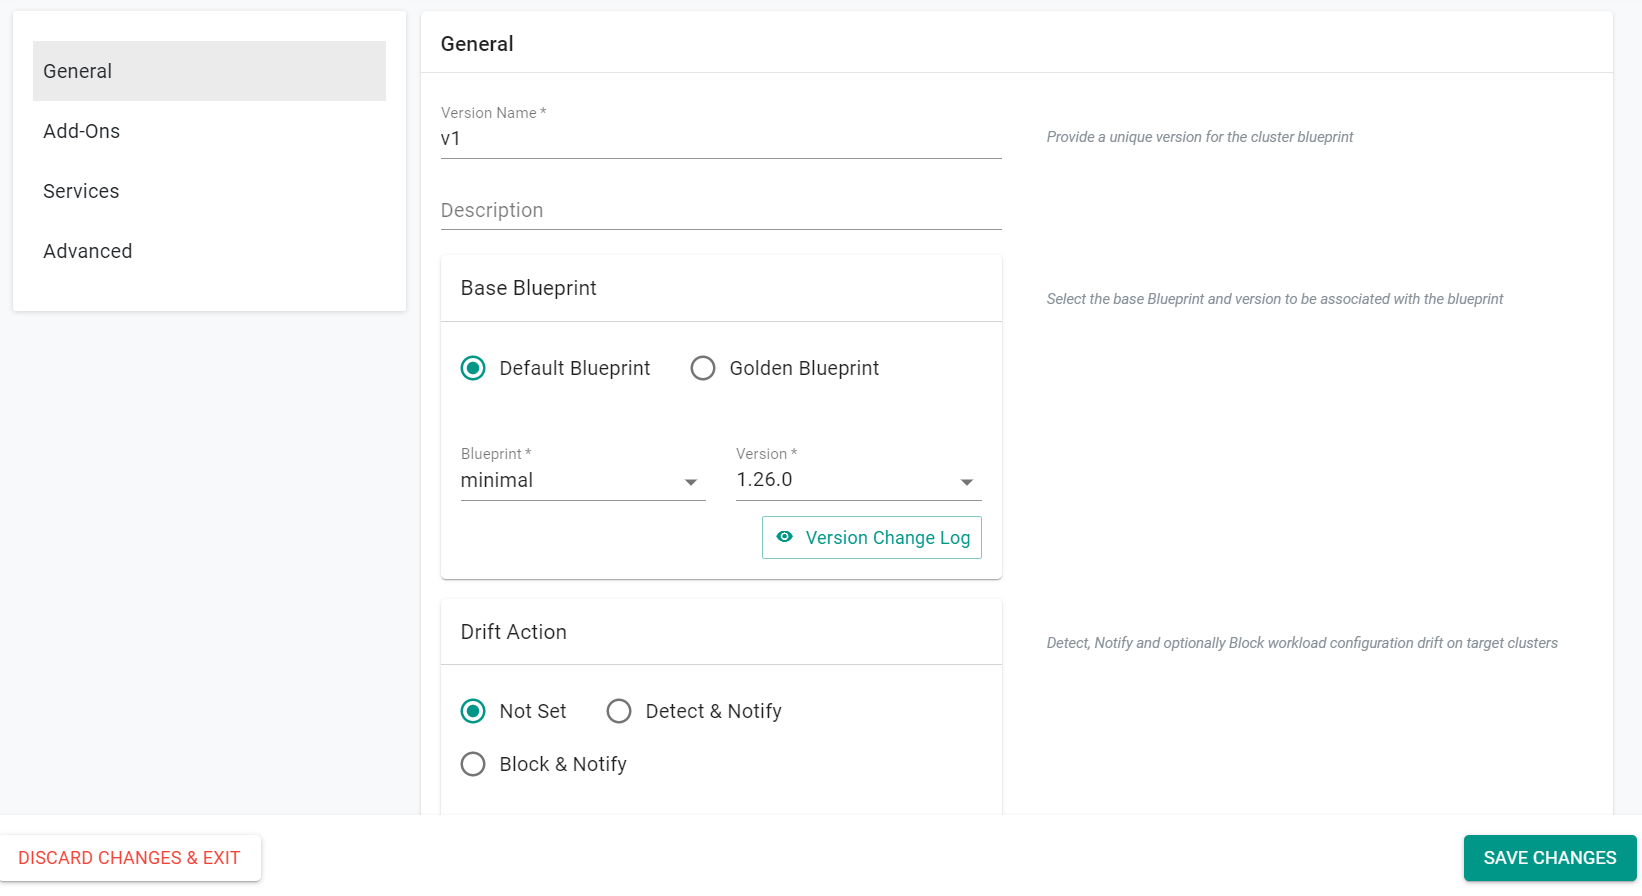
- Click Configure Add-Ons
- Click the + symbol to add the ngrok add-on to the blueprint
- Click Save Changes
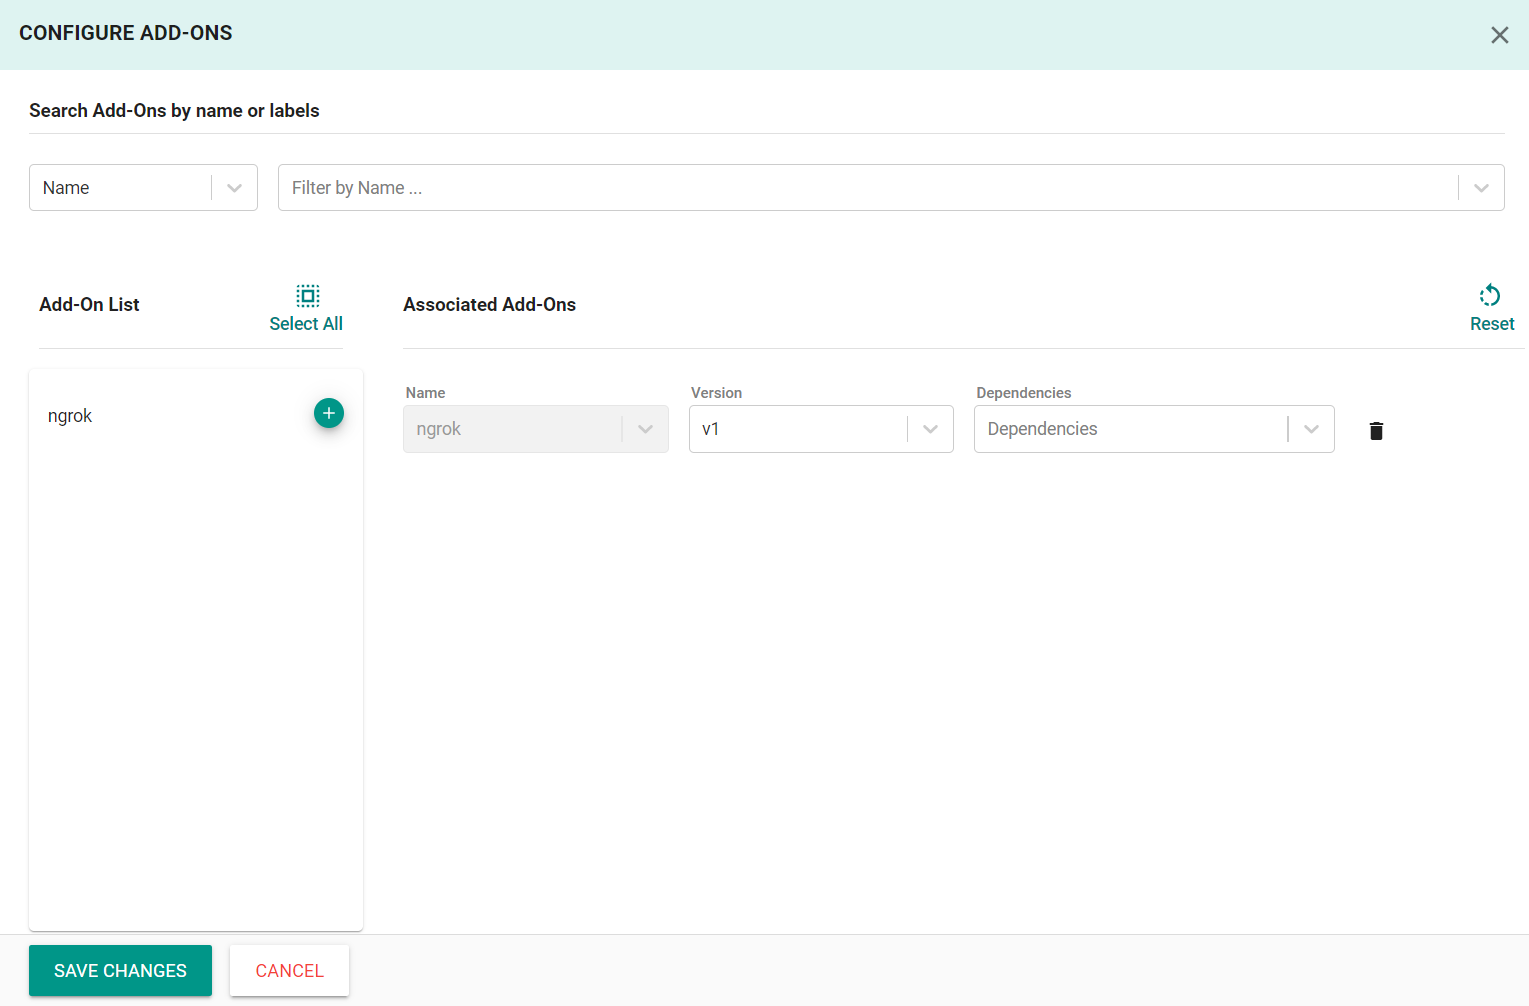
- Click Save Changes
Step 6: Apply Bluprint
In this step, you will apply the previously created blueprint to the cluster. Applying the blueprint will install the ngrok ingress controller.
- In the Rafay console, navigate to Infrastructure -> Clusters in the left side tree
- Click the gear icon on your cluster
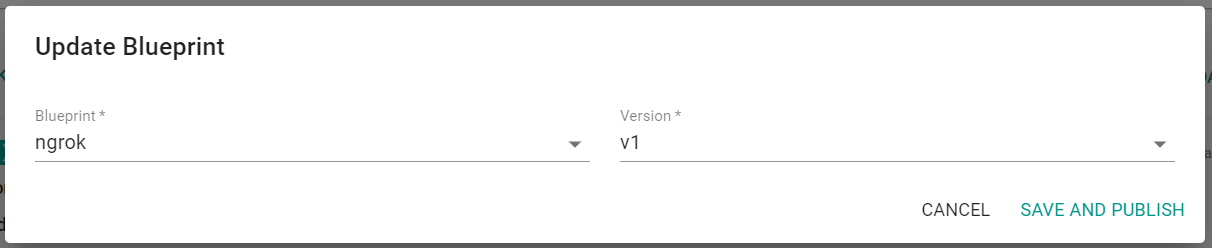
- Select Update Blueprint
- Select ngrok for the blueprint and v1 for the version
- Click Save and Publish
The blueprint will begin being applied to the cluster
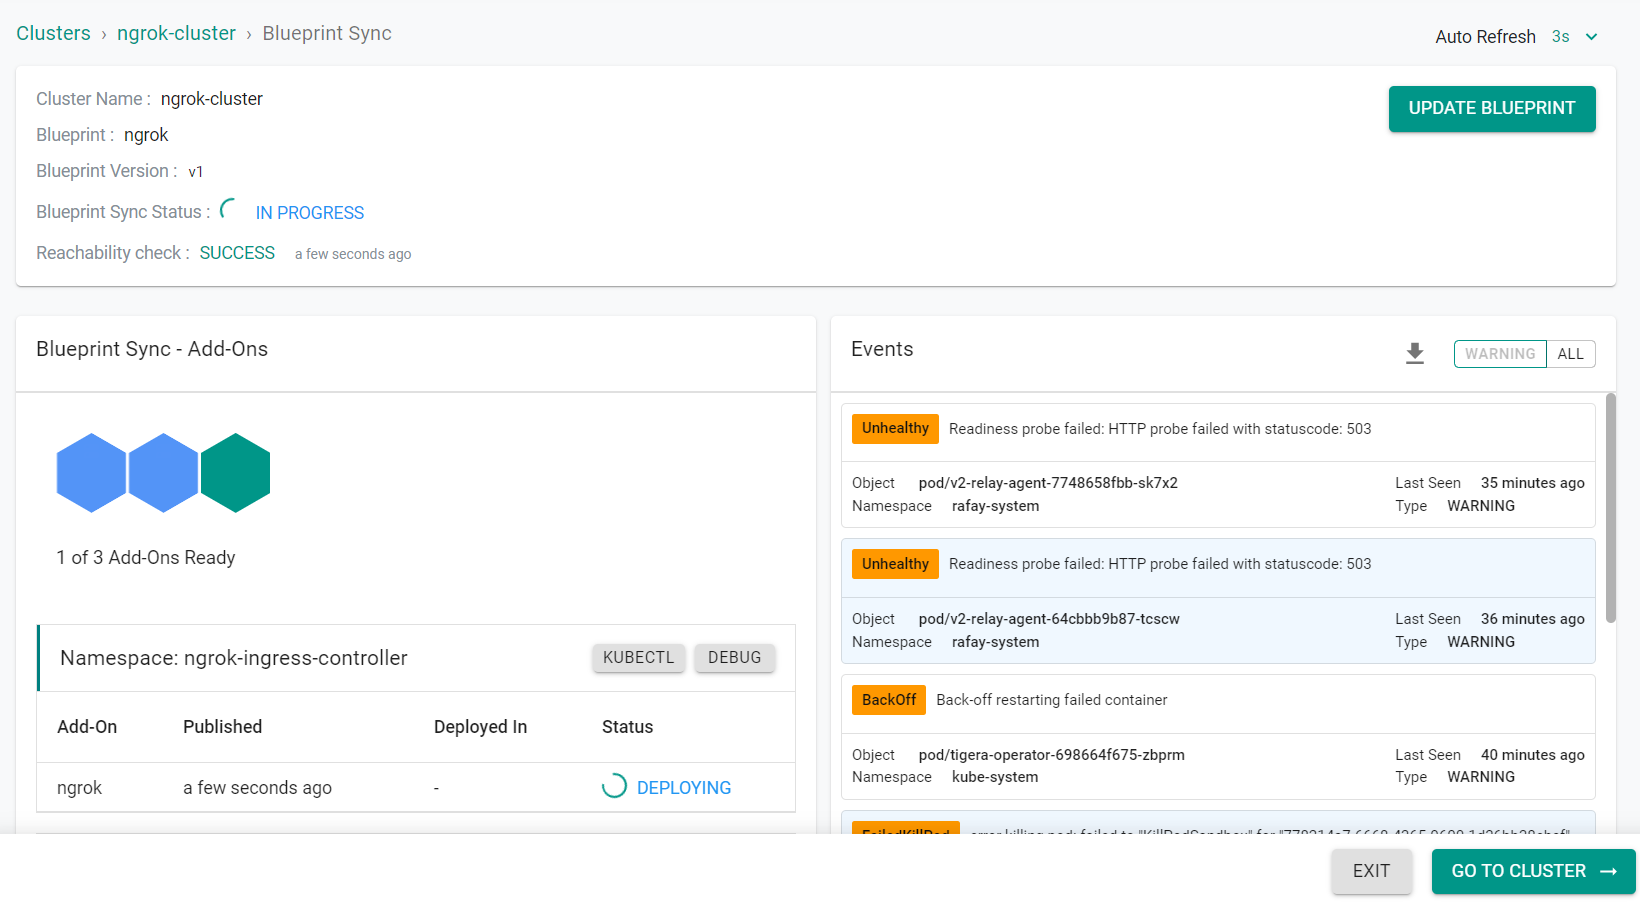
Afer a short period of time, the blueprint will be applied to the cluster.
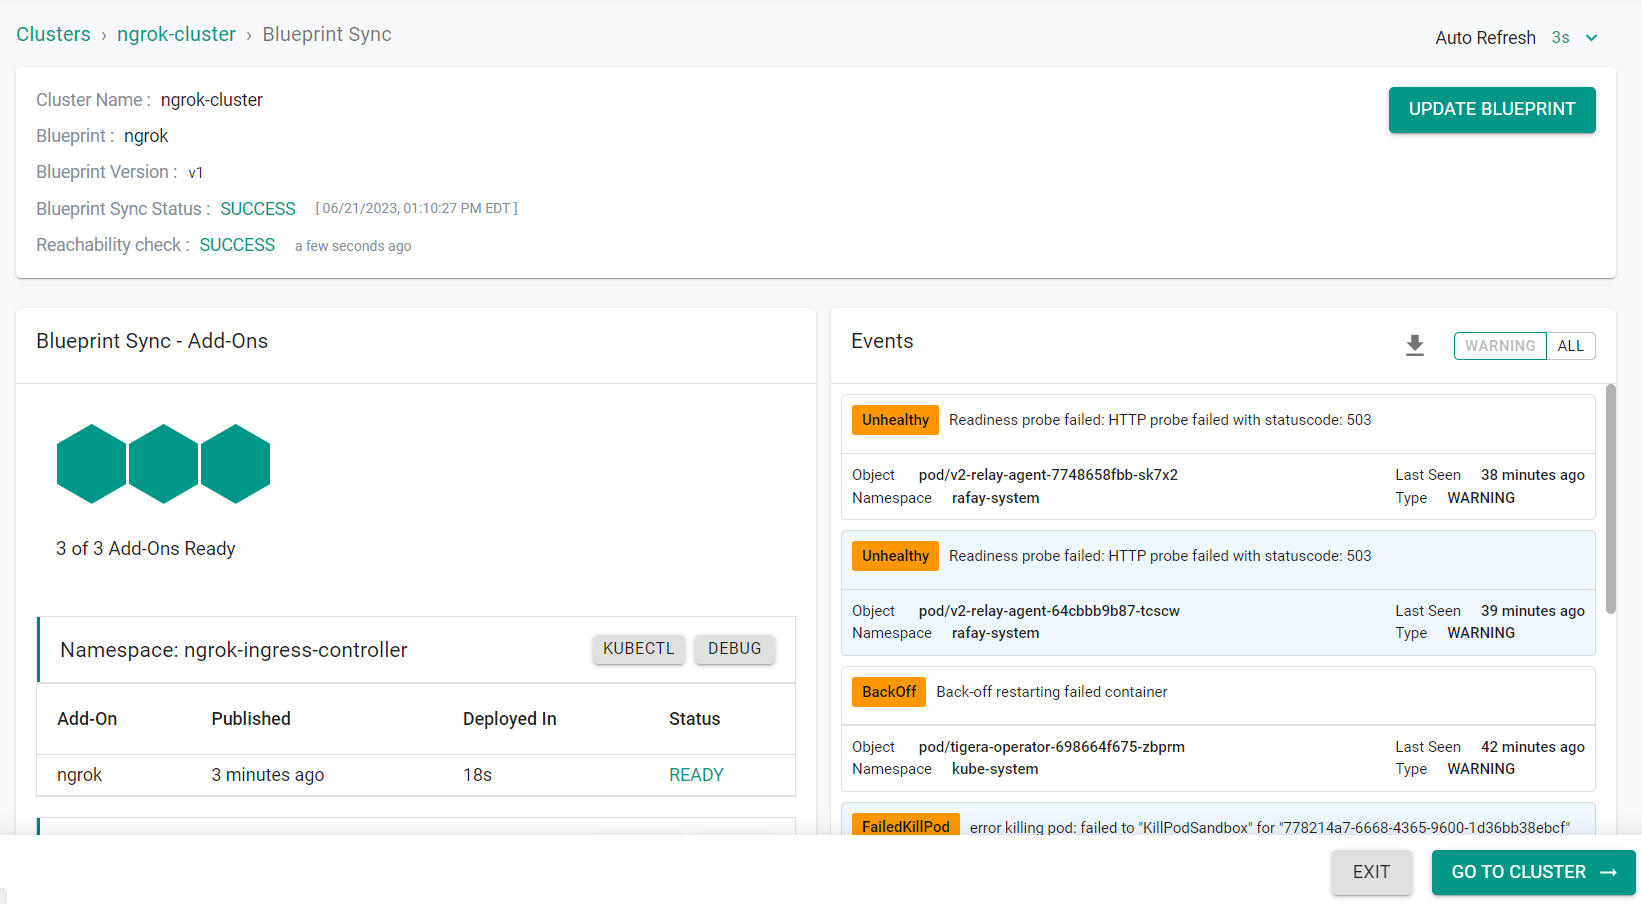
- Click Exit
Step 7: Create ngrok Edge
In this step, you will create an edge in the ngrok console. The edge endpoint will be the URL that is used to access the workload via the ingress controller.
- Access the ngrok Dashboard with your Pro account.
- Click Cloud Edge -> Edges in the left side tree
- Click New Edge
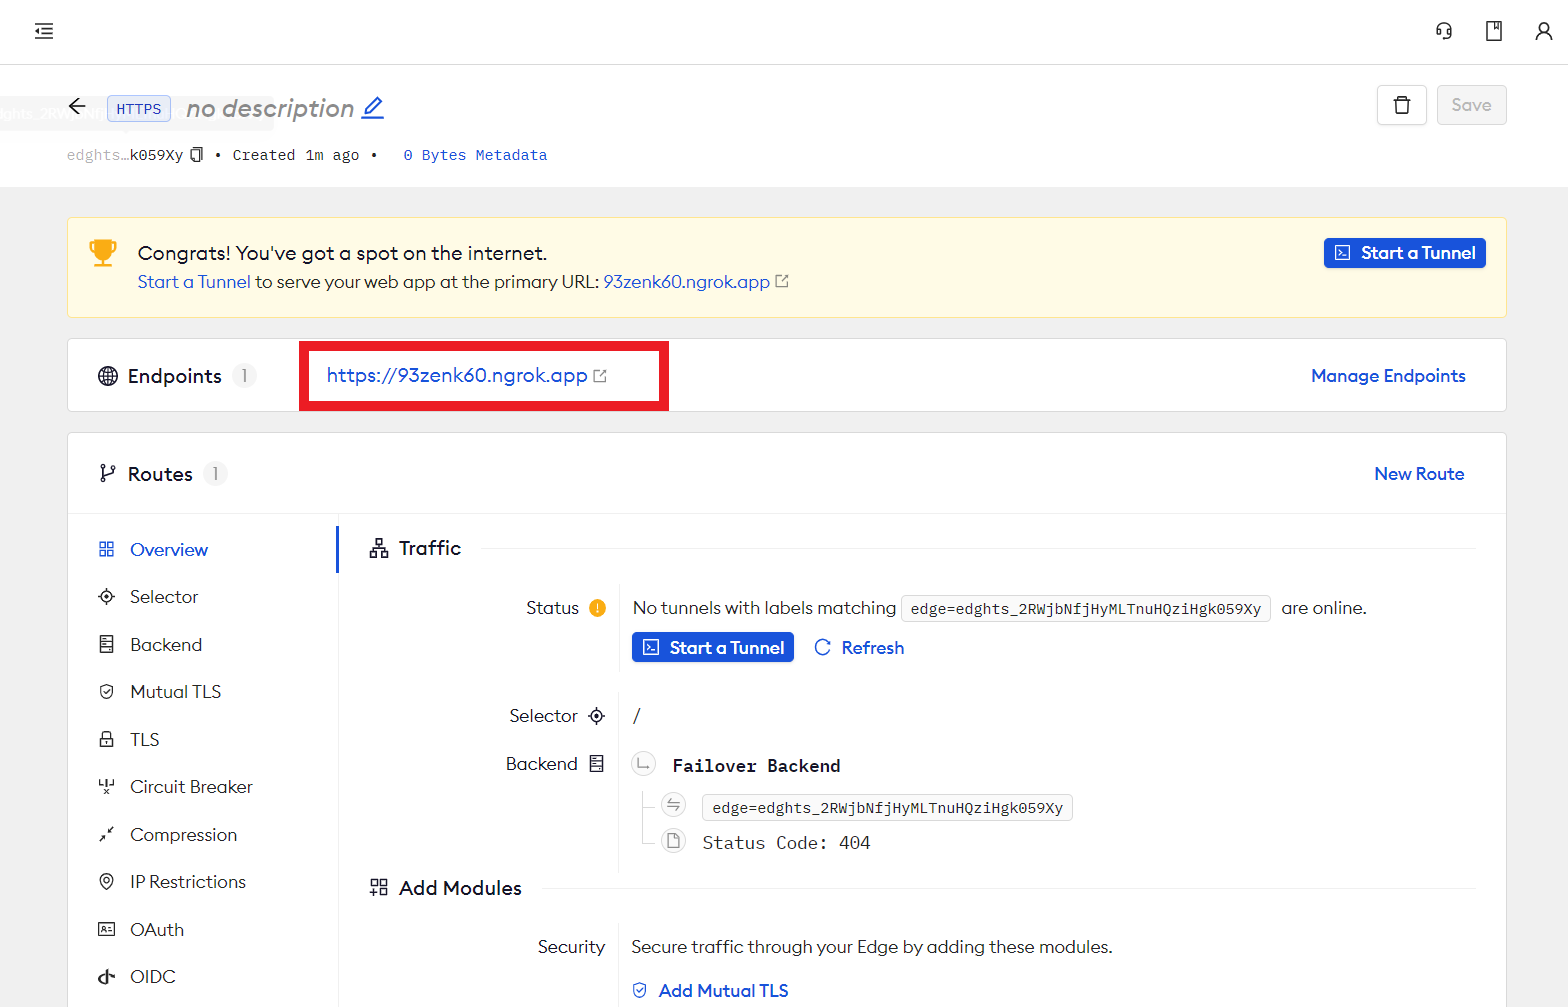
- Click Create HTTPS Edge
- Copy the endpoint for use in a later step
Step 8: Deploy Workload
In this step, you will deploy a test workload that will use the ngrok ingress controller. You will then be able to use the ngrok service to access the test workload via a secure channel.
- Save the following YAML to a file named ngrok-workload.yaml
apiVersion: v1
kind: Service
metadata:
  name: game-2048
  namespace: ngrok-ingress-controller
spec:
  ports:
    - name: http
      port: 80
      targetPort: 80
  selector:
    app: game-2048
---
apiVersion: apps/v1
kind: Deployment
metadata:
  name: game-2048
  namespace: ngrok-ingress-controller
spec:
  replicas: 1
  selector:
    matchLabels:
      app: game-2048
  template:
    metadata:
      labels:
        app: game-2048
    spec:
      containers:
        - name: backend
          image: alexwhen/docker-2048
          ports:
            - name: http
              containerPort: 80
---
# ngrok Ingress Controller Configuration
apiVersion: networking.k8s.io/v1
kind: Ingress
metadata:
  name: game-2048-ingress
  namespace: ngrok-ingress-controller
spec:
  ingressClassName: ngrok
  rules:
    - host: NGROK_DOMAIN
      http:
        paths:
          - path: /
            pathType: Prefix
            backend:
              service:
                name: game-2048
                port:
                  number: 80
-
Update NGROK_DOMAIN in line number 45 of the file with the endpoint value obtained from the previous step. Be sure to remove "https://" from the endpoint
-
In the Rafay console, navigate to Applications -> Workloads in the left side tree
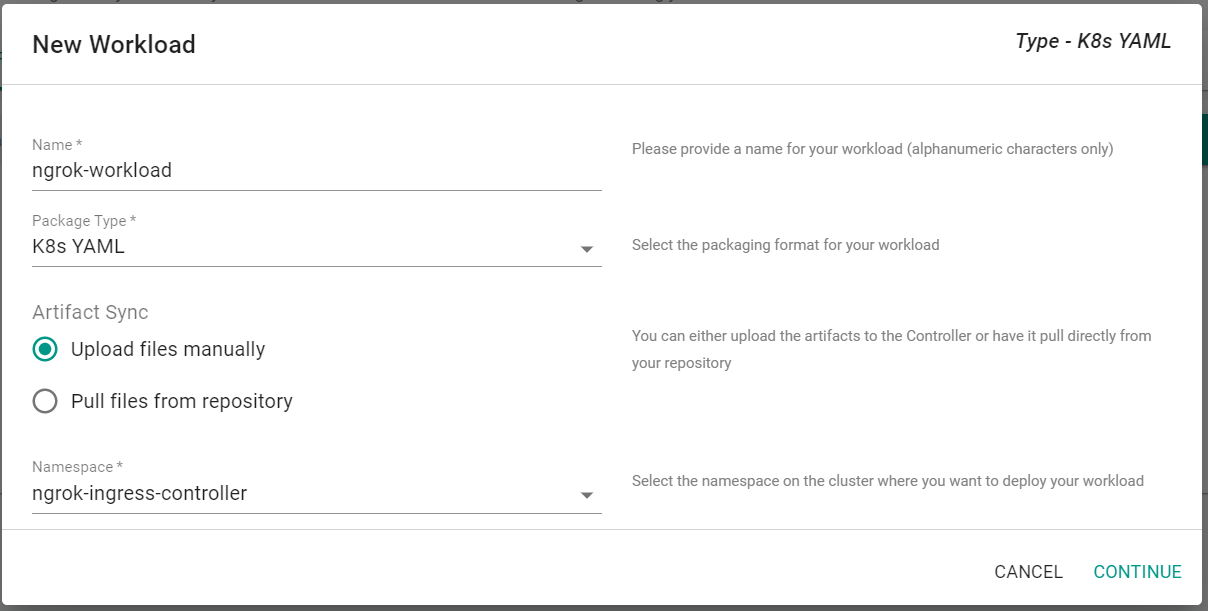
- Click New Workload -> Create New Workload
- Enter ngrok-workload for the name
- Select K8s YAML for the package type
- Select Upload files manually
- Select ngrok-ingress-controller for the namespace
- Click Continue
- Click Choose File
- Select the previously saved ngrok-workload.yaml file
- Click Save and Go To Placement
- Select the cluster to deploy the workload to
- Click Save and Go To Publish
- Click Publish to deploy the workload
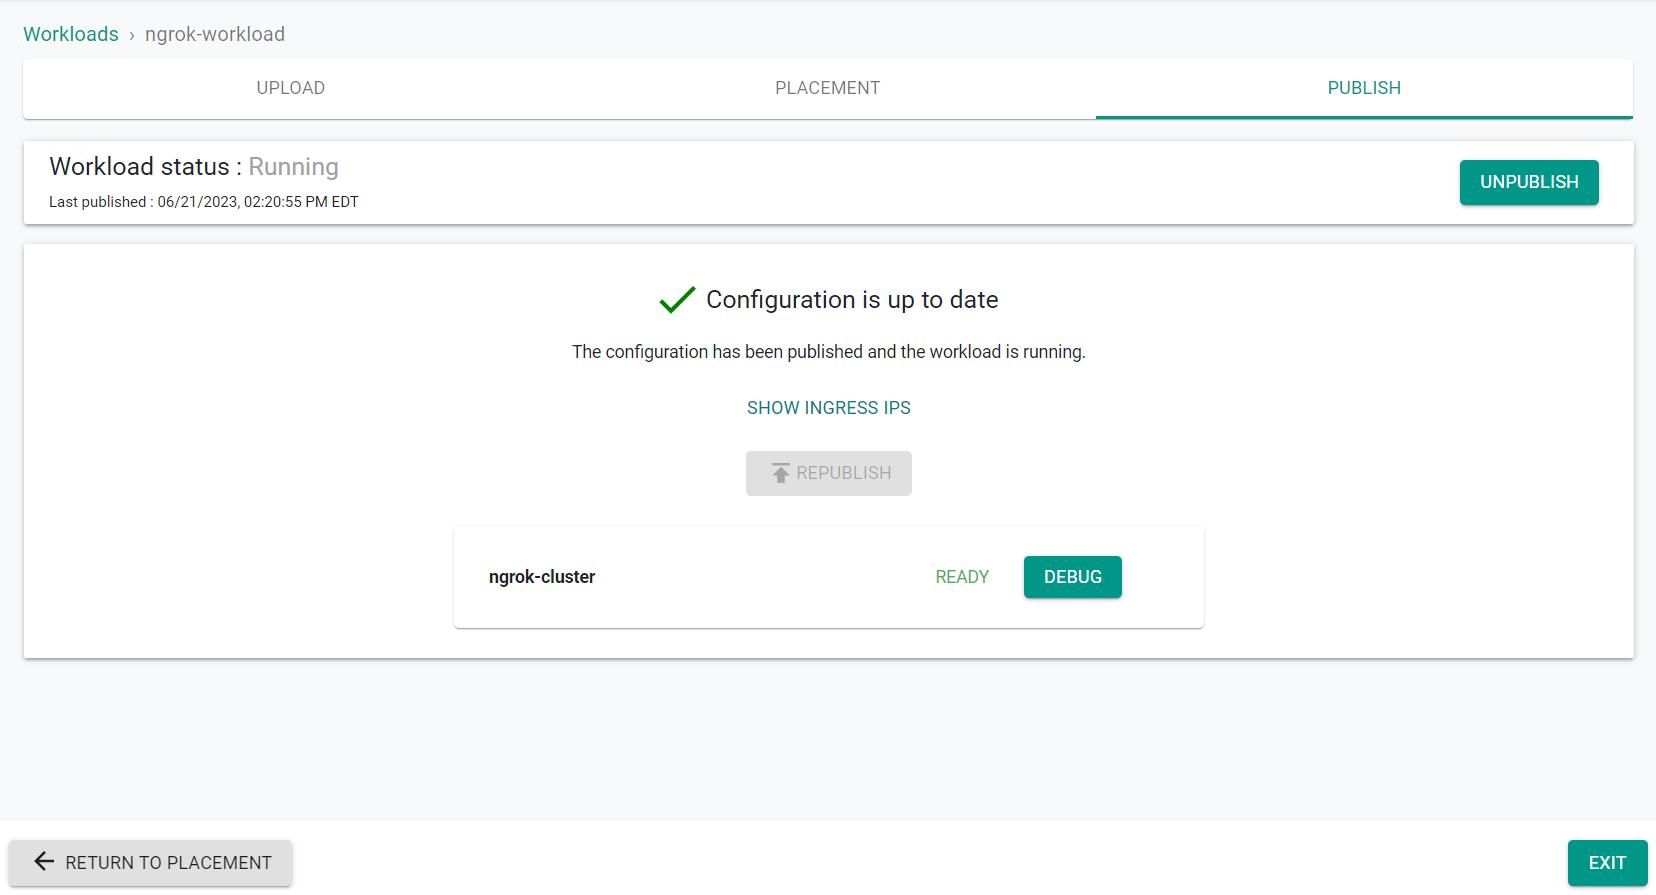
- Click Exit
Step 9: Verify Workload
In this step, you will verify that the previously deployed workload is running and can be accessed from the ngrok endpoint.
- In the Rafay console, navigate to Infrastructure -> Clusters in the left side tree
- Click kubectl on your cluster
- Enter the following command:
kubectl get ingresses --namespace=ngrok-ingress-controller
You will see something similar to the following screenshot.

Notice that the "Hosts" value is the same value of you edge endpoint.
- Enter the edge endpoint/Hosts value into a web browswer to access the test workload through the ngrok service.
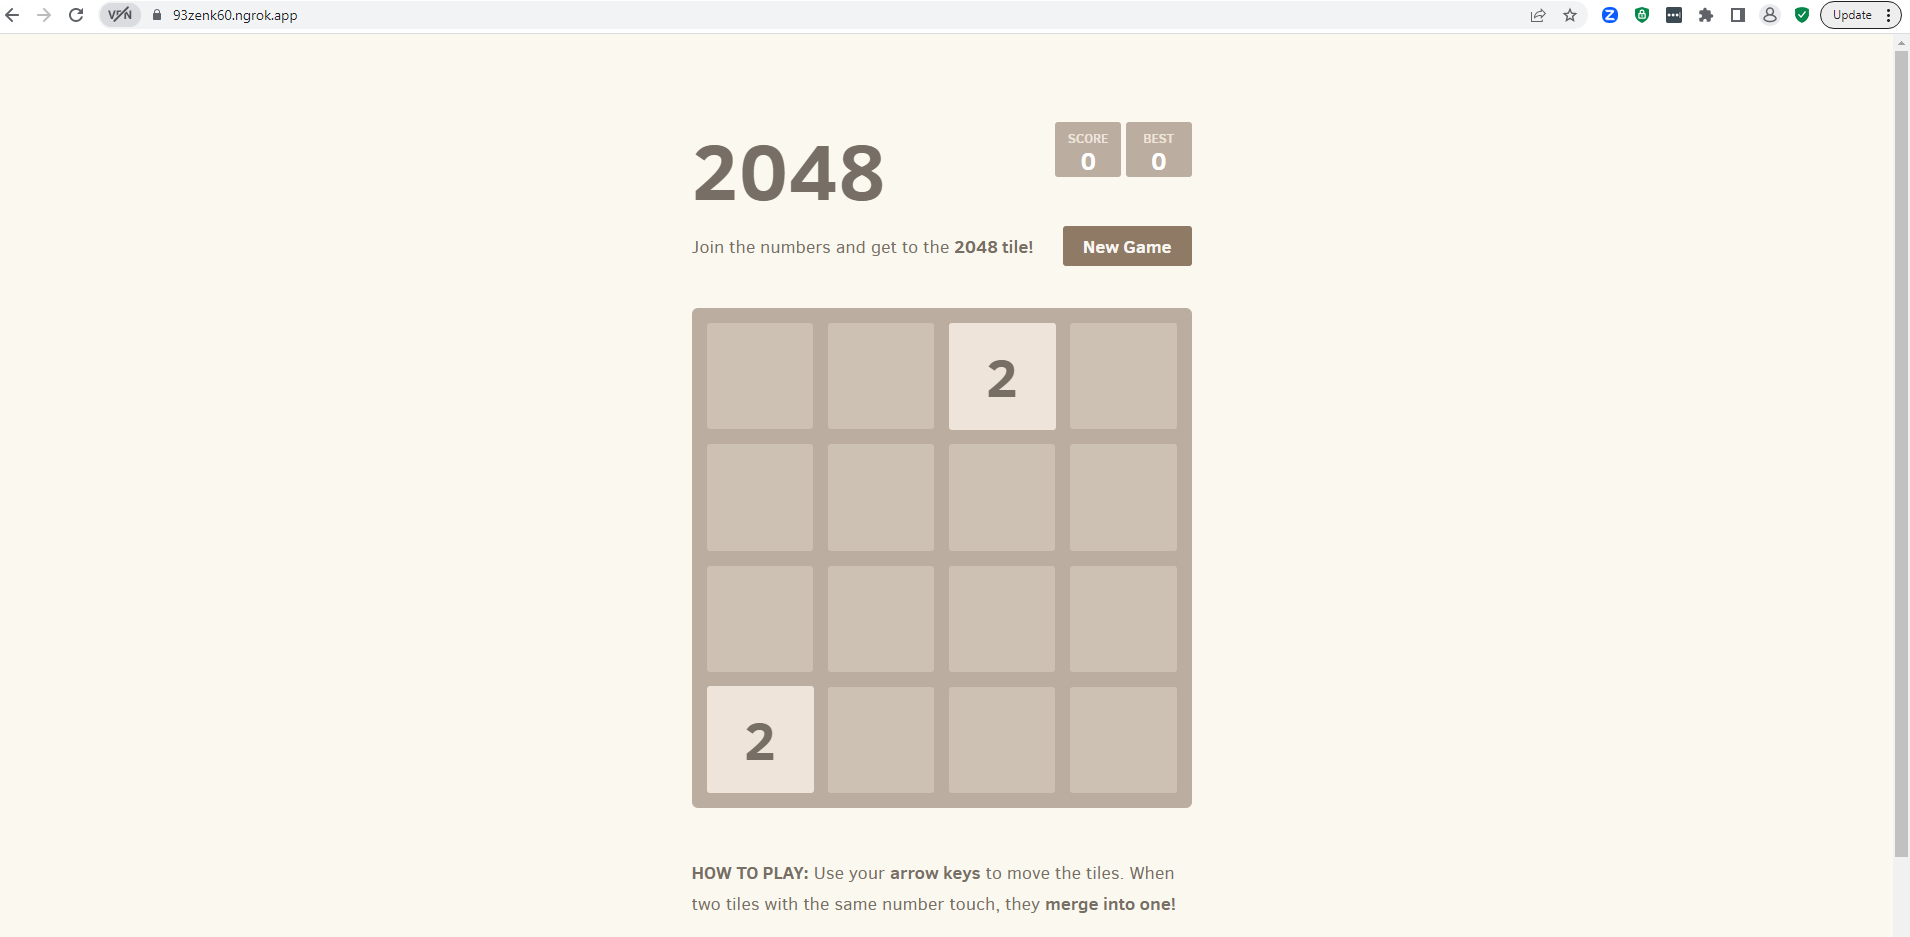
Recap
Congratulations! You have successfully created a custom cluster blueprint with the ngrok kubernetes ingress controller as a custom add-on. You can now use this blueprint on as many clusters as you require.