Citrix
Overview
This document describes how customers can configure and use Citrix Ingress Controller to the managed Kubernetes cluster. Citrix provides an implementation of the Kubernetes Ingress Controller to manage and route traffic into your Kubernetes cluster using Citrix ADCs (Citrix ADC VPX, MPX, or CPX). Using Citrix ADC ingress controller, you can configure Citrix ADC CPX, VPX, or MPX according to the ingress rules and integrate your Citrix ADCs with the Kubernetes environment.
You can deploy Citrix Ingress Controller to the managed Kubernetes clusters. Citrix Ingress Controller converts the ingress rules into configuration instructions for a load balancing applications Citrix ADC VPX or MPX integrated with the managed Kubernetes clusters.
The following information helps to create a custom cluster blueprint with the Citrix Ingress Controller addons and apply these addons to a cluster via the blueprint. You can use this blueprint on as many clusters as you require.
What Will You Do
To deploy Citrix Ingress Controller addons on the managed Kubernetes cluster, you will perform the following:
- Create addon for
Kubernetes secret for Citrix ADC CredentialsandCitrix Ingress Controller. Then, use those in a cluster blueprint. - Apply this custom cluster blueprint to a provisioned or imported Kubernetes cluster.
- Deploy an application and its ingress that you want to expose through Citrix ADC VPX/MPX.
- Access the application for which the ingress is exposed through Citrix ADC VPX/MPX.
Important
This tutorial describes the steps to create and use a custom cluster blueprint using the Web Console. The entire workflow can also be fully automated and embedded into an automation pipeline.
Assumptions
- You have provisioned or imported one or more Kubernetes clusters to the controller.
- Kubernetes nodes are NOT pre-configured with any ingress controller.
- Citrix Ingress Controller can be deployed for Tier-1 ADC VPX/MPX. So, you must have the NS_IP address for the controller to communicate with Citrix ADC. The IP address can be any of the following depending on the type of Citrix ADC deployment:
- (Standalone appliances) NSIP - The management IP address of a standalone Citrix ADC appliance. For more information, see IP Addressing in Citrix ADC.
- (Appliances in High Availability mode) SNIP - The subnet IP address. For more information, see IP Addressing in Citrix ADC.
- (Appliances in Clustered mode) CLIP - The cluster management IP (CLIP) address for a clustered Citrix ADC deployment. For more information, see IP addressing for a cluster.
- You have installed Prometheus Operator, if you want to view the metrics of the Citrix ADC CPX collected by the metrics exporter.
- You must have the user name and password of the Citrix ADC VPX or MPX appliance used as the ingress device. The Citrix ADC appliance must have system user account (non-default) with certain privileges so that Citrix Ingress Controller can configure the Citrix ADC VPX or MPX appliance. For information to create the system user account on Citrix ADC, see Create System User Account for Citrix Ingress Controller in Citrix ADC. This username and password will be used to create a Kubernetes Secret Addon which will be used by Citrix Ingress Controller to configure Citrix ADC VPX/MPX.
Deploy Citrix Ingress Controller
To deploy Citrix Ingress Controller on the managed Kubernetes cluster, perform the following steps:
Step 1: Create Citrix Helm Repository
Create a Helm repository that stores Citrix Ingress Controller Helm charts which is used in the addon configuration:
- Log in to the controller web console and navigate to your Project as an Org Admin or Infrastructure Admin.
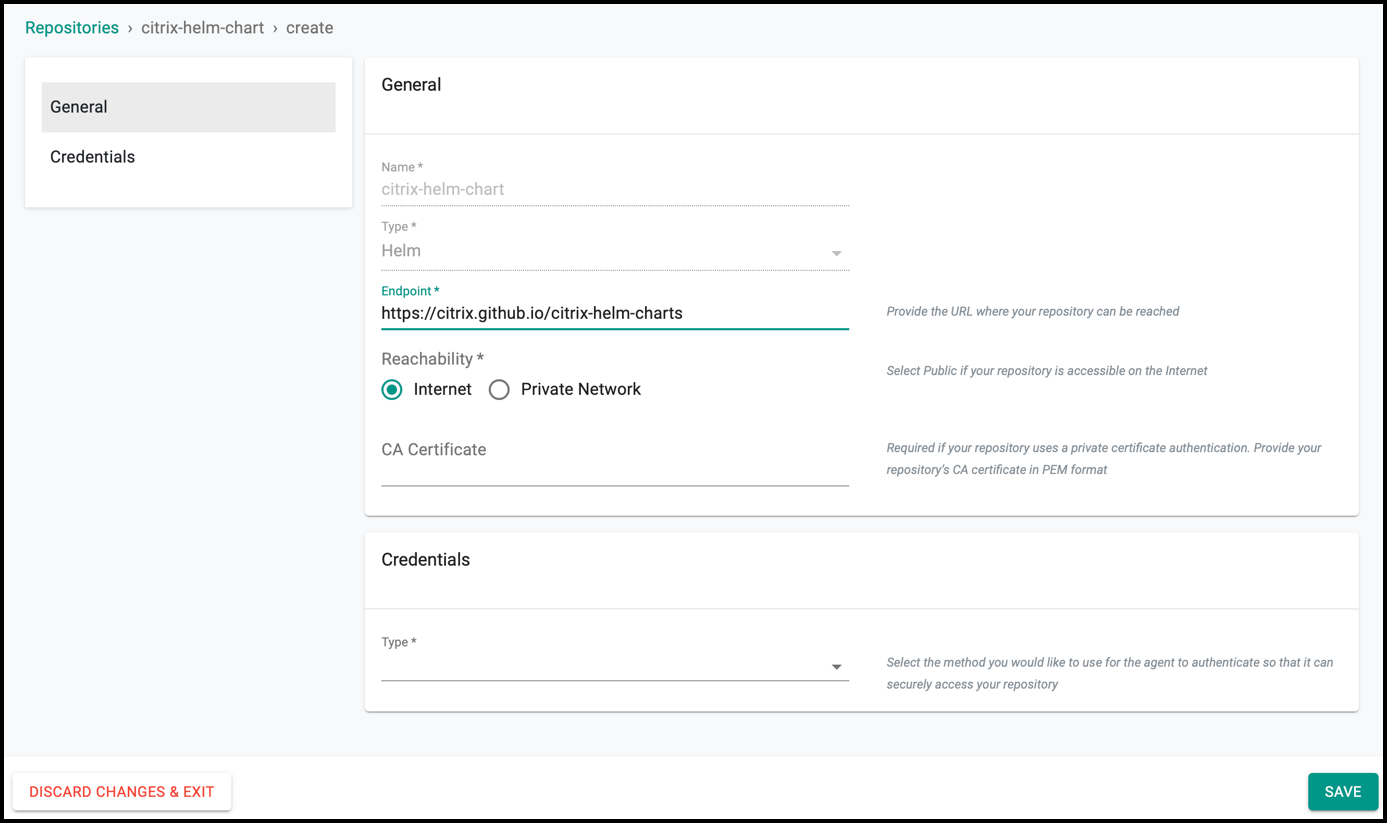
- Under Integrations, select Repositories and create a new Helm repository with the name
citrix-helm-chart.
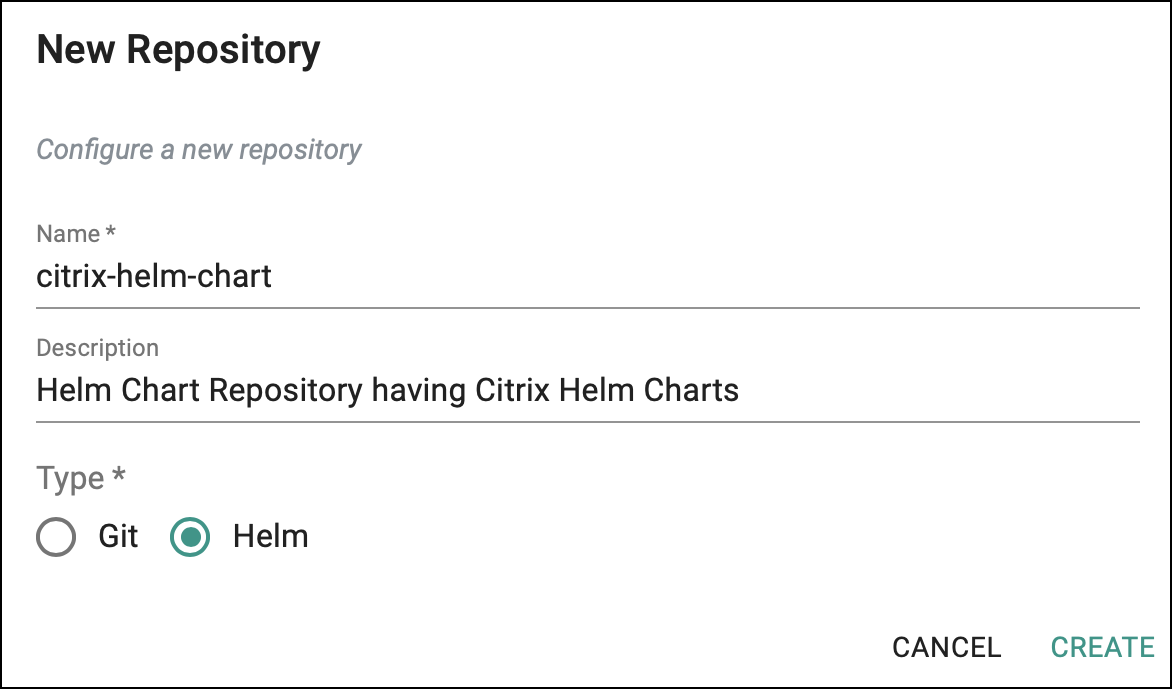
- Add Citrix Helm Chart repository URL: https://citrix.github.io/citrix-helm-charts/ in the Endpoint and save it.
Step 2: Create Citrix Namespace
Create namespace in cluster for installing Kubernetes secret for Citrix ADC Credentials and Citrix Ingress Controller addons.
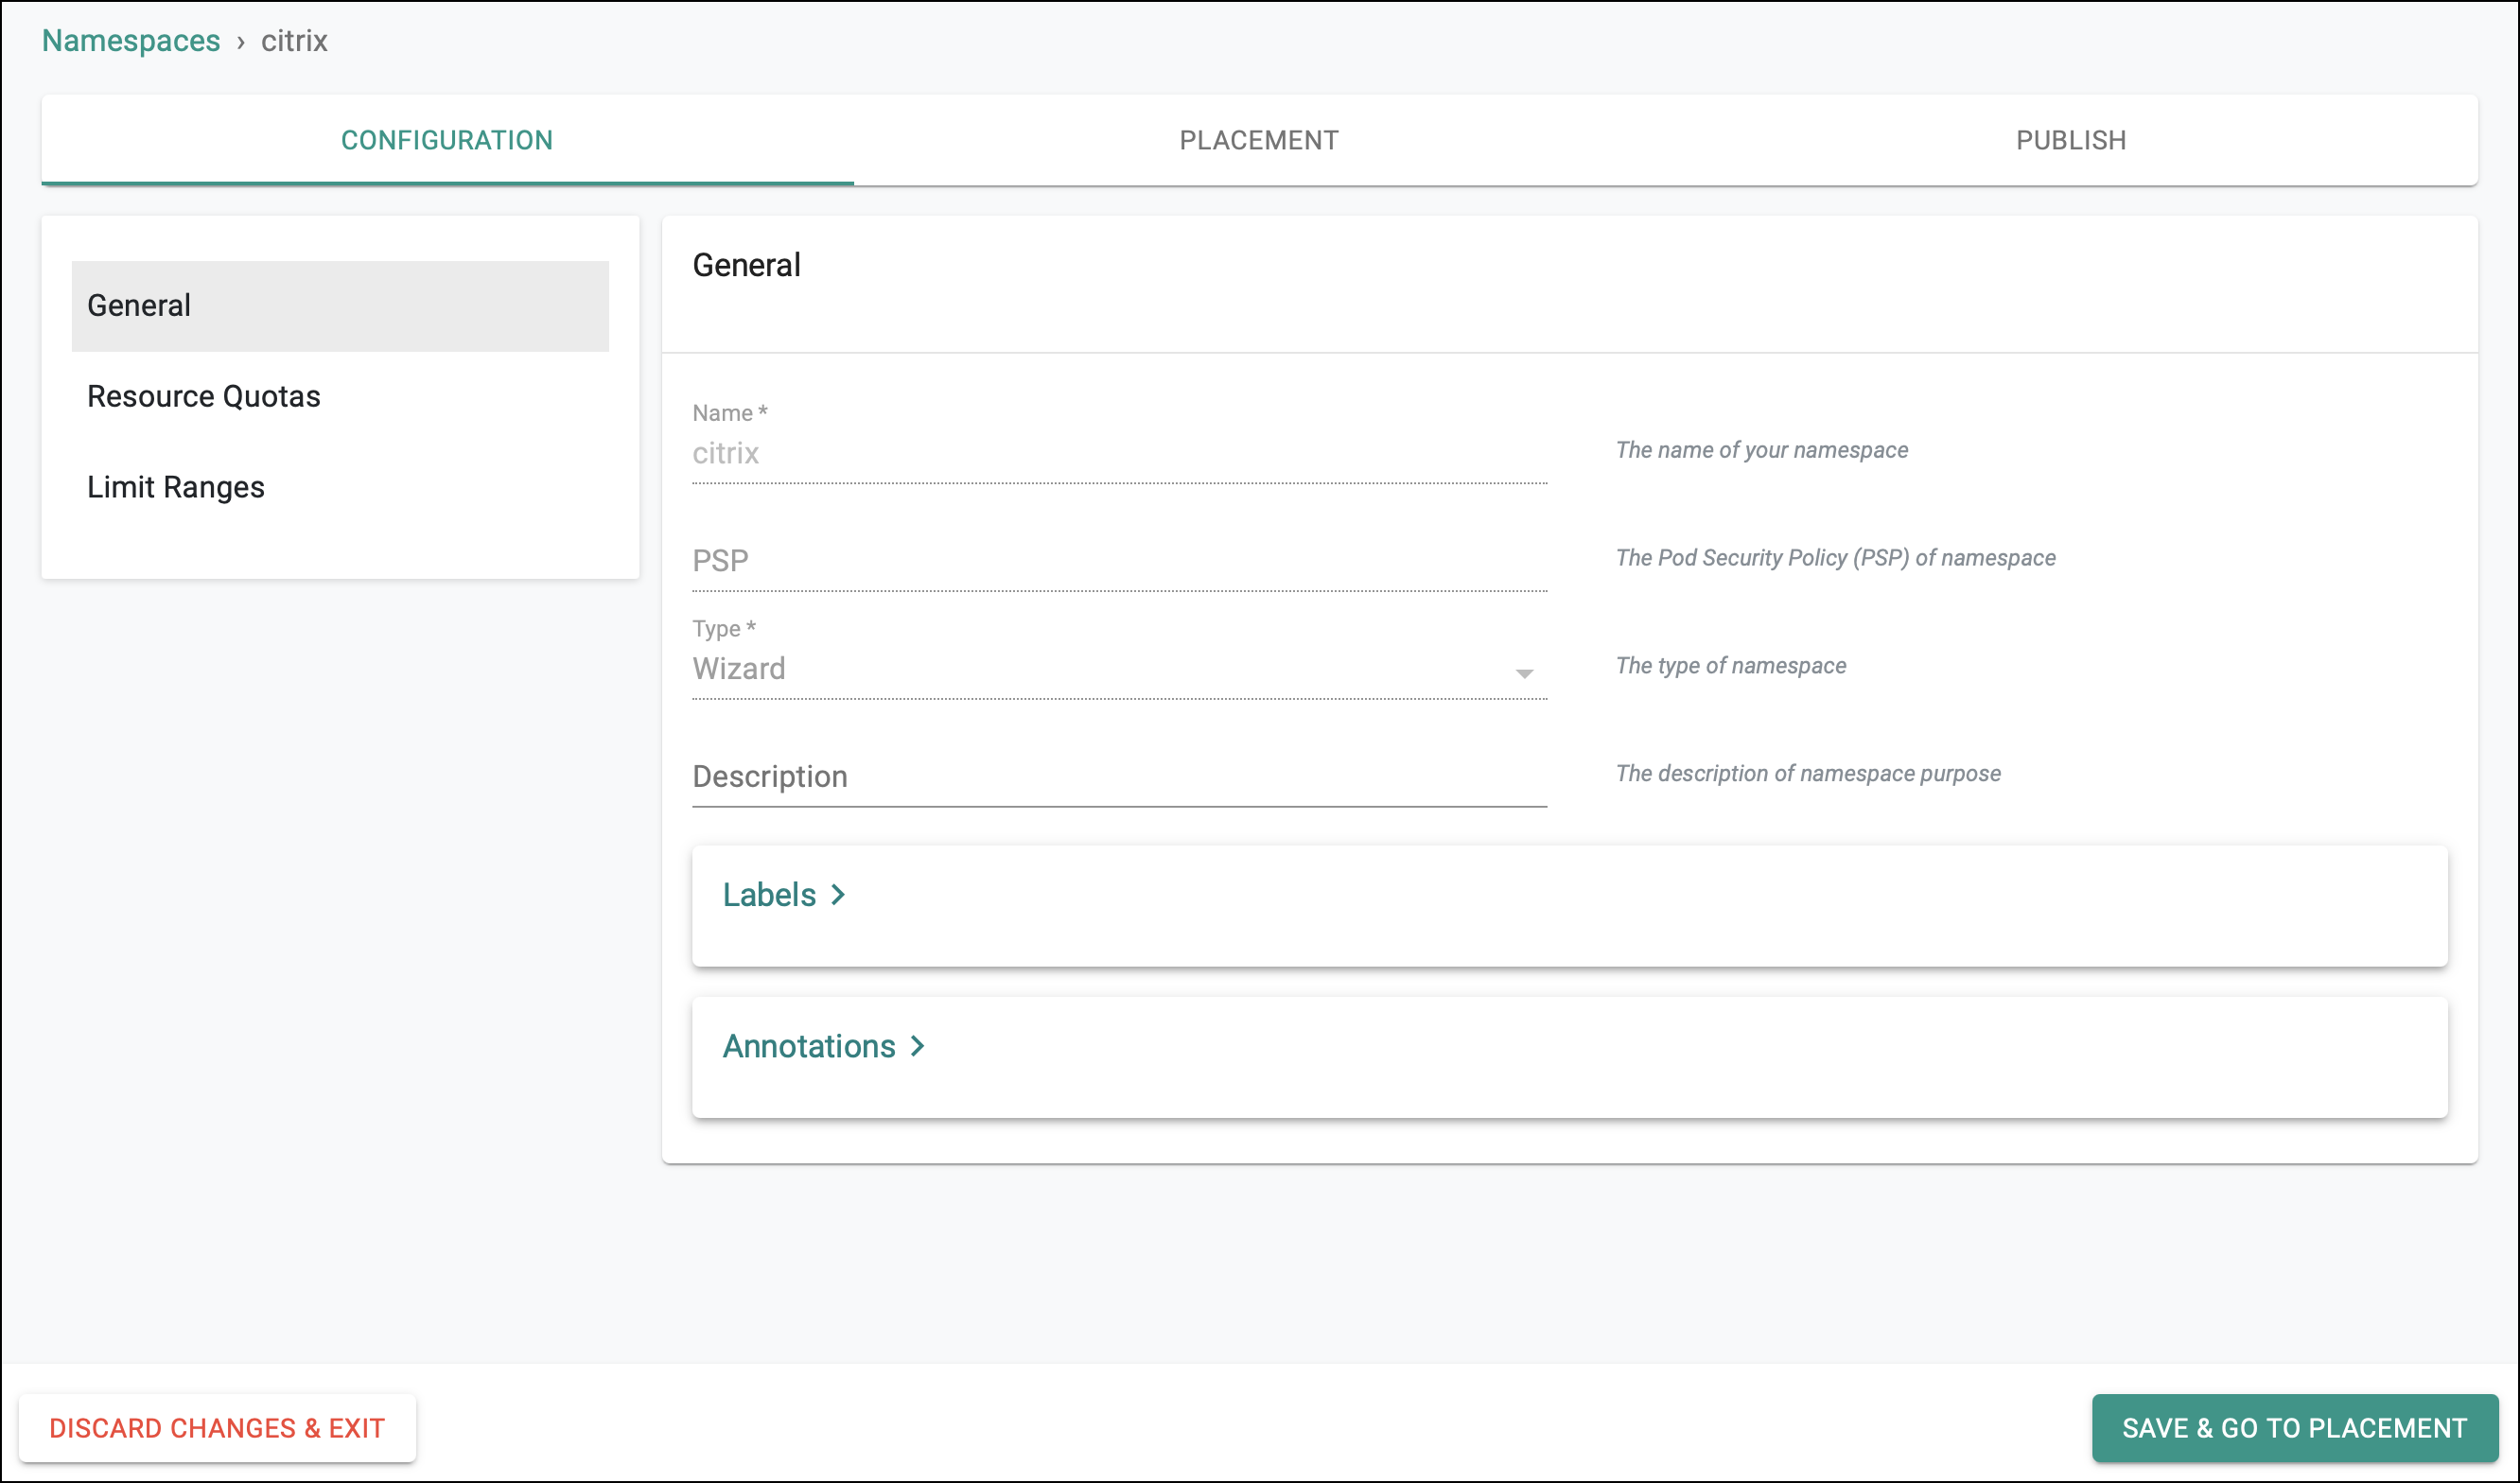
- Under Infrastructure, select Namespaces and create a new namespace with name
citrix.
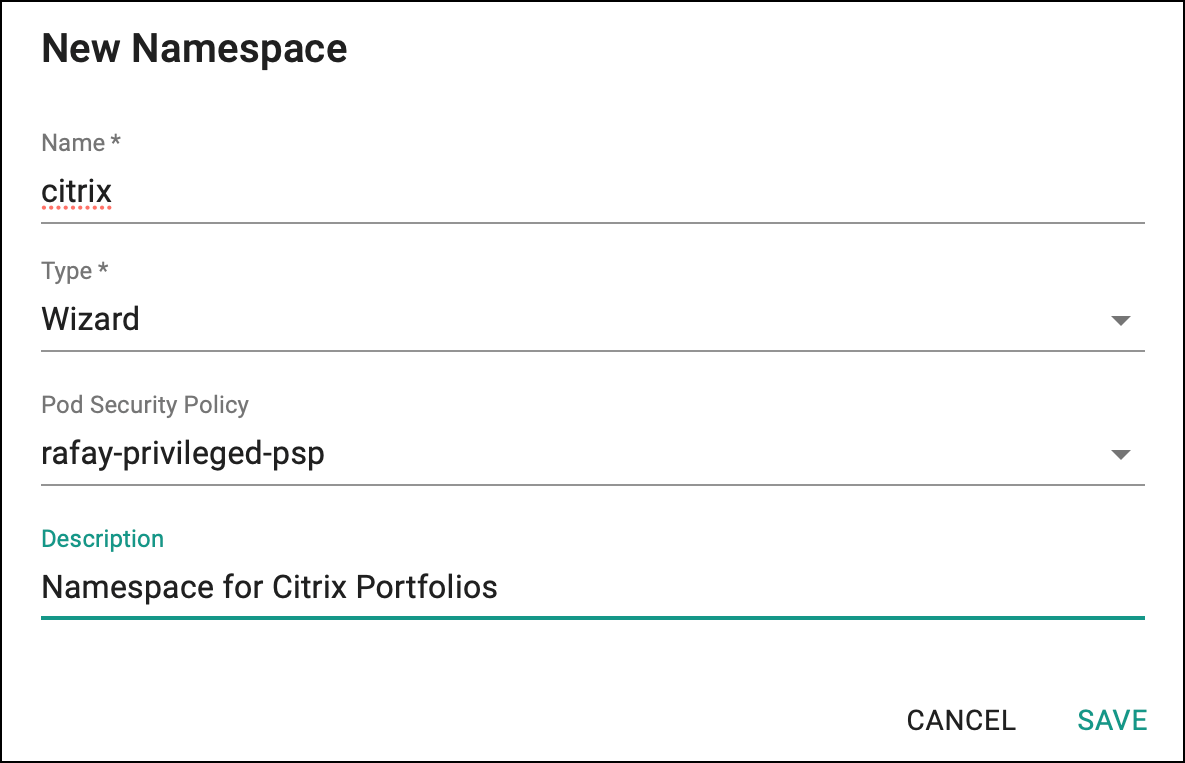
- Click Save and go to placement.
- Select the target cluster from the list of available clusters and click Save and go to publish.

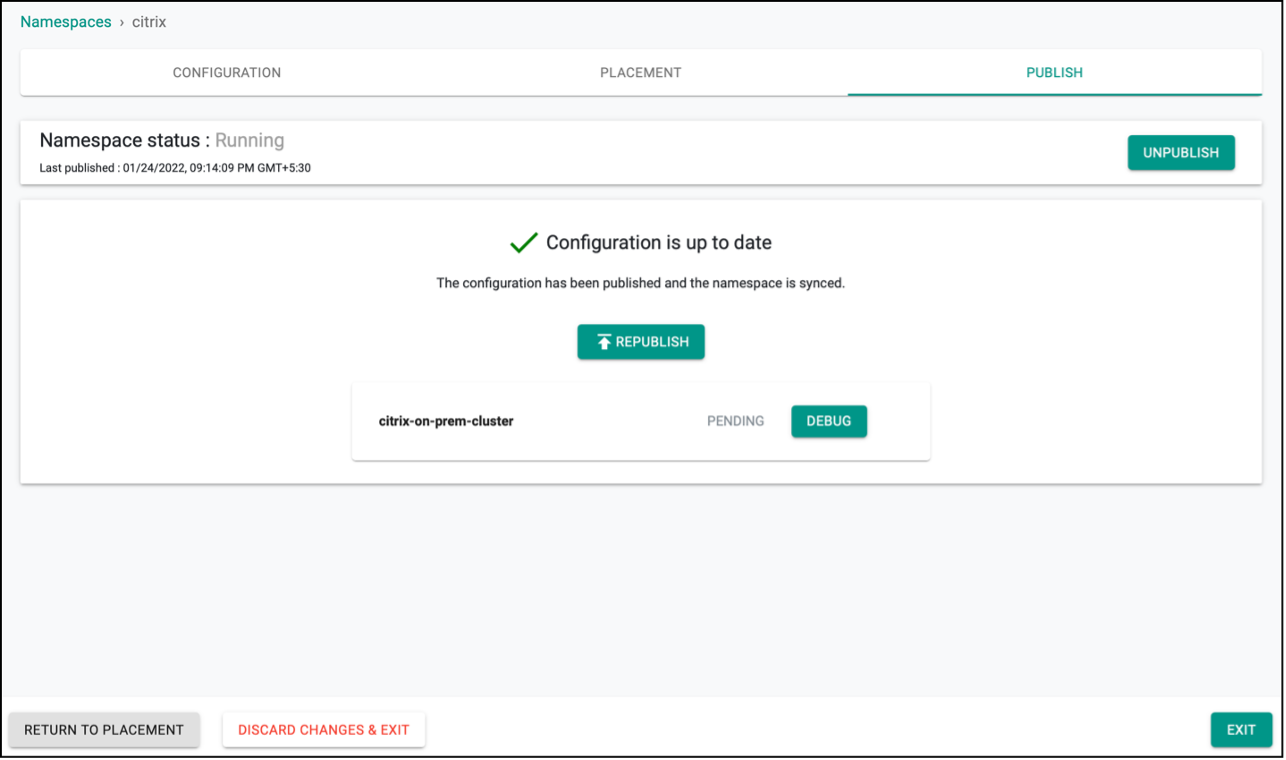
- Publish the namespace and make sure that it gets published successfully in the target cluster before moving to the next step.
Step 3: Create Citrix ADC Secret Addon
Create Addon using Citrix ADC VPX/MPX credentials that will be used by Citrix Ingress Controller for configuring Citrix ADC.
-
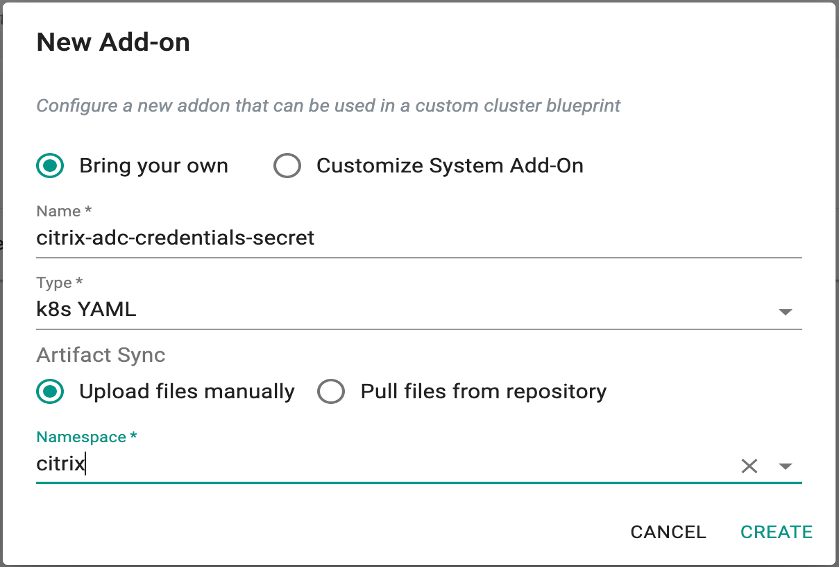
Under Infrastructure, select Addon and create a new addon with the name
citrix-adc-credentials-secret. -
Ensure that you select
K8sYamlfor Type,Upload files manuallyfor Artifact Sync and select the namespacecitrix.
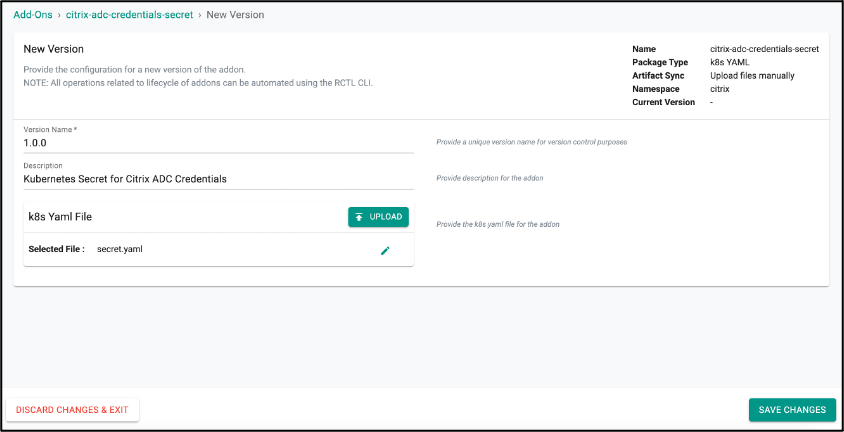
- Then, create a new version of
citrix-adc-credentials-secretaddon. Create a YAML file namedsecret.yamlwith the following YAML:
apiVersion: v1
stringData:
  # Update Username And Password of ADC below
  username: <base64-encoded-Citrix-ADC-VPX/MPX-Username>
  password: <base64-encoded-Citrix-ADC-VPX/MPX-Password>
kind: Secret
metadata:
  name: nslogin
type: Opaque
- Edit the
secret.yamland update username and password of Citrix ADC VPX/MPX in the YAML. Upload thesecret.yamlin the addon and Save Changes.
Step 4: Create Citrix Ingress Controller Addon
-
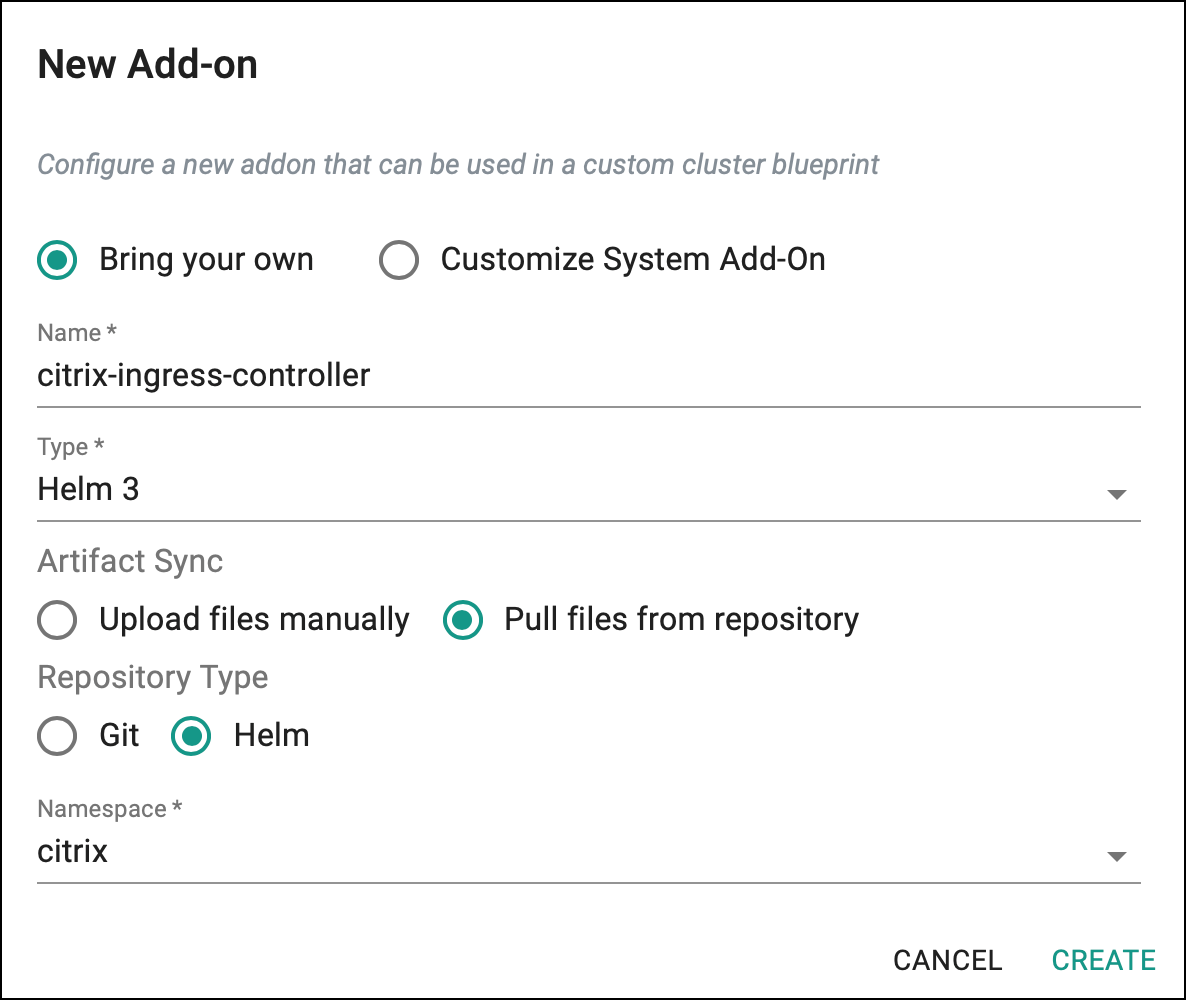
Under Infrastructure, select Addon and create a new addon with the name
citrix-ingress-controller. -
Ensure that you select
Helm3for Type,Pull files from repositoryfor Artifact Sync,Helmfor Repository Type and select the namespacecitrix.
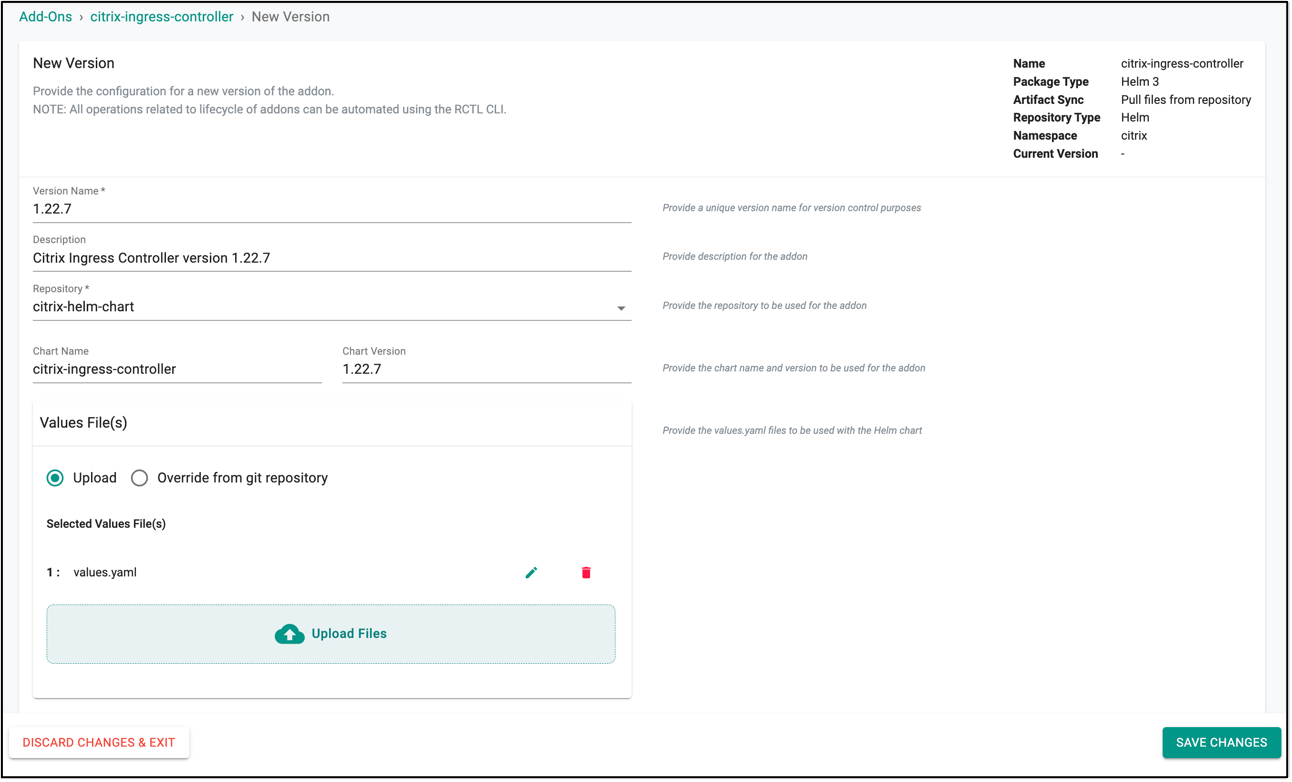
-
Then, create a new version of
citrix-ingress-controlleraddon. Ensure that you selectcitrix-helm-chartfor repository and provide the chart name ascitrix-ingress-controller. The chart version can be any Citrix Ingress Controller version that has been released, as of now the latest released version is 1.22.7. In this example, the latest version is used. Note: For information about Citrix Ingress Controller released versions, see Release Notes. -
Upload the
values.yamlfile that contains configurable parameters of Citrix Ingress Controller which will be installed in the your Kubernetes cluster. For information about all the configurable parameters of Citrix Ingress Controller, see Parameters. Citrix ADC NSIP and Kubernetes secret created using Citrix ADC credentials are the two mandatory parameters. The following is thevalues.yamlfile that that is used for this exercise.
adcCredentailSecret: nslogin
# Update NSIP of ADC below
nsIP: <NSIP-of-Citrix-ADC-VPX/MPX>
crds:
  install: true
- Edit
values.yamlfile and update NSIP of the Citrix ADC VPX/MPX to be used. After that uploadvalues.yamlin the addon and save it.
Step 5: Create Custom Cluster Blueprint
Create a custom cluster blueprint using the addons created earlier. You can add other addon to the same custom cluster blueprint as well, if required for your use case.
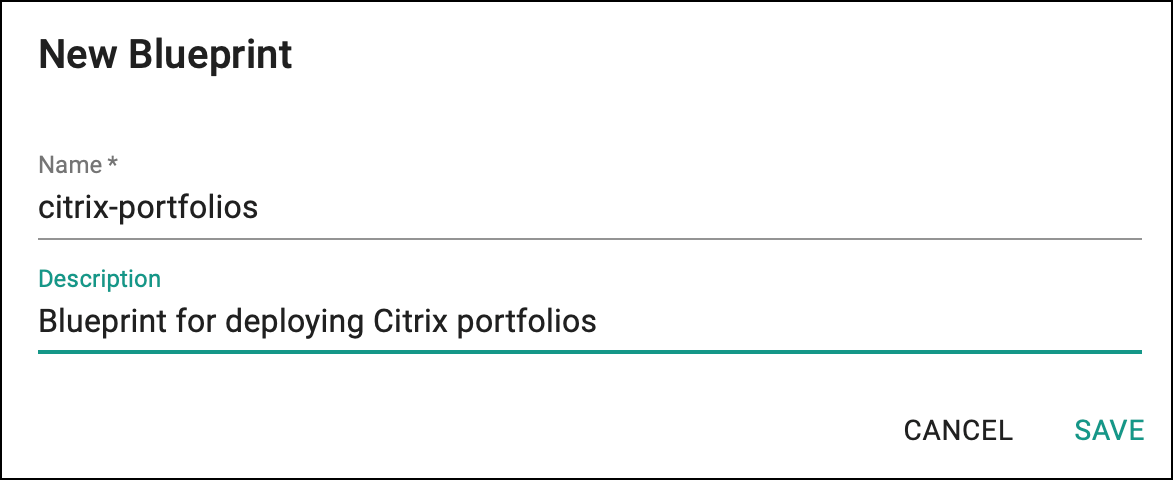
- Under Infrastructure, select Blueprints and add new Blueprint with name
citrix-portfolios.
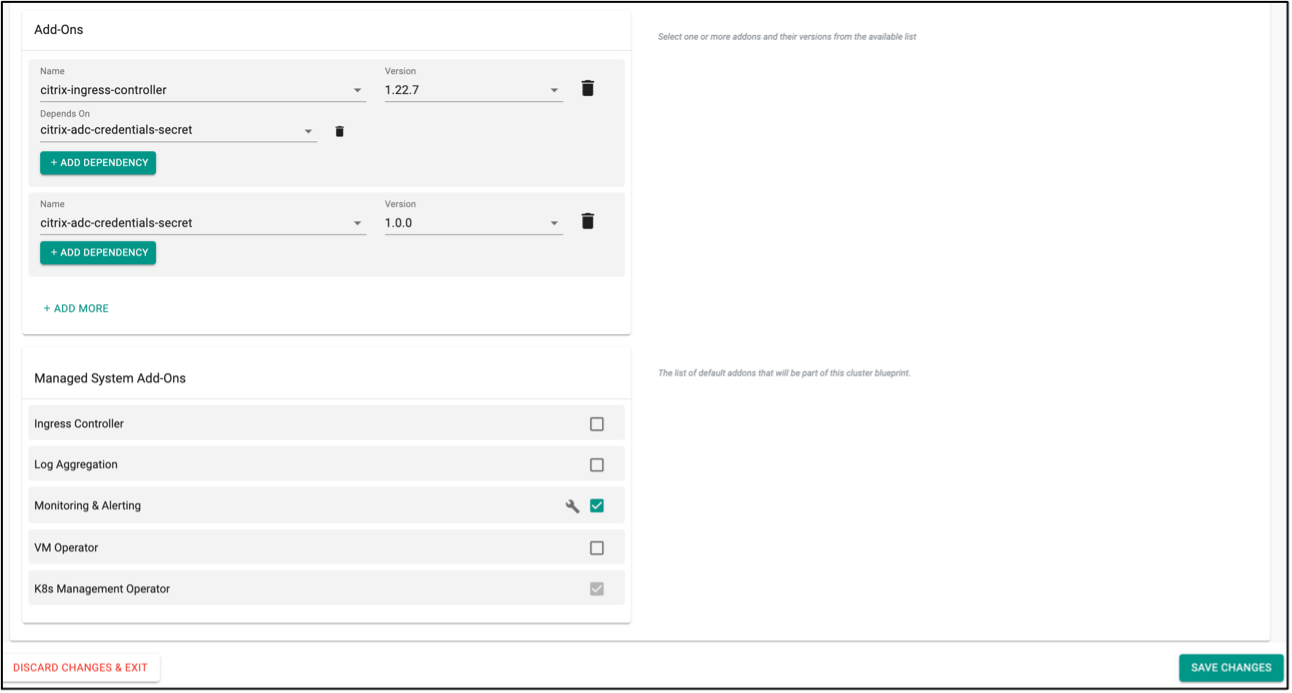
- Create new version in the blueprint. Any earlier version can be used, here we have used v1.

-
Ensure that you select
citrix-ingress-controllerandcitrix-adc-credentials-secretaddon that has been created in previous steps with the proper version. Also, make sure that you makecitrix-ingress-controlleraddon dependent oncitrix-adc-credentials-secretaddon so that the Kubernetes secret used by Citrix Ingress Controller to configure Citrix ADC get created first. -
Unselect the ingress controller from the
Managed System Add-Onsas you will deploy Citrix Ingress Controller with this Blueprint. Rest of the managed addons can be selected in accordance with your preference. Save the changes at the end.
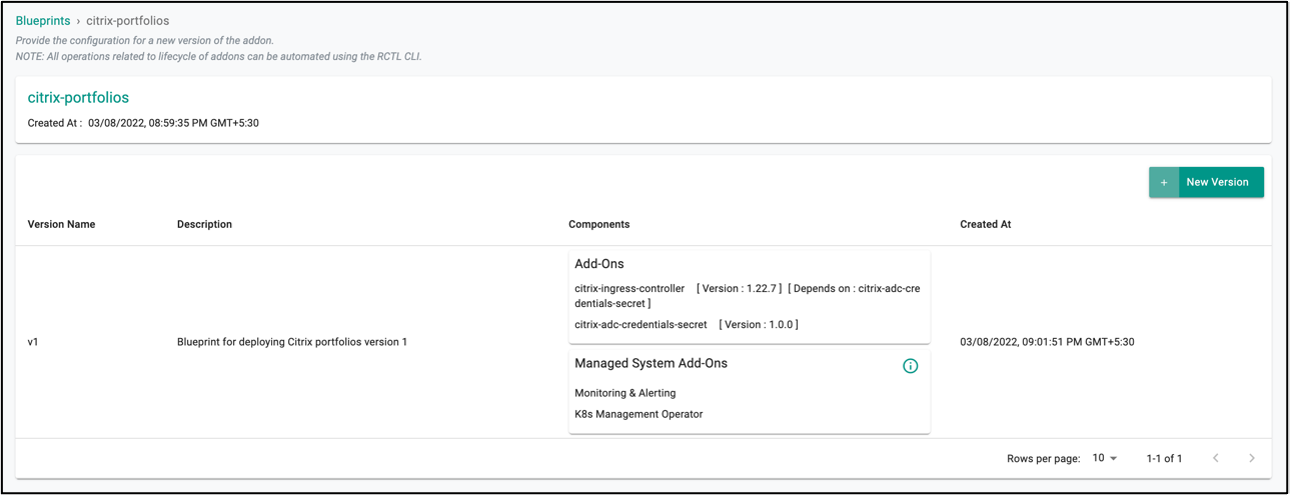
- Ensure that the new version in the blueprint is created successfully:
Step 6: Apply Blueprint To Cluster
-
Under Infrastructure, click Clusters and the select settings of the target cluster from the controller web console.
-
From Settings List, select Update Blueprint, then select the
citrix-portfoliosblueprint from the list and select the version that you created for custom cluster blueprint.
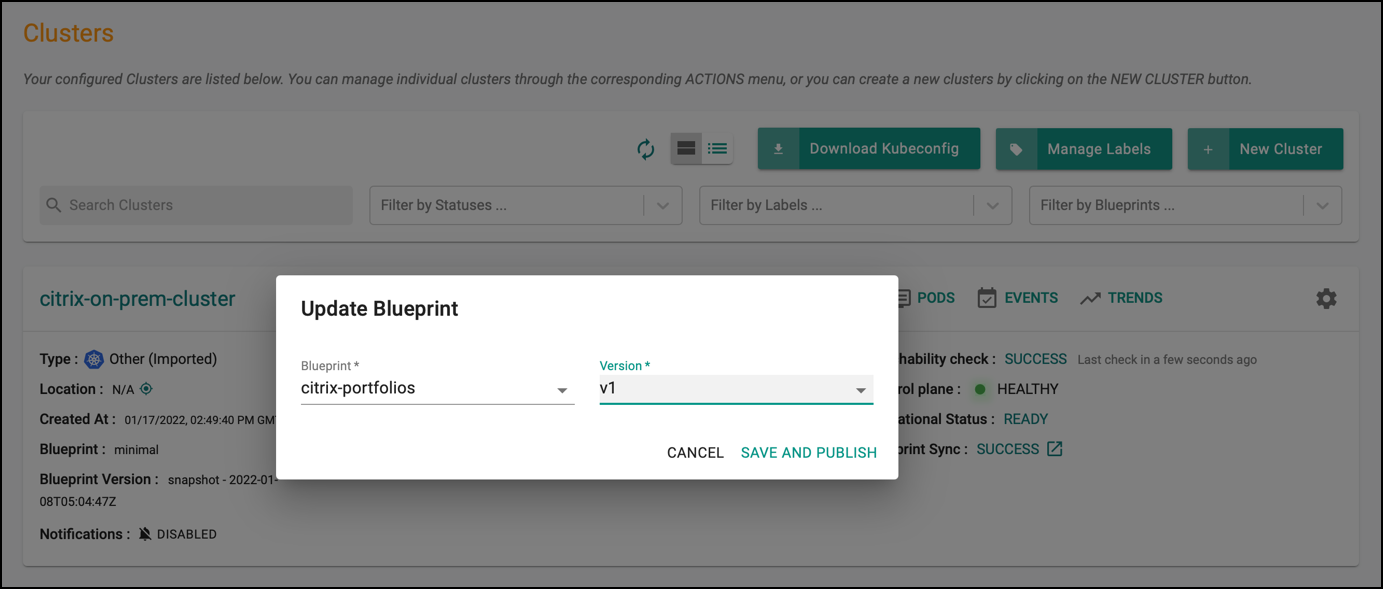
- Click Save and Publish. It starts the deployment of the addons configured in the
citrix-portfoliosblueprint to the targeted cluster. The blueprint sync process takes a few minutes to complete. Once completed, the cluster displays the current cluster blueprint details and whether the sync was successful or not.
Step 7: Verify Deployment
You can verify whether the resources related to Citrix Ingress Controller is properly deployed in the cluster or not. Go to the cluster terminal and verify the following:
- Verify that Citrix Ingress Controller deployment is up and running using the following command:
kubectl get pods -n citrix

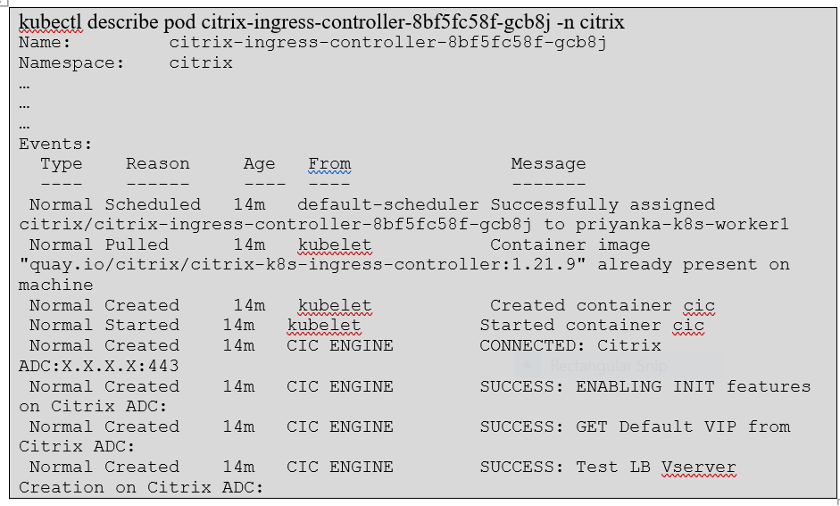
- Verify that the Citrix Ingress Controller is able to connect with Citrix ADC using the following command:
kubectl describe pod <citrix-ingress-controller-pod-name> -n citrix
Step 8: Create Workload
Now, you can deploy a micro-service application on your Kubernetes cluster and expose the same through Citrix ADC VPX/MPX using ingress resource. The Citrix Ingress Controller deployed as addon converts the ingress resource into configuration instructions for a load balancing application through Citrix ADC VPX/MPX.
- Create a YAML file named
guestbook.yamlwith the following YAML:
apiVersion: v1
kind: Service
metadata:
  name: redis-master
  labels:
    app: redis
    tier: backend
    role: master
spec:
  ports:
  - port: 6379
    targetPort: 6379
  selector:
    app: redis
    tier: backend
    role: master
---
apiVersion: apps/v1 #  for k8s versions before 1.9.0 use apps/v1beta2  and before 1.8.0 use extensions/v1beta1
kind: Deployment
metadata:
  name: redis-master
spec:
  selector:
    matchLabels:
      app: redis
      role: master
      tier: backend
  replicas: 1
  template:
    metadata:
      labels:
        app: redis
        role: master
        tier: backend
    spec:
      containers:
      - name: master
        image: k8s.gcr.io/redis:e2e  # or just image: redis
        imagePullPolicy: IfNotPresent
        resources:
          requests:
            cpu: 100m
            memory: 100Mi
        ports:
        - containerPort: 6379
---
apiVersion: v1
kind: Service
metadata:
  name: redis-slave
  labels:
    app: redis
    tier: backend
    role: slave
spec:
  ports:
  - port: 6379
  selector:
    app: redis
    tier: backend
    role: slave
---
apiVersion: apps/v1 #  for k8s versions before 1.9.0 use apps/v1beta2  and before 1.8.0 use extensions/v1beta1
kind: Deployment
metadata:
  name: redis-slave
spec:
  selector:
    matchLabels:
      app: redis
      role: slave
      tier: backend
  replicas: 1
  template:
    metadata:
      labels:
        app: redis
        role: slave
        tier: backend
    spec:
      containers:
      - name: slave
        image: gcr.io/google_samples/gb-redisslave:v1
        imagePullPolicy: IfNotPresent
        resources:
          requests:
            cpu: 100m
            memory: 100Mi
        env:
        - name: GET_HOSTS_FROM
          value: dns
          # If your cluster config does not include a dns service, then to
          # instead access an environment variable to find the master
          # service's host, comment out the 'value: dns' line above, and
          # uncomment the line below:
          # value: env
        ports:
        - containerPort: 6379
---
apiVersion: v1
kind: Service
metadata:
  name: frontend
  labels:
    app: guestbook
    tier: frontend
spec:
  # if your cluster supports it, uncomment the following to automatically create
  # an external load-balanced IP for the frontend service.
  # type: LoadBalancer
  ports:
  - port: 80
  selector:
    app: guestbook
    tier: frontend
---
apiVersion: apps/v1 #  for k8s versions before 1.9.0 use apps/v1beta2  and before 1.8.0 use extensions/v1beta1
kind: Deployment
metadata:
  name: frontend
spec:
  selector:
    matchLabels:
      app: guestbook
      tier: frontend
  replicas: 1
  template:
    metadata:
      labels:
        app: guestbook
        tier: frontend
    spec:
      containers:
      - name: php-redis
        image: gcr.io/google-samples/gb-frontend:v4
        imagePullPolicy: IfNotPresent
        resources:
          requests:
            cpu: 100m
            memory: 100Mi
        env:
        - name: GET_HOSTS_FROM
          value: dns
          # If your cluster config does not include a dns service, then to
          # instead access environment variables to find service host
          # info, comment out the 'value: dns' line above, and uncomment the
          # line below:
          # value: env
        ports:
        - containerPort: 80
---
apiVersion: networking.k8s.io/v1
kind: Ingress
metadata:
  annotations:
    # Update below annotation with Citrix ADC VIP
    ingress.citrix.com/frontend-ip: <Citrix-ADC-VIP>
  name: guestbook-ingress
spec:
  rules:
  - host: www.guestbook.com
    http:
      paths:
      - backend:
          service:
            name: frontend
            port:
              number: 80
        path: /
        pathType: ImplementationSpecific
- Edit the
guestbook.yamlfile created and add Citrix ADC VIP in theingress.citrix.com/frontend-ipannotation in the ingress resource. This is the IP address in Citrix ADC VPX/MPX using which theGuestbookapplication will be exposed.
Step 9: Deploy Workload
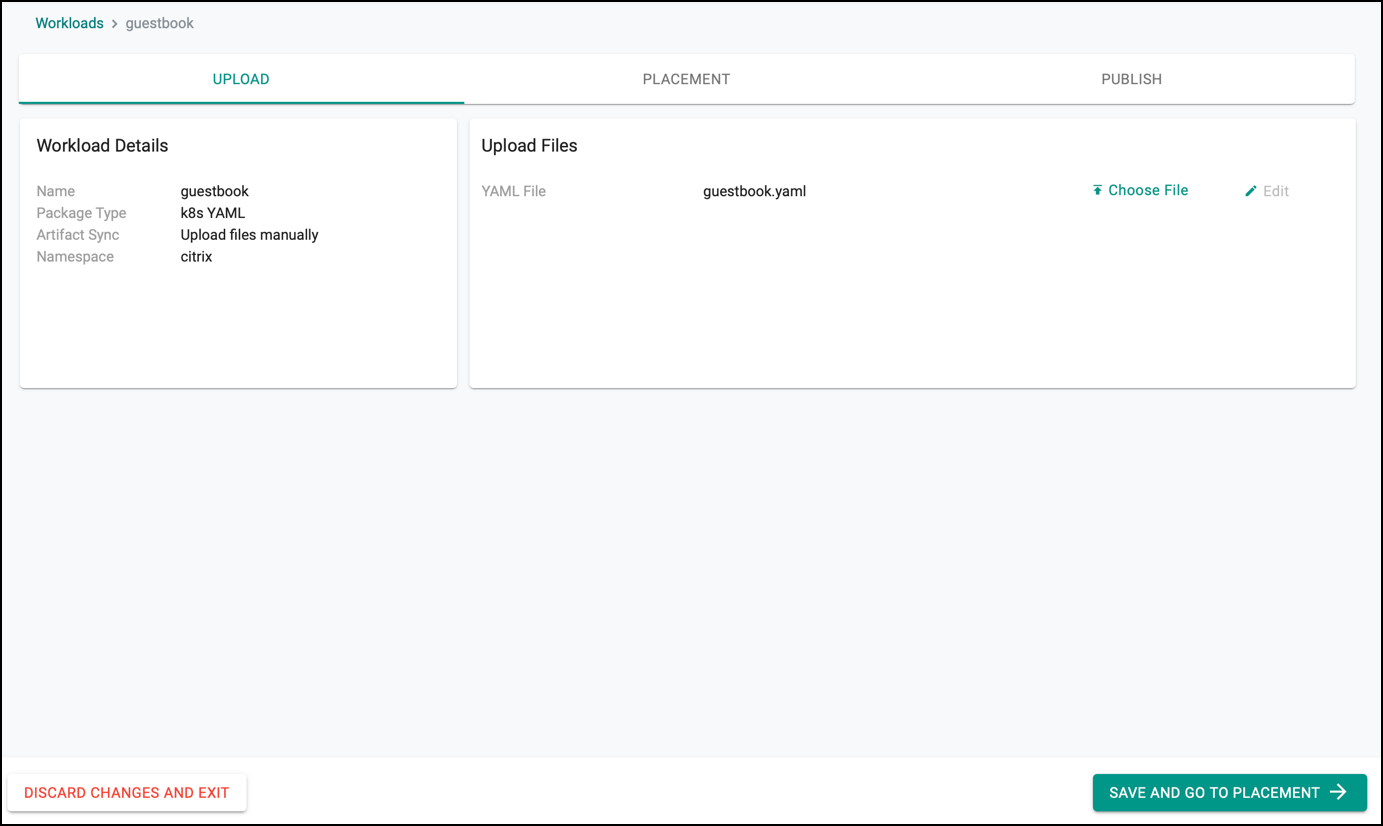
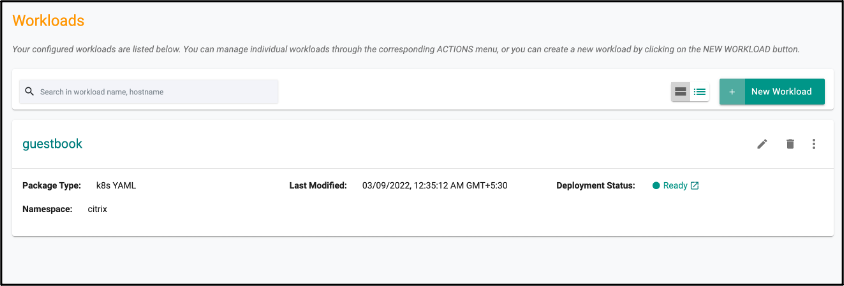
- Under Applications, select Workloads, then create a New Workload with the name
guestbook. Set Package Type tok8s YAML, and select the Namespace ascitrixand click CONTINUE.

- Upload the
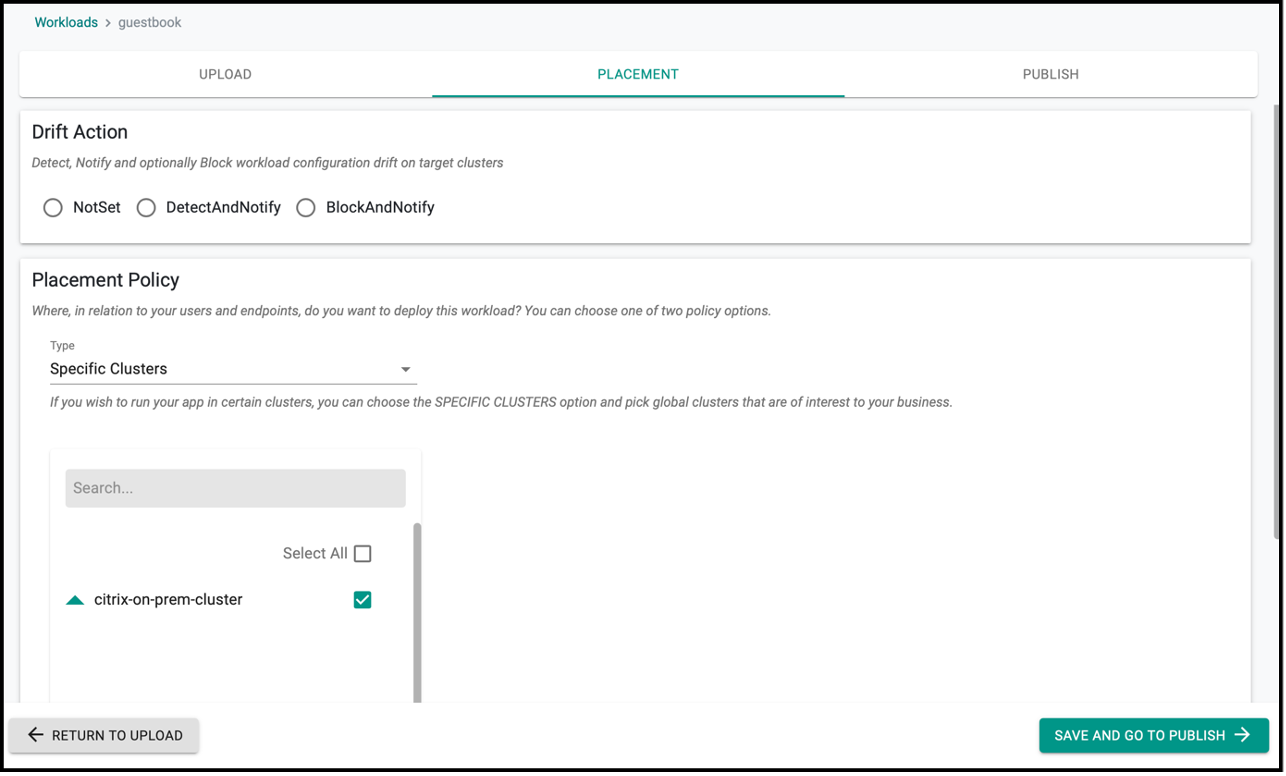
guestbook.yamlthat has been created earlier and then go to the placement of workload.
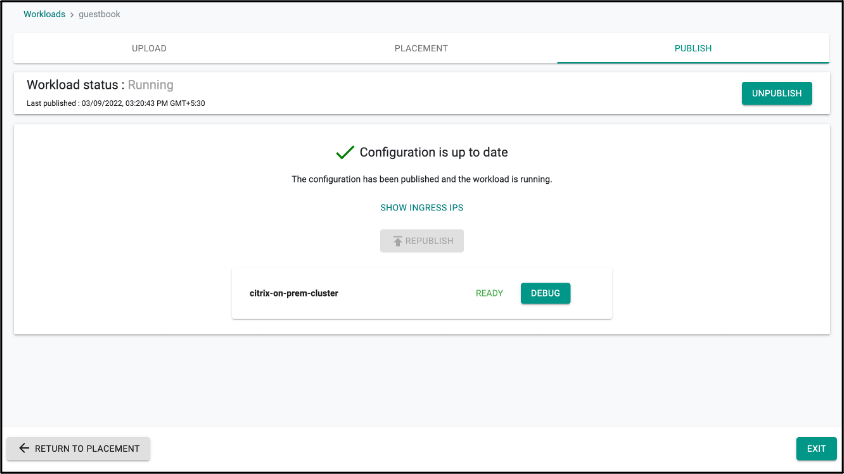
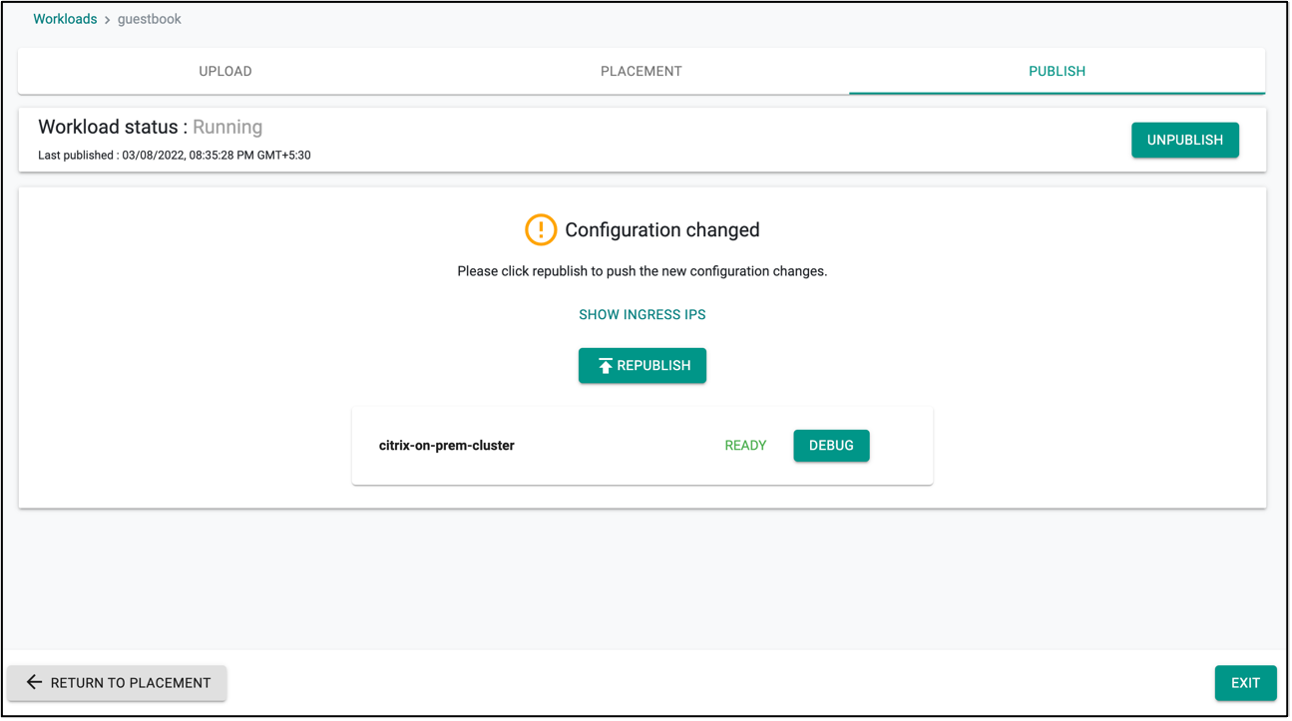
- Click save and go to publish.
- Publish the workload guestbook. Ensure that it gets published successfully in the target cluster before moving to the next step.
Step 10: Verify the Workload
After deploying application in the cluster, verify that all micro-services of the applications are up and running:
- Under Application select Workload and then select the workload
guestbook.
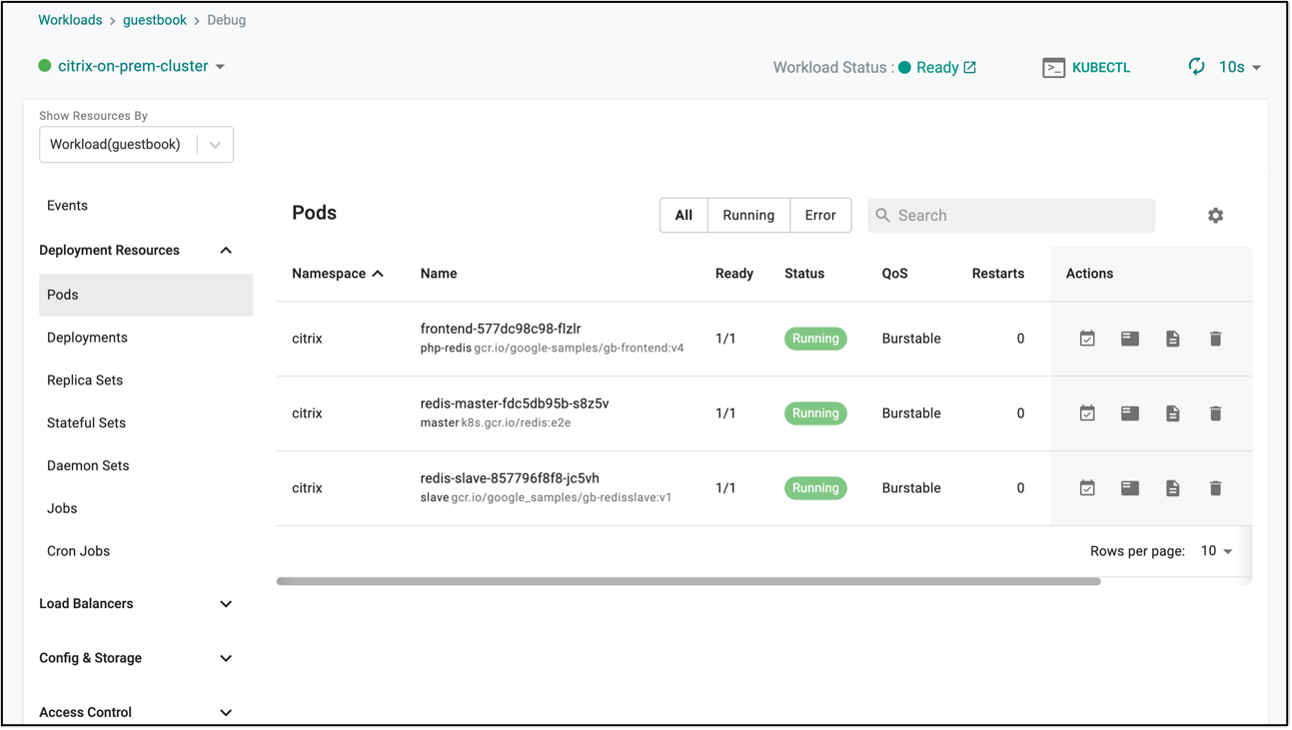
- Go the Publish section and select Debug option given near your cluster name.
- Select Pods from the Deployment Resources list and you should be able to see all the guestbook application pod are running.
- You should be able to access the application now from outside the cluster using command:
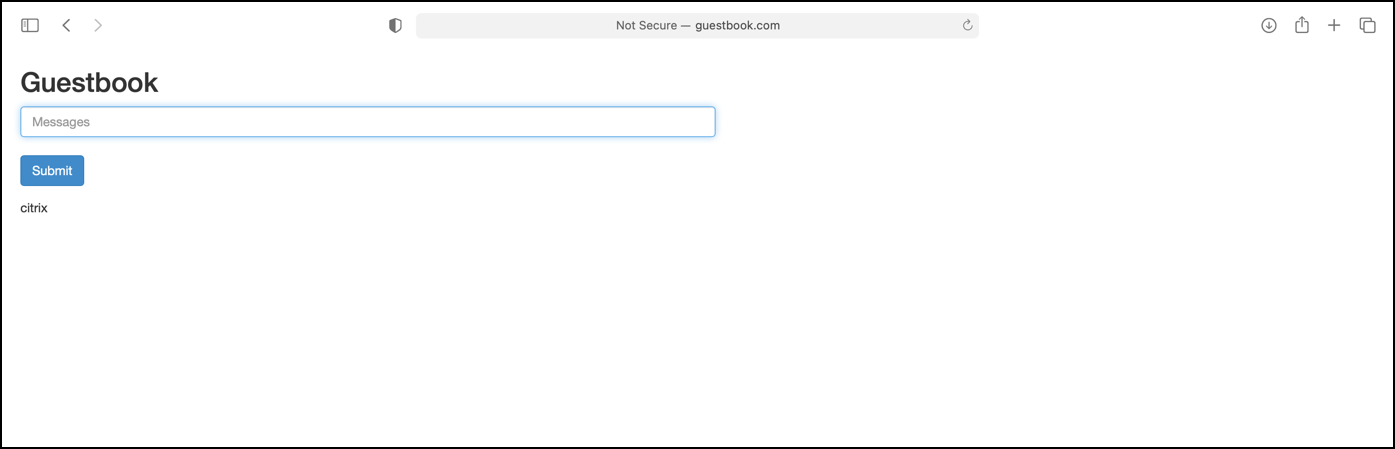
Optionally, you can create a host entry for DNS resolution in your DNS server or in the host file of your local machine using the same Citrix ADC VIP that has been provided in the ingress workload in the step 8. And then accessing
curl http://www.guestbook.com --resolve www.guestbook.com:80:<Citrix-ADC-VIP>http://www.guestbook.comfrom browser will launch guestbook application.
Recap
Congratulations! Now, you have successfully created a custom cluster blueprint with the Citrix Ingress Controller addons and applied to a cluster. You can now use this blueprint on as many clusters as you require.