Get Started
In this guide, you will use AI Labs to share costly GPU/CPU hardware in Jupyter Notebook resources across multiple university labs using batch schedules.
AI Labs provides a structured and scalable model for universities to manage academic lab environments. It is used to organize academic programs, allocate GPU/CPU resources, and ensure controlled access for students and faculty.
Prerequisites
Ensure the following prerequisites are in place prior to proceeding with this guide.
- AI Labs SKU loaded into the tenant organization
- Notebook SKU loaded into the tenant organization
Configure SKU Sharing
In this section, you will configure the proper SKU sharing for the AI Labs and Notebook SKUs. Org Admins should designate a single project to host the AI Labs SKU. In this guide, we will use the "defaultproject" for the AI Labs SKU. The AI Labs SKU is intended to be used by Org Admins only and if this SKU is shared with other projects, other users could access the AI Labs SKU. Additionally, the Notebook SKU should only be accessed by students during their respective labs. Access to the Notebook SKU instances is controlled through batch scheduling and projects. We will ensure the Notebook SKU is not shared with all projects by default in order to prevent unwanted users from accessing this SKU.
- Log into the tenant Org as an Org Admin
- Navigate to SKU Management -> SKU Catalog
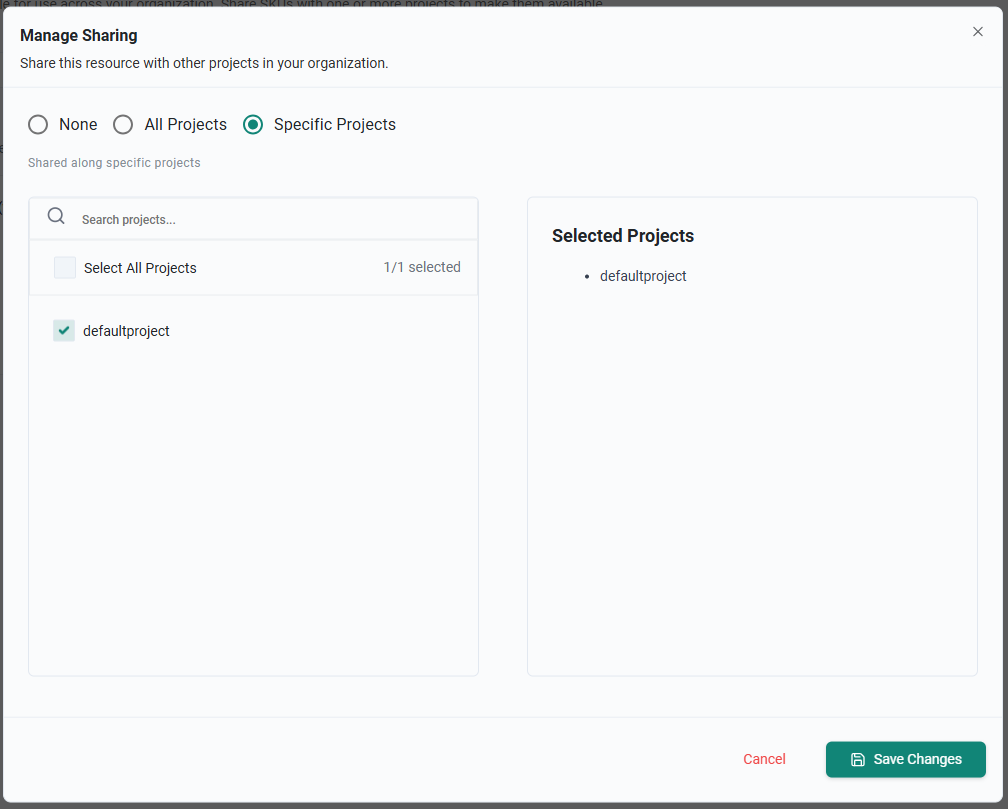
- Click the sharing icon on the AI LAB BATCH SKU
- Select Specific Projects and then select the defaultproject
- Click Save Changes
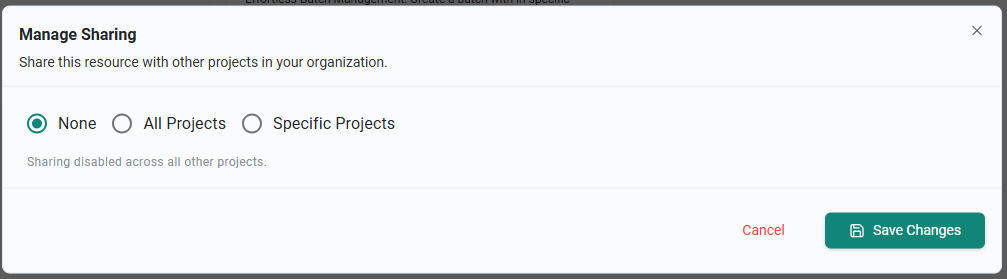
- Click the sharing icon on the Jupyter Notebook SKU
- Select None
- Click Save Changes
Create Batches
In this section, you will configure batches for two different labs. The labs will run at different times, 10 minutes apart for the purpose of this exercise. We will add one student to each batch, each with their own email address. We will use the org admin email address for the batch admin account. Note, the batch admin account must be pre-created in the org. User/student accounts will automatically be created in the org if they do not exist.
- Log into the tenant Org as an Org Admin
- Navigate to Developer Hub -> AI Labs -> Administration
- Click New Administration
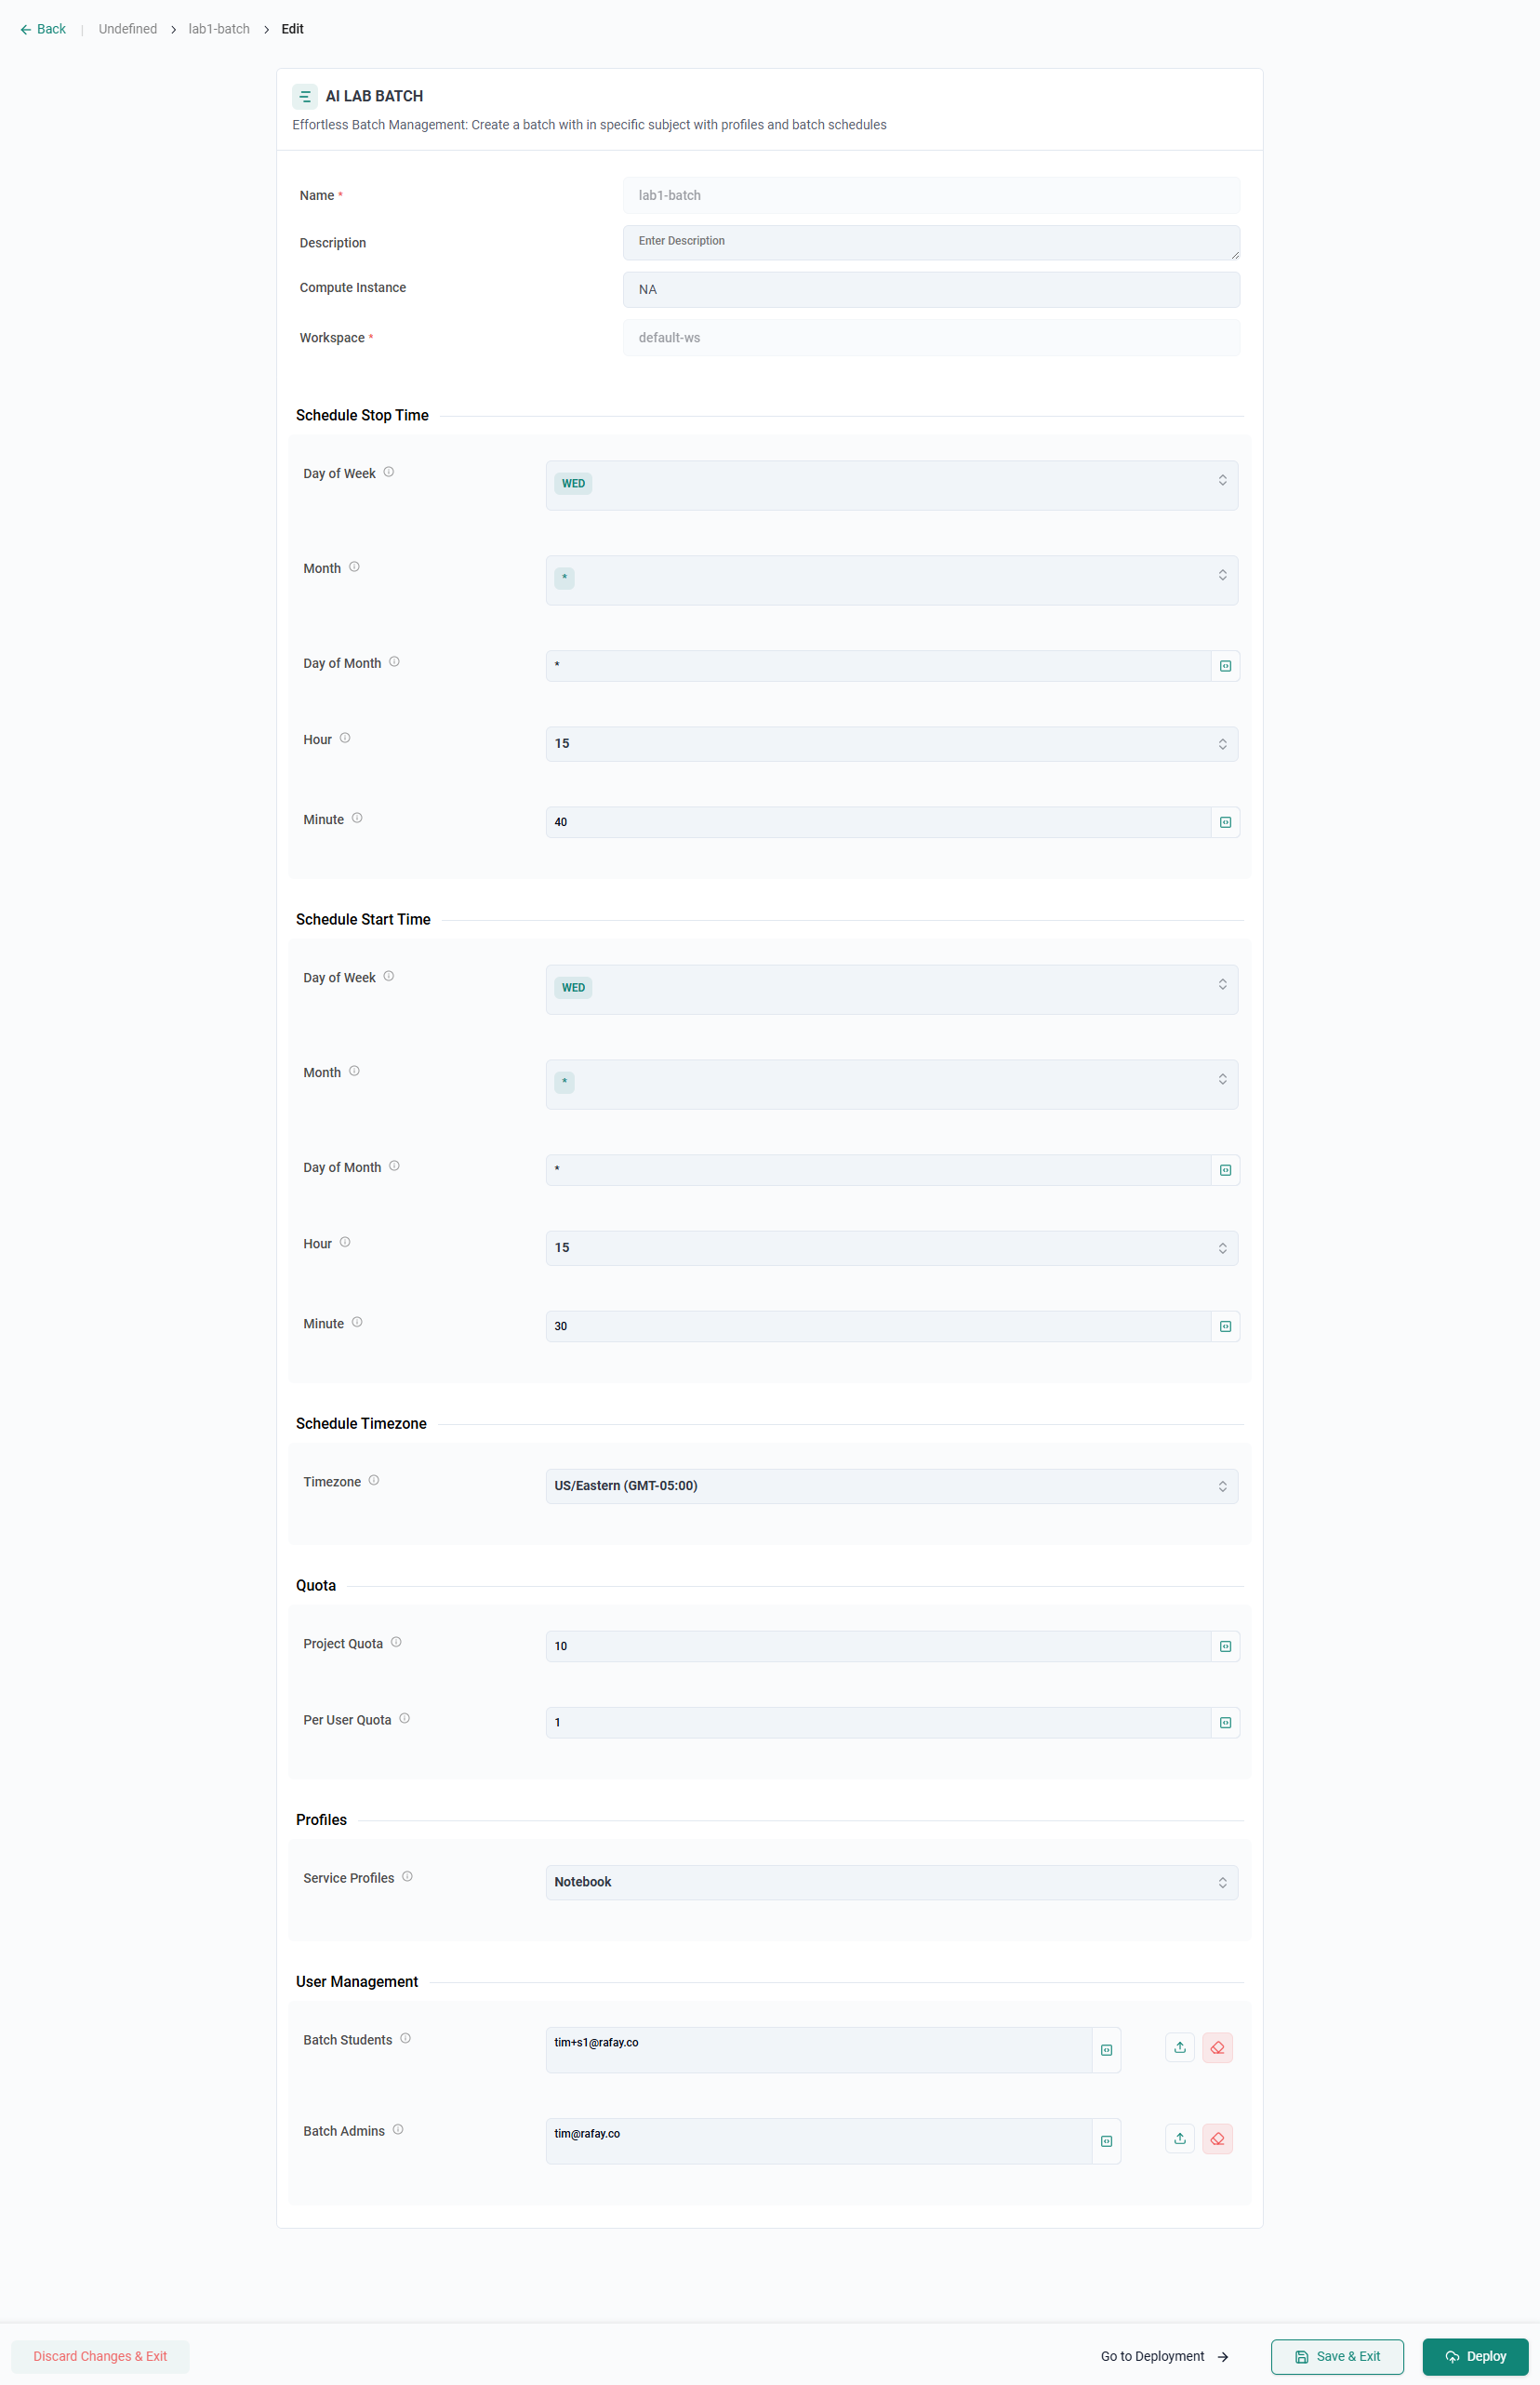
- Click Select on AI LAB BATCH
- Populate the fields for the the first batch. Select a start and stop time 10 minutes apart from the current time. Ex. If the current time is 10am, set the start time for 10:00 and stop time for 10:10.
- Click Deploy
You will now deploy a second batch for the second lab.
- Click New Administration
- Click Select on AI LAB BATCH
- Populate the fields for the the second batch. Select a start time that is 5 minutes passed the stop time of the first batch Ex. If the stop time for the first batch is 10:10, set the start time for the second batch to 10:15 and the stop time for 10:25.
- Click Deploy

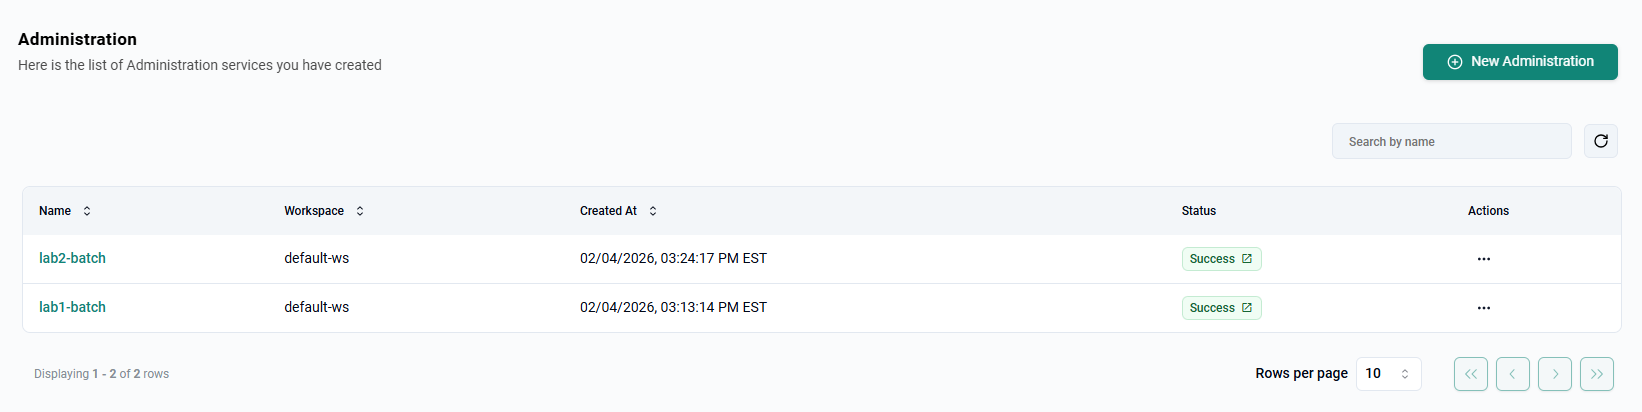
After a few minutes, you will see both batches configured.
Deploy Notebooks
In this section, you will deploy a notebook as the user in the first batch. You will then attempt to deploy another notebook as the user in the second batch and see that the notebook will not be created as the time is outside of the batch schedule. Lastly, you will attempt to use the notebook of the user in the first batch outside of the batch schedule and see that the notebook is not accessible.
- Log into the tenant Org as the student in the first batch
- Navigate to Services -> Notebooks
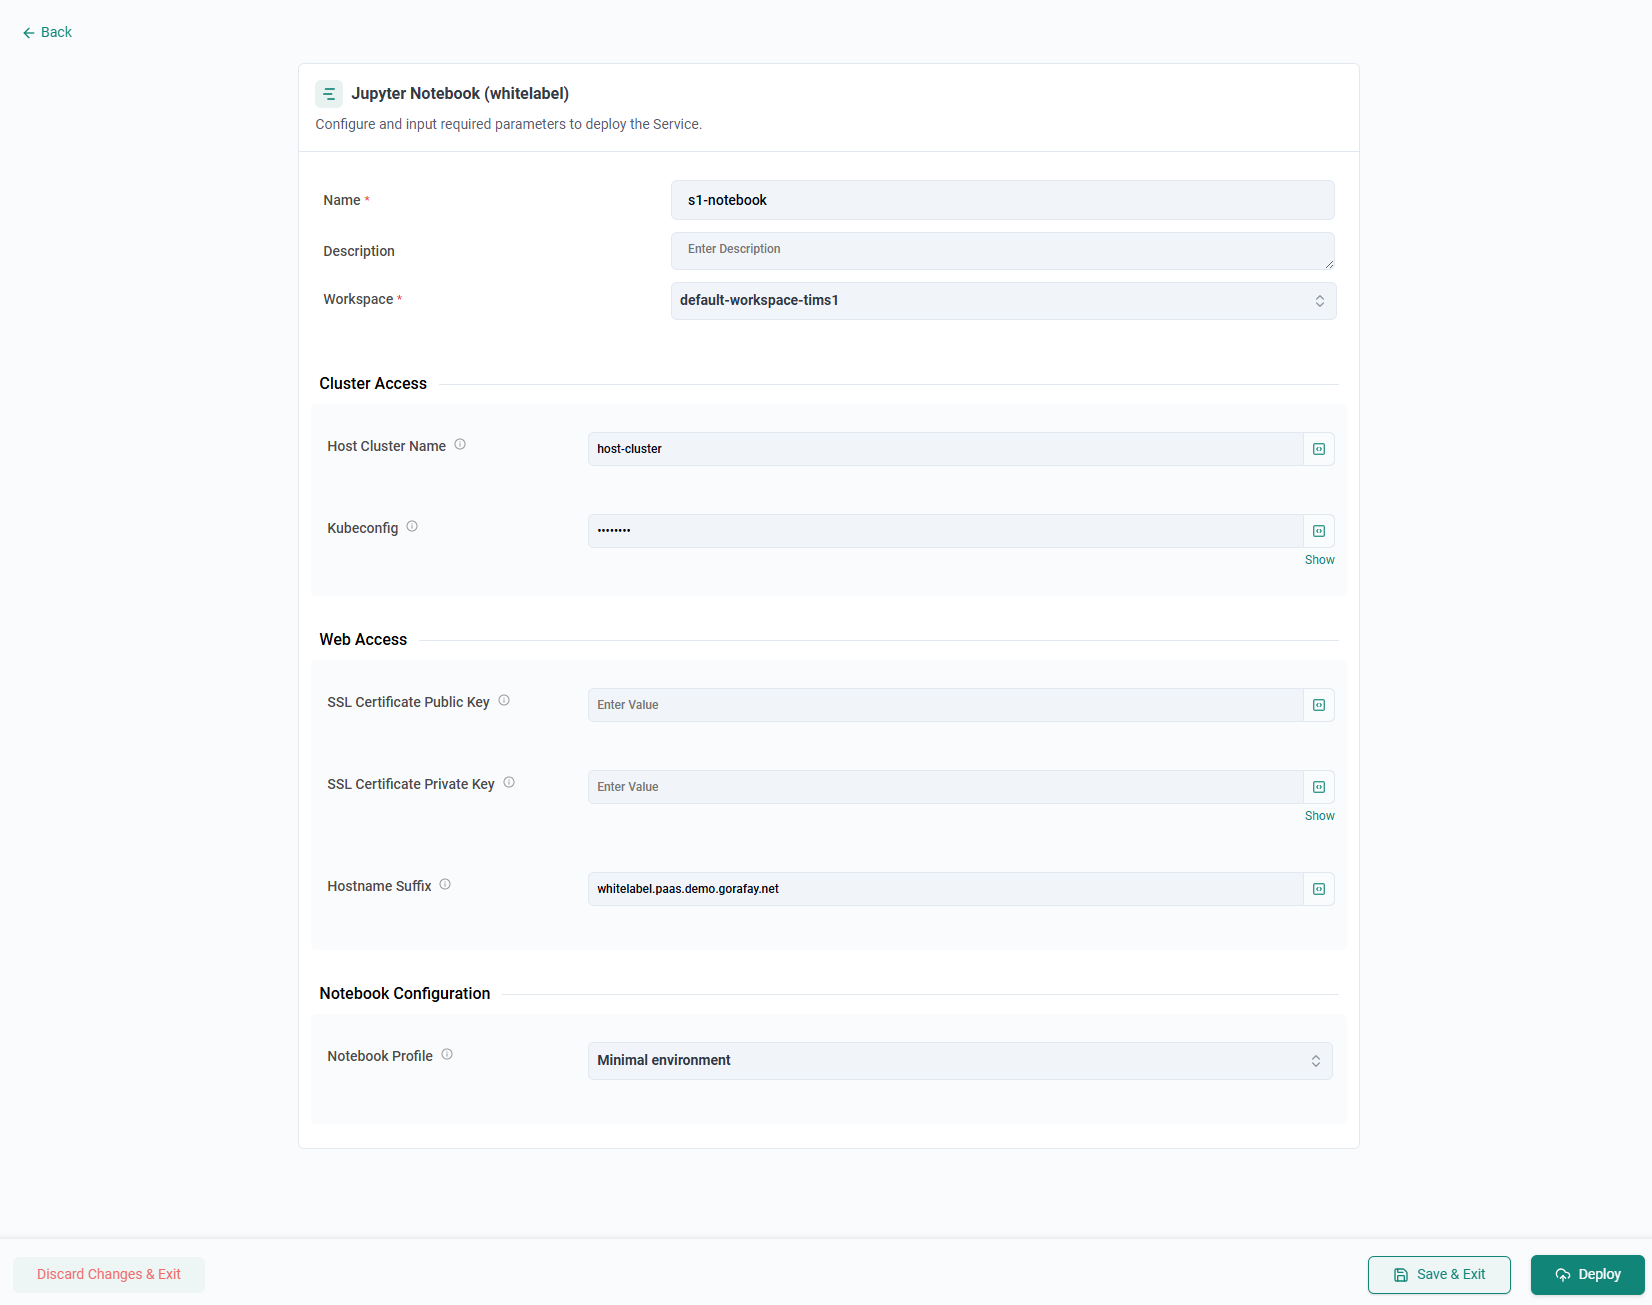
- Click New Notebook
- Click Select on Jupyter Notebook
- Enter a name for the notebook instance
- Click Deploy
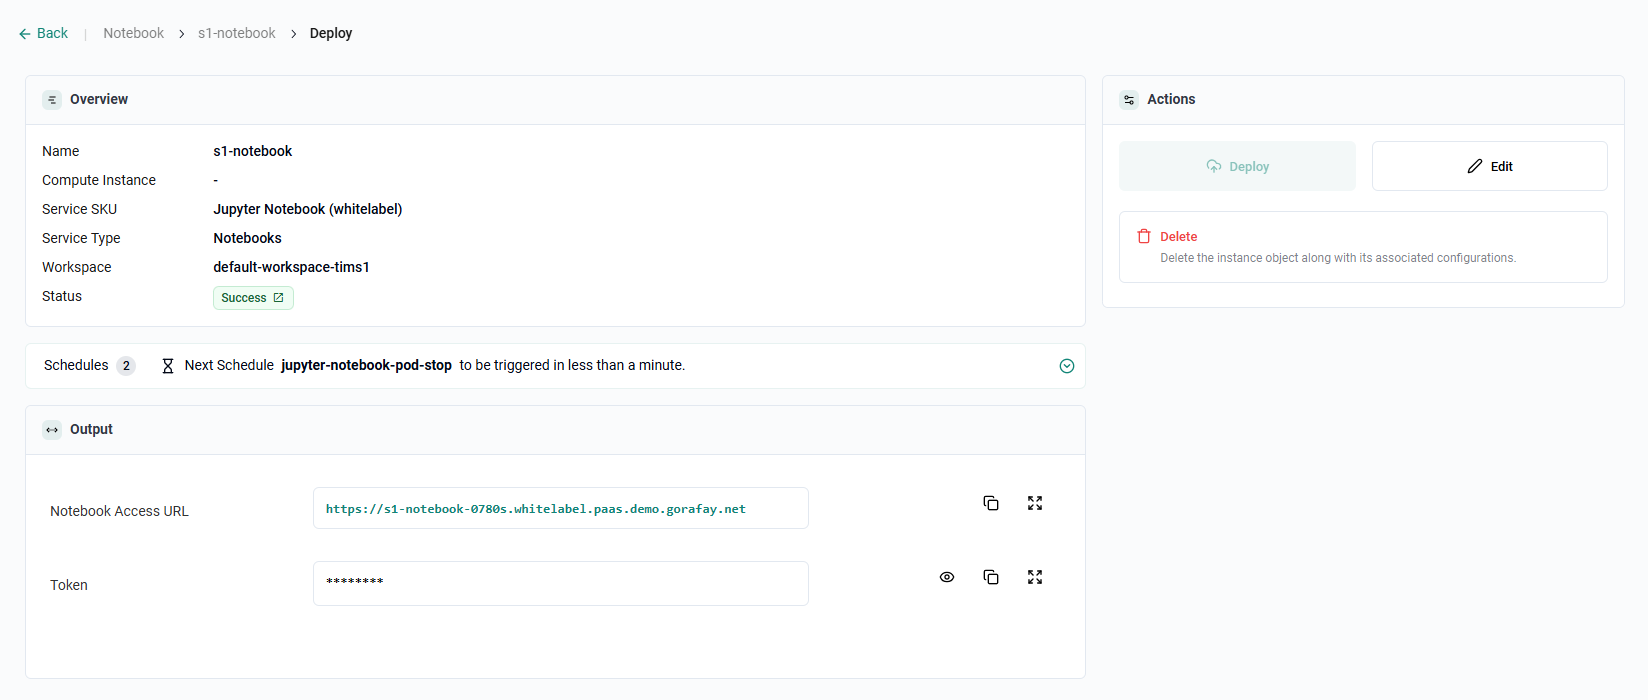
After a few minutes, the notebook will be deployed and you will be able to access it as it is within the running time of the batch.
- Log into the tenant Org as the student in the second batch
- Navigate to Services -> Notebooks
- Click New Notebook
- Click Select on Jupyter Notebook
- Enter a name for the notebook instance
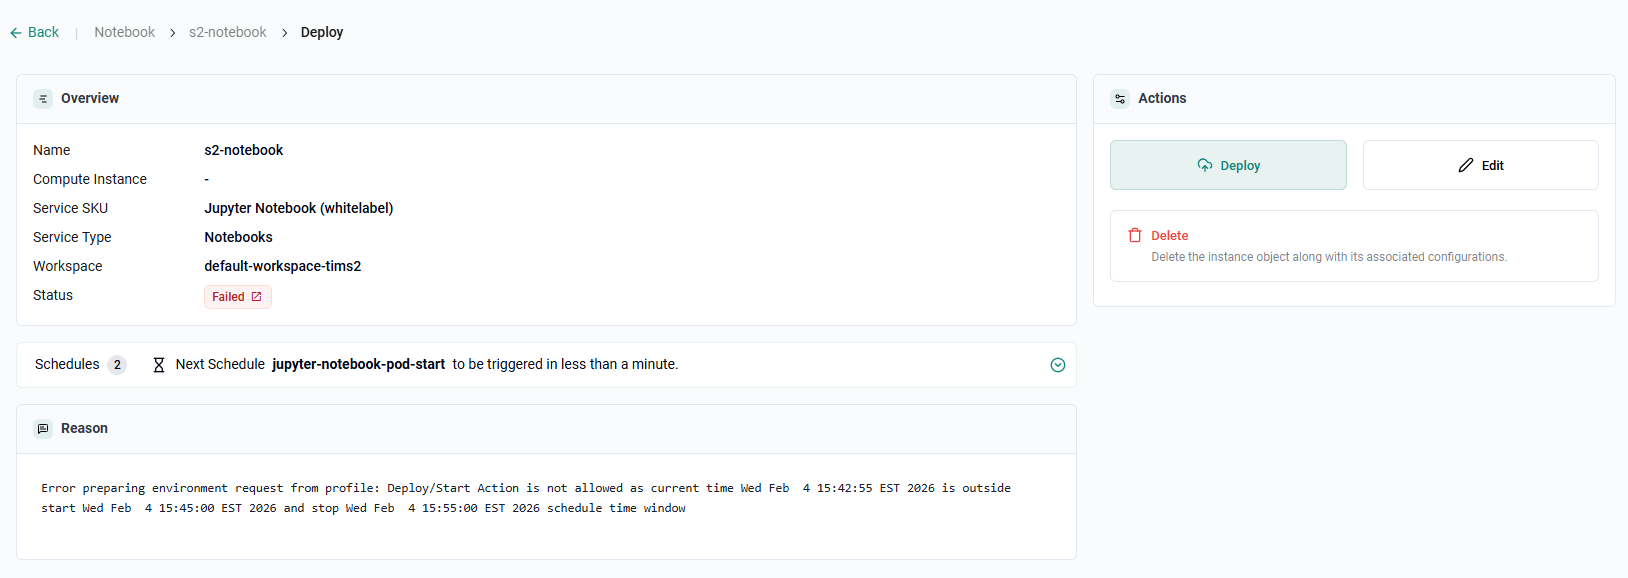
- Click Deploy

You will see that the notebook is not able to be deployed as it is outside the batch schedule.
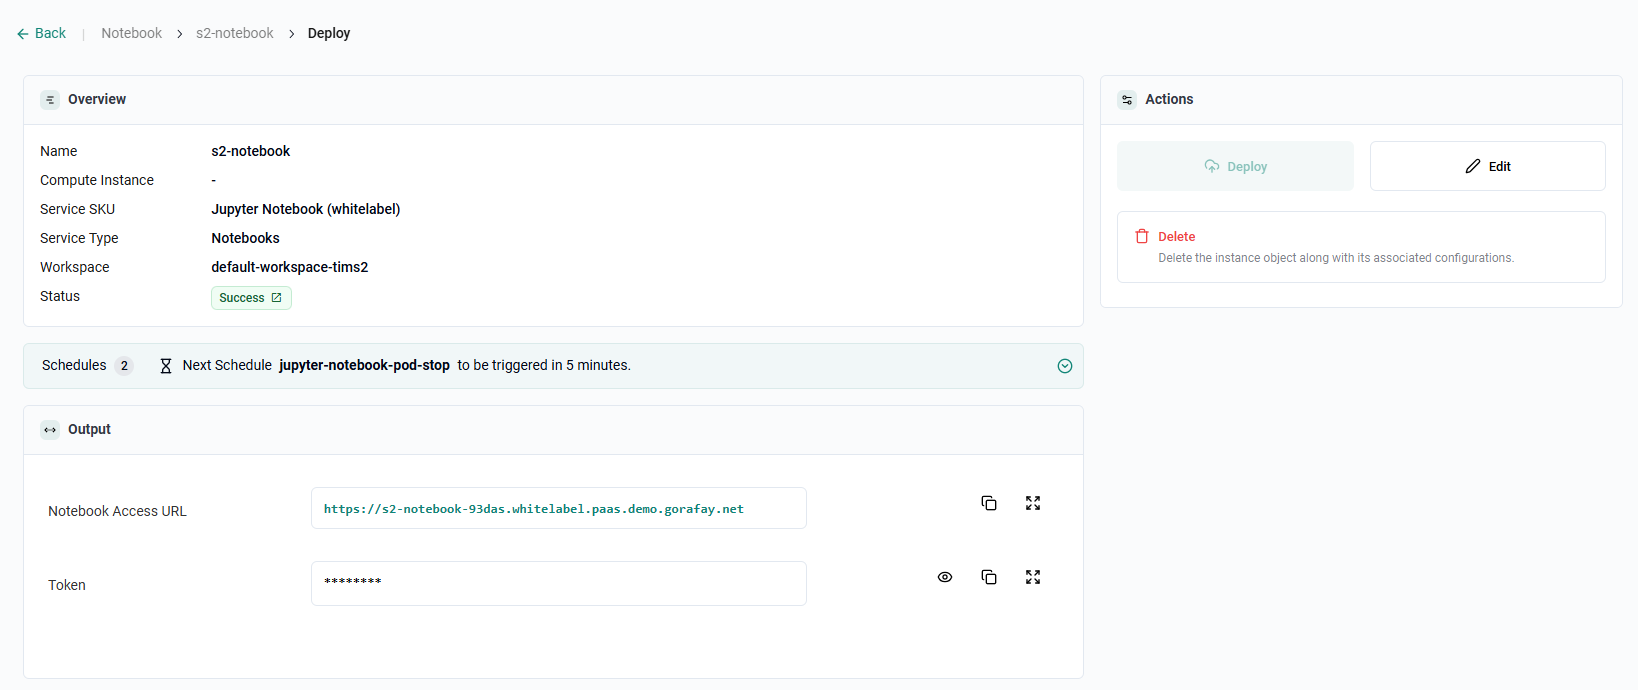
Once the the current time is within the batch schedule, deploy the notebook again to see the notebook get deployed.
- Log into the tenant Org as the student in the first batch
- Navigate to Services -> Notebooks
- Select the previously created notebook
- Attempt to access the notebook
You will notice that you are not able to access the notebook as it is outside the batch window.