Part 2: Provision
This is Part 2 of a multi-part, self-paced quick start exercise that will provision a VMware vSphere cluster.
Step 1: Provision Cluster
In this step you will provision a VMware vSphere cluster from the UI using the previously created cloud credential. The cluster will be used in the remainder of this excercise.
- Navigate to your project
- Select Infrastructure -> Clusters
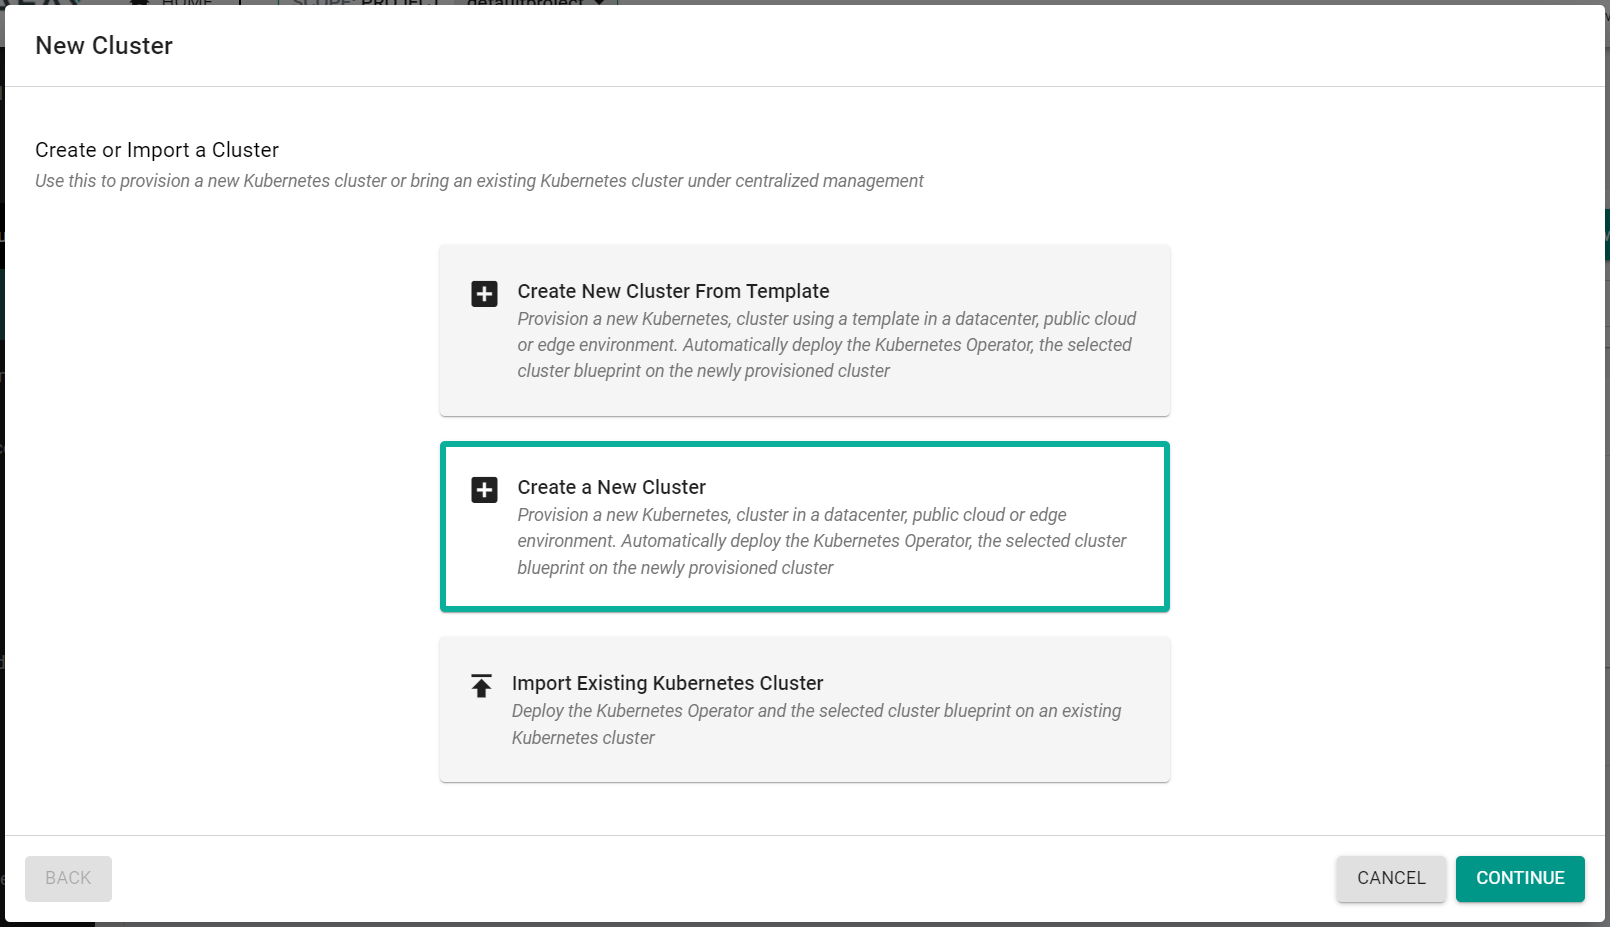
- Click "New Cluster"
- Select "Create a New Cluster"
- Click "Continue"
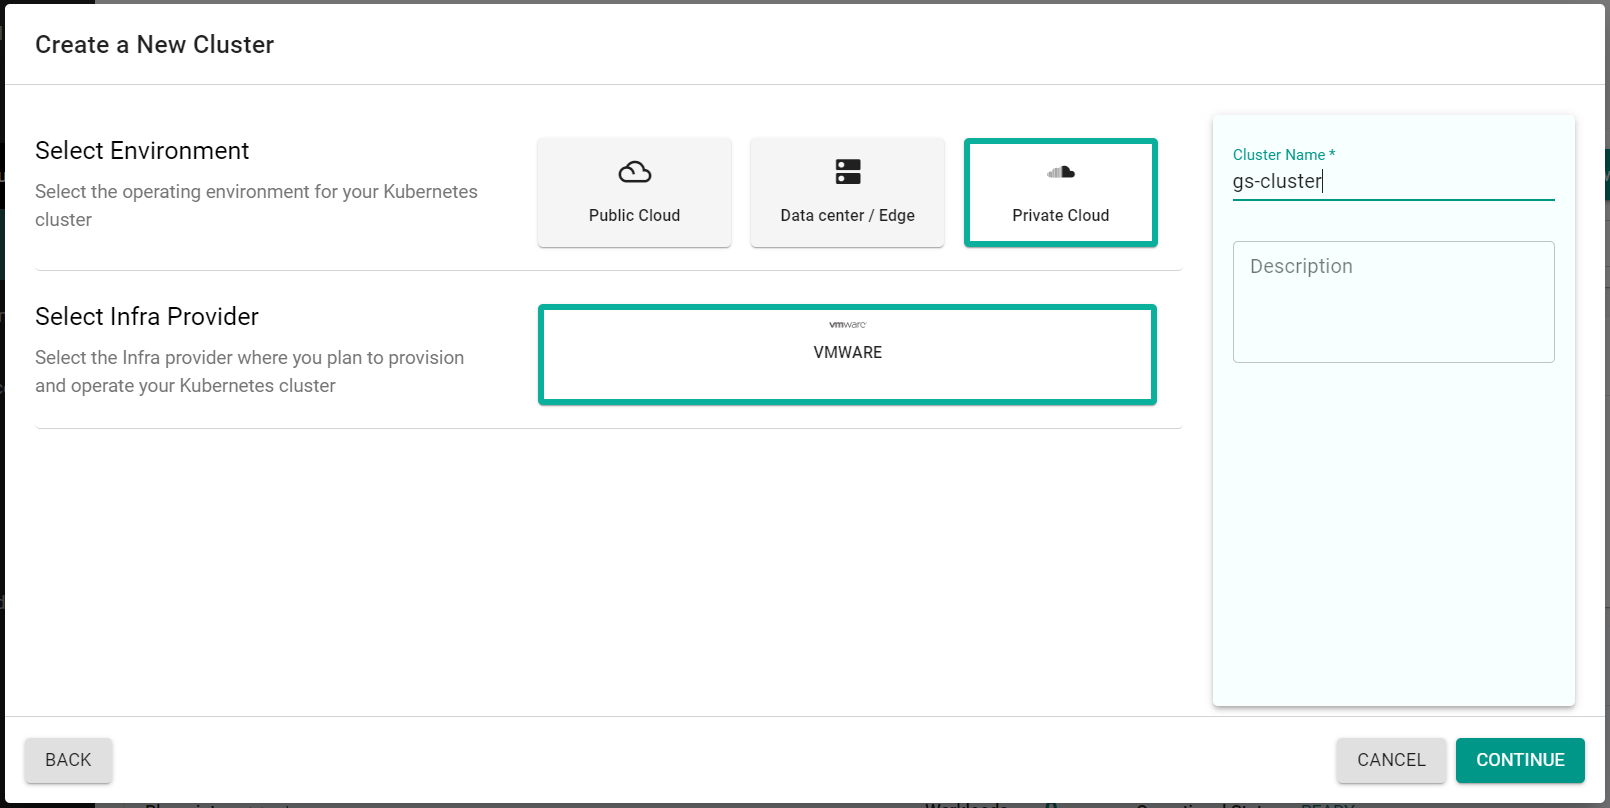
- Select "Private Cloud"
- Select "VMware"
- Enter a cluster name
- Click "Continue"
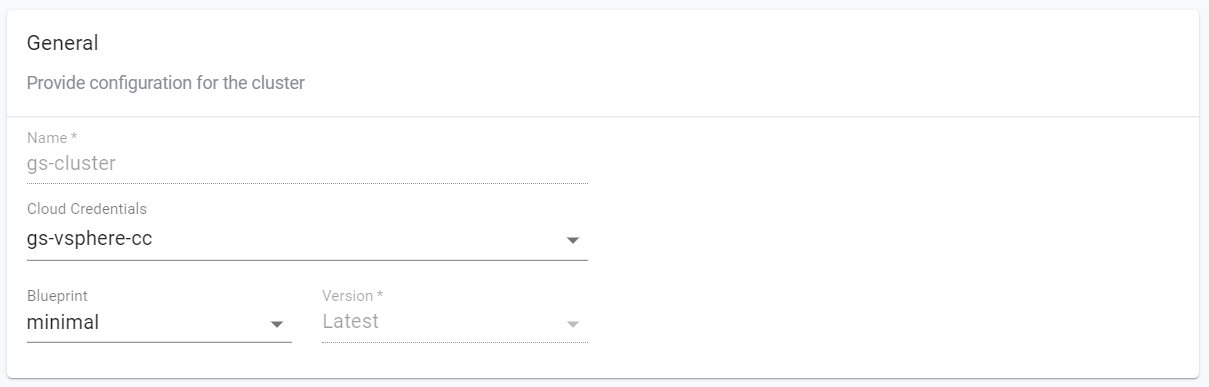
In the "General" section, populate the following input fields.
- Select the previously created Cloud Credential
- Select the "minimal" blueprint
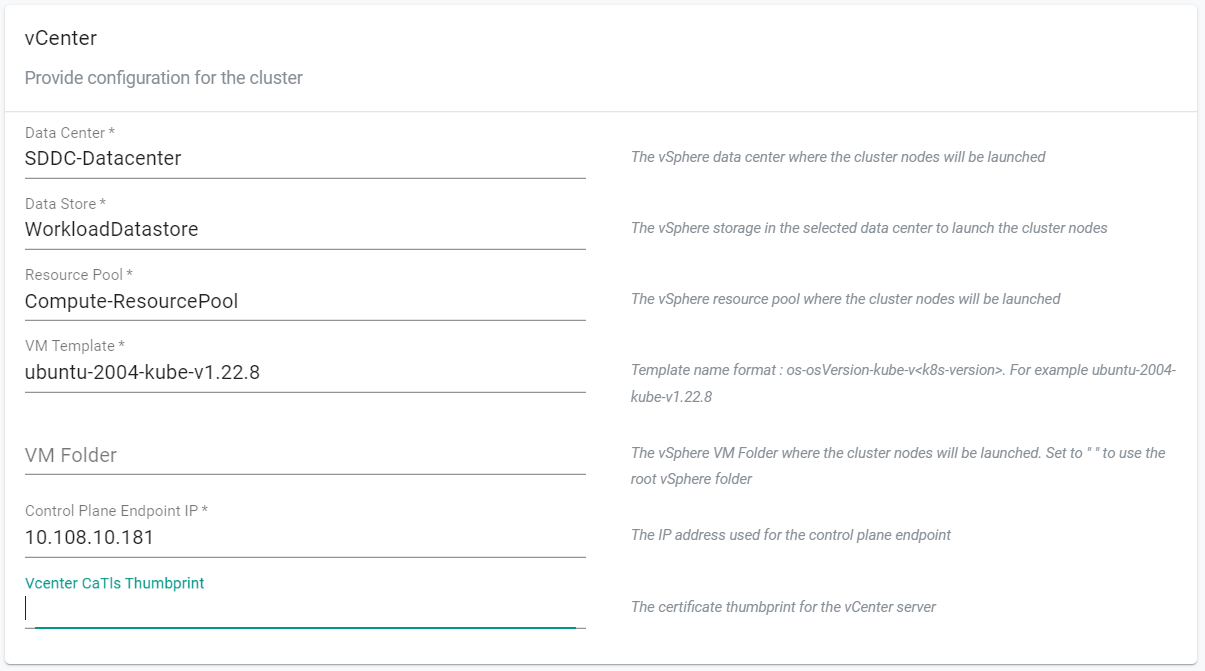
In the "vCenter" section, populate the following input fields.
- Enter the vSphere datacenter name where the cluster will be provisioned
- Enter the vSphere datastore name where the cluster nodes will be stored
- Enter the vSphere resource pool name where the cluster nodes will run
-
Enter one of the VM template names from the list below:
- ubuntu-1804-kube-v1.22.8
- ubuntu-1804-kube-v1.23.5
- ubuntu-2004-kube-v1.21.11
- ubuntu-2004-kube-v1.22.8
- ubuntu-2004-kube-v1.23.5
-
Enter a static IP address for the Control Plane Endpoint of the kubernetes cluster
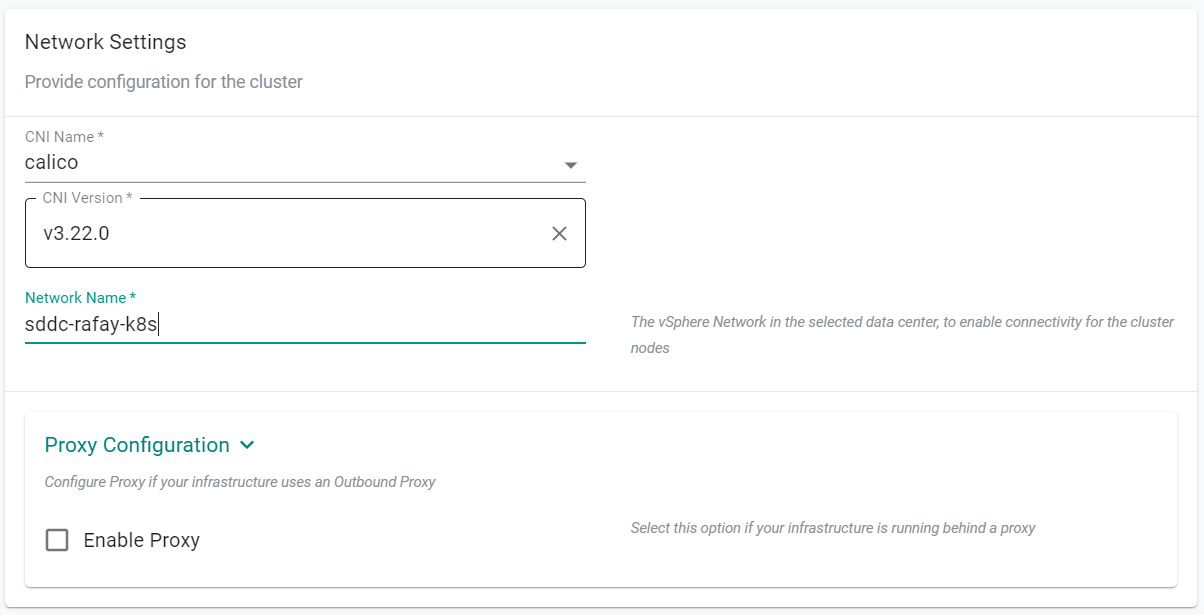
In the "Network Settings" section, populate the following input fields.
- Enter the vSphere network name that the cluster will use for connectivity
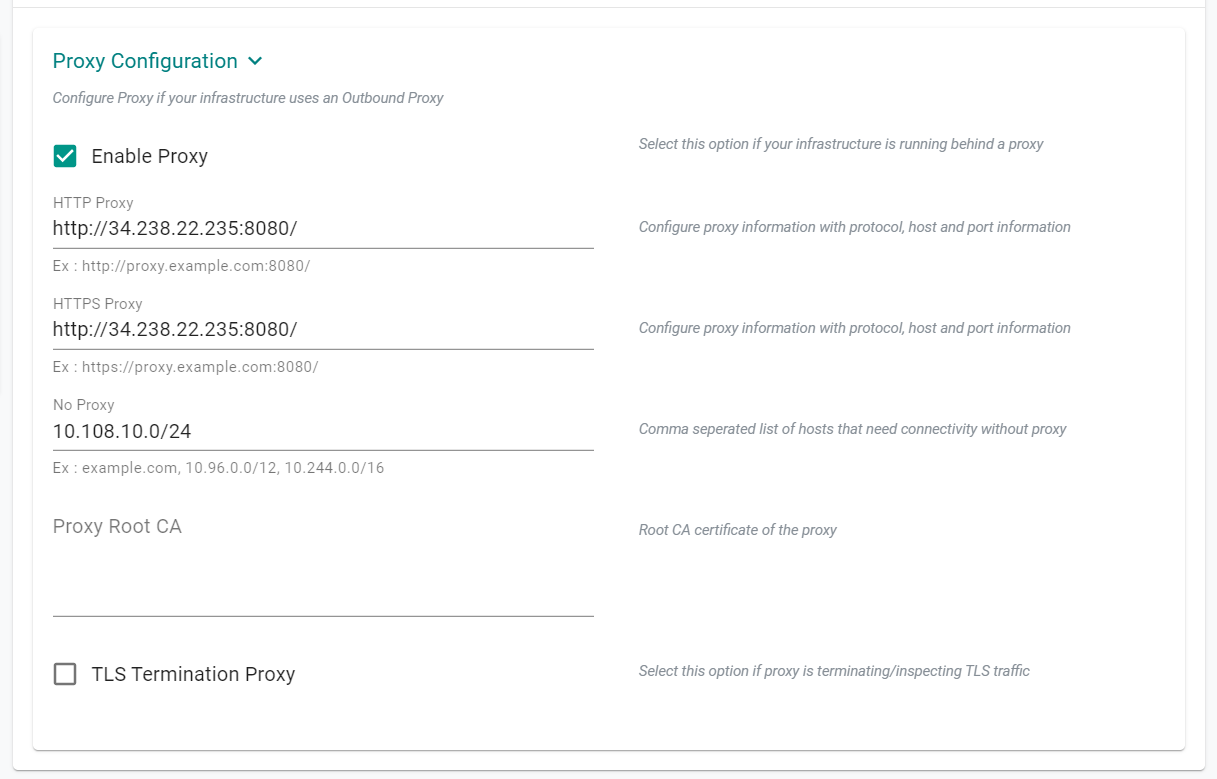
If your environment requires a proxy server for outbound connectivity, populate the proxy details
- Expand the "Proxy Configuration" section
- Select "Enable Proxy"
- Populate the proxy details of your environment as needed
In the "Control Plane Settings" and "Worker Nodes Settings" sections, populate the following input fields.
- Update the "K8s Version" to match the version of the "VM Template" entered in the "vCenter" section above
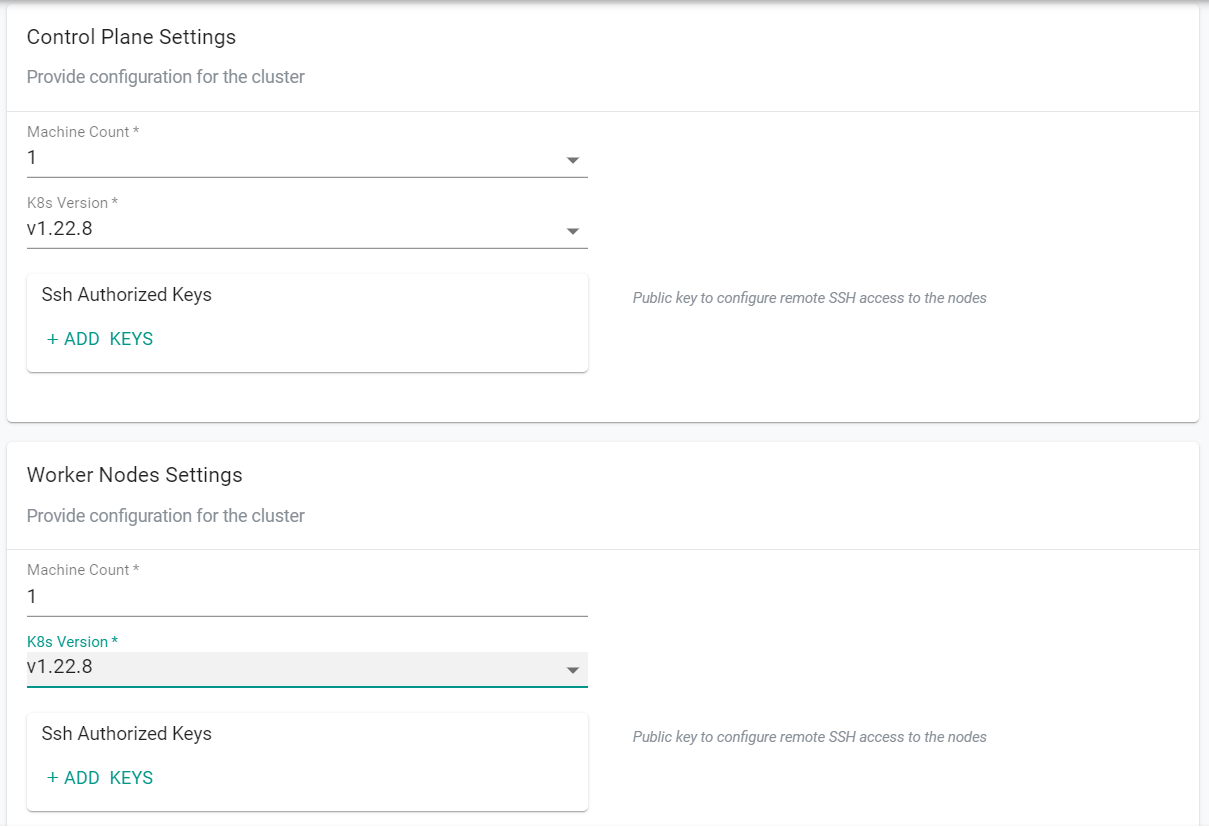
- Click "Save Changes"
- Click "Provision"

Step 1: Provision Cluster
In this step you will provision a VMware vSphere cluster from the RCTL CLI using the previously created cloud credential. The cluster will be used in the remainder of this excercise.
The declarative specification below contains the details for our VMware vSphere Cluster. Save the file to your computer with the name "cluster.yaml" and make the neccessary updates.
The following items may need to be updated/customized to match your environment.
- rafay.dev/clusterName: gs-cluster
- name: gs-cluster
- project: defaultproject
- cloudCredentials: cloudcredential
- controlPlaneEndpointIP: 10.108.10.42
- datacenter: SDDC-Datacenter
- datastore: WorkloadDatastore
- networkName: sddc-rafay-k8s
- enabled: true
- httpProxy: http://3.228.72.72:8080/
- httpsProxy: http://3.228.72.72:8080/
- noProxy: 10.108.10.0/24
- resourcePool: Compute-ResourcePool
   apiVersion: infra.k8smgmt.io/v3
   kind: Cluster
   metadata:
     labels:
       rafay.dev/clusterName: gs-cluster
       rafay.dev/clusterType: vmware_vsphere
     name: gs-cluster
     project: defaultproject
   spec:
     blueprint:
       name: minimal
       version: latest
     cloudCredentials: cloudcredential
     config:
       controlPlane:
         machineCount: 1
         version: v1.22.8
       controlPlaneEndpointIP: 10.108.10.42
       datacenter: SDDC-Datacenter
       datastore: WorkloadDatastore
       network:
         cni:
           name: calico
           version: v3.22.0
         devices:
         - networkName: sddc-rafay-k8s
       proxy:
         enabled: true
         httpProxy: http://3.228.72.72:8080/
         httpsProxy: http://3.228.72.72:8080/
         noProxy: 10.108.10.0/24
       resourcePool: Compute-ResourcePool
       vmTemplate: ubuntu-2004-kube-v1.22.8
       workerNodes:
         machineCount: 1
         version: v1.22.8
     type: Vmware_vsphere
- Open a terminal (on macOS/Linux) or Command Prompt (Windows)
- Navigate to the folder where you stored the "cluster.yaml" file
- Type the command below to provision the vSphere cluster
rctl apply -f cluster.yaml
Cluster provisioning will begin.
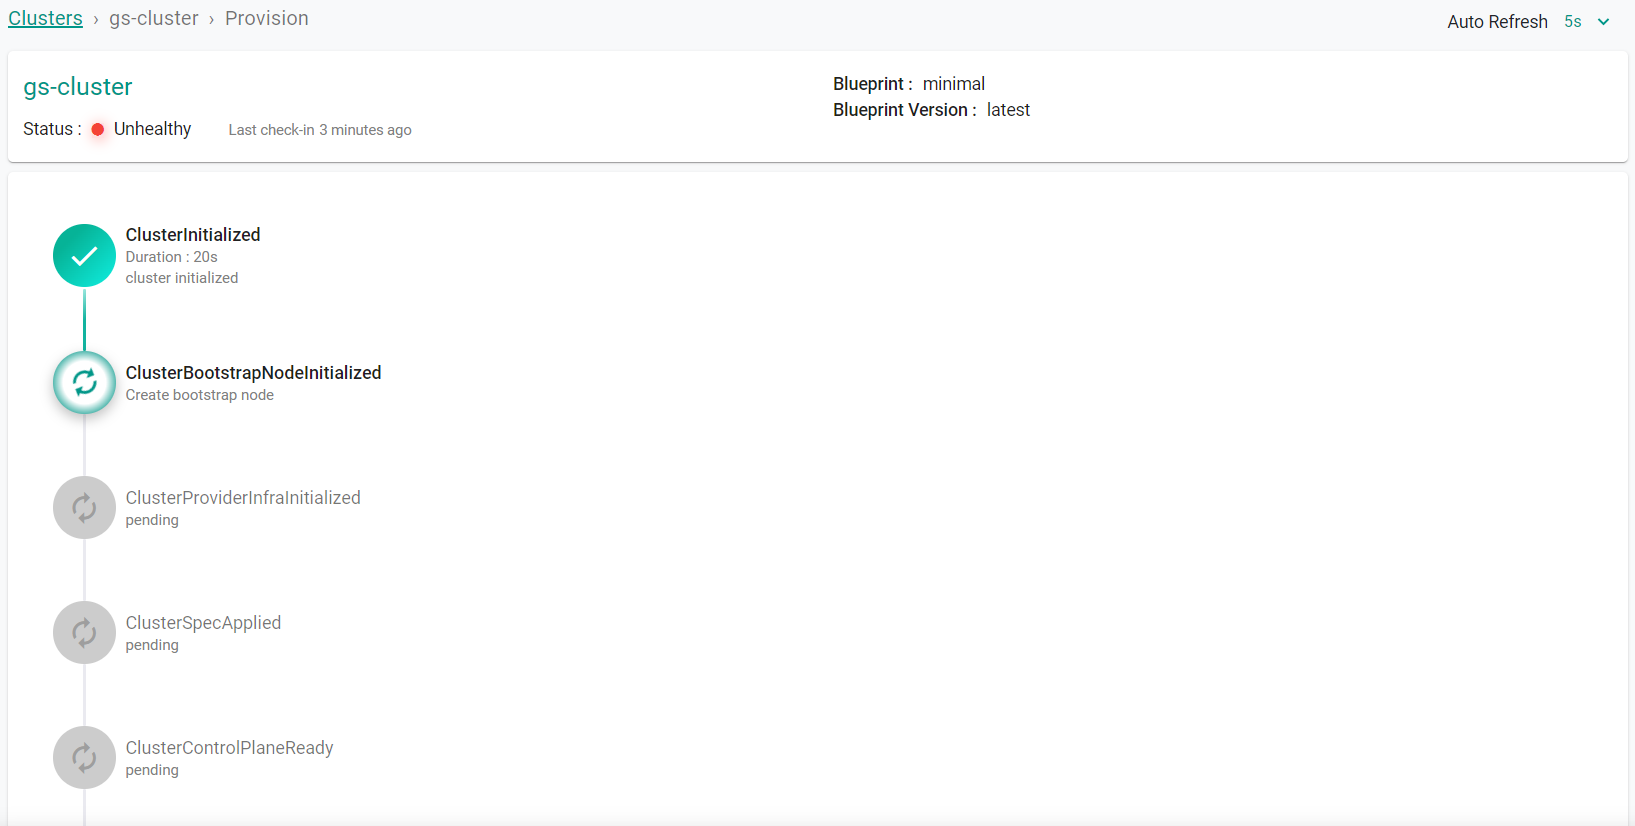
Wait for the cluster to finish provisioning.
- Click "Go To Cluster"
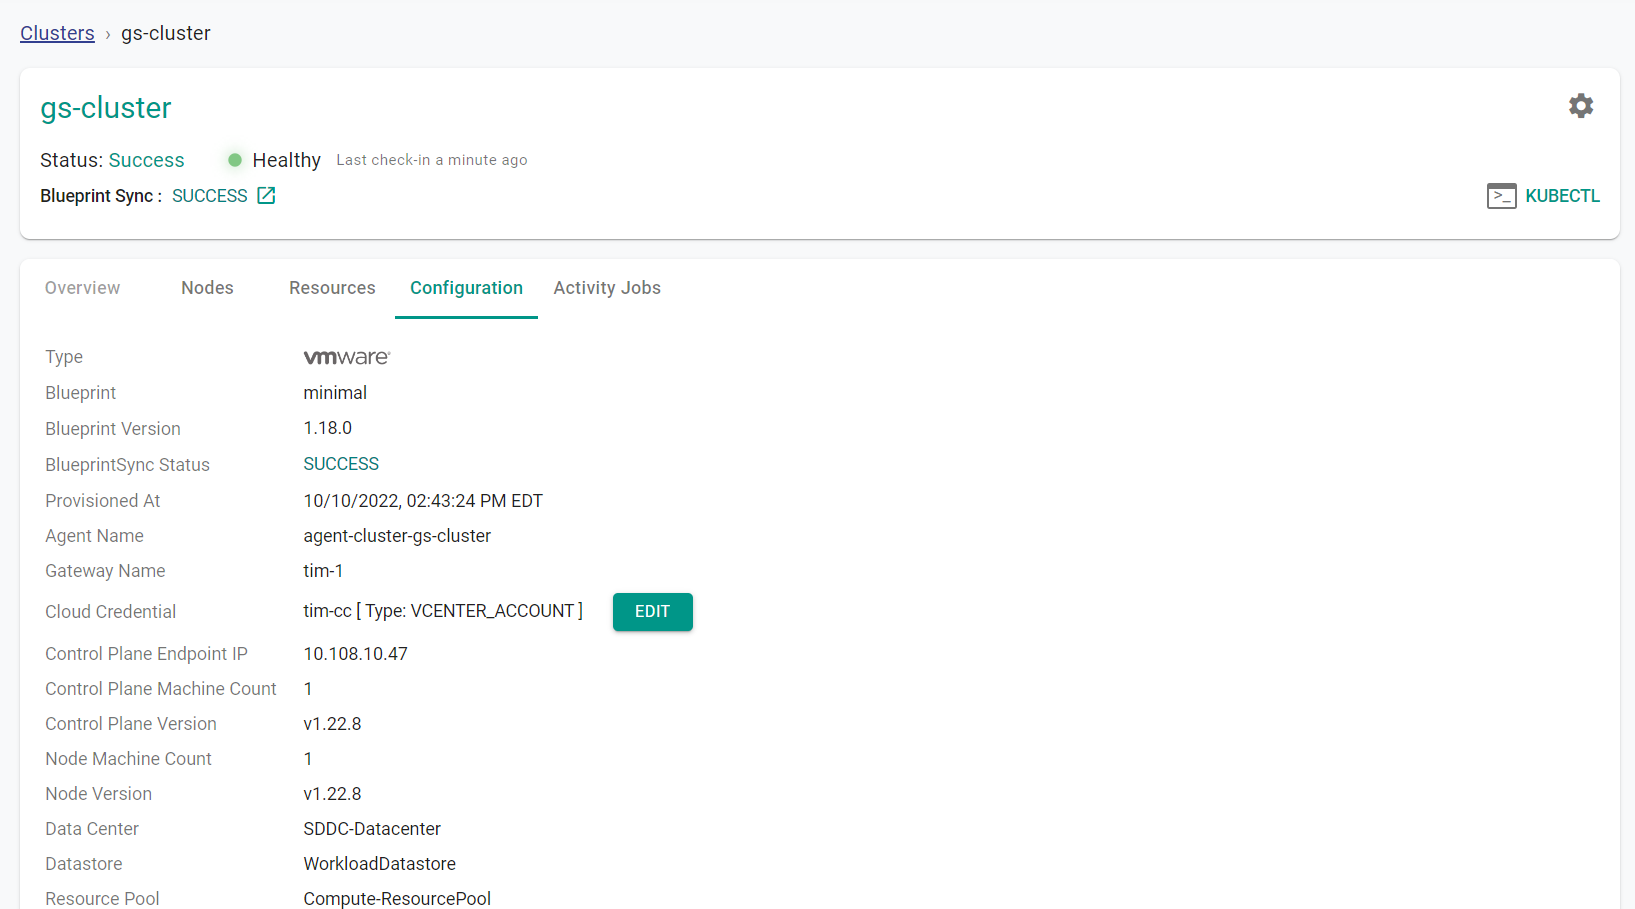
Step 2: Verify Cluster
Once provisioning is complete, you should have a ready to use vSphere Cluster. We will verify the cluster by checking its health and status.
Step 2a: Cluster Status & Health
The Kubernetes management operator deployed on the cluster by the controller will "maintain a heartbeat" with the controller and will "proactively monitor" the status of the components on the worker node required for communication with the cluster control plane and the controller.
- Cluster reachability should be not more than 1 minute
- Control plane should report as Healthy

Step 2b : Zero Trust Kubectl
Your vSphere Cluster's API Server is private and secure (i.e. cloaked and not directly reachable on the Internet). The controller provides a zero trust kubectl channel for authorized users.
- Click on the "Kubectl" on the cluster.
- This will launch a web based kubectl shell for you to securely interact with the API server over a zero trust channel

Recap
Congratulations! At this point, you have
- Successfully configured and provisioned a VMware vSphere cluster
- Used zero trust kubectl to securely access the vSphere cluster's API server