Part 4: Upgrade
This is Part 4 of a multi-part, self-paced quick start exercise that will focus on upgrding the kubernetes version of the cluster.
Step 1: Upgrade Cluster
In this step, you will upgrade the kubernetes version of the cluster.
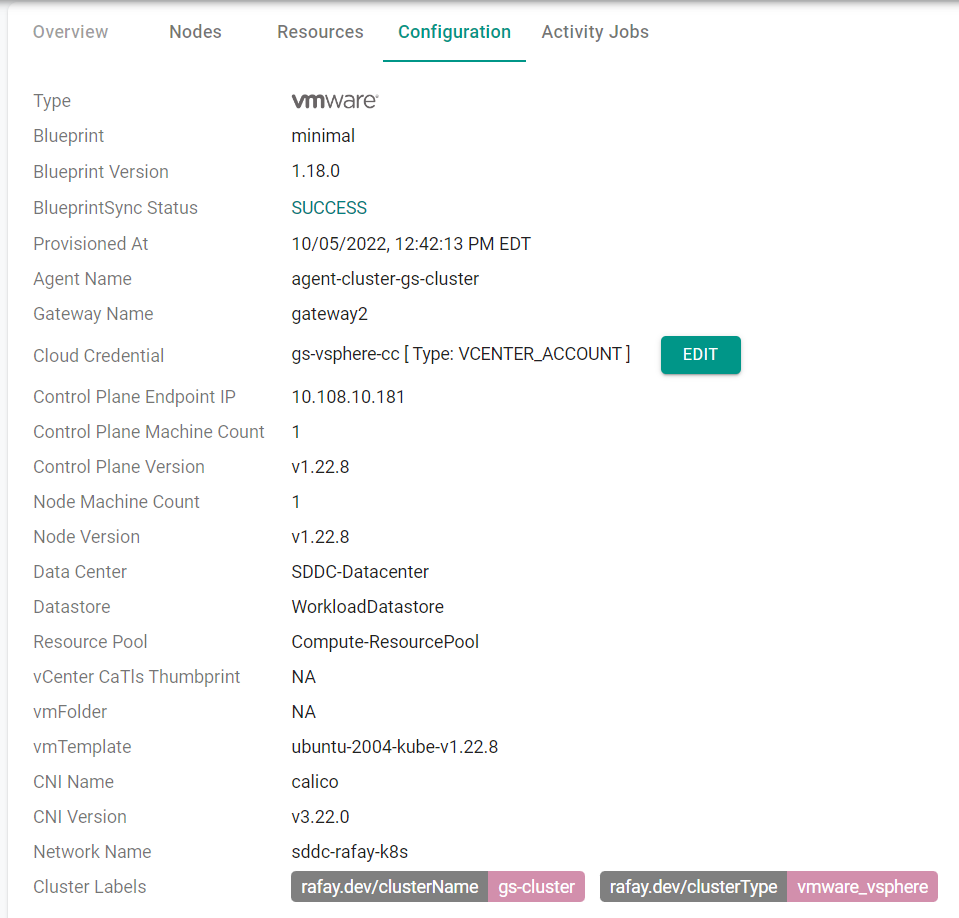
Confirm the current versions of the cluster
- Navigate to your project
- Select Infrastructure -> Clusters
- Click on the cluster card
- Click the "Configuration" tab
- View the current "Control Plane Version" and the "Node Version"

- Click on the gear icon of the cluster
- Select "Upgrade Cluster"
- Select a more recent version for the "Control Plane Version" and the "Worker Node Version"
- Click "Upgrade"
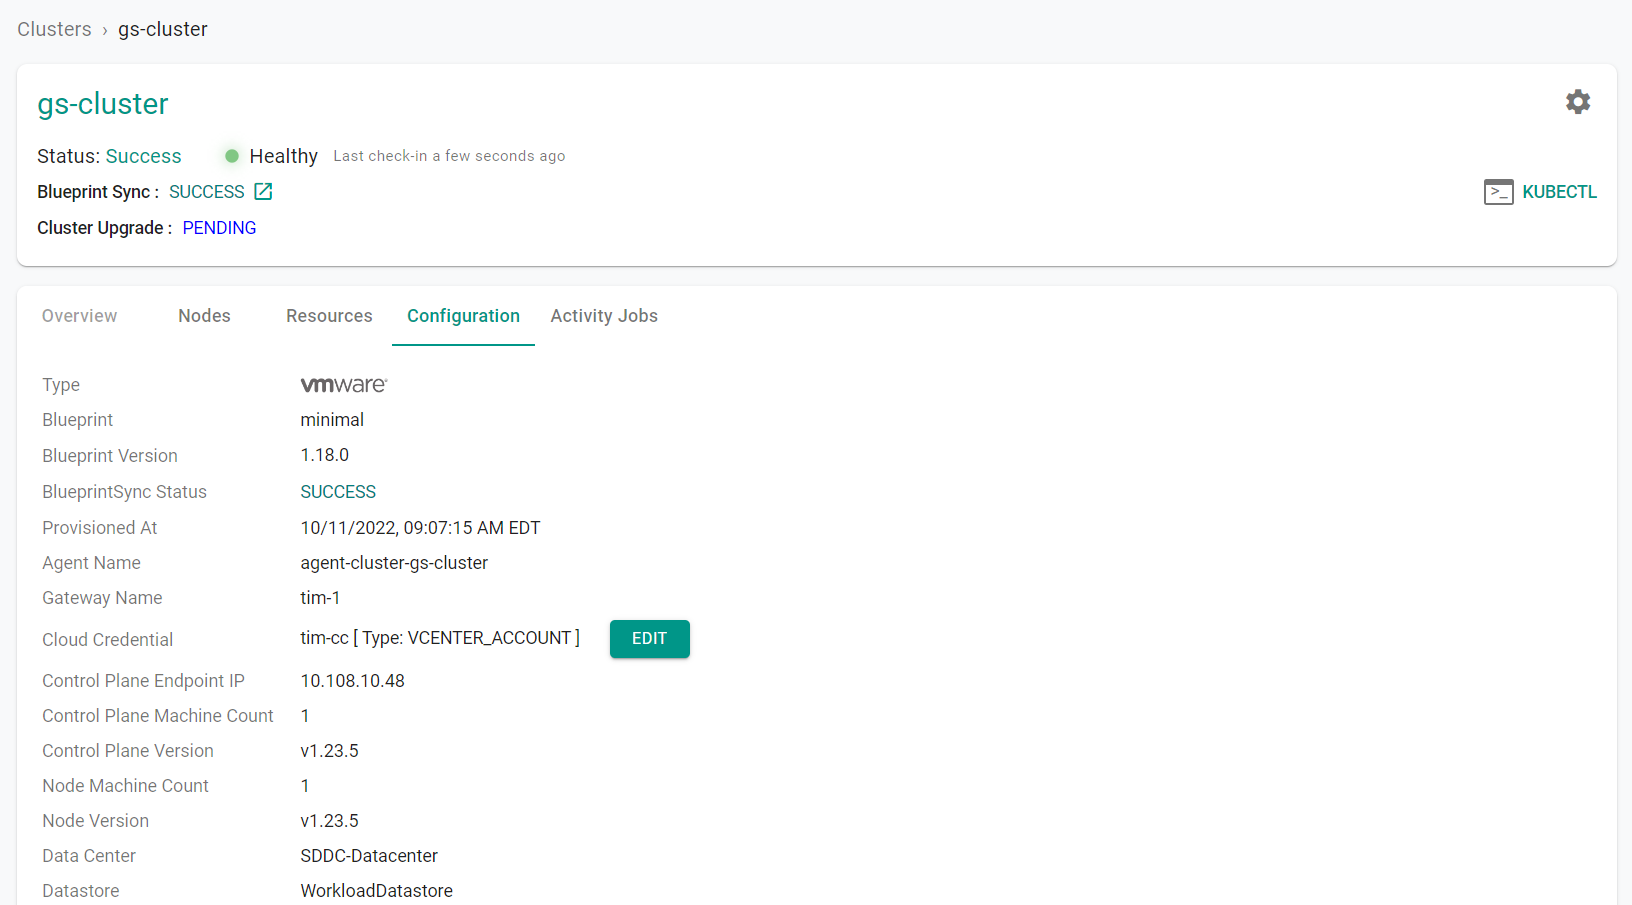
The upgrade operation will begin. Note, this operation can take several minutes.

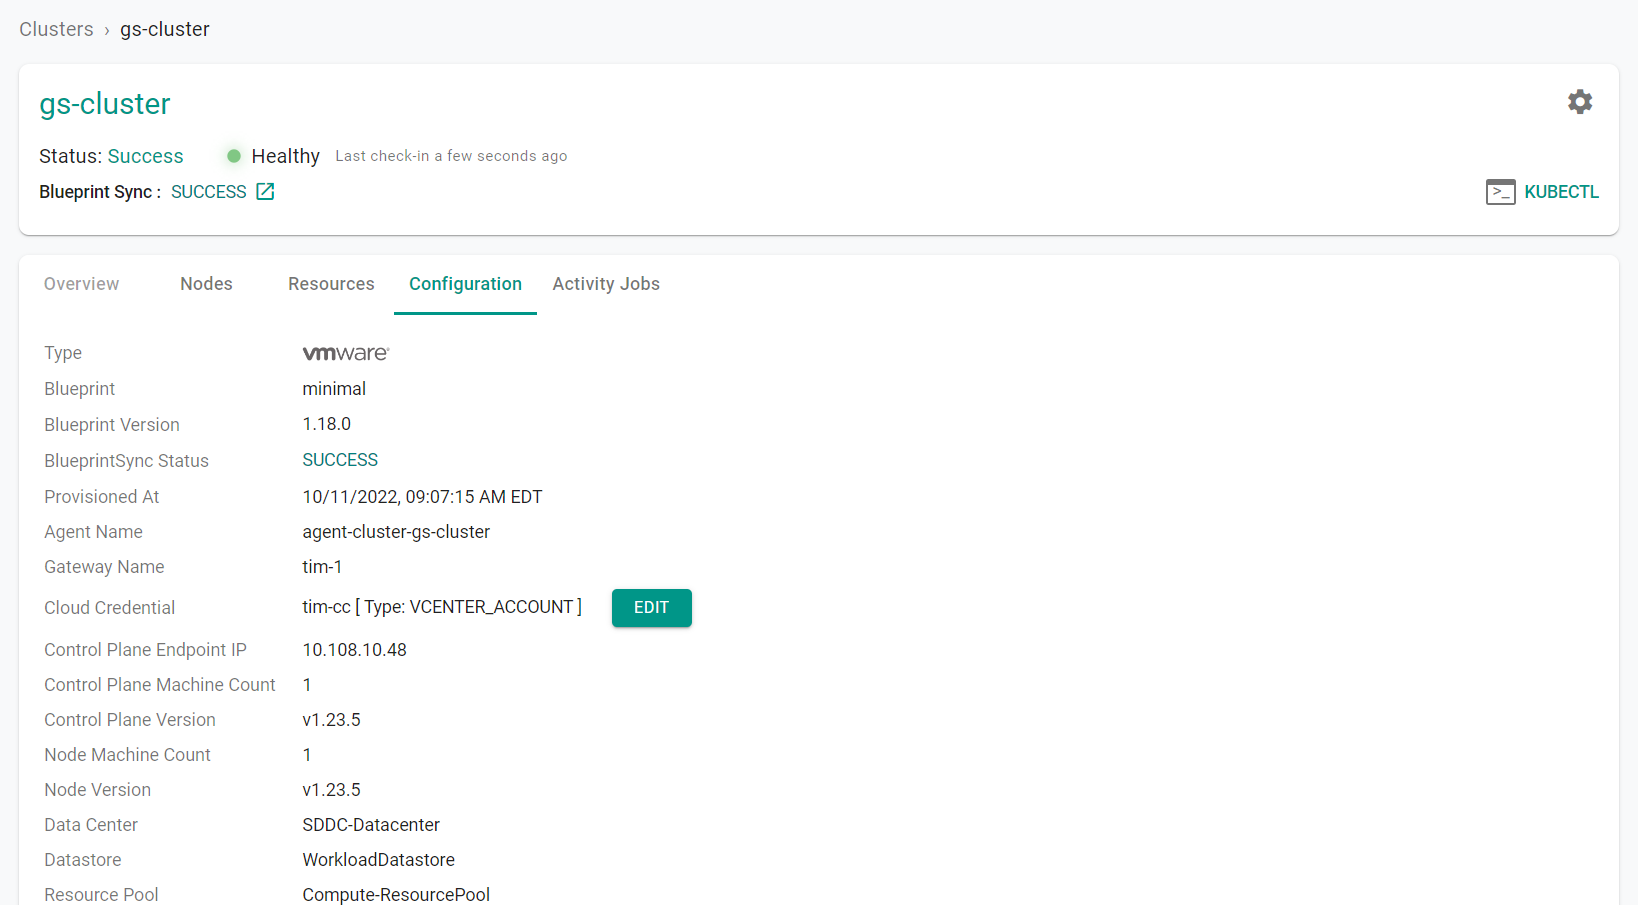
Confirm the current cluster versions
- Navigate to your project
- Select Infrastructure -> Clusters
- Click on the cluster card
- Click the "Configuration" tab
- View the current "Control Plane Version" and the "Node Version"

Step 1: Upgrade Cluster
In this step, you will upgrade the kubernetes version of the cluster.
Confirm the current cluster versions
- Navigate to your project
- Select Infrastructure -> Clusters
- Click on the "Kubectl" button on the cluster card
- Type "get nodes"

You will upgrade the cluster version by updating the "cluster.yaml" file and running "rctl apply" on the file.
Change the cluster versions in the "cluster.yaml" file to "v1.23.5" and save the file.
 controlPlane:
   machineCount: 1
   version: v1.23.5
 workerNodes:
   machineCount: 1
   version: v1.23.5
- Open a terminal (on macOS/Linux) or Command Prompt (Windows)
- Navigate to the folder where you stored the "cluster.yaml" file
- Type the command below to upgrade up the cluster versions
rctl apply -f cluster.yaml
The upgrade operation will begin. Note, this operation can take several minutes.

- Click on the "Kubectl" button
- Type "get nodes"
The version of the control plane and worker nodes has been upgraded.

Recap
Congratulations! At this point, you have successfully upgraded the kubernetes versions on the cluster.